Vinyl. I have just discovered the wonders of vinyl. I had no idea how versitle and how wonderful and EASY it is! I have just discovered how much I like vinyl.
Now I don't have a vinyl cutter, and I don't have a Cricuit, so I can't cut my own vinyl. Fortunitly, I have a great friend, NataLee who can design and cut vinyl. I have been enlisting her help with a lot of projects recently. Some of her fabulous work can be seen on her website here, or in a variety of my posts (and upcoming posts) on this blog.
I thought it would be a good idea to give a brief vinyl application tutorial since you may not know how to apply it. It is very simple!
First, when I use vinyl, I like to be sure the area that I will be applying the vinyl to is clean and dry. Vinyl can be applied to almost any surface including wood, ceramic tiles, dishes, glass, walls, doors etc. The options are endless!
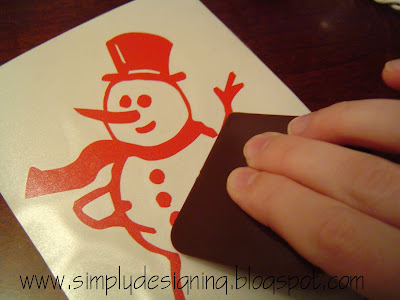
Second, I like to be sure the vinyl is secured to the top layer by rubbing the vinyl. (Your fingers work fine for doing this, but I like using my pot scraper!)
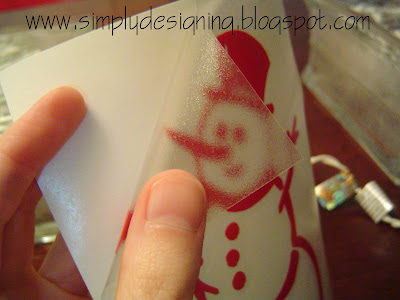
Then you carefully peel off the top layer from the bottom layer. The vinyl image should remain on the top layer. (Do this carefully and slowly. If the vinyl isn't all staying on the top layer, rub it some more until it does.)
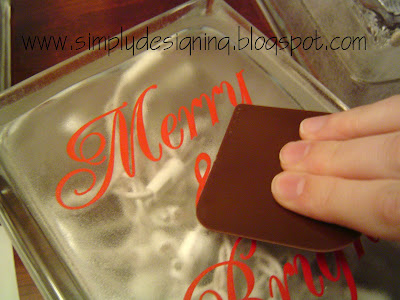
Place the vinyl image on the glass block. I like to stand above the vinyl so that I can be sure it is centered correctly.
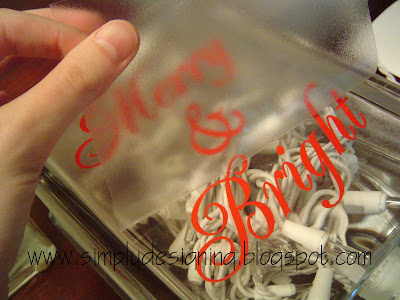
Carefully peel the application paper off of the glass block making sure that all the vinyl stays on the block.
And voila! You have just applied your vinyl image!



Leave a Reply