Painting (or repainting) a room can be tedious work, so today I am sharing my best tips to quickly paint a room. You don't want to miss this. I have discovered how to paint a room fast!

This post was done with the help of HomeRight (Thanks HomeRight for making this post possible!)
Our house is in desperate need of repainting. With two little kids, no matter how hard we try to keep their little fingers off the walls, somehow, they still manage to get dirty from about four feet down.
Unfortunately, our paint color is no longer made and while the paint company will "match" their paint, it is not the same color. Seriously. How does that even happen!?
Anyway, we are no longer able to do simple touch-ups, we need to paint entire walls and rooms at a time. Which is incredibly frustrating, but it needs to be done.
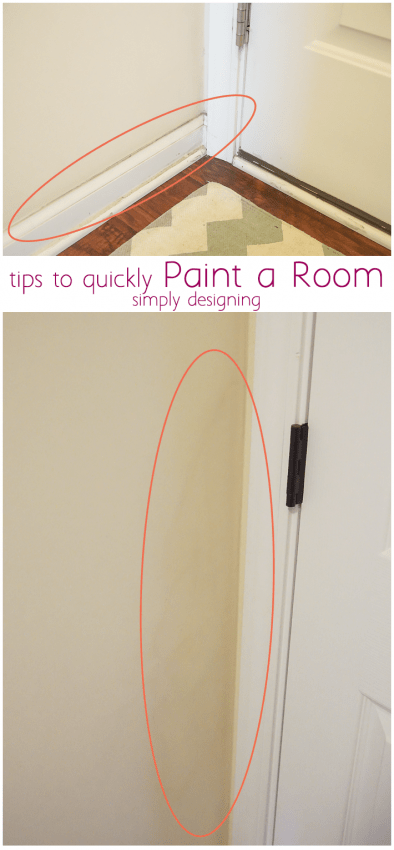
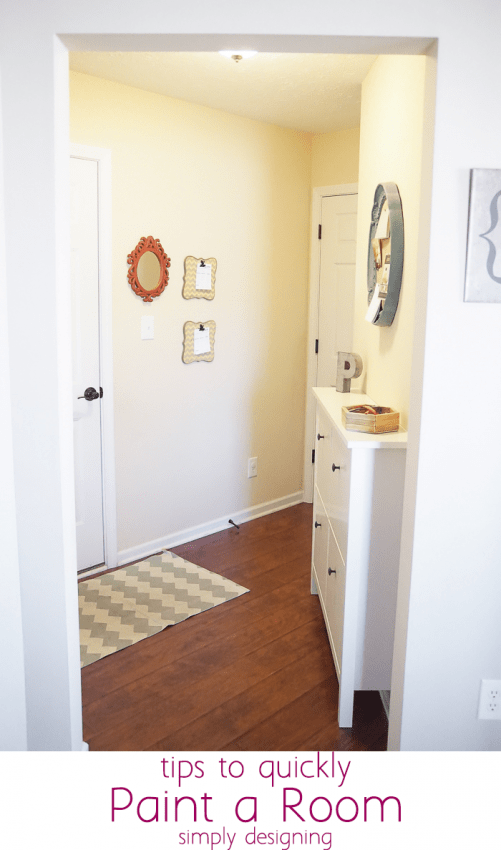
First, let me give you a little tour of a few things that needed to be touched up in our back entryway. Our baseboards are gross. Especially in this corner by the door. I wipe and scrub but they just are at the point where they need to be repainted.
It is hard to tell, but in the second photo above, there is a large discolored area on our walls. This is where my son decided to color on the walls, with crayon. Sigh.
We (aka my son) cleaned it off as best we could, but it still left a large discolored area on the wall that needed to be painted over. So this past weekend I decided to finally tackle painting this room and it looks so much better!!
Today I am sharing my tips to quickly paint a room fast!
Steps for learning how to paint a room fast:
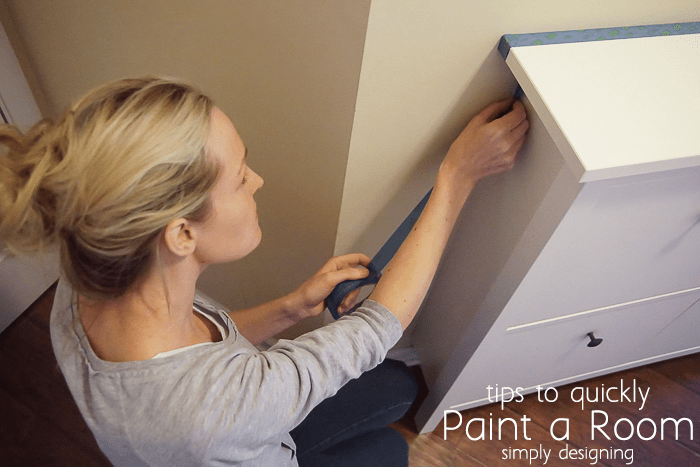
1. Prep Work done properly is how you get a good paint job done fast. To prepare, I wiped down all the baseboards and walls to get any grease and grime off. I used baby wipes, but a simple washcloth and water will do the trick too! Then I taped off any areas that needed to be taped. I don't love taping but it is important especially around floors and built-in furniture you don't plan to remove. We also removed light switch and electrical outlet faceplates and door stoppers. And all wall art and nails came down too.
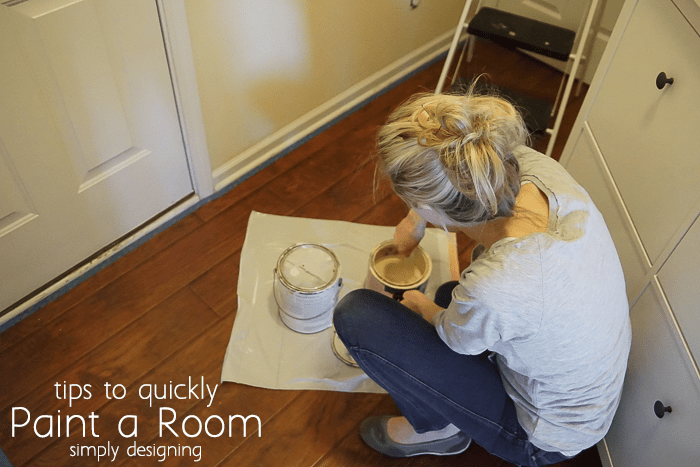
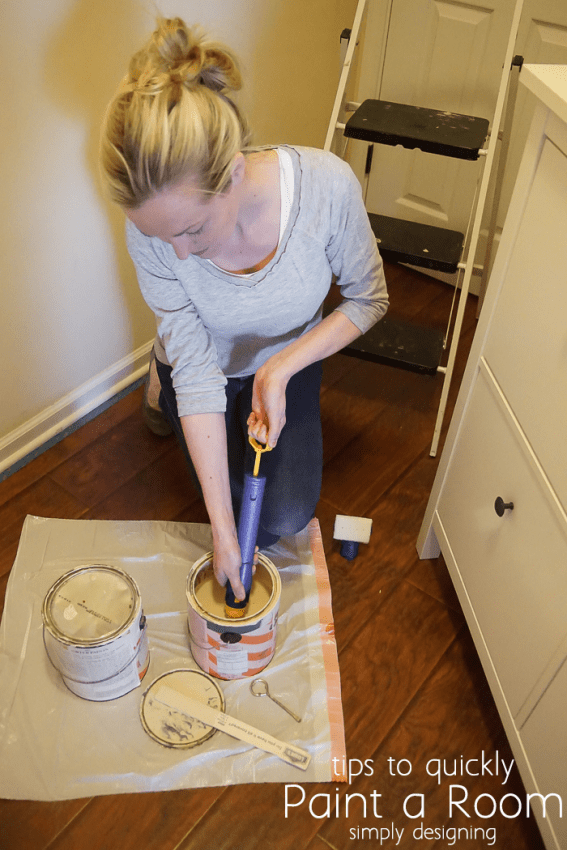
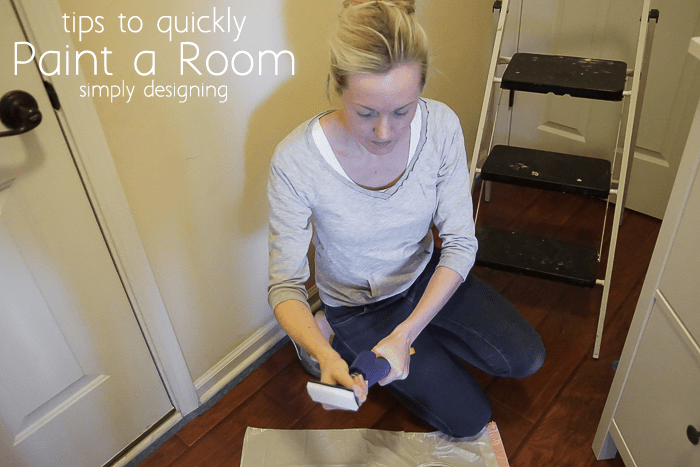
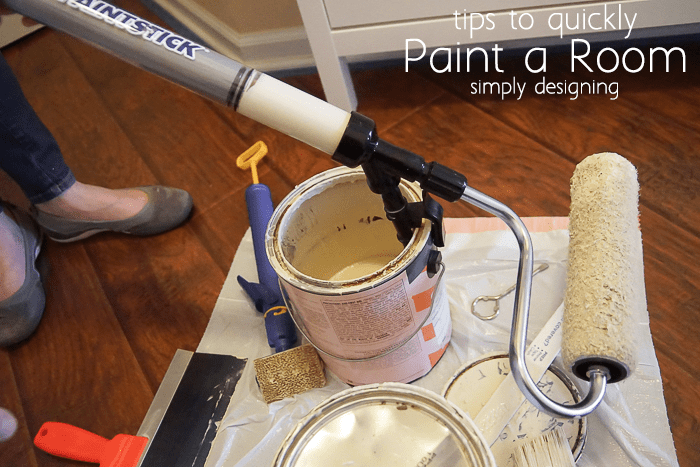
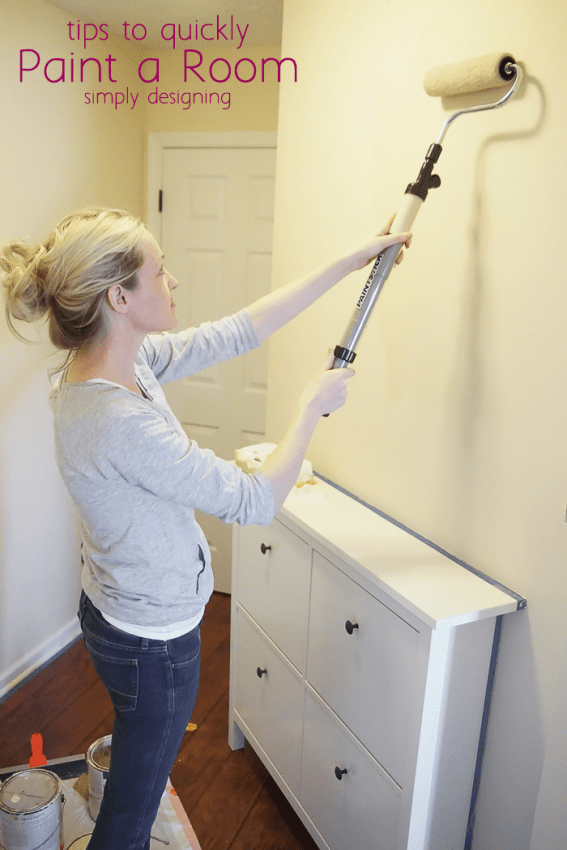
2. Have the right tools to paint a room fast. I collected a few of my favorite tools from HomeRight. For this project, I grabbed my HomeRight QuickPainter Pad Edge Painter, my HomeRight EZ-Twist Paint Roller Applicator, and my HomeRight Mini PaintStick.Next, I grabbed my paint, and I stirred it well.
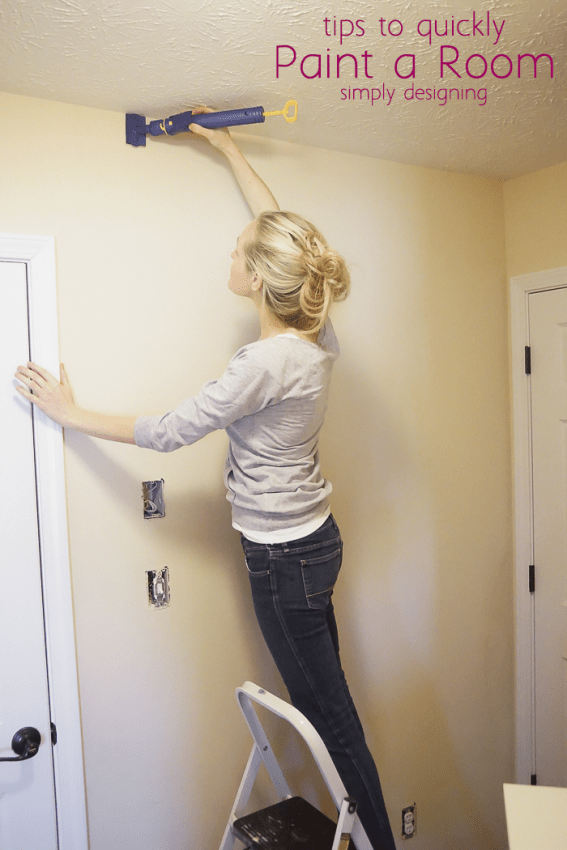
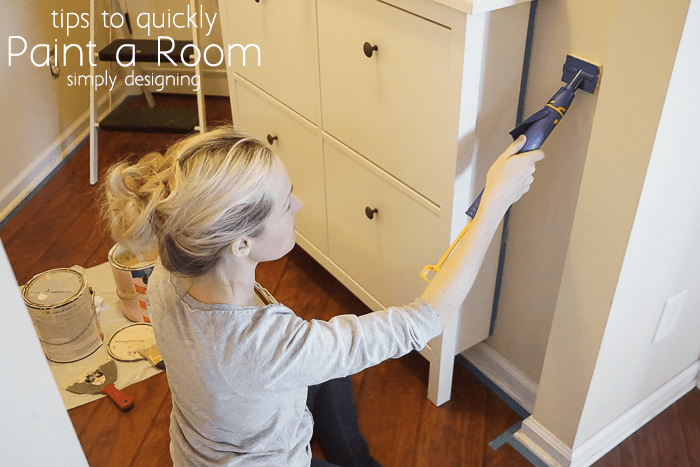
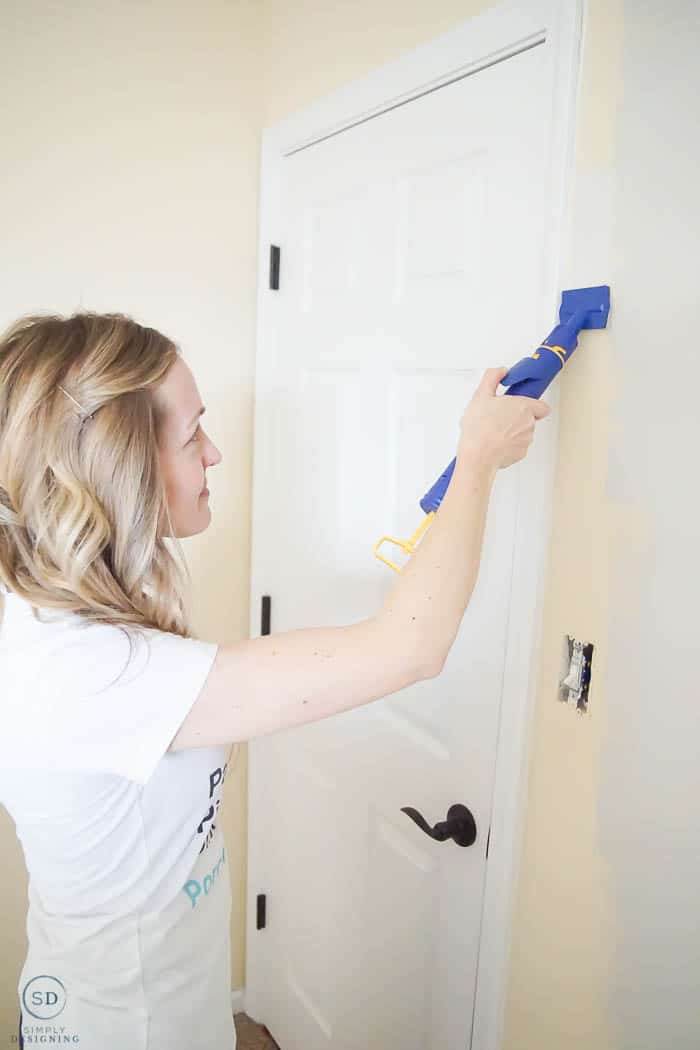
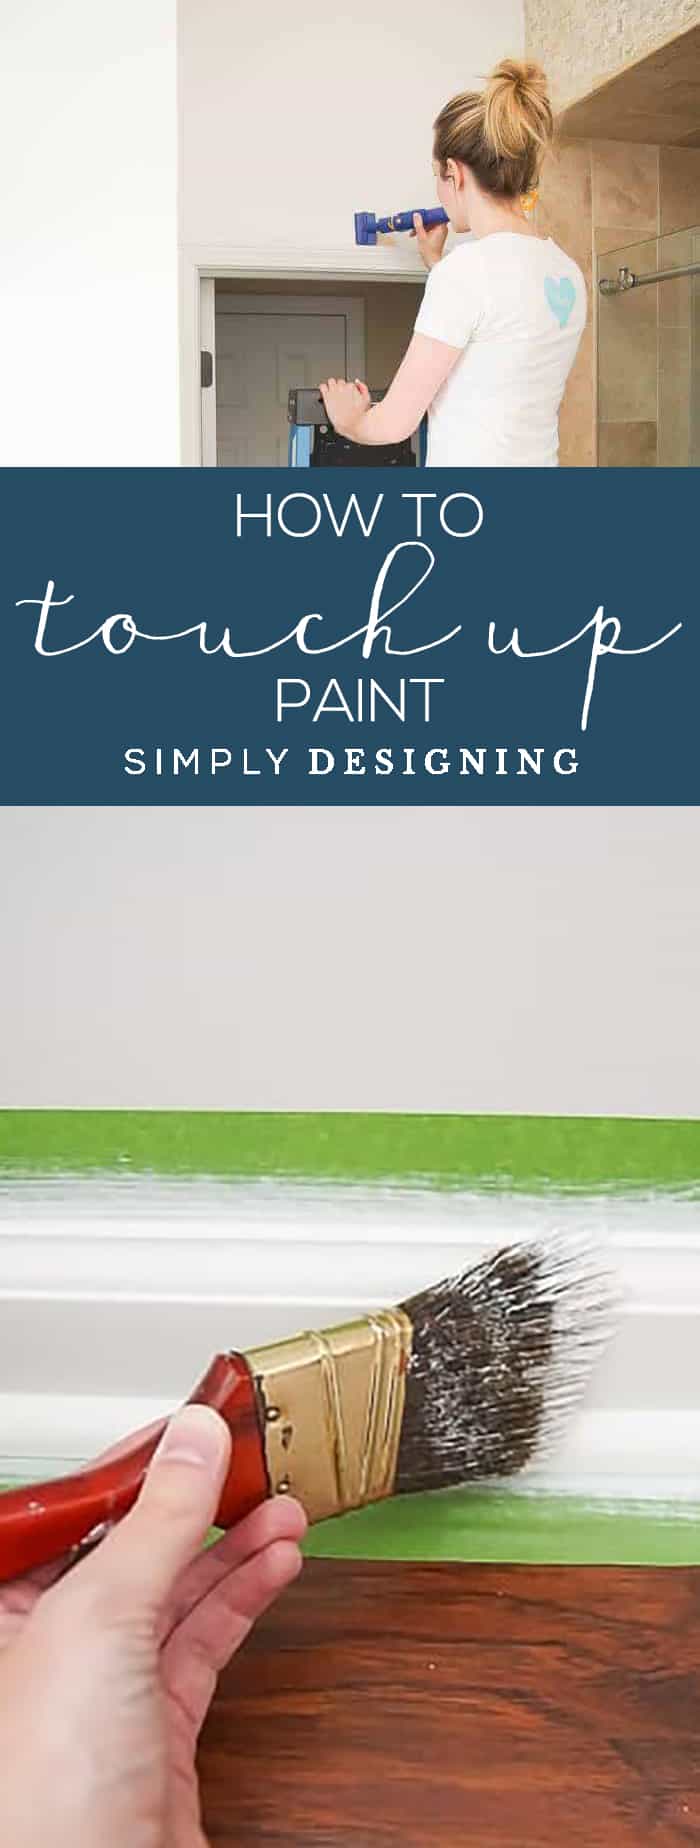
3. Paint the edges around walls and doors. Some people like to edge first, some people like to edge last. I personally think edging is more tedious and time-consuming so I like to get it out of the way first! I used the QuickPainter Pad Edge Painter to edge my entire room.
This is a great little tool because you can suck paint up into the handle and dispense it directly onto the pad as needed.
And it has a great little guide that keeps you from getting paint onto the adjoining wall. This worked great for the tops of my walls, the corners, down near the baseboards and in other small spaces in this room.
I found that if I kept enough paint on the pad, to paint a room went very quickly. Just don't push too hard on the pad or the paint will seep out the sides.
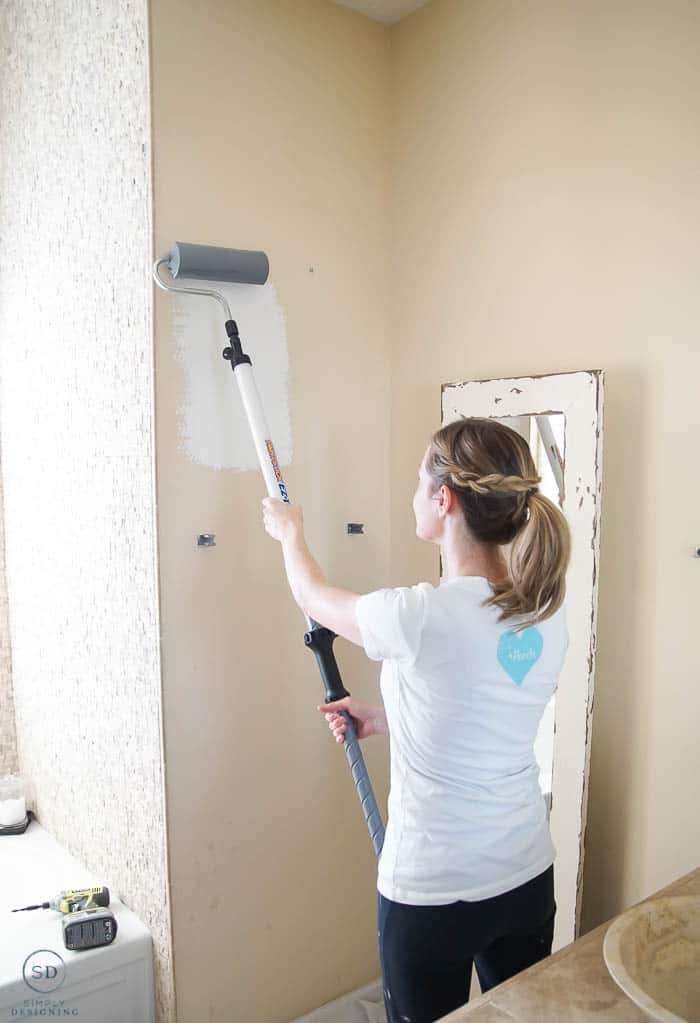
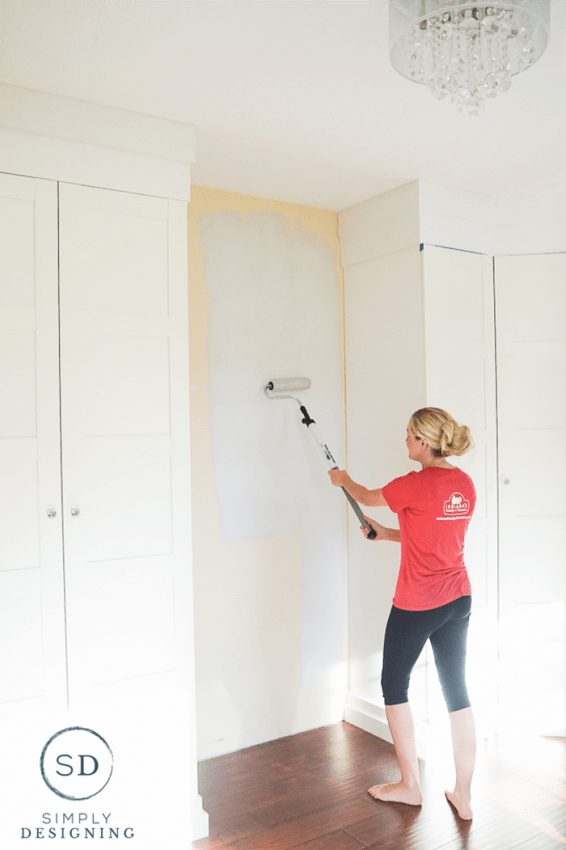
4. Paint the walls in the room quickly too! After I was done edging I grabbed my PaintStick. I love love love the EZ-Twist PaintStick, but for parts of this space, it ended up being a little too long. So I placed my EZ-Twist PaintStick frame onto my Mini PaintStick and the smaller handle on the mini worked perfectly in this space!
I love that the PaintStick holds paint in the handle that dispenses directly through the roller onto the walls! It is a huge time-saver to quickly paint a room.
Since I had already edged the room, I just needed to roll the paint onto the walls fast and I was pretty much done! It really was finished fairly quick at this point!
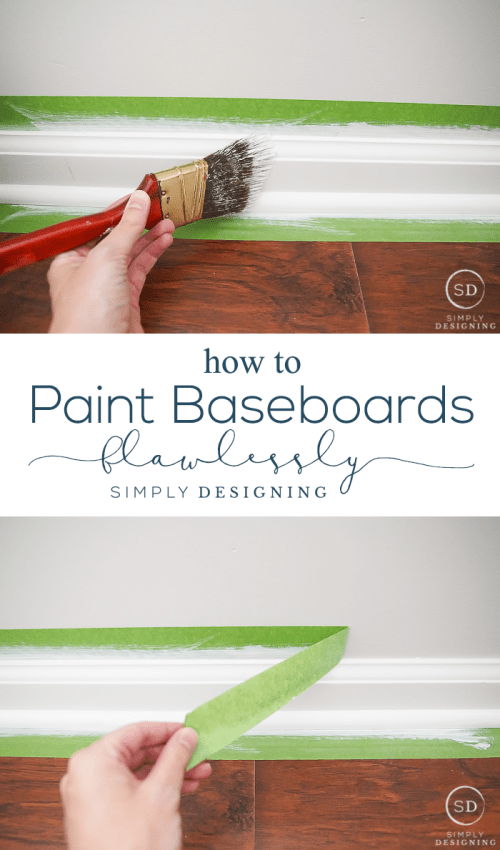
5. Paint the Trim. After the walls were completely painted, I went back and painted my trim. You can use a paintbrush or the QuickPainter to paint the trim. Before everything was completely dry, I removed all of my painter's tape. There were a couple of areas where the paint seeped through, but since the paint wasn't completely dry, this wiped off very easily!
With these tips to quickly paint a room this space only took about 2 hours to prep, tape, edge, and paint, which really is not too long! And the room looks so nice with a fresh coat of paint on the walls and trim!
It is amazing what a coat of paint can really do to transform and beautify a room!
If you enjoyed how to quickly paint a room you might also enjoy:
Tips to Paint Baseboards Flawlessly
DIY Loft Bed and Girl's Room Reveal
How to fix a broken iPhone charger
How to Repaint Furniture Without Sanding
How to Paint Furniture Flawlessly
How to Paint Your Room Like a Pro






Steph@The SillyPearl
I would love to paint our living room. Our home was a formally a rental so you can imagine all of the yellowy, semi-gloss beige! Thanks for the great giveaway!
Kat@Home. Made. Interest.
A friend just bought a new house and I have offered to help her get it painted in one long weekend when I'm there to visit. These tips will come in handy!
For The Love of Paint
Here's a huge tip they left out……COVER THE FLOORING SURFACE!! If you don't want to see paint specs everywhere you need to throw down a drop cloth!
Alex
I was about to post that very thing when I read yours. I just don't know how you get by without tiny splatters on the floor, without a drop cloth or plastic.
Ashley Phipps
Hahaha! I am very careful! And if I am painting on a hard surface floor I know I can always go back and chip off any paint splatters that happen to appear using a razor blade if I need to. But I find if I don't over saturate my painting tools, I generally don't get splatters. BUT, you can always cover your floor for extra protection!! It is a good idea to do that especially if you are new at painting!
kate
This would be so great! I've got grand plans for this summer to paint a couple rooms. With this kit, I might even have time to touch up the bathroom too!
Thanks for the chance!
Sarah C.
we are a military family so we move a lot so although I don't own any walls of my own right now sometimes we have to repaint before we move on.
Jennifer B
I love that the tools make a tedious job easier. I would paint my daughter 's room first - now that she is stern she is tired of her princess purple room.
chrisgharmon
I'd paint my son's bedroom first, because he has wanted an updated room for awhile now!
Patrycja Chudziak
I would paint my living room first because my sons markers and stickers have destroyed my walls. Then I would move on to HIS room lol
Gina
I have so many rooms that need to be touched up like yours--yucky baseboards and too many nicks or scratches. But I think I would do the master bedroom first, because I would enjoy the finished product the most!
Mary Beth @ Cupcakes and Crinoline
My entry way desperately is in need of repainting. It's 1 1/2 stories up and I'm afraid of heights (chicken!) so I have no idea when I'll get to it....but that's would I would paint first!
Mary
I would love to have these tools when I get ready to paint my house.
Jenny
We moved into our house 2 years ago and we still have spaces that were never painted after the holes were filled. I would love to win these products and do it myself.
Kasey Wardell
We are painting so many rooms right now! These tools look awesome! Thank you for sharing.
Barb Ullman
My dining room could use some new paint
Leona
Wow you are a mind reader! I am just about to start painting my bedroom. The first time in 25 years and does it need it. I bought the paint last fall but somehow haven't gotten around to painting it yet. I love the tools you used and I can see how much faster the job can be.
Dana
We haven't painted our living...ever. It's still the same color as when we moved in 12 years ago. We desperately need to paint it!
Trish @ Uncommon Designs
My living room is so ready to be painted.... what an awesome giveaway!
Stephanie Phelps
If I won I would be painting the bathroom and master bedroom!
Gina
AWESOME! This would sure help- I have a whole house full of brand new walls just begging for some color.
Samantha
I'd paint the kids bathroom.
Stephanie Cleveland
I'm trying to gear myself up to repaint our master bedroom. It's currently sage green and it just has to go! It's a big room, though, with lots of wall and I hate to paint! The tools you used here would certainly help though. Thanks.
Dee @CupcakesandCrowbars
Perfect timing, as I have just started repainting the entire inside of my house - yes, the whole thing! Based on how exhausting it's been so far, I'm sure HomeRight would make my job a lot easier!
Emily C
If I won, we'd be painting a nursery! Our first little one is on the way in Sept 🙂
Oona Johnson
I noticed you did not use a drop cloth or protect the top of your built in furniture piece. Was there no spatter from the roller at all? Usually I find a fine mist of paint can fall when I use a roller.
Ashley Phipps
No I actually don't have any splatters from the roller! That is a great tip though to protect your furniture even more!
Tonya
I would paint my son's "new" home. It is a starter, but a cute little how. It has lots of potential.
Laurie Kearnes
I would love to win! And I would definitely paint my living room. Well, wait, maybe the bedroom. It's a toss up. But I love the tool you used to paint next to the ceiling. I find that the most tedious part of painting - otherwise, I kinda enjoy it. I will definitely get this tool if it works as well as you say it does.
Celeste Baldwin
It took me all day to paint an itty bitty laundry room. Had I had the right tools I'm sure it would have gone a lot quicker.
Terri Hughes
I would paint the living room first!
Maria Shiyou
Great tips! I own start with my guest bathroom!
margaret joyner
You made this look easy and fast!
KimW
Our bedroom needs a nice, calming color.
Donna Marie
I really like the way you used these tools and am anxious to use them if I win!!!
Sharon Mobley
Wow, I could use this. I need to do my whole mobile home. So I guess I would start with the dinning room that connects to the open living room. We have those vinyl walls that require primer then paint. And we got the living room done and it was so much work, that now you can see the tan wall buts up to the white walls and hall.
Britni
Great tips Ashley, I need these for repainting our living room!
Jennifer Homer
I just bought a new house so I need to paint EVERYTHING. Ugh.. Perfect timing for this post!
terri
You actually make it lo easy! My hubby and I are the wort painters...EVER!
Stephanie
We have lived in our home for 2 1/2 years and everything that we haven't yet painted needs desperately updated. We are too cheap to pay anyone. My husband has slowly been doing one bathroom at a time along with the kids' room. These tools look very helpful compared to his paintbrush and roller 🙂
Denise O
What great tips. I can't wait to use them painting my bathroom! Thank you!
Sarah
We are remodeling an entire house- thanks for the great tips!
Holly E
I would paint my living room first.
Michelle
Good tips! I would paint my master bath. It's the last room in the house that needs to be painted!
nipa
I will paint my daughters room first as she wants her room to be frozen theme
Sharlene Piscitelli
I would paint my living room first.
Jennie K
I have had paint chips on various walls for days, trying to pick the perfect color! I'd probably paint the insides of my closets first, though. I'm planning to have a great splash of color in my front closet - a color I wouldn't normally try but that would be a fun surprise in a front hall closet!
Vanessa Richard
I WOULD PAINT MY SONS ROOM FIRST HE SPLASHED A DYE ON HIS WALLS THAT I CANT GET OUT
Anne Marie
I would pain my kitchen - it is in need of some paint love.
Marilyn Nawara
The sunroom is next on my list of rooms to paint.
Chrissy
Whew, this couldn't come at a better time. I am literally in the midst of scrubbing my 18 year olds walls and getting ready to re-paint! Great tips and just as I was thinking "I have to get a set of those tools." ....
Cheryl Stone
love the tips thank you for shareing
Kaye Newman
I would paint my son's room first.
how to organize closet
I so needed this post. Thank you very much. My closet in my condo is spacious but the former owner put in this completely inaccessible wire rack at the very top. Time to dive in and remove it and start over.
Lindsey
I just have a question...Do I not need to tape the top of the wall connected to the ceiling if I am using the Home Right Quick Painter Pad Edge Painter?
Ashley Phipps
I did not tape but it really depends on how careful you are painting and your personal preference.
Fran
What brand and color paint did you use? I love the neutral color.
Thanks!
Constantia
Which painter's tape do you recommend?
Ashley Phipps
I generally use 3M or Frog Tape! Either works great!
Cher
Thank you for this post. I need to paint my kitchen and keep putting it off because of the work involved in getting into tight spaces. I did not know about these gadgets. This has renewed my vigor to get it painted by spring.
Eileen Hayes
Where can you buy this painting package in Ireland
Faredoon
Hi,
Great article. Could you please tell me what the slim chest-of-drawers-like object is? Is it a chest of drawers?
Ashley Phipps
It is a dresser for shoes from IKEA.
Hanna
I must ask, what is the new paint color? I love it!
Beverly
I love that yellow. I've been looking for a yellow for my kitchen. Would love to know the color yellow you used. Thank you
Tanja Shores
I really like your color. Could you tell me the name/ brand? Thank you
Heather
I am so glad I came across your blog. We are going to be repainting almost our entire interior of our home this summer. It really seems effortless with the new tools that are out. I have been so overwhelmed with the area I want to cover. But this really broke it down.
Jan
I have found Scrubbing Bubbles (generic works just as well) is the best ever for base boards it gets in all the cracks and wont damage walls or floors.Does the cut in tool really work that well and do you think it would work if I have a popcorn ceiling?
Ashley Phipps
To be honest I have not tried it on a popcorn ceiling as I don't have one! I would love to know if someone has tried it out though!
Barbara
How do you clean up the tools for reuse? That can take another hour!
Ashley Phipps
Hi,
I just used warm water to clean this. It really didn't take very long. 🙂