My boys love to tie dye, and it's always an activity that makes it on to our summer bucket list. Over the years I've honed my technique so that tie dyeing with my kids isn't an overly messy or stressful project. It's just TONS of fun!
Here's what you'll need:
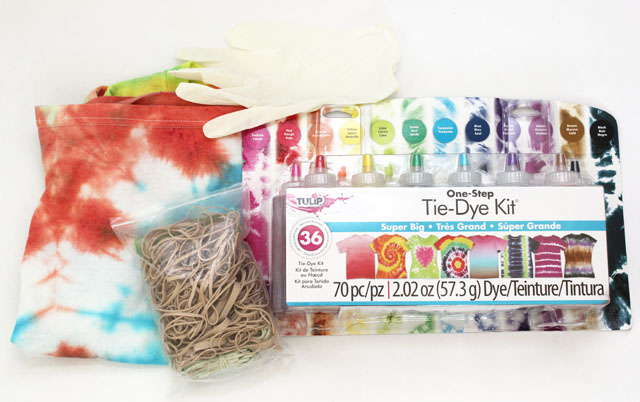
- Shirts or other objects to dye - 100% cotton white shirts work best
- Tie Dye Kit - there are lots of kits to choose from, so I recommend starting with a basic kit from your local craft store, especially if it's your first time tie dyeing. Look for a kit with bottles that already contain the powdered dye for the least amount of mess. You just add water to the bottle and shake to mix up your colors - easy peasy!
- Rubber bands - lots and lots! You'll need between 2-8 per shirt.
- Gloves - latex gloves work the best and are much better than the funky plastic gloves that come in the kits. You can pick up an entire pack of inexpensive latex gloves at Home Depot that will last a long time.
- Old clothes to wear while tie dyeing - I like to have my boys wear their old tie dye shirts so that it doesn't matter if they accidentally splash dye on to their clothing!
- Plastic bags - at least one per shirt plus one extra large bag to hold all of the shirts. Recycled plastic grocery bags work well, but since they often contain small holes in the bottom I highly recommend using two bags per shirt and double bagging them.
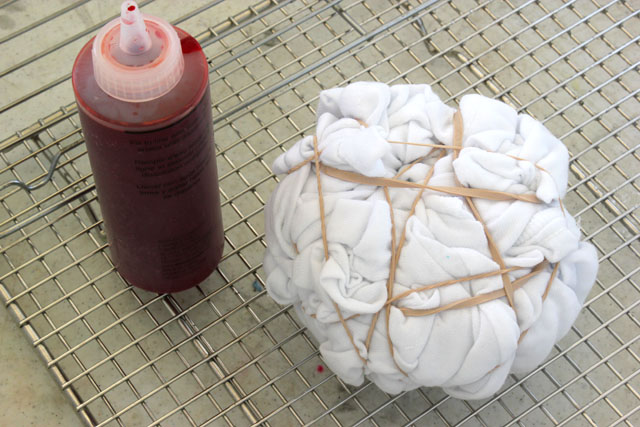
Pre-wash your shirts and leave them damp from the washing machine. Fold and rubber band your shirts as desired (some examples are below). Since the dye only remains at 100% strength for 45 minutes, I like to mix it up as my boys are folding their shirts so that we're ready to dye as soon as they are done.
The best place to dye shirts is in a large utility sink or bathtub. Place wire racks on the bottom so that the shirts don't sit in the excess puddle of dye and get muddied colors. Let the excess dye drip off for a minute and then wrap the shirt tightly in a plastic bag. Quickly rinse the sink/tub between each shirt to wash the dye down the drain and avoid staining. When all the shirts have been dyed and wrapped in plastic bags, place them all into a larger plastic bag and set them somewhere nice and warm for 24 hours. It's important to let the dye have that time to penetrate the fibers and stay vibrant.
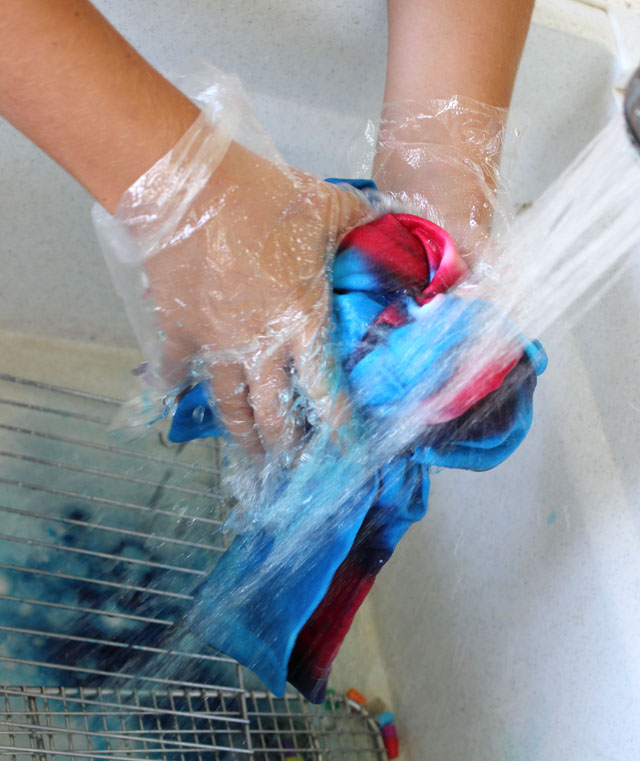
After 24 hours, carefully cut off the rubber bands and rinse the excess dye from the shirts with cold water.
There will still be excess dye, even after the rinse in the sink, so I like to toss all of the shirts into my washing machine for a light wash and rinse cycle. Finish by drying on high heat to further set the colors.
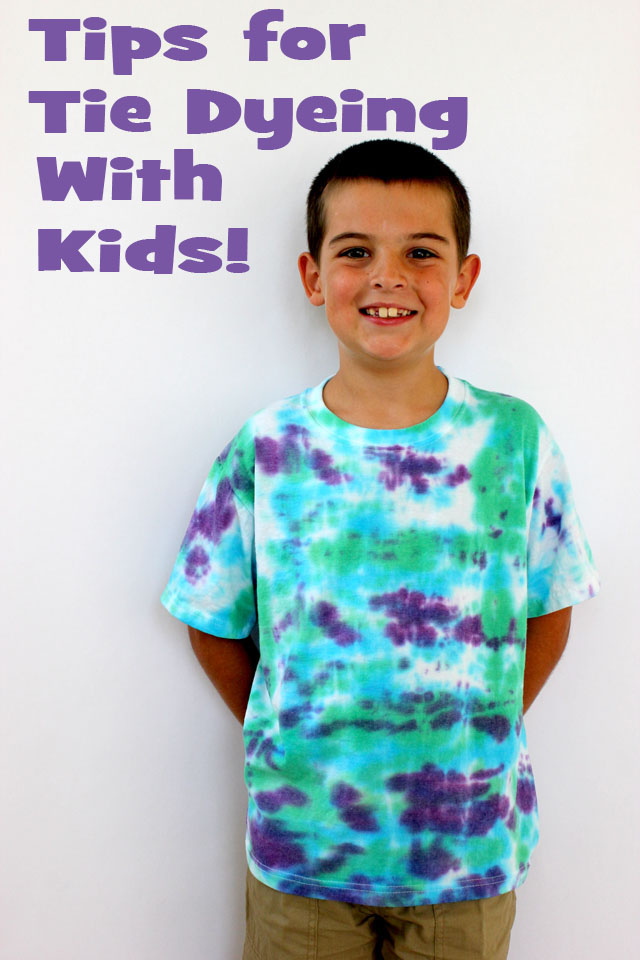
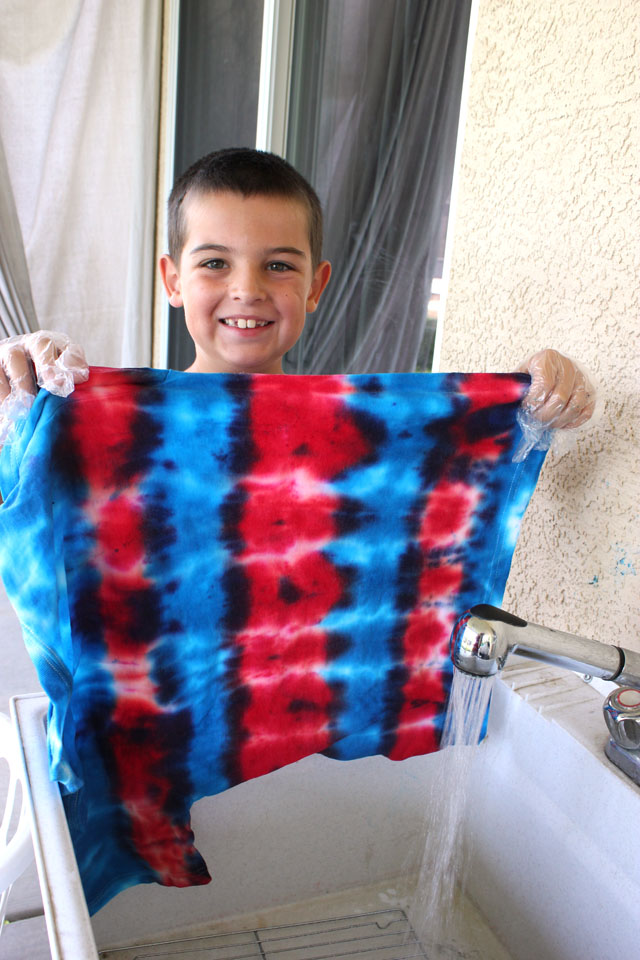
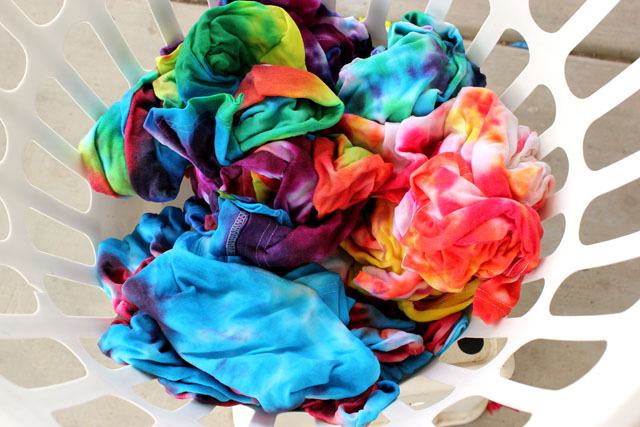
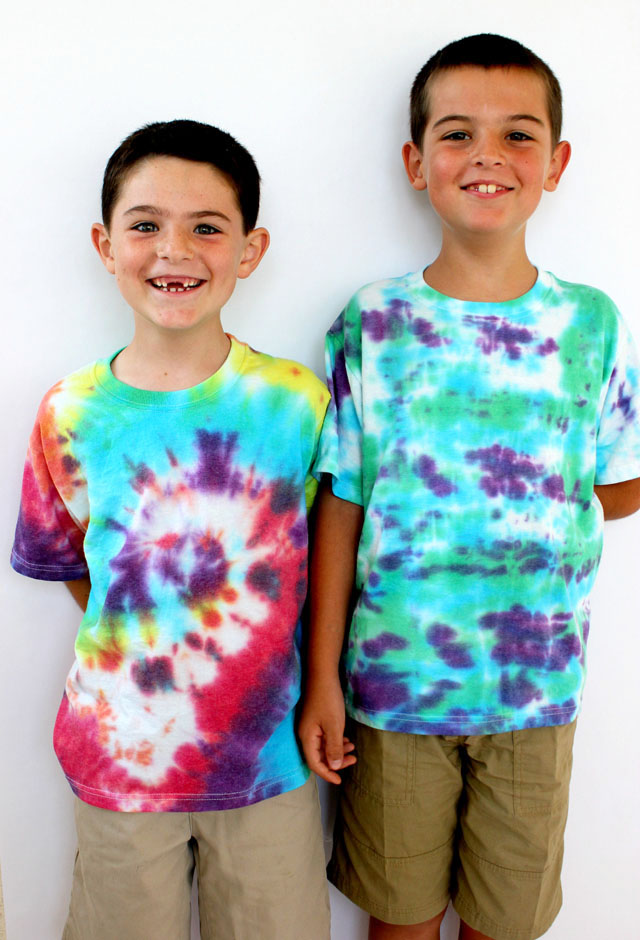
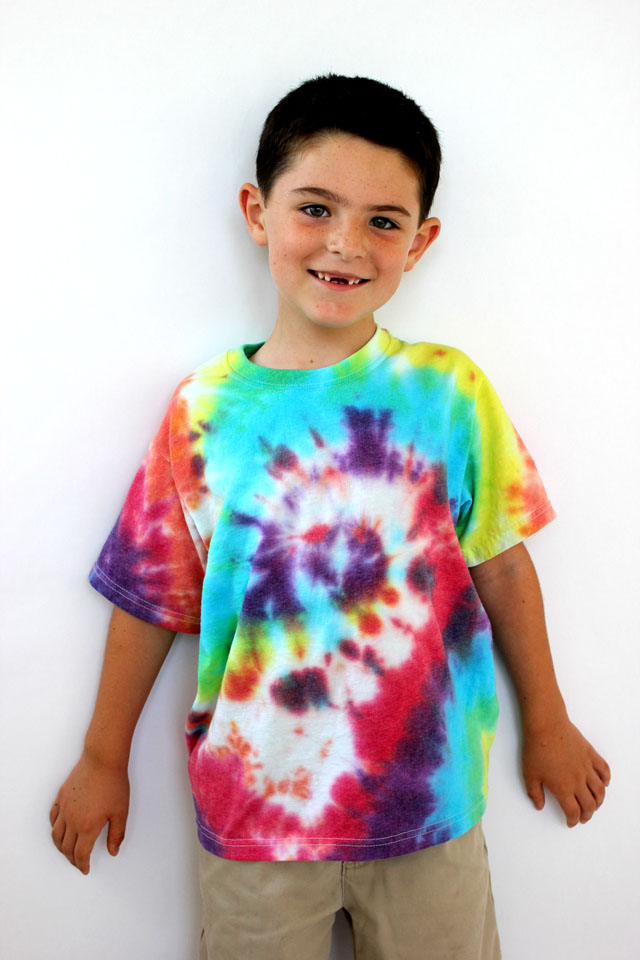
No stress, no (excessive) mess, just happy faces! I accidentally picked up 50/50 cotton poly blend shirts for my boys at the craft store this time, so the colors are a bit muted and vintage looking, but they're still super cool! For comparisons sake, you can see how much more saturated the colors are on the 100% cotton tank tops below.
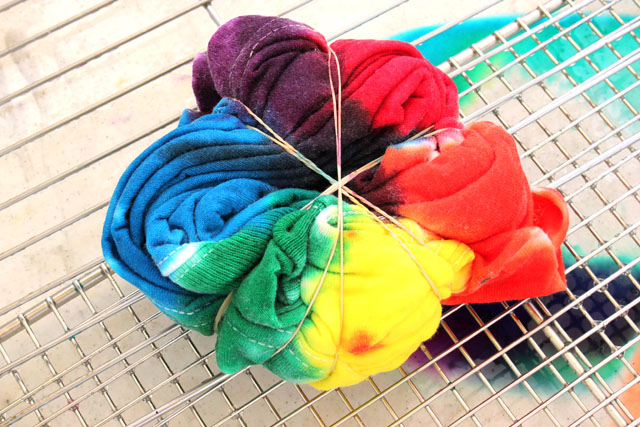
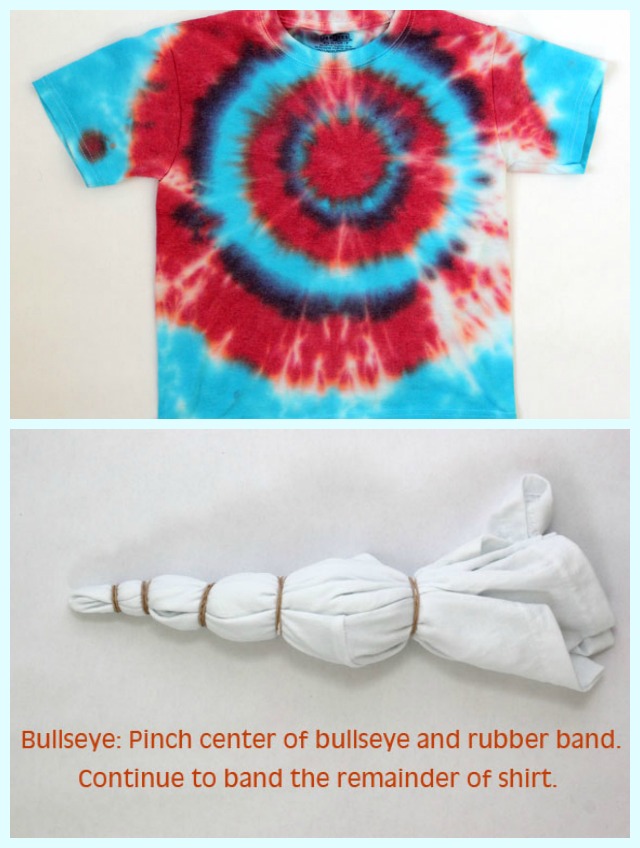
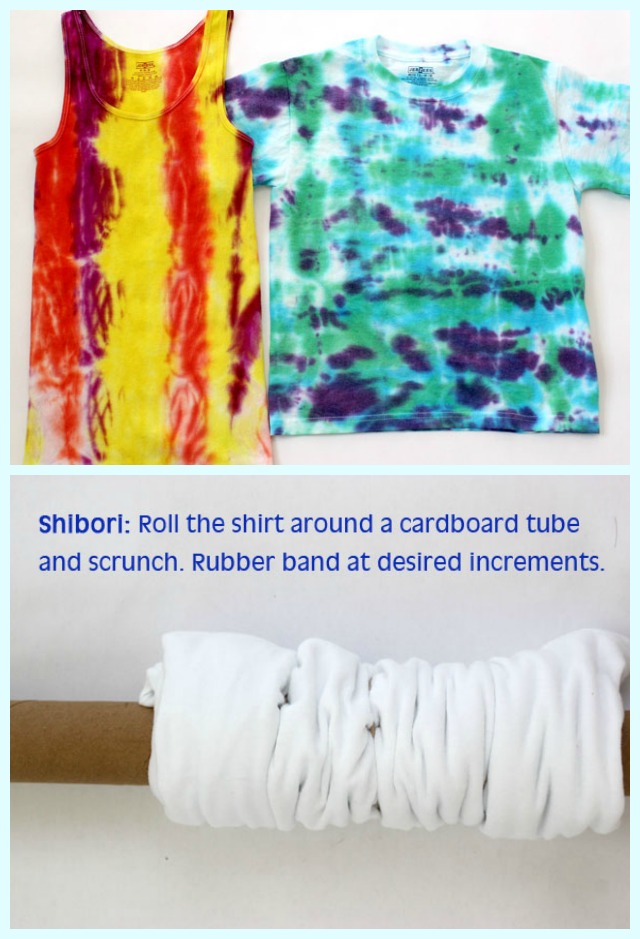
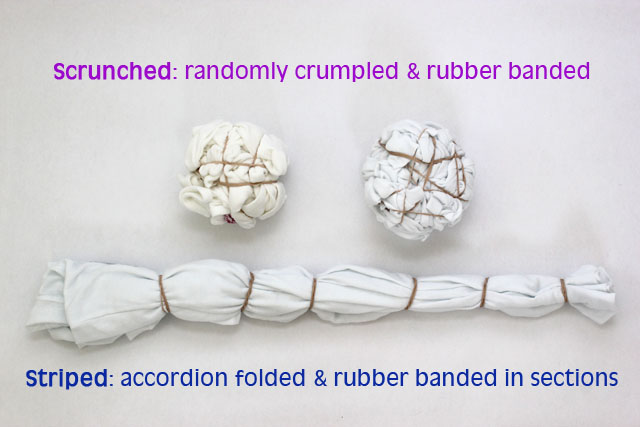
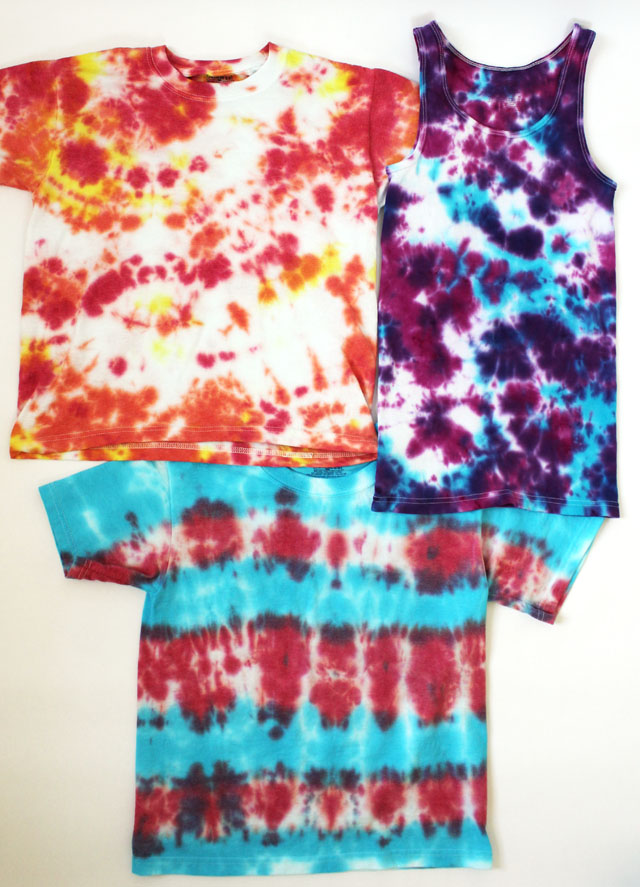
So, about that folding and rubber banding part...here are a few examples of how we folded and banded our shirts and the results that they produced:
Tie dyeing does take a bit of time and preparation work, but the end results are brightly colored and fashionable masterpieces that your kiddos will proudly show off all summer long. I can't recommend it enough!
I would love for you to follow me on Facebook, Twitter, Google+, Pintrest and via email.
I participate in the link parties found here.









Kelley Howell
Love the step-by-step directions - thanks!!
Theresa
I love how yours turned out. We used Tulip dies this summer & did a bucket load of tee shirts & socks. So much fun. Visiting from DearCreatives.com Theresa
amy
Hi there! I was wondering if you had a suggestion for doing this with about 50 campers? I wondered how many shirts the kit you used would make?
do you worrry about bleeding when you put it in the washer in the future? Seperate from other clothes?
Thanks!