Hello, my friends, you all know I love to paint, so today we are going to talk about How to Paint, specifically, we will talk about How to Paint a Wall. If you have been here a while, you have probably seen my post about How to Paint a Room here, my tips to Quickly Paint a Room here, and my post about How to Paint a Room Like a Pro here. At this point, besides a few closets, we have recently repainted our entire home. Which can feel overwhelming or like a lot of work, but today we are going to chat specifically about how to paint and what tools, tips and tricks you can use to make it go easy, smooth and fast! Ready? Let's go!
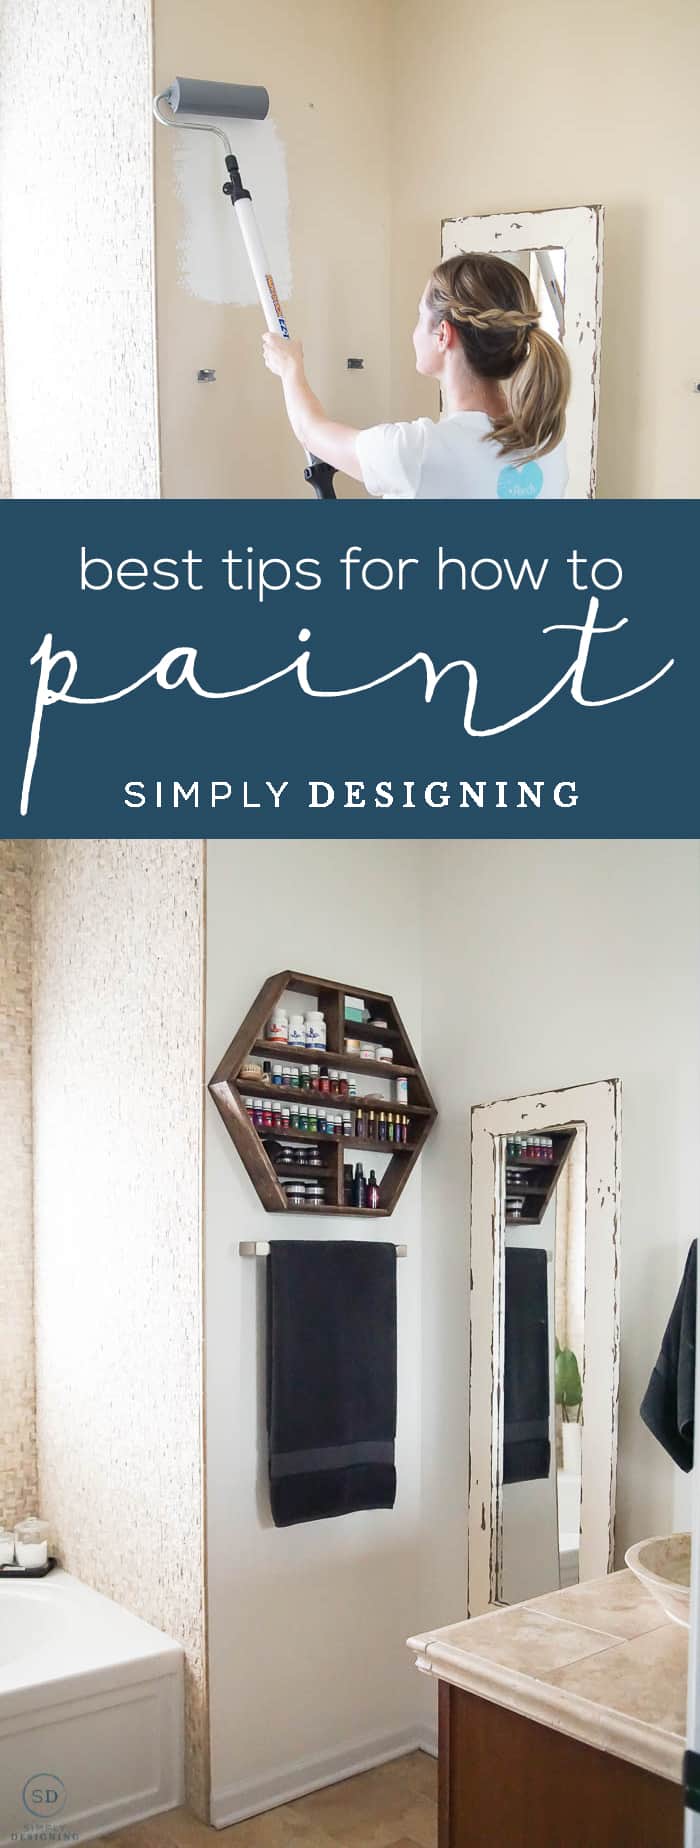
A big thank you to HomeRight for sponsoring this post about How to Paint. All ideas, opinions and images are mine. This post contains affiliate links and purchasing anything through the links in this post gives me a tiny commission, however, you never pay a penny more. Thanks so much for supporting my blog. You can read more about How to Paint on the HomeRight blog HERE.
How to Paint
If you want to paint a wall well, there is a particular way to do it well. It is easy, but it will take a little time and patience.
What order should you paint a room?
Aw...the age-old question, what order should you paint a room? Should you edge and then roll, or roll and then edge. Everyone has an opinion, but which opinion is right?
No one. No one is right. No one is also wrong.
And if you are lucky, you will have a second set of hands and can do both at once!
Really though, I recommend starting with whichever you like least first to get it done and over with.
Do you cut in before or after rolling?
As I mentioned above, it really doesn't matter if you cut in first, or roll first. You can get great, professional results either way.
Personally, I prefer to cut in first, since I prefer to roll. But if I am lucky, my husband will help me and one of us can edge and one can roll.
How do you paint a room in one day?
It is possible to paint a room in one day, but you'll want to get working early. You will need time to prepare your surfaces, protect your floor and furniture, paint, let it dry and then give it a second coat of paint.
It may take ALL day, but it is totally possible to get it done in a day depending on the size of your room.
So let's talk about how to paint, I will walk you through our latest painting project and share tips and tricks along the way.
How to Paint
- Clean walls and baseboards and let them dry
- Patch walls and let that dry
- Remove all electrical outlet and light switch covers
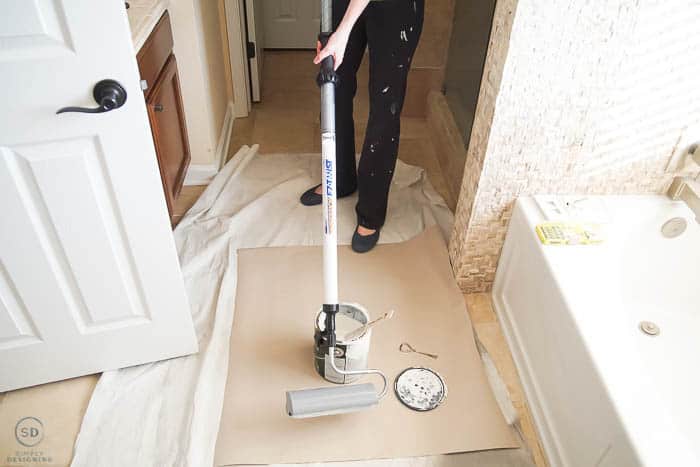
- Move everything out of the room that is feasible to move, put a tarp over everything else
- If you like, tape around edges that may be tricky. Once you have painted as many rooms as we have, you won't need to tape anymore, but it is often a good idea especially for beginners.
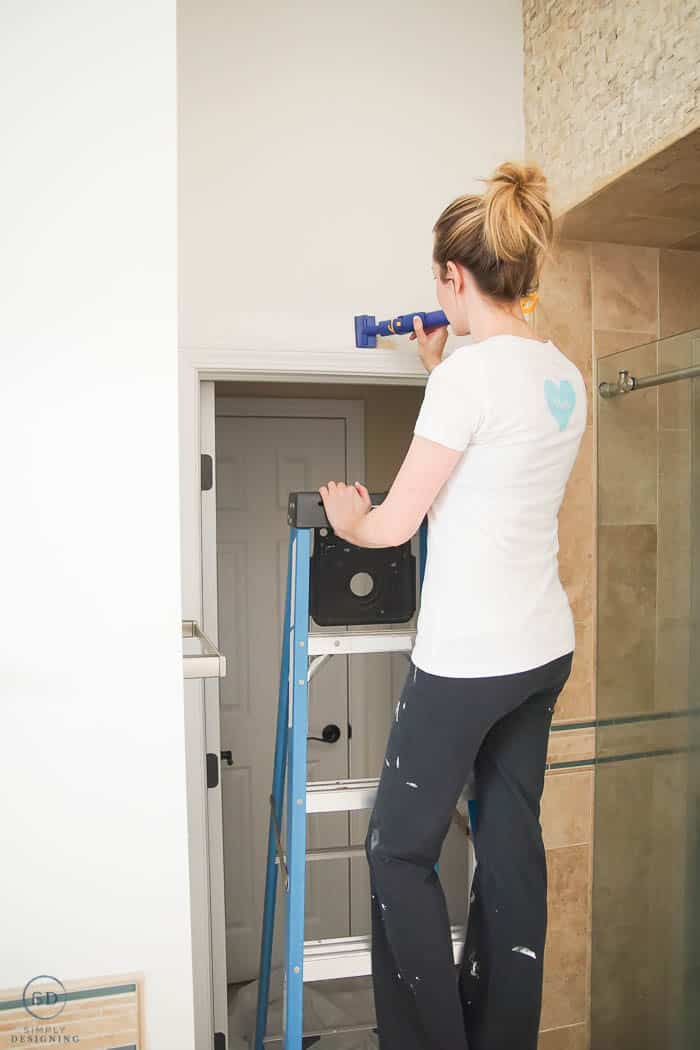
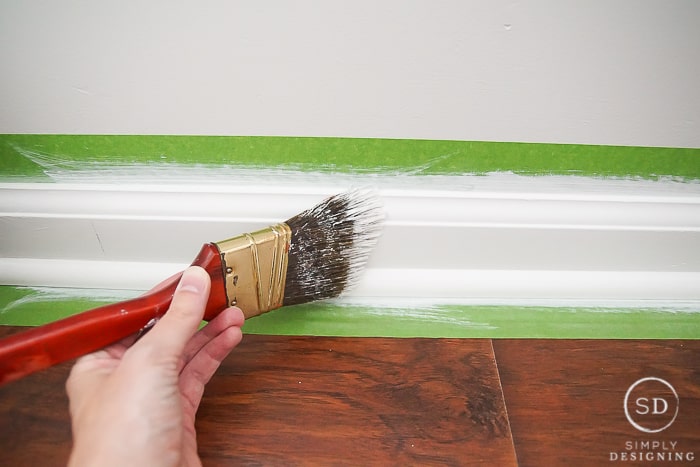
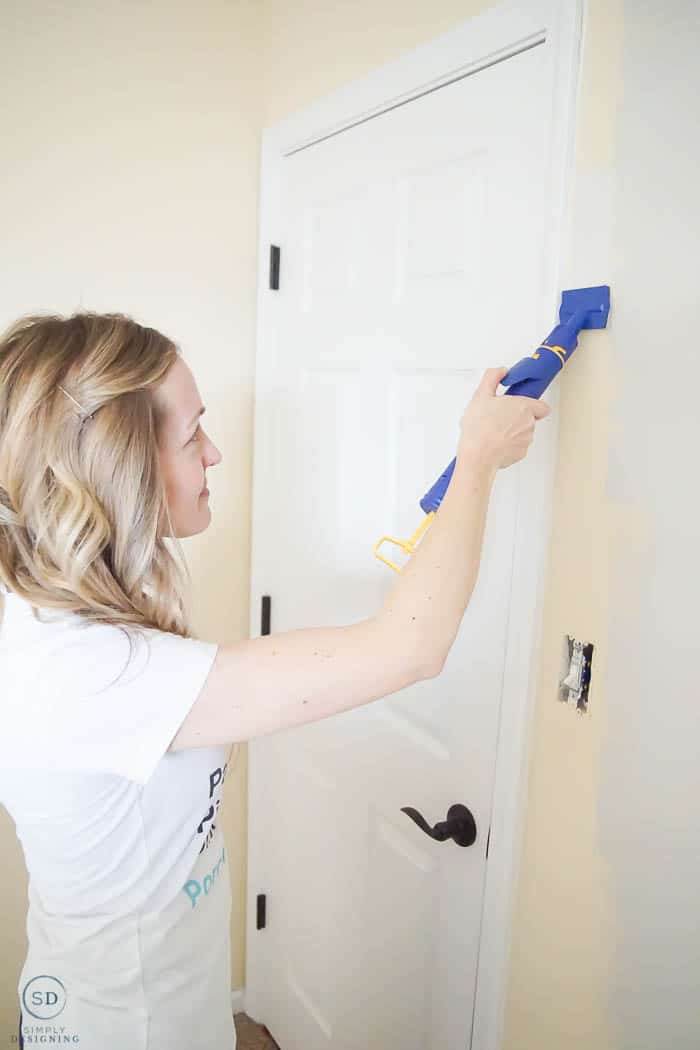
- Cut into the corners, edges and around baseboards using a HomeRight QuickPainter
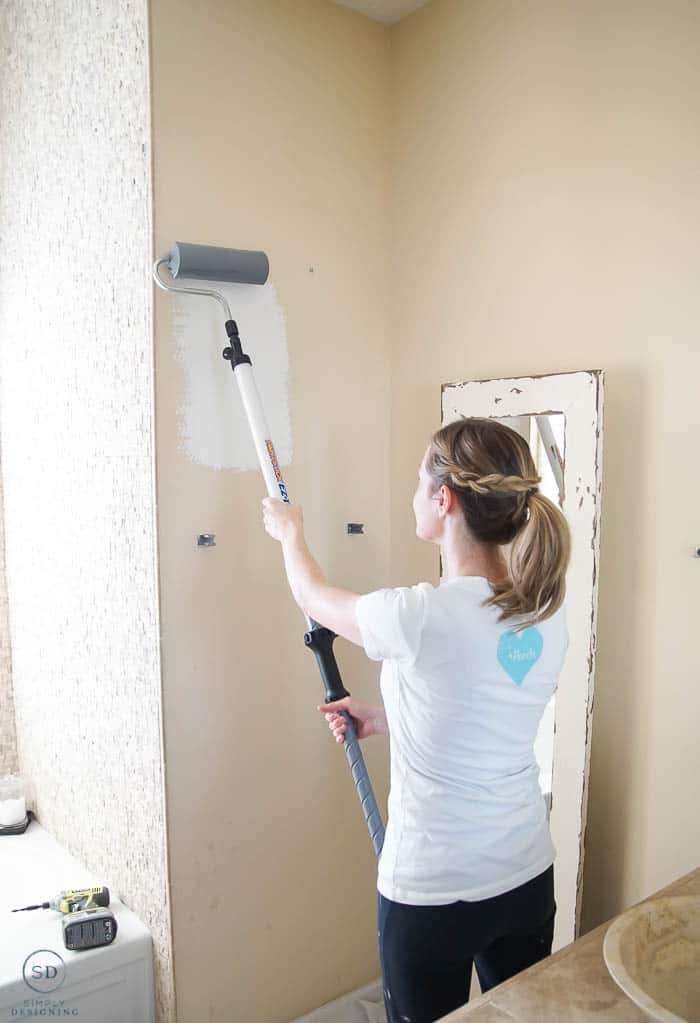
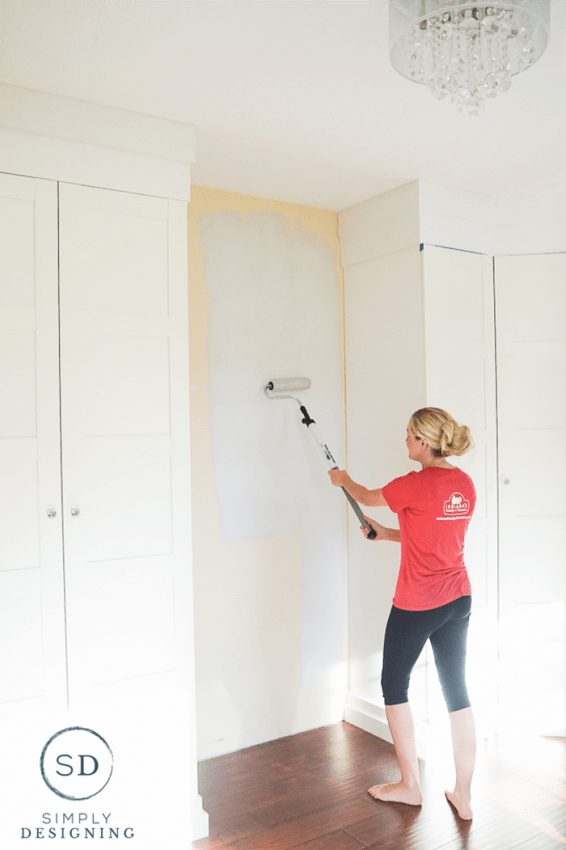
- Roll paint on the majority of the walls using a HomeRight PaintStick EZ-Twist
- Let the paint dry completely and according to paint can directions
- Cut in and roll on the second coat of paint (if your walls were properly primed, you shouldn't need any more then two coats of paint)
Favorite Tips and Tricks for How to Paint
- Two people makes the job easier, one to cut-in and one to roll
- Don't spend time taping off unless you are new to painting or unconfident around an area
- Keep a damp rag on hand to quickly wipe off any paint drips
- Use a HomeRight PaintStick EZ-Twist to roll on paint (I will talk more about why later)
- Use a HomeRight QuickPainter to edge (I will talk more about this later too)
The best thing you can do is to just take a deep breath and begin painting!
What are the best tools to paint a wall?
The best tools to paint a wall are the tools that make your job the easiest! I love to roll my walls with a roller and edge with a cut-in tool. The right tools can save you a lot of time, frustration and hassle.
HomeRight's PaintStick EZ-Twist is a great way to save time. The handle itself actually stores paint so as you roll the wall, and twist the handle up, the paint is automatically applied to the wall from the roller!
No more climbing up and down the ladder to get more paint every few strokes! This thing is awesome!
I also love that I don't experience any dripping and I have no need for a roller tray! I save time and money!
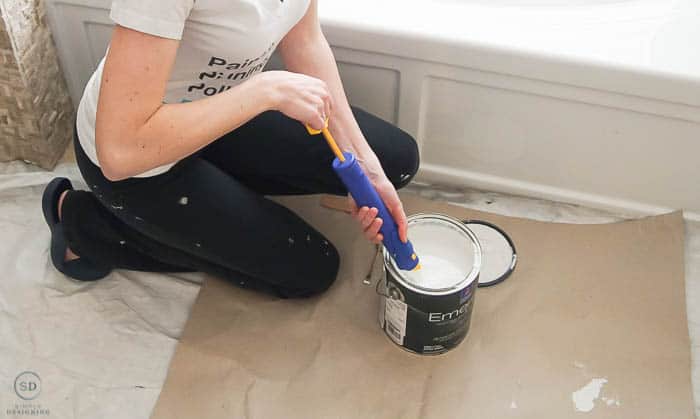
HomeRight's QuickPainter is a great little tool for edging! Cutting in can be tedious and time-consuming, but this tool makes it simple and fast.
Like the PaintStick EZ-Twist, it can hold paint in the handle meaning no tray needed, no drips and I can paint a ton of edges before needing to get more paint.
I also love that when I use the QuickPainter, I am able to get straight lines along my ceiling and baseboards without needing to tape because it has a little guide on the side.
Painting a wall, or a room shouldn't even be intimidating. You simply need to have the right tools and a bit of time to do it right and you will love how your new space looks!
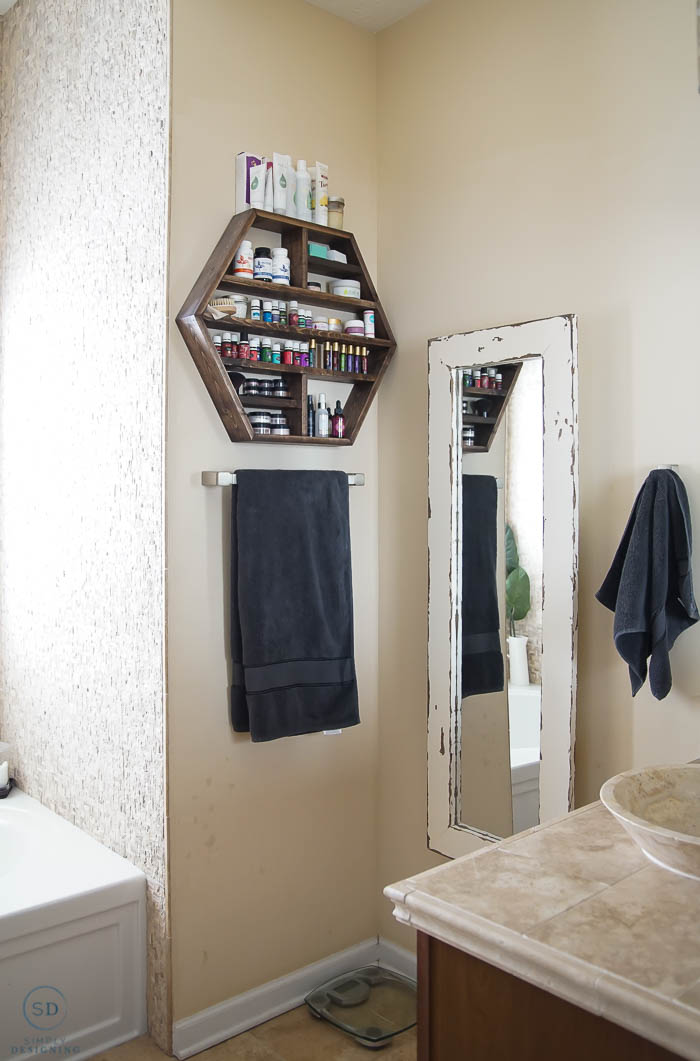
In our home, we have worked hard over the last few years to repaint our home. Our master bathroom was one of the last spaces that needed a fresh coat of paint.
It was still the original tan color from when I bought the home. And it desperately needed an update.
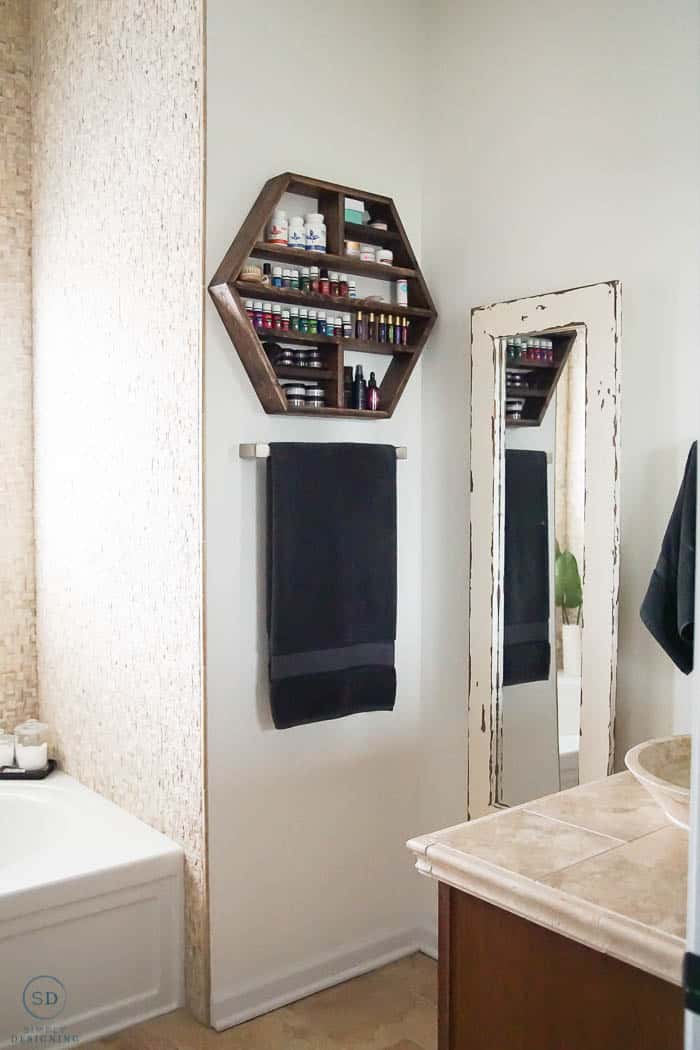
We had recently painted our master bedroom white, and I wanted to continue the same white color into our master bathroom.
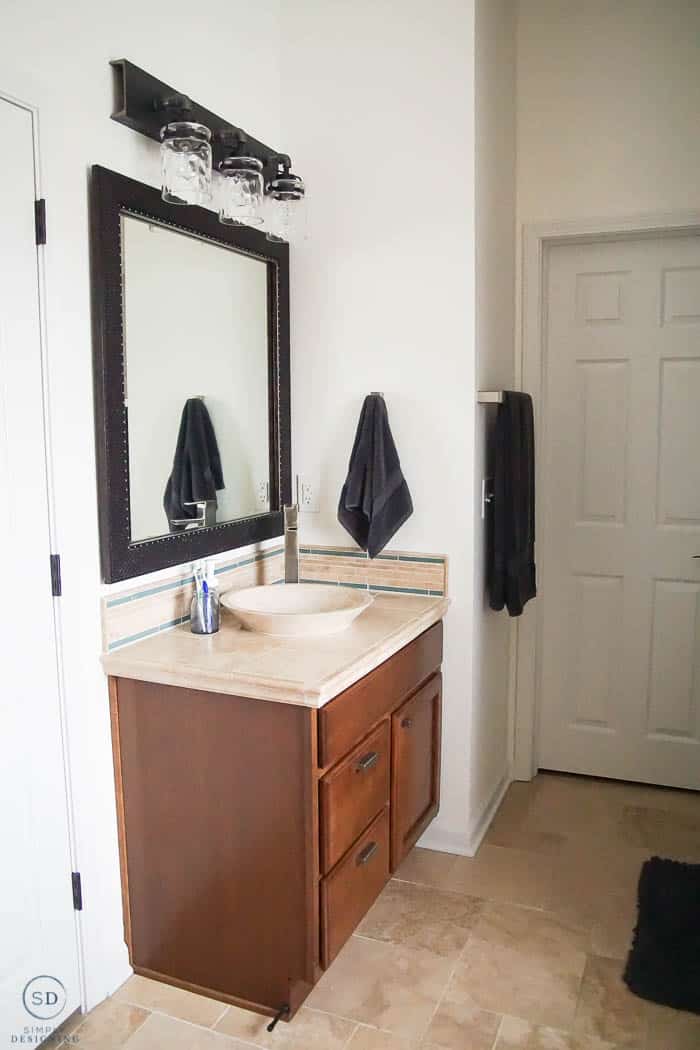
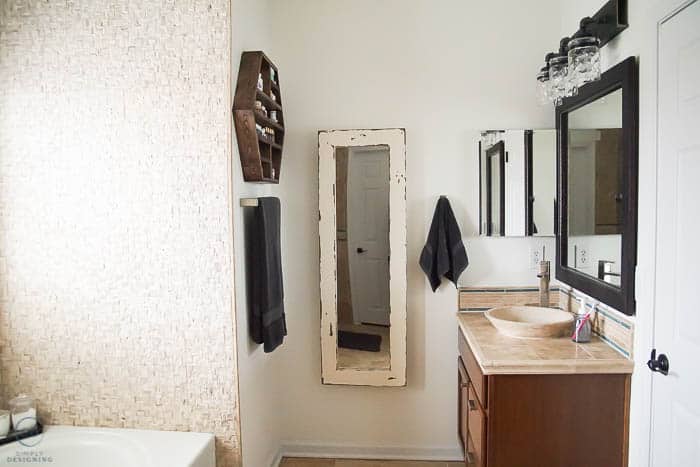
Can I show you the before and after photos!? It made such a big difference!
BEFORE
AFTER
BEFORE
AFTER
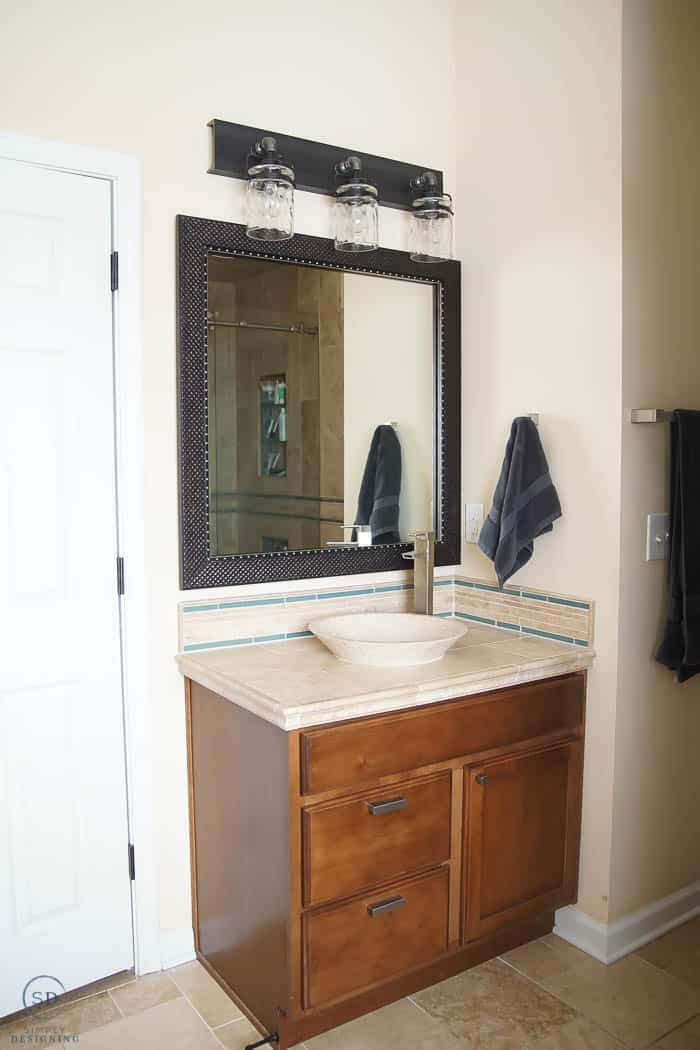
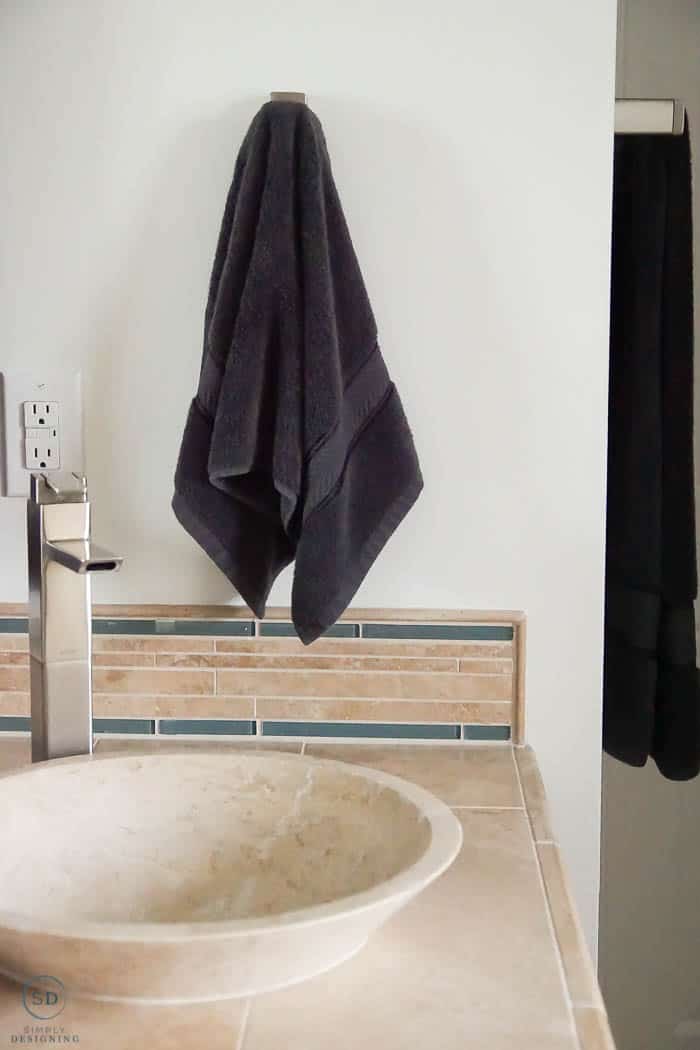
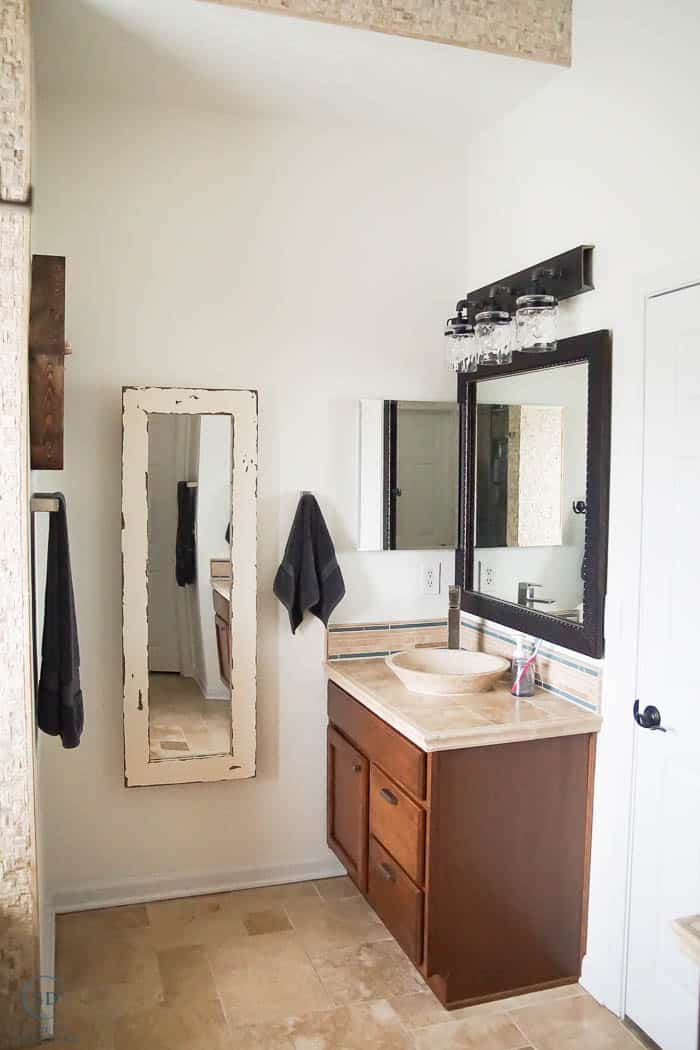
And because I love to show you all the pictures...here are a few more after shots!
We said good-bye to tan and hello to light, bright and beautiful white! I just love how it turned out!
Goodness gracious I can hardly believe what a transformation this room took from simply changing the paint color! Isn't it beautiful?!?!
If you'd like to know more about the HomeRight PaintStick EZ-Twist or the QuickPainter, or more about this painting project, head over to my blog post on the HomeRight Blog HERE to learn more.
Snag the Tools for this Project Below:
If you liked this post about how to paint, you might also enjoy these posts:
How to Clean a Kitchen Sink Grid
How to make Industrial Metal Shelves
How to fix a broken iPhone charger
How to Repaint Furniture Without Sanding
How to Paint Furniture Flawlessly
How to Paint Your Room Like a Pro







Jennifer aka Mom
These are great tips. I have some friends who are scared of painting but this advice makes it easy.
Mrs Major Hoff | Sara
I helped a friend paint her entire house before they moved and that stick made all the difference! Saved my back from a lot of pain from not having to bend over to saturate the roller every minute or so!
Nancy
Good painting pointers here but one thing I noticed. Your EO's. They should NEVER be stored in the bathroom where temperatures fluctuate. i.e. shower. They should always be stored in a cool dry place. FYI
Amy Anderson
It is amazing what a coat of paint can do! Love the transformation.