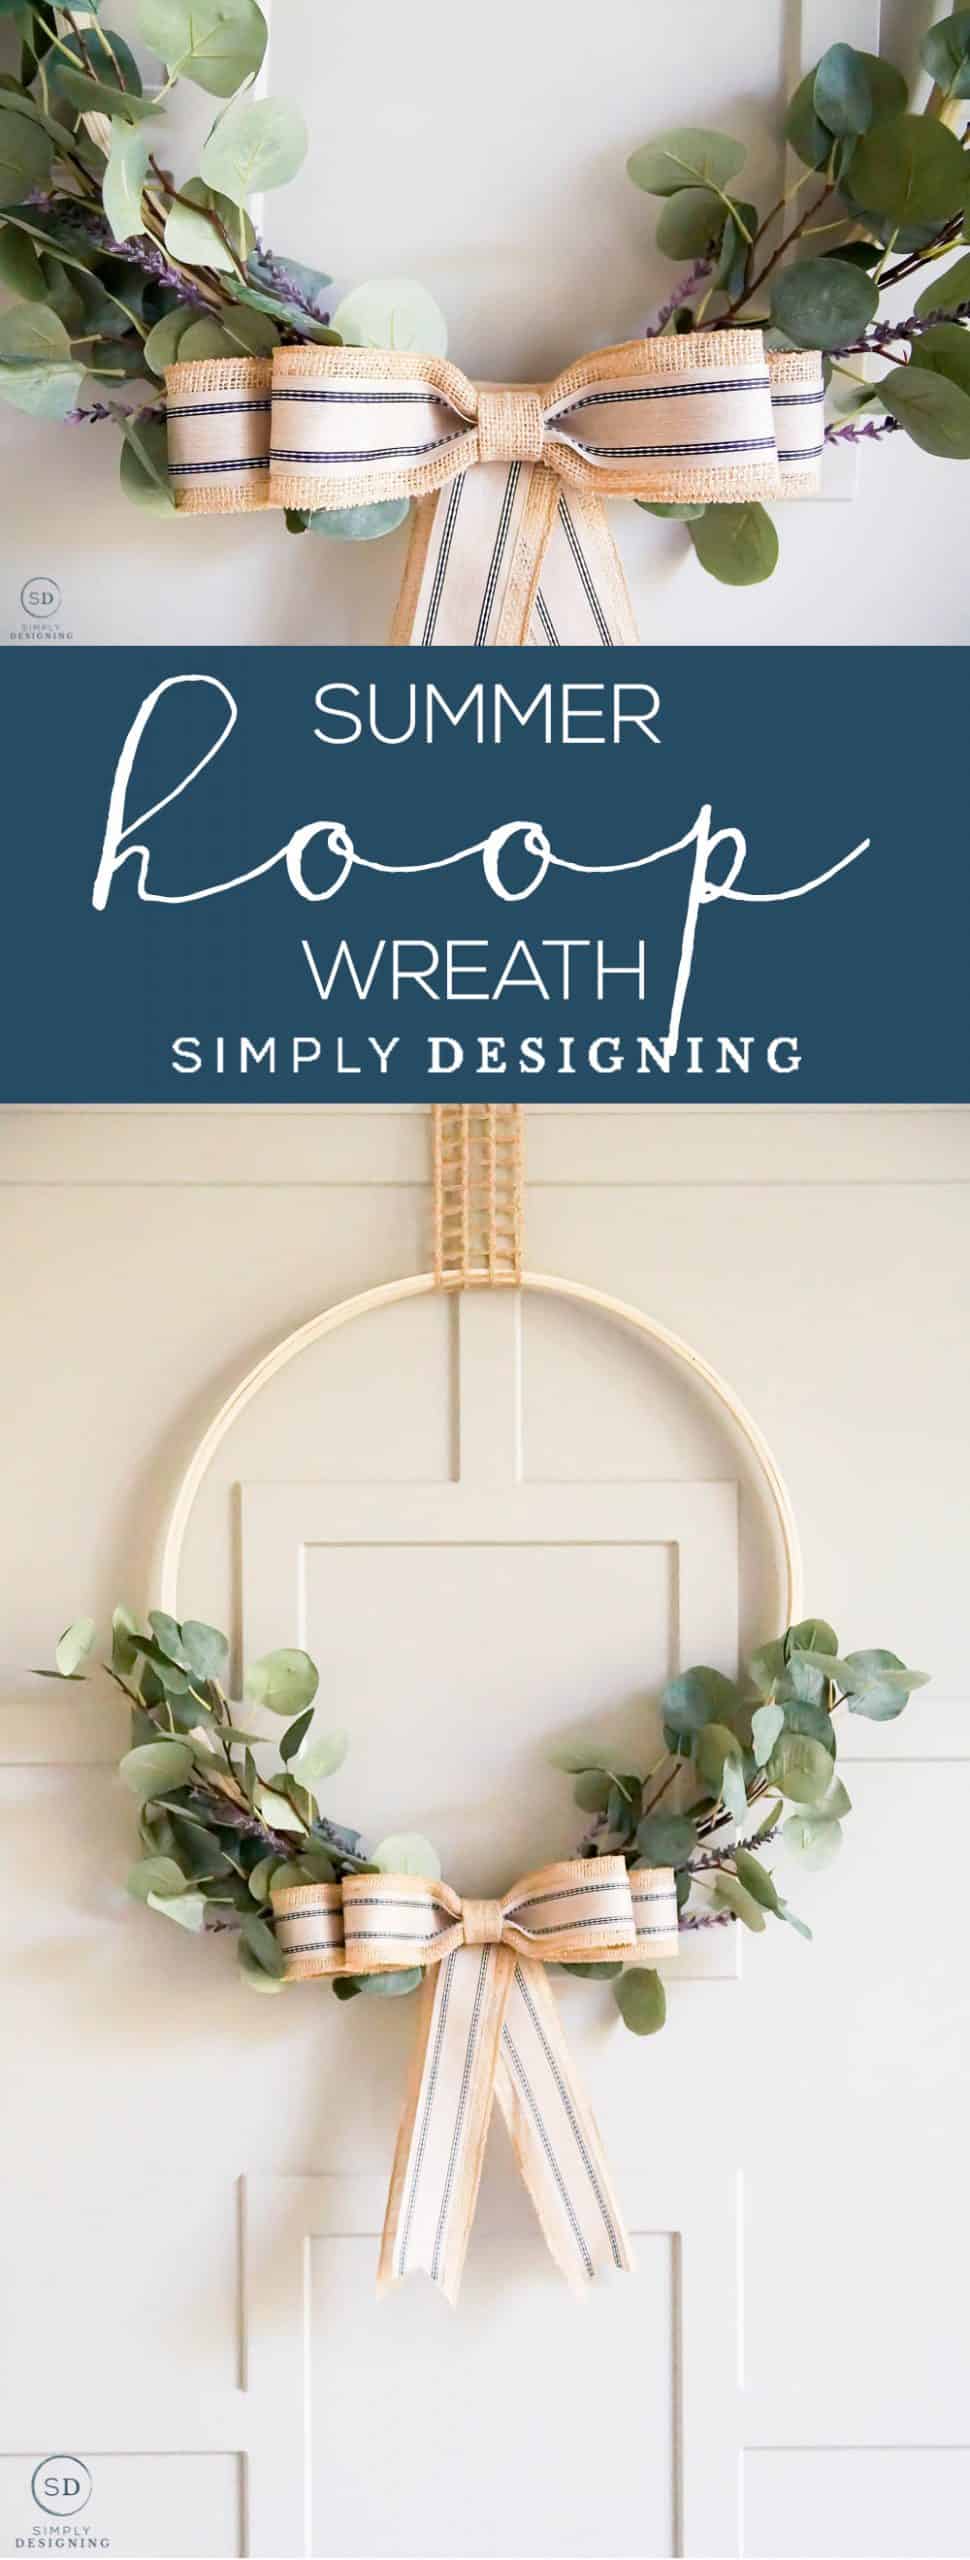
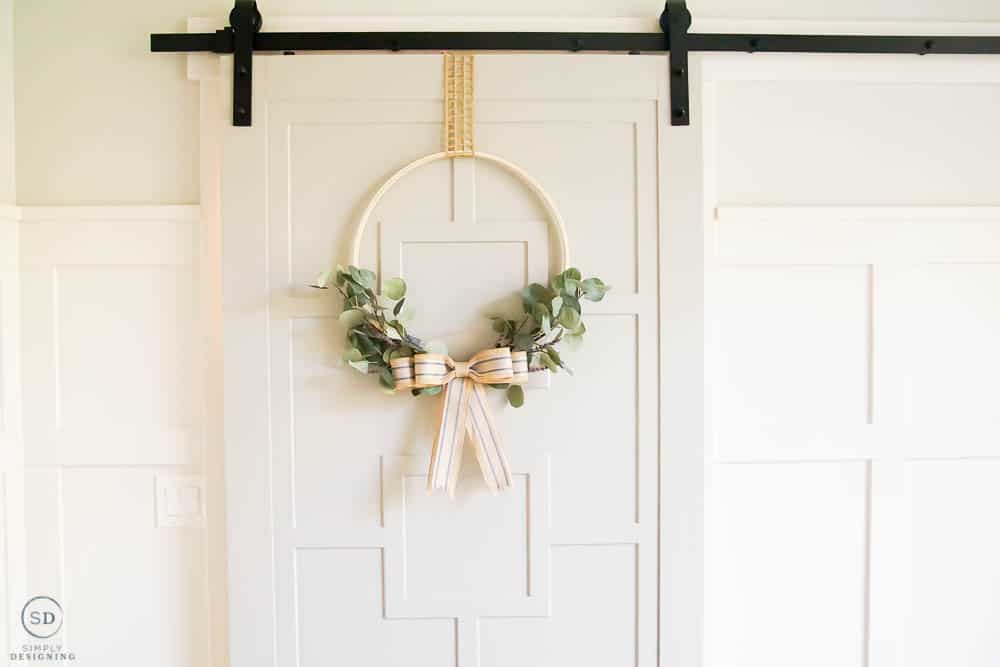
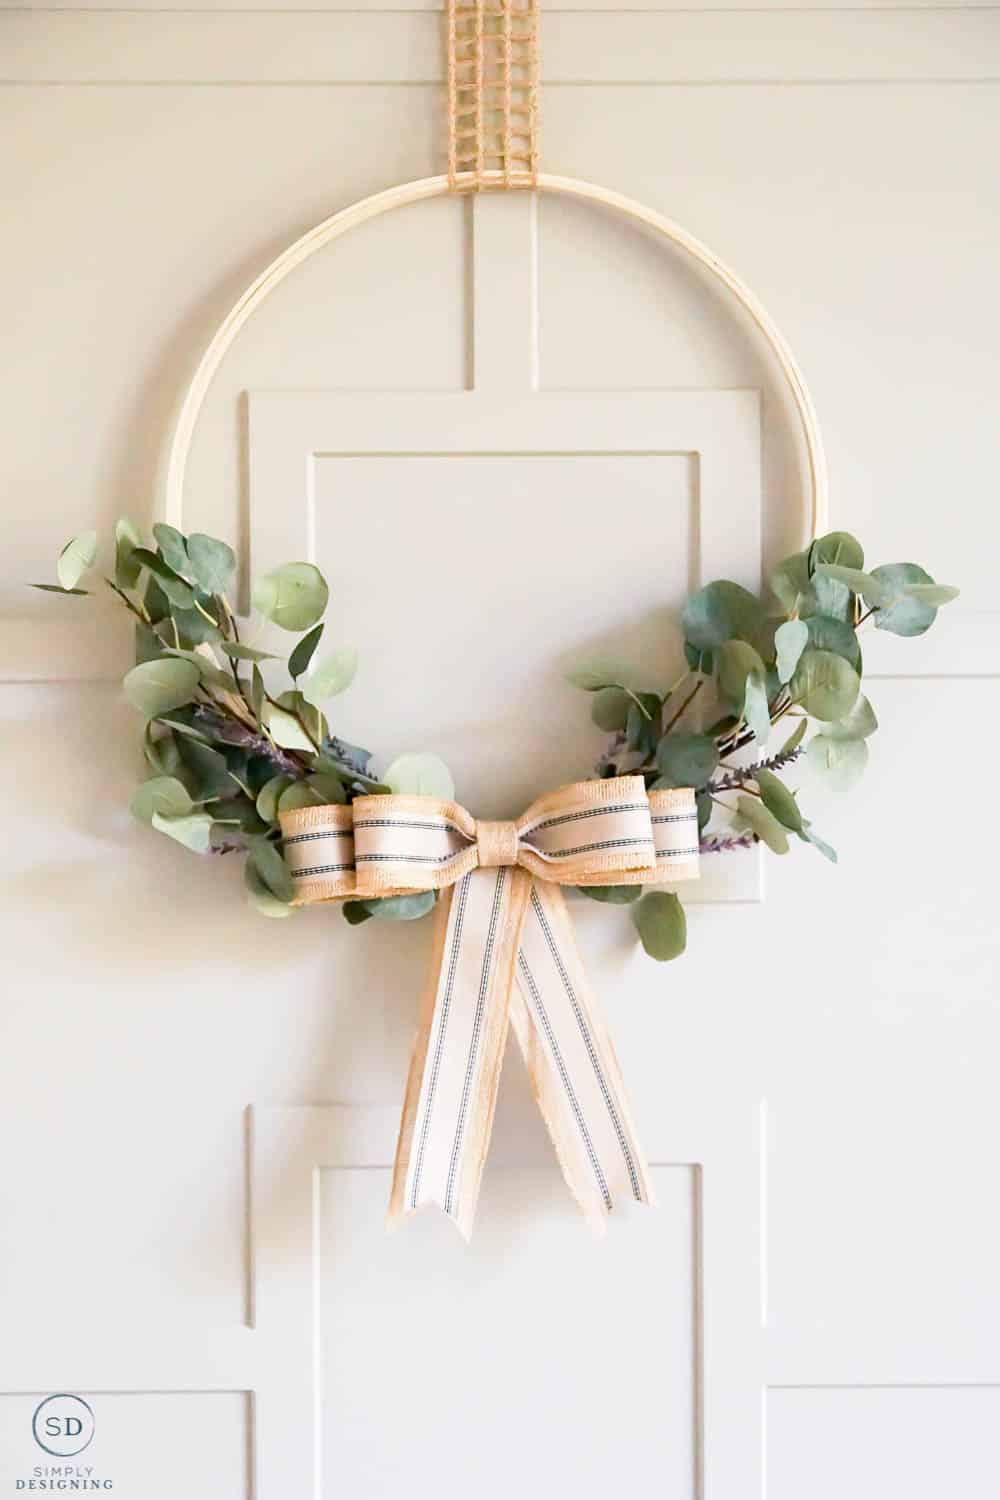
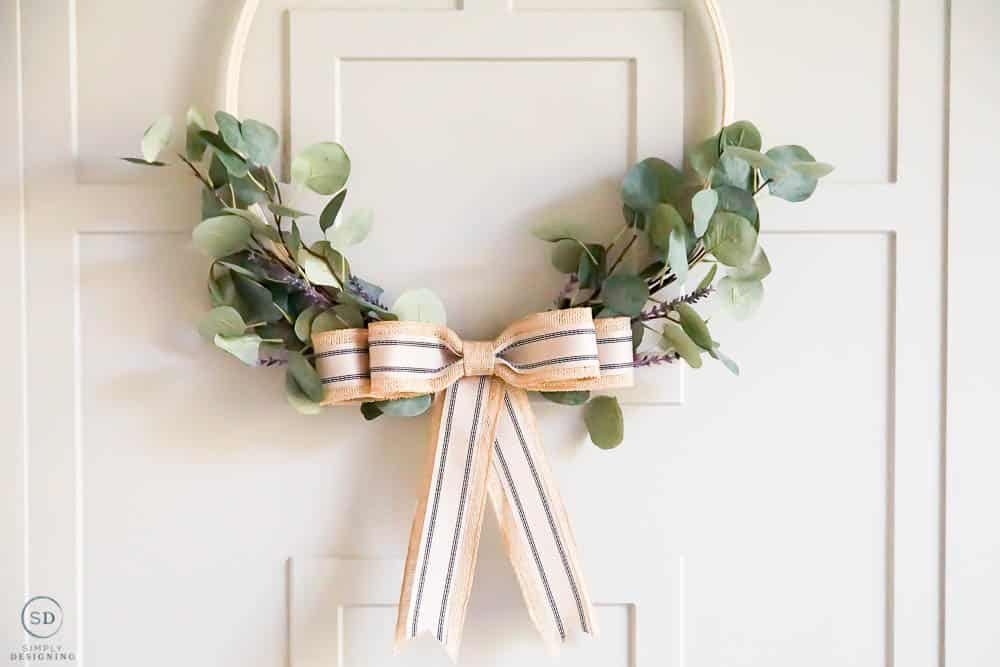
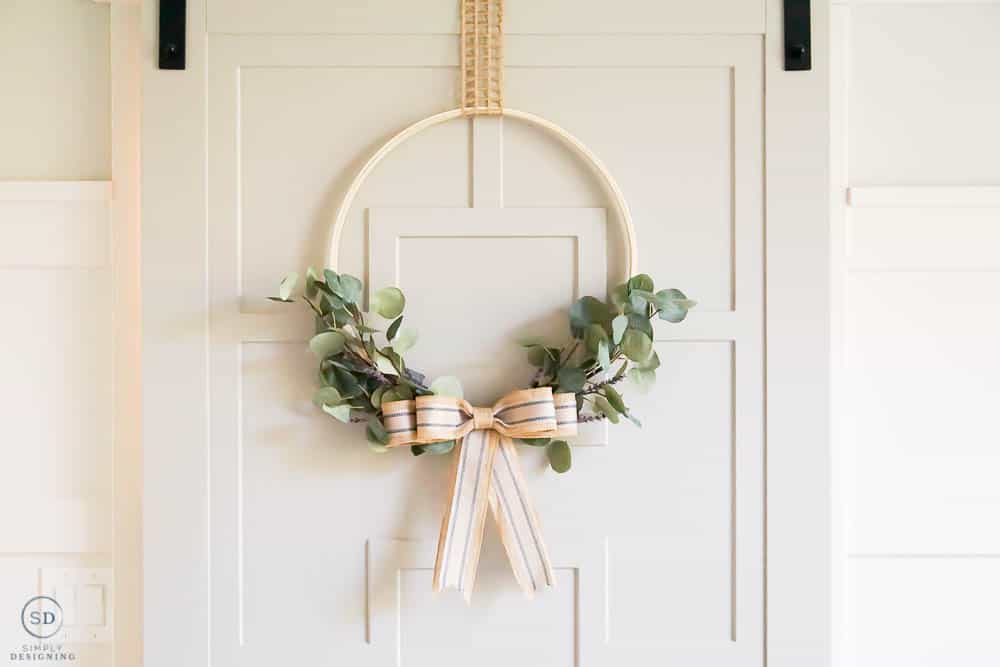
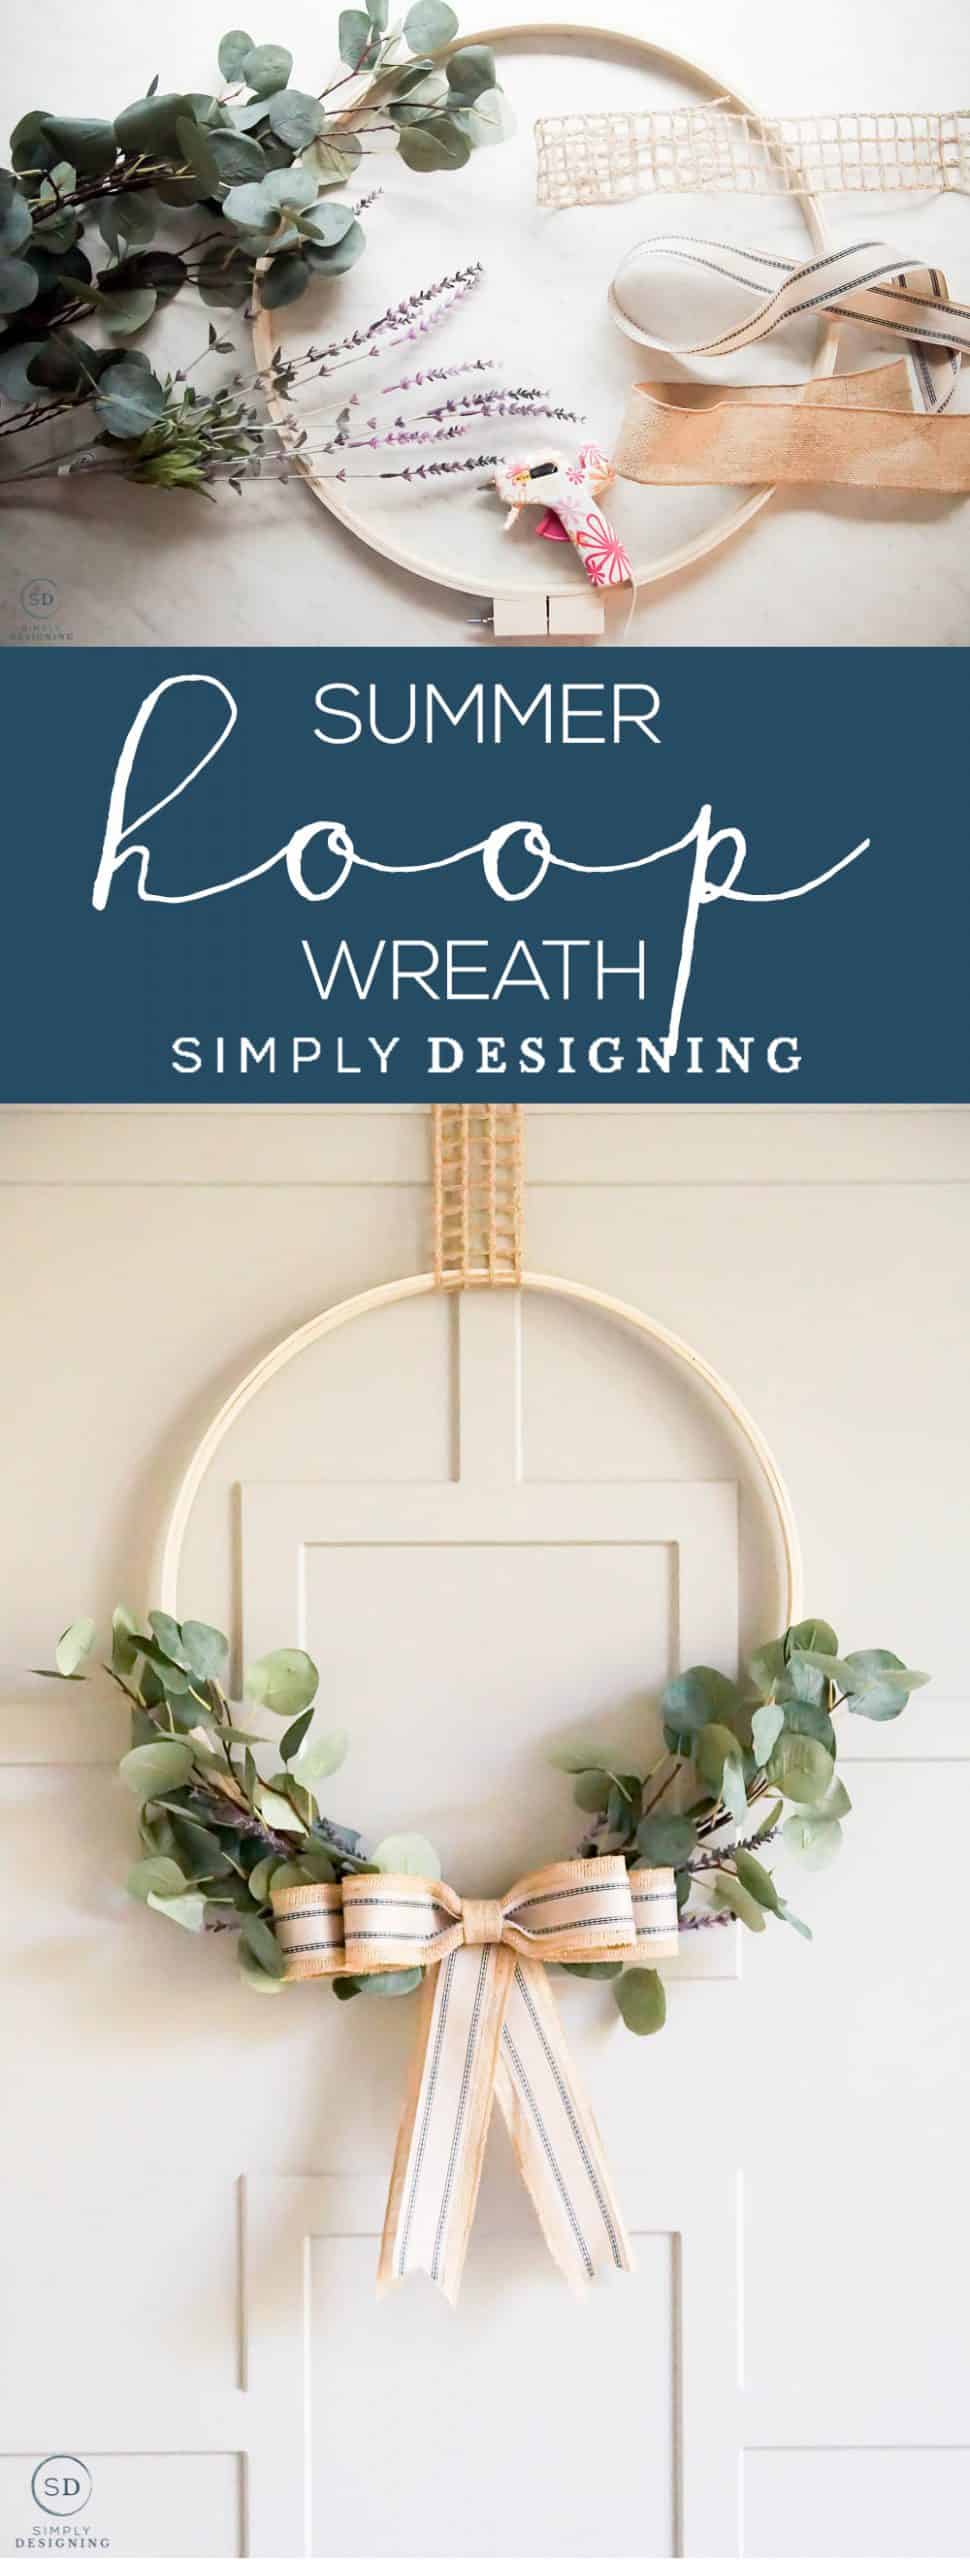
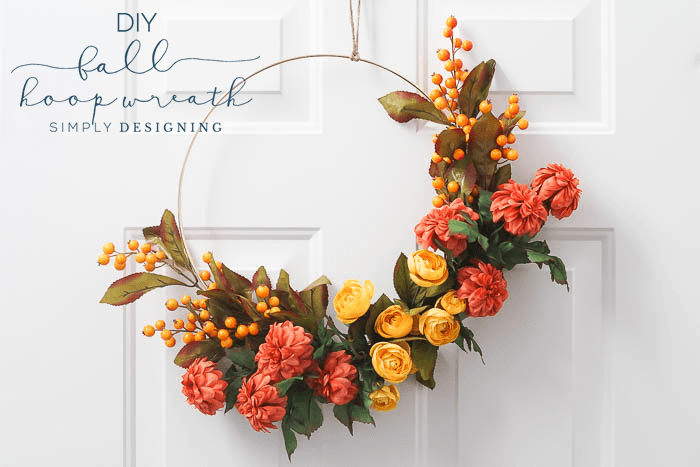
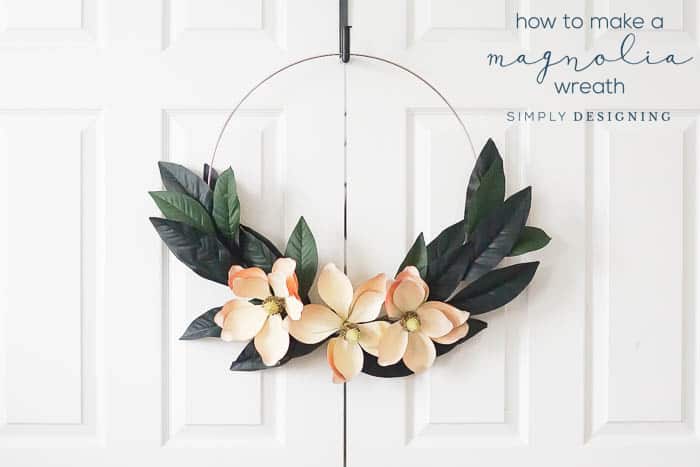
This beautiful Summer Hoop Wreath is a simple homemade wreath that you can easily make yourself with only a few supplies and not a lot of time. If you have followed me for any length of time, you know I love to create wreaths, especially hoop wreaths (like this fall hoop wreath and this magnolia hoop wreath not to mention the plethora of Christmas hoop wreaths too). Basically, wreaths are my jam and I hope that this Summer Hoop Wreath can help get you (and your front door) ready for summertime.
Compensation was provided by The Ribbon Roll. The opinions expressed herein are those of the author and are not indicative of the opinions of The Ribbon Roll. Affiliate links are included for your convenience. Thank you for supporting my blog.
Summer Hoop Wreath
Fall and spring are my two favorite seasons, with summer a very close second. My Fall Hoop Wreath was the first hoop wreath I created, and while I've created DIY hoop wreaths perfect for winter, and spring too, I thought it was about time I create a Summer Hoop Wreath!
And I really really love how it turned out.
Where to buy ribbon online
I was excited to receive a great selection of beautiful ribbon from The Ribbon Roll for this project. The Ribbon Roll is an online retail store with over 15,000 different styles of ribbon. Which basically means they have almost every kind, style, and size of ribbon imaginable all in one, convenient spot. Their selection is so amazing!
I love that The Ribbon Roll has ribbon options for every holiday, season and occasion. Plus a variety of widths, fabric and edges too including wired and non-wired ribbon. (By the way, I absolutely love using wired ribbon for wreath bows because it just lays so nicely and looks amazing!)
Plus they offer competitive pricing, fast shipping, free shipping over $50, no minimum order, quantity discounts, all with no tax ID required. I love ordering things online and I'm thrilled to have a great source for ribbon online now.
And the best part is that their ribbon is really nice quality. The ribbon that I received is all very high-quality ribbon and I would definitely order from here next time I need ribbon.
Tips for making a summer hoop wreath
I created this hoop wreath with a large embroidery hoop. A metal hoop like you would use for macrame would also work, but I really love the look of light, natural wood for this wreath.
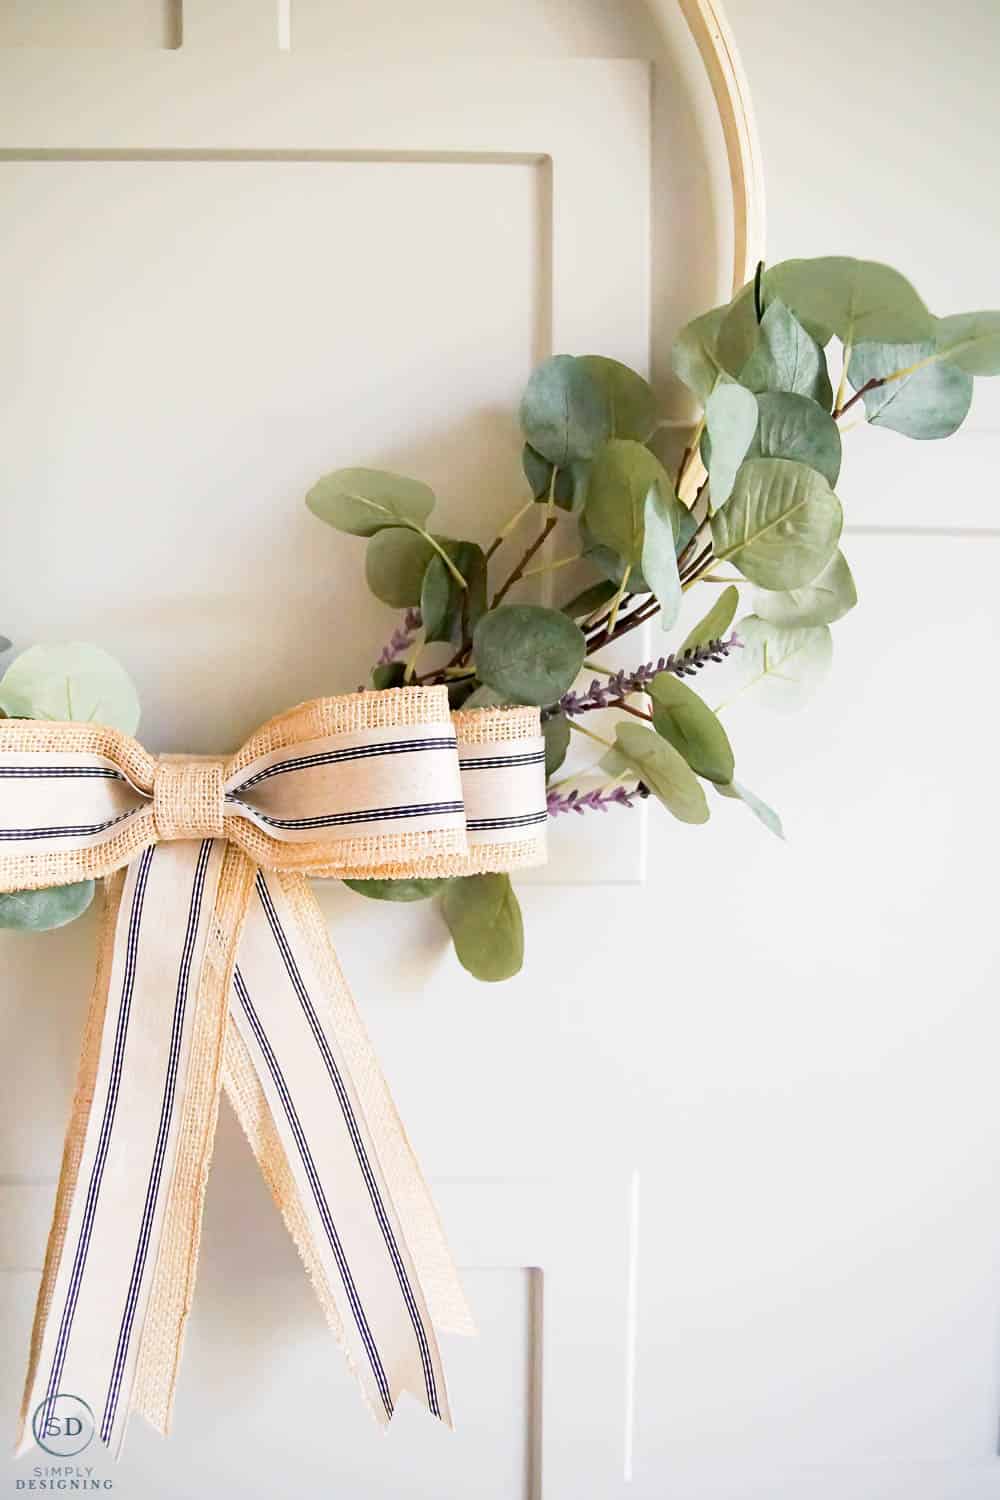
For my summer wreath, I wanted to embrace the light, natural wood of the hoop and add beautiful greenery with just a touch of natural florals. To complement it all I used natural colored ribbon with a touch of black for contrast.
What do you need to make a hoop wreath?
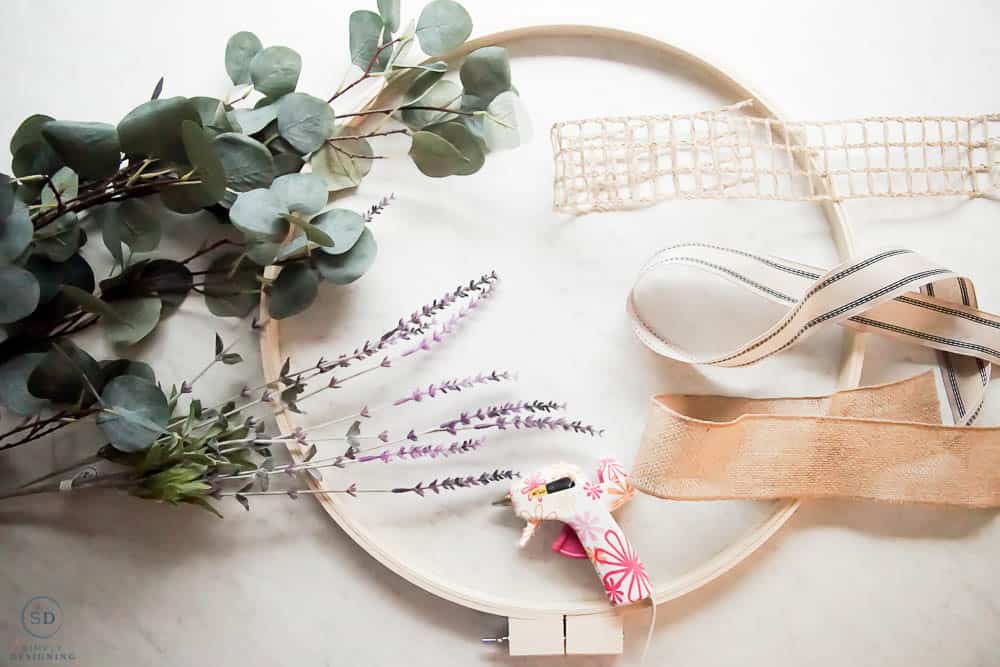
- (1) 18" Wood Embroidery Hoop
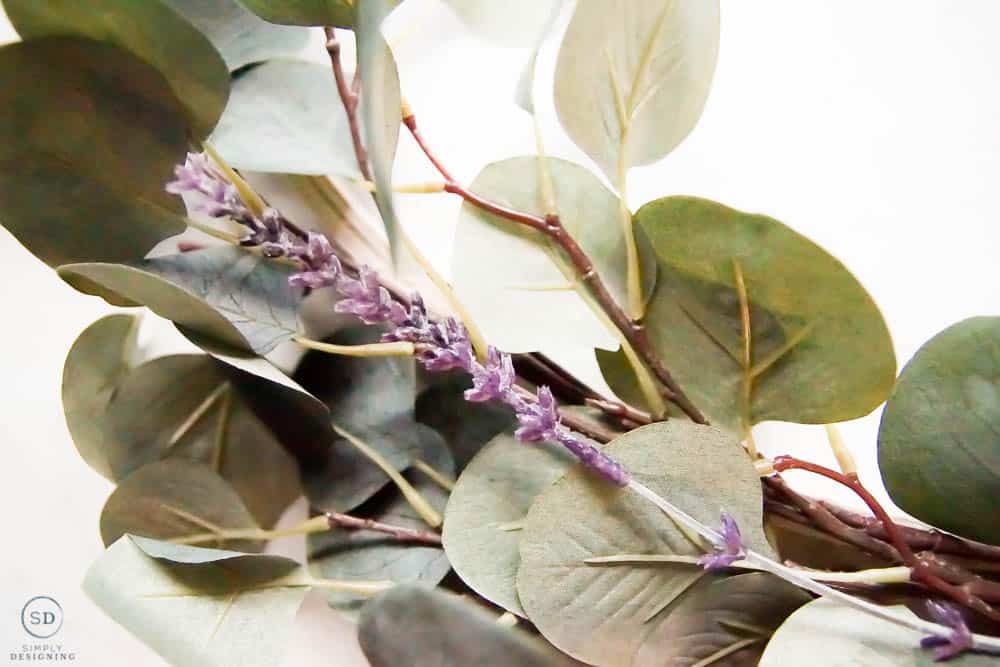
- Greenery and Florals (I used 2 picks of Eucalyptus and 1 Lavender pick. I purchased them in a craft store, but you can snag them online using my links too.)
- Ribbon
- Regular Scissors
- Fabric Scissors
- Hot Glue Gun and Glue Sticks
How do you make a gold hoop wreath?
Instead of grabbing a wooden embroidery hoop to create this hoop wreath, simply grab a metal macrame hoop instead! Many of them come in gold already, but if yours is silver, grab a can of gold spray paint and paint it gold before continuing on.
Please note that if you want to use a metal macrame hoop instead, you will need to also use floral wire to secure your florals/greenery to your hoop to keep them secured in place.
How do you hang a wreath on a hoop?
It is so easy to hang a wreath on a hoop! First of all, you will need a spot to hang it and a hanging apprentice. You can use a wreath hanger or even a hook that sticks to your door. Because most hoop wreaths are thin, you can probably just hang it directly on the wreath hanger or a hook. But you can also add ribbon to your wreath and hang it to your hanger or hook with the ribbon instead.
Here are a few options for wreath hangers:
- Gold Metal Door Wreath Hanger
- Bronze Metal Door Wreath Hanger
- Double-Sided Black Metal Wreath Hanger
- White Metal Door Wreath Hanger
- Black Metal Door Wreath Hanger
- Clear Plastic Door Wreath Hanger
- Magnetic Wreath Hanger, Bronze
- Magnetic Wreath Hanger, Black
- Transparent Heavy Duty Hook (13lbs max)
(Please note that I have not actually purchased any of the traditional wreath hangers, or magnetic wreath hangers but they get good reviews on Amazon. I do have many of these transparent heavy-duty hooks around my house for various other, very heavy, things and they work really well. I am sure they would be great to hold a wreath too.)
Ready to learn how to create this beautiful hoop wreath? Ok. Let's go!
How do you make a floral hoop wreath?
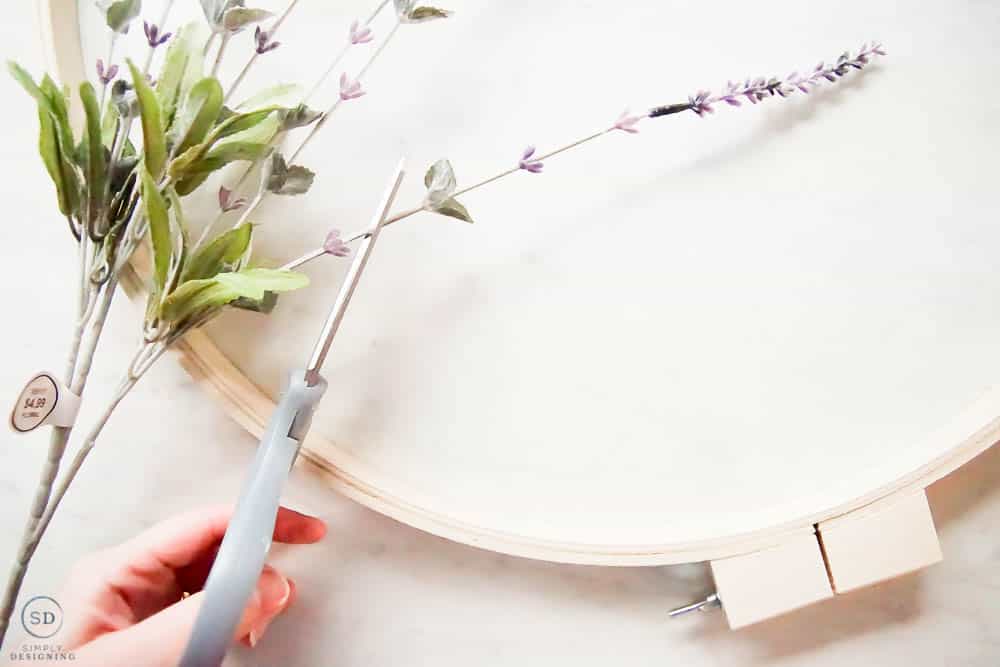
- After you purchase your supplies, you will layout your greenery/florals in the manner you wish them to be put into your hoop wreath.
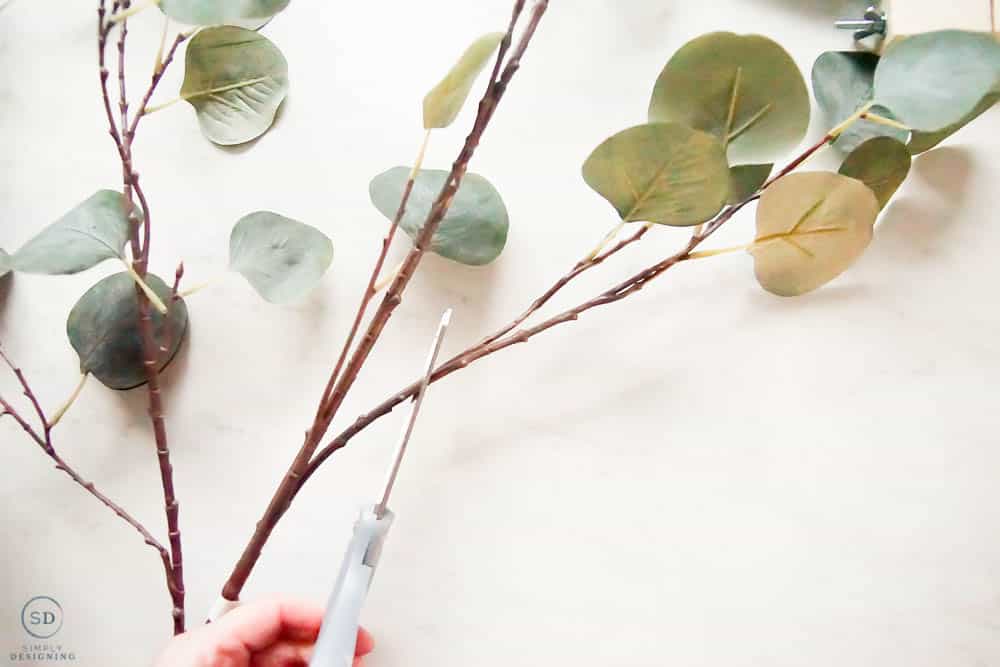
- Then you will use regular scissors or wire snips to trim your greenery/florals to fit well on your hoop, with them all reaching far enough to be glued onto the large square art of your embroidery hoop where you tighten and loosen it.
- Bend your greenery/florals as needed to lay nicely on your wreath.
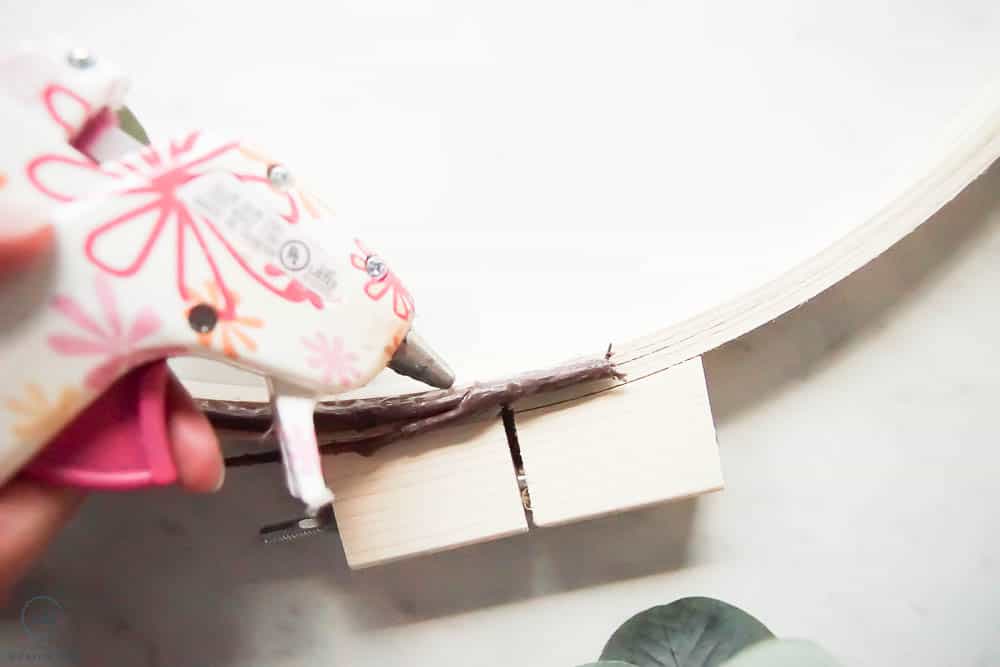
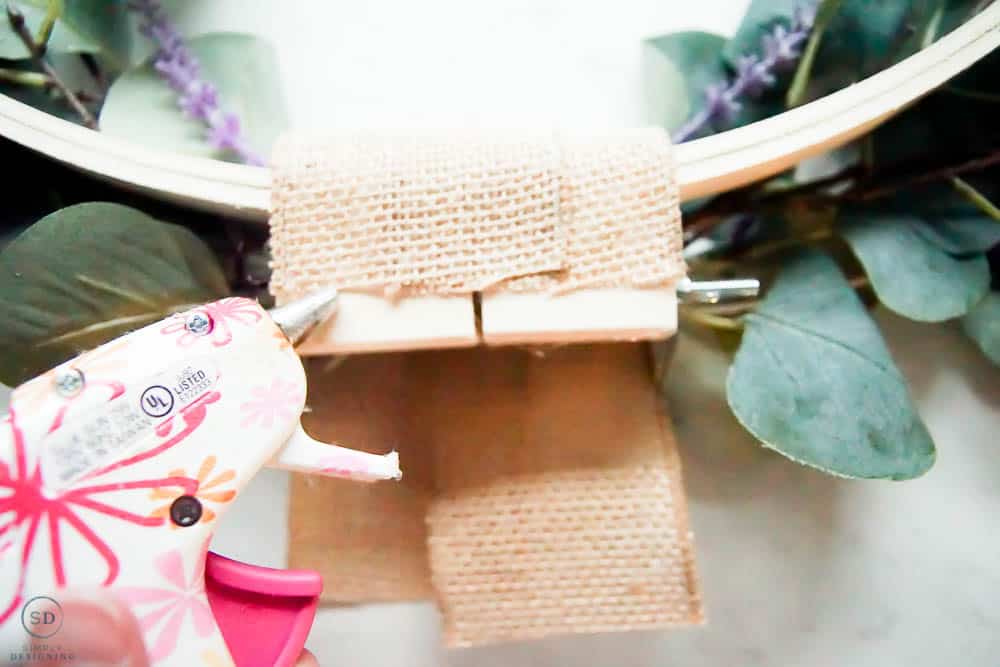
- Use a hot glue gun to attach the greenery/floral stems to your hoop. Adding extra hot glue as needed to really secure everything in place well.
- Cover the middle where all of your stems meet with ribbon and glue that in place with hot glue.
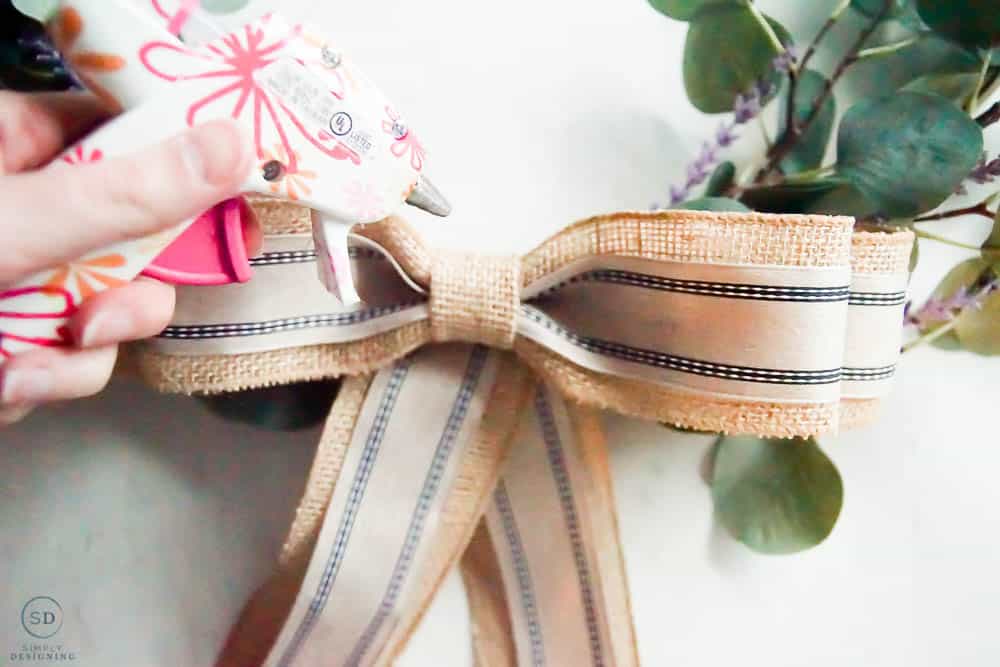
- Create a bow and glue that in place too (see details for how to make a bow below).
- Add ribbon to the top of your wreath for hanging if desired. I used Grand Net Jute Wired Edge ribbon to hang my wreaths.
How do you make a greenery hoop?
You will follow the exact same instructions above only using mainly greenery instead of florals. It is really as easy as gluing your greenery to a wooden embroidery hoop with hot glue and adding a beautiful ribbon bow to it! So simple, so beautiful, so fun!
What do you need to make a bow?
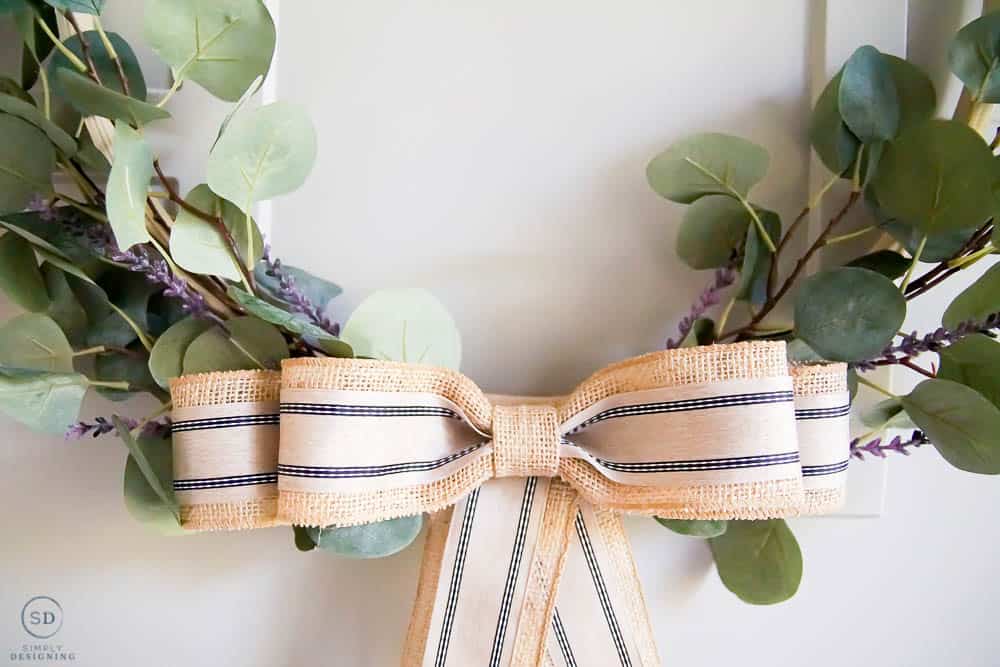
Here is what I used to create my beautiful double bow with two types of ribbon.
How do you make a bow out of ribbon, step by step?
Making a bow for your wreath is a great way to add a beautiful finishing touch to your wreath, and it can cover unsightly floral pick ends too! Depending on the size of your wreath, you can create a larger or smaller bow. If you decide on a larger bow, you may want to consider making a double bow as I did here.
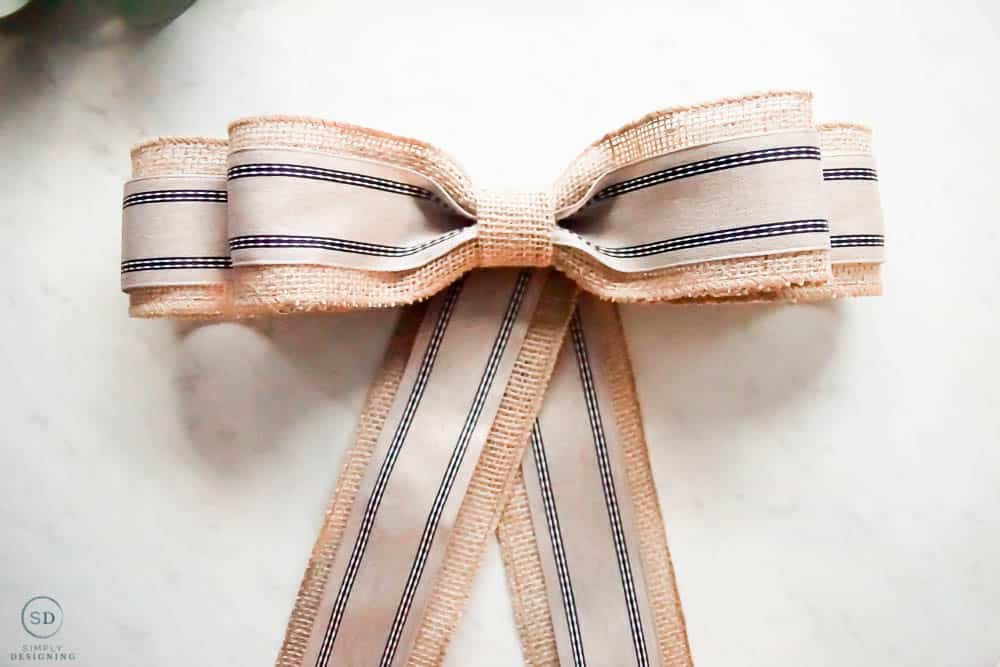
Creating a double bow is really so much more simple then it looks, but creates a beautiful, modern bow for your modern hoop wreath.
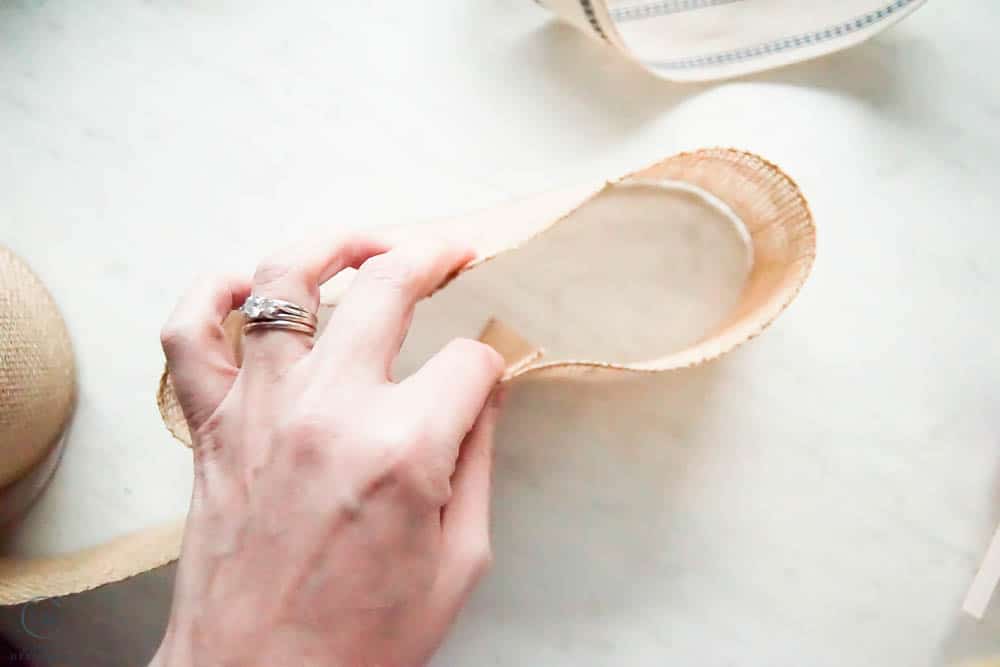
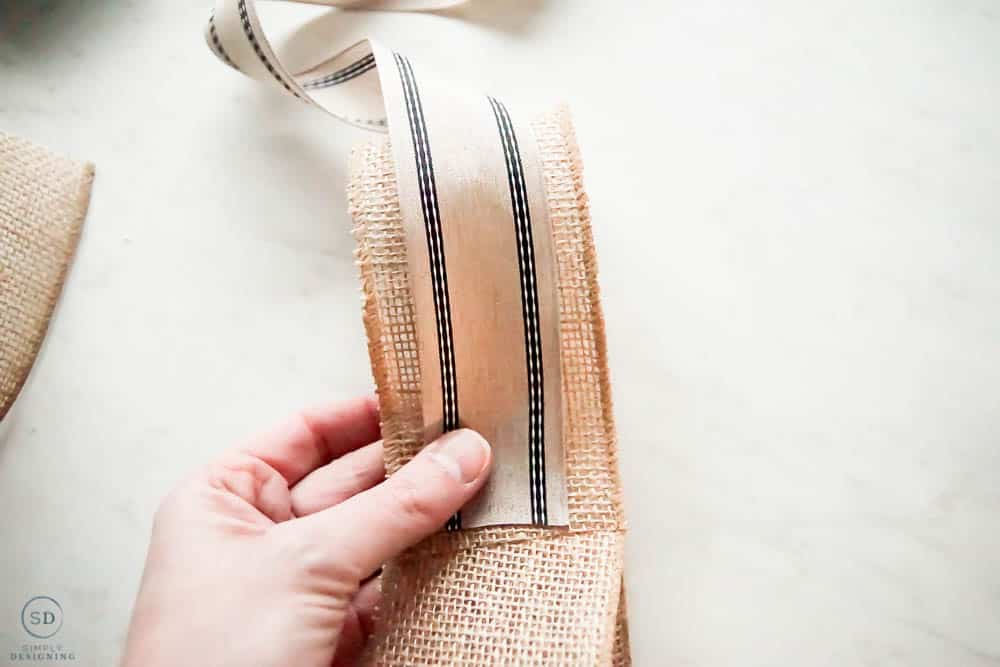
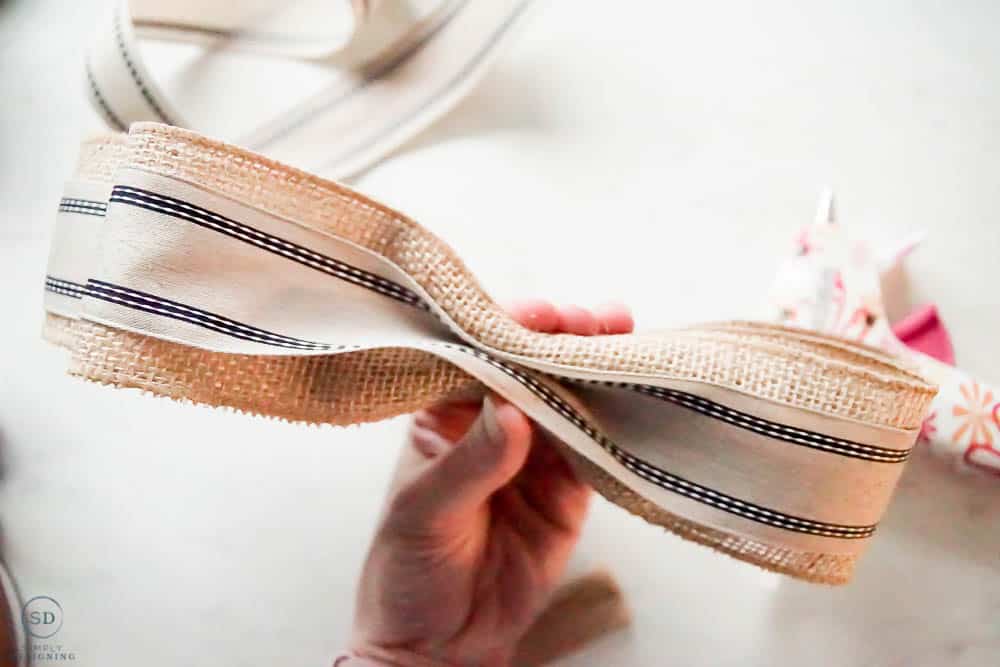
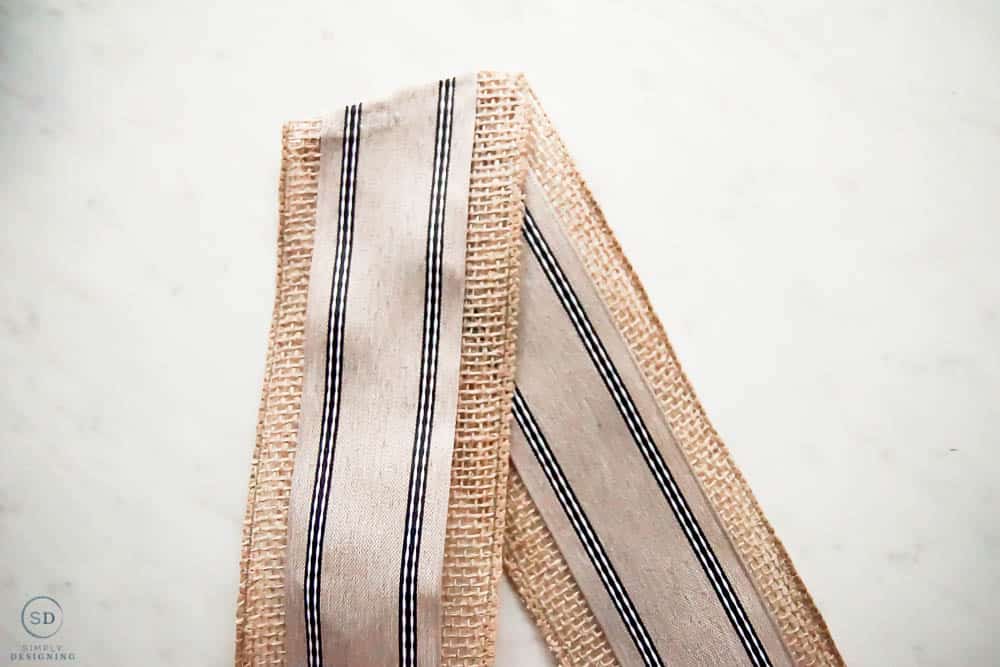
- Create a loop of ribbon with your 2.5" burlap ribbon, use a dot of hot glue to hold the ribbon together.
- Place a thinner, 1.5" stitch-striped ribbon around the burlap ribbon and tack that in place with a dot of hot glue.
- Follow steps 1 & 2 above to create a smaller loop.
- Place the smaller loop on top of the larger loop.
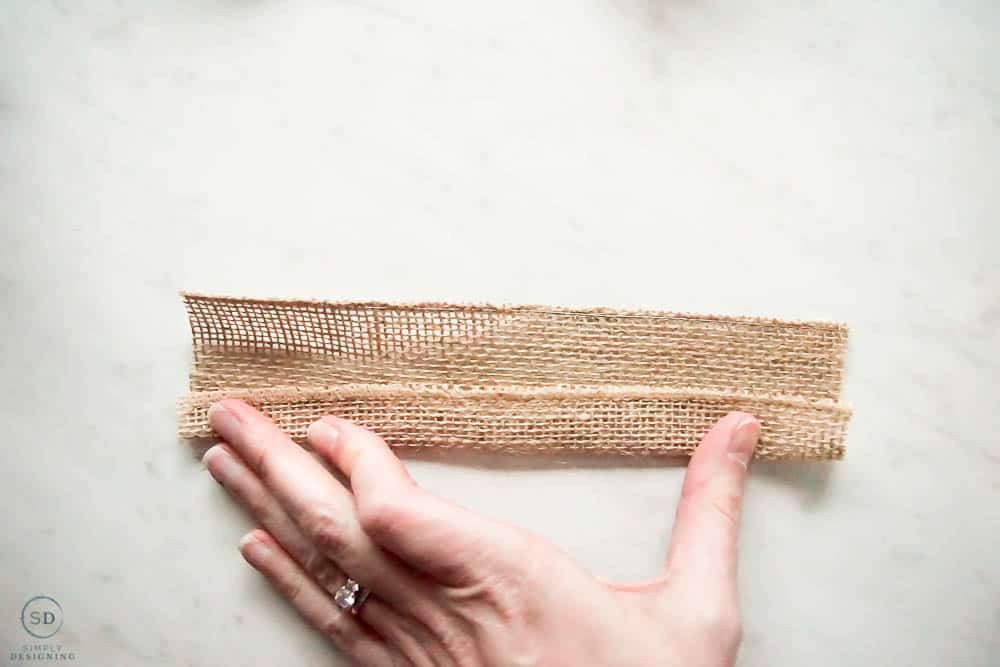
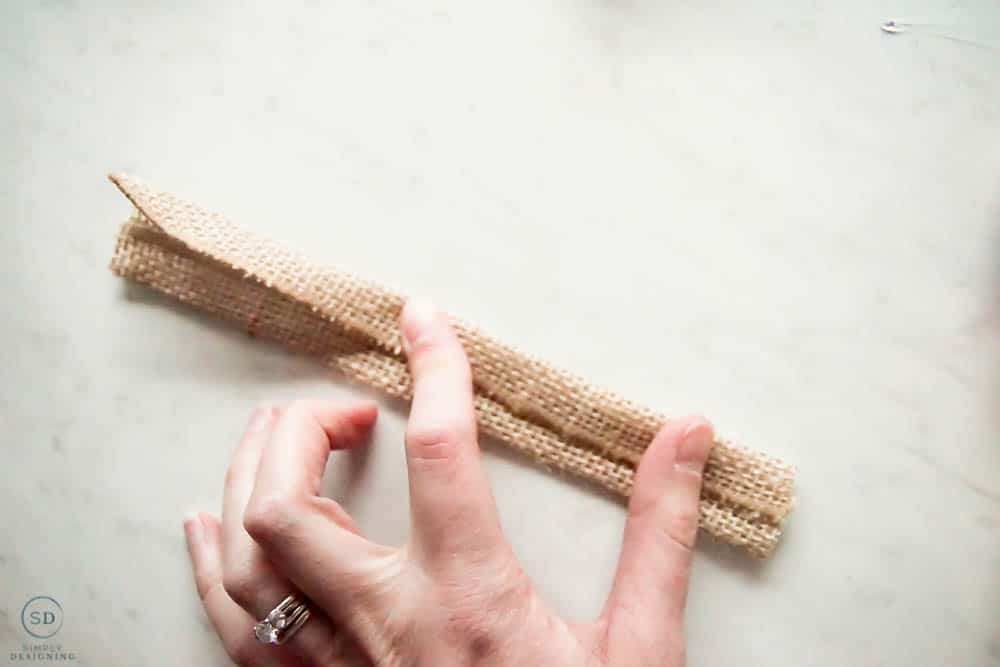
- Take a piece of burlap ribbon and fold both edges over and glue in place so that the ribbon is half the size it used to be.
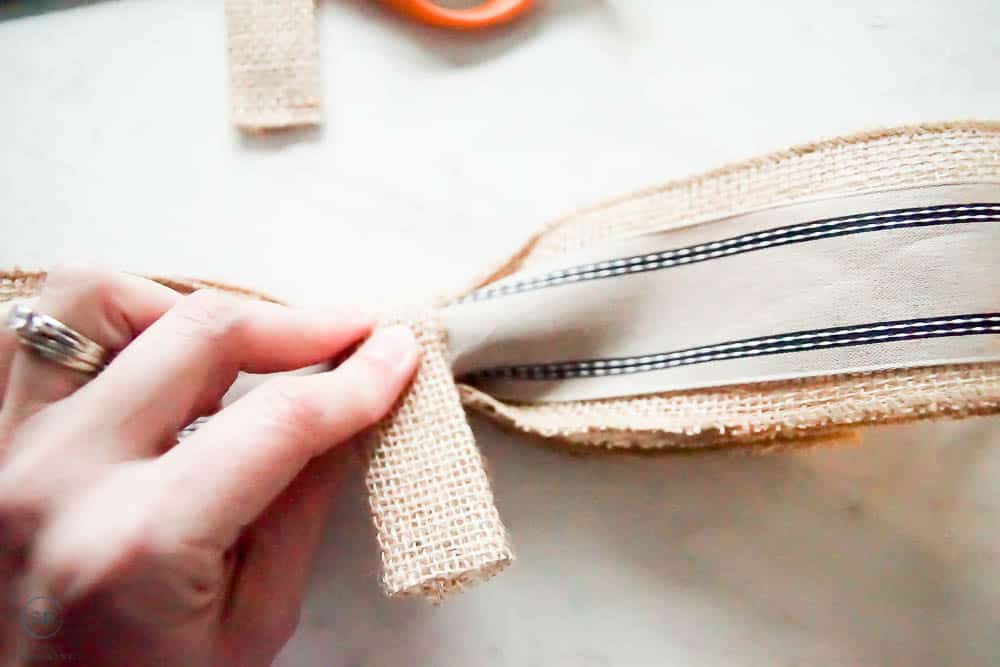
- Place the burlap ribbon around the middle of both loops, tighten and glue in place. Cut off any excess burlap ribbon.
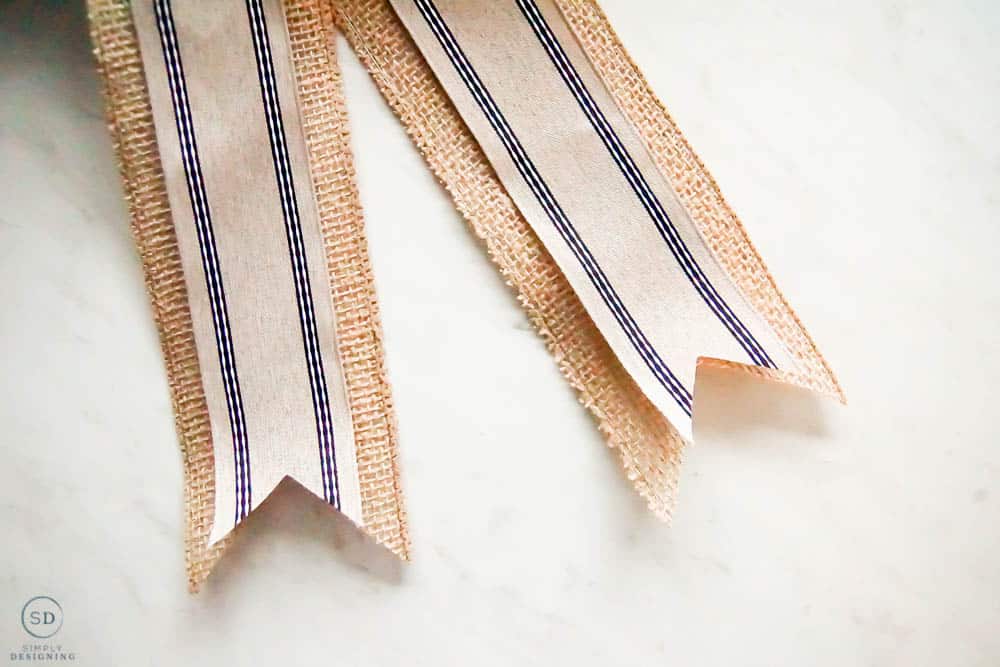
- Take burlap and stitch-striped ribbon and create two, double-layered ends. Hot glue these in place on the back of the bow.
- Cut the bow ends as desired.
Now that you know how to create the perfect double-looped bow and a beautiful greenery hoop wreath, you are ready to create your own beautiful Summer Hoop Wreath!
Here are a few other ideas to inspire you:
How to make a fall hoop wreath





Michelle James
This wreath is beautiful! I love the ribbon.
Ashley Phipps
Thank you so much!