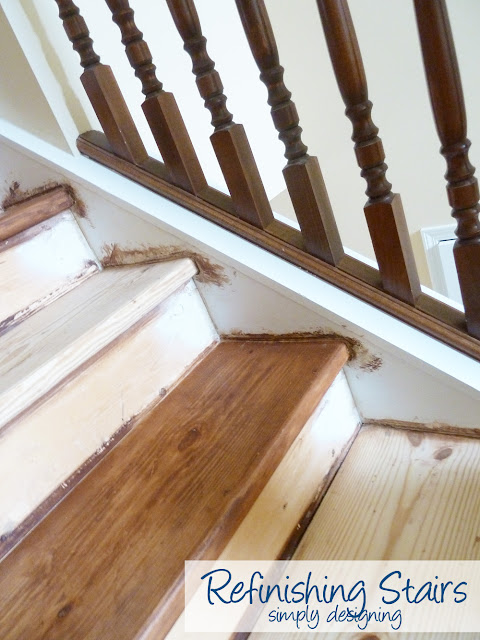
We honestly worried at this point if we would EVER get our stairs right! We were tempted to try to dig the carpet and pad out of the garbage and re-attach it.
No...wait...we had been working on this project for weeks, the garbage was gone...shoot. Well, we could pay someone to come and install new carpet right!?
We were sad, depressed, frustrated...this quick weekend-project (I swore to my husband it would only take us a couple of days to do it!!) had turned into a very long nightmare.
We willed all our energy, might, mind and will and decided to give these stairs One. More. Final. Attempt.
We took our belt sander and fine grit sand paper and sanded our stairs until the (second attempt at) stain was completely removed. We were careful to only sand with the grain no matter what!
We swept and wiped down every single stair and riser (with a tackcloth) and prepared to stain our stairs....for the 3rd time!
The stairs stayed sanded yet bare for a few days until we had time to stain them. And then as soon as we could we got to work.
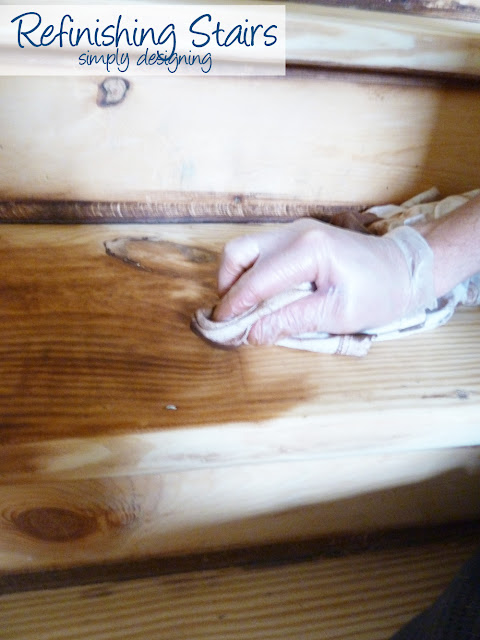
We tentatively dipped our rags into the well-mixed stain and we carefully worked the stain into the wood as much as possible using as little stain as possible.
Things were going really really REALLY well!
The stairs were the right color! The stain was applying nice and evenly! There were no weird ugly swirls!
Things were looking up!
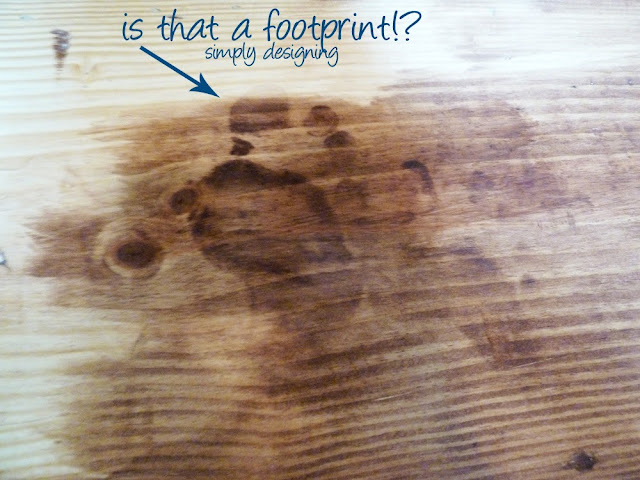
But even then, we ran into two unfortunate minor bumps in the road...
Yup. That's a foot print.
The footprint was a result of the stairs being walked on after sanding, prior to staining. Oils from our feet must have gotten on the wood and so the stain soaked in differently in these spots. Thankfully this only happened on 2 stairs and it was nothing a quick sanding and re-staining job couldn't fix!!
But yes, if you are counting, for some of our stairs...this was our 4th staining of them. Sigh.
But honestly, from here on out our staircase remodel project was a breeze...
HONESTLY!!!
{to be continued}
You can read the whole Staircase Make-Over Series here:
Staircase Make-Over {Part 1}: the prep
Staircase Make-Over {Part 2}: and it all went downhill
Staircase Make-Over {Part 3}: the downhill spiral continues
Staircase Make-Over {Part 4}: are you kidding me!?!?
Staircase Make-Over {Part 5}: this was our final attempt...no matter what!
Staircase Make-Over {Part 6}: the finishing touches
I would love for you to follow me on Facebook, Twitter, Google+, Pintrest and via email.
I participate in the link parties found here.


Chris
Ashley, the staircase turned out fabulously! Thanks for sharing your "toiling" process to get there!
Ashley Phipps
Thank you so much Chris!!
Cherrelle Tucker
I actually like the little footprint. It is too cute!
Jason
Glad to be able to learn from your mistakes, we just built a really nice home, our previous home burned to the ground.
So we have a staircase and I am wanting to stain it myself as I do not want that traditional plain builders look to the woodwork.
I am going with Ebony and White.
I hate you have so many problems, in the long run it would have maybe been cheaper and easier to buy new stair treads and just stain and install.
Chris
So glad I took the time to read your staircase story, as I begin my stair case project, I'm think paint!
Kasey
Thanks for your post! Question - how long did you wait between coats and how long before you could walk on the stairs? The stain that I am using says 24 hours between coats but 7-10 days for "light use"... so I'm wondering if I can stand/sit on the stairs in order to apply the second coat?
Ashley Phipps
Hey there! Great question! I always recommend following manufacturer instructions, I find when I do I get the best results. Having said that...I would personally probably chance it and stand/sit on the stairs to apply a second coat. But definitely not before the 24 hour mark. I would wear socks and clothes you don't care about just in case.