Today is Part 2 of our staircase make-over.
There are six parts to this series and if you missed Staircase Make-Over {Part 1}: the prep you may want to read it first.
You'll see the rest of the series at the bottom of this post.
We spent hours sanding our stairs!
We ended up buying a second electric sander so we could both work on sanding at the same time and we used a TON of sandpaper.
But after all the prep work was done, we were ready to move on to the next step: staining!
And this is where this staircase make-over went downhill and what mistakes you should avoid.
I wish I was joking, but I am not.
There is a combination of factors that went into why everything took a turn for the worst.
And I hate to sell anyone out...but...uhm...I was occupied during the time when most of this step took place...so...uhm...ya. :):) (I love you so much hunny...you are the best EVER!!!)
No, but in all honesty here is the real problem and what NOT TO DO when planning a staircase make-over:
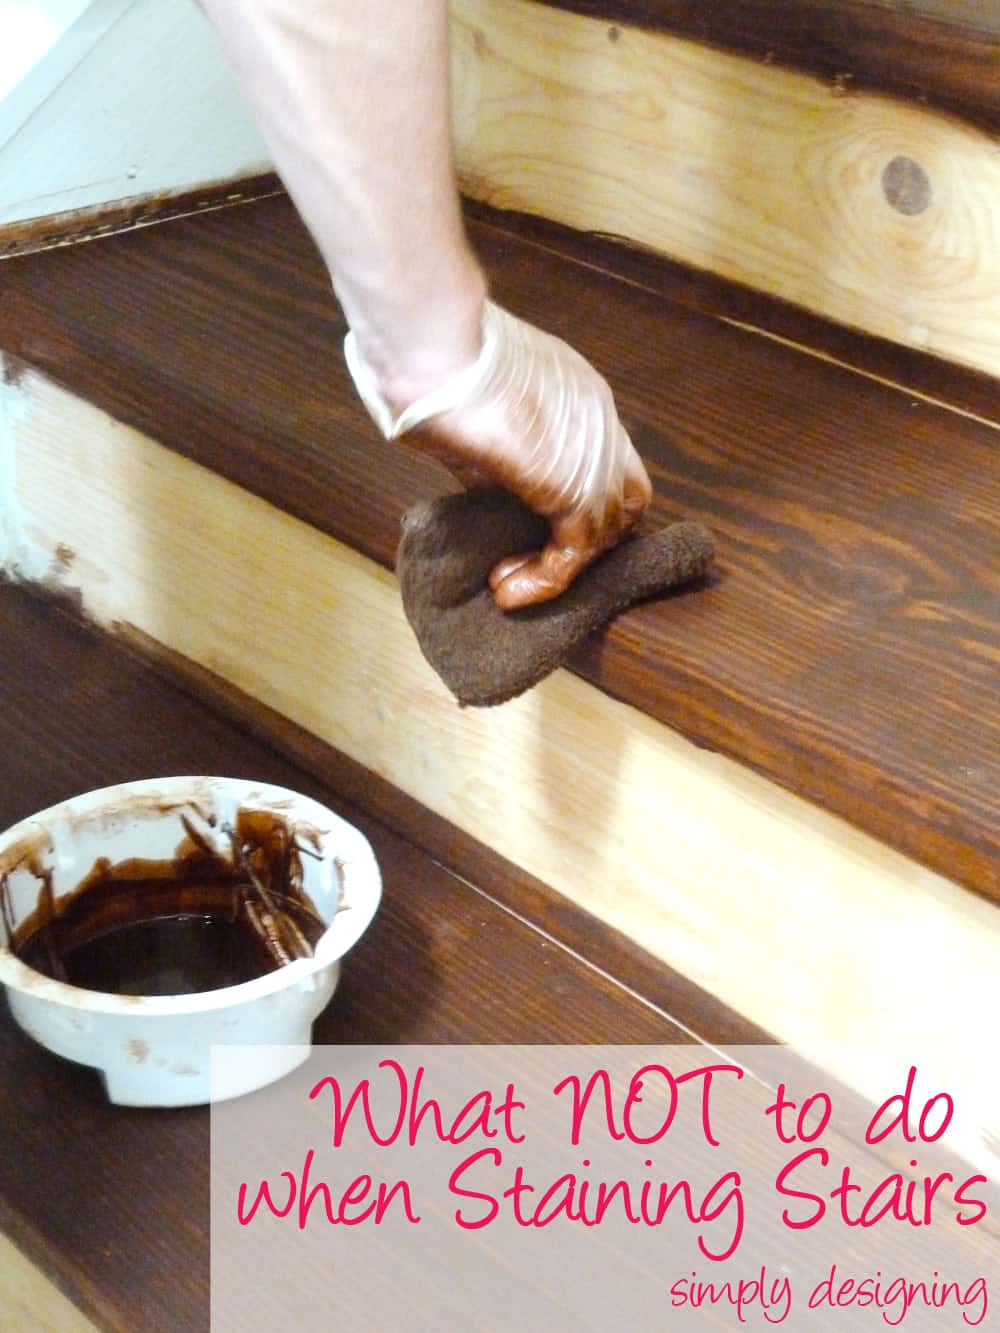
1. The people whom we bought our stain from lead us astray. It is NOT a good idea to use a staining sponge. Seriously. You only need a teeny tiny bit of stain and you have to work it in. Sponges soak up too much stain and make it impossible to apply the stain as thinly as needed. You will want to use a rag to stain (more on this later).
2. My dear, sweet, kind, generous, amazing, handy, DIY husband had never stained anything in his life. I had stained multiple projects, but he had not. He was helping me with these stairs, it was a joint project. And he was able to start on the stain one day while I was otherwise unavailable. I did my best to explain how to stain...but I don't think he quite understood the vision. He thought it was more like painting...which...staining is not anything like painting. So it was his first time staining stairs, and we all make mistakes.
3. In reality, we probably did not sand these as well as we should have. I don't know that we went over them with a really fine grit sandpaper. It is really important to sand stairs with a fine-grit sandpaper prior to staining.
4. And, after the first stair was done, I came to look at it and told my husband it wasn't right and to not go any further. My dear, sweet, kind, generous, amazing, handy, DIY husband was trying to be productive and get'er done. And so he stained all the stairs, incorrectly...which meant more un-doing had to be done afterwards. (I love you hunny you are the best!!)
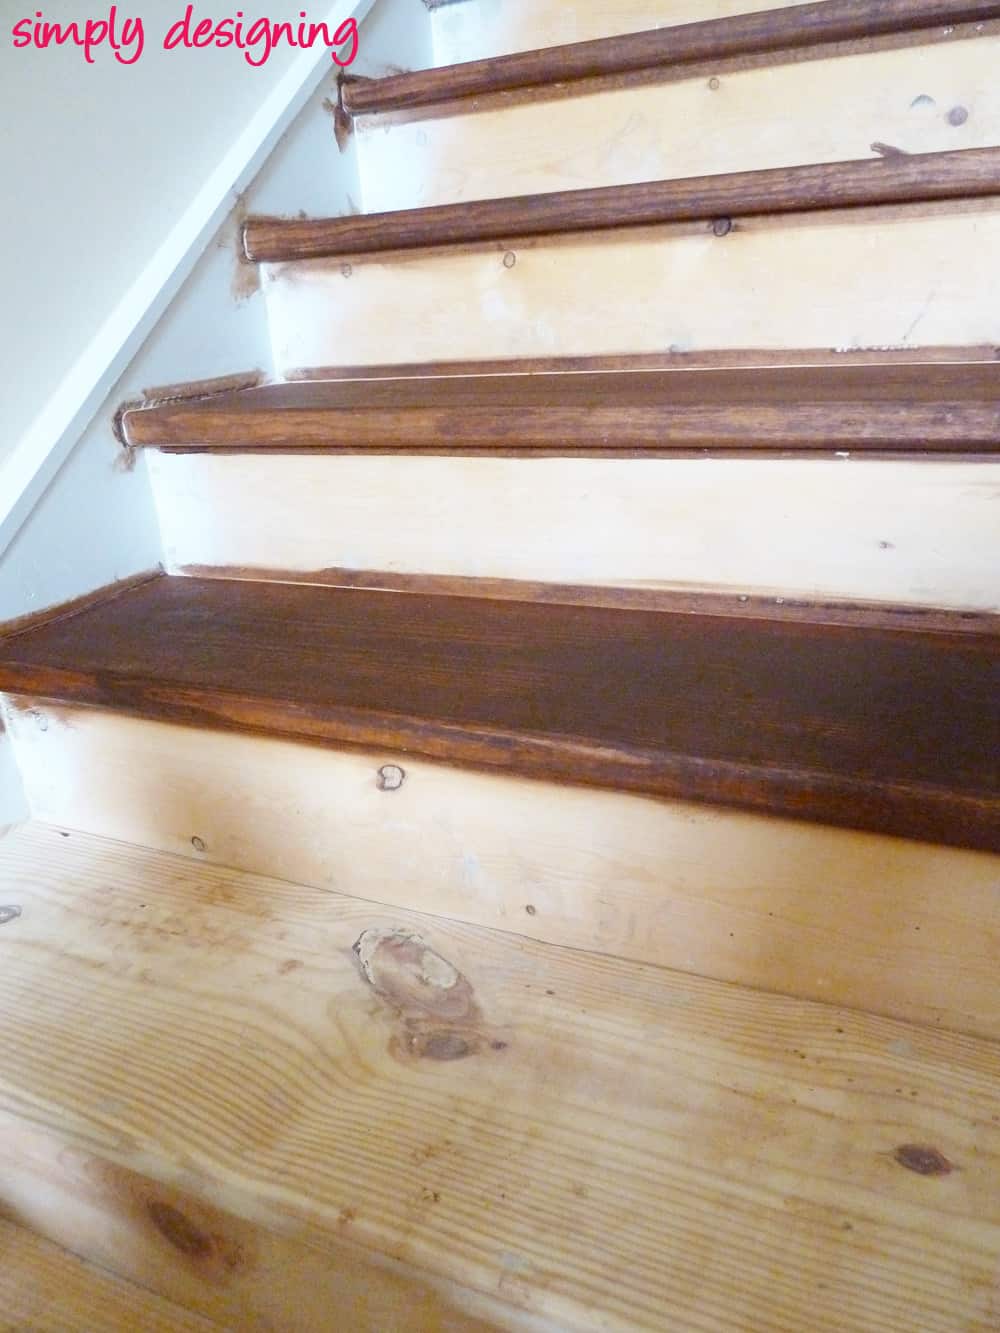
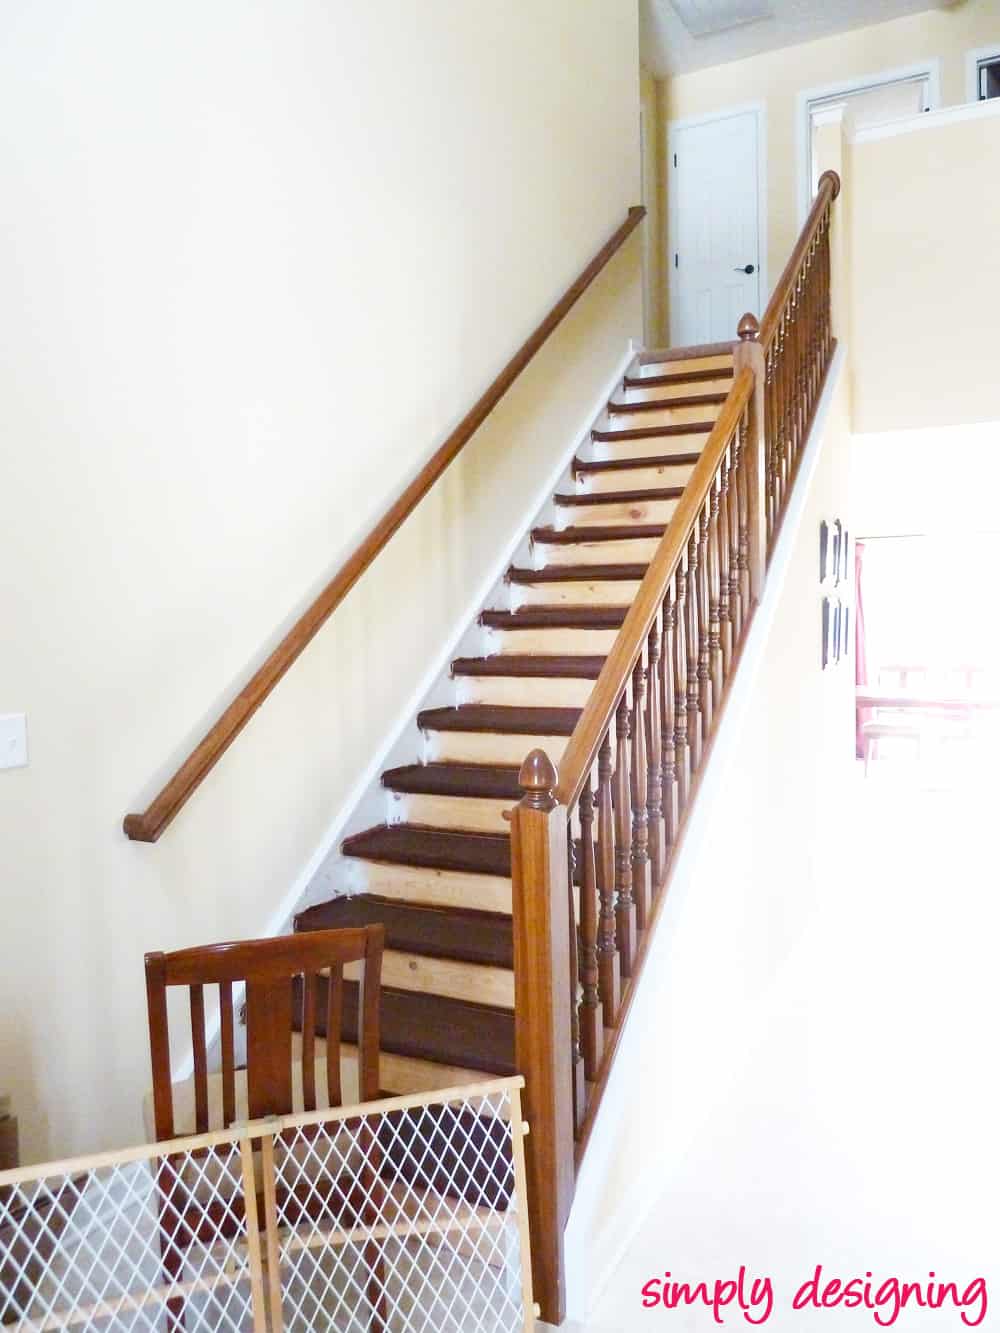
All of these factors combined into one huge problem for this staircase makeover: stairs that were not stained properly and stairs that were WAY too dark!
Instead of a light thin coat of stain, the stain had practically been painted onto the stairs resulting in a thick, too-dark coating where you could barely see the grain at all.
Can you see how the stair tread color is NOTHING like our railing color!?!? Yeah...they were supposed to match 🙁
This was a big huge mess.
A mess that we had to fix...
We had managed to take a 1-2 day project and turn it into a 2-3 week process! (we move slow). All because of our silly mistakes. And we were not looking forward to what we had to do next...
{to be continued}


Japolina
Oh dear. So sorry. I'm sure it will look good when you are done and you can laugh about it (someday!)
Ashley Phipps
🙂 Thank you for your condolences Japolina! This was a real learning adventure for us! We eventually DID get it right...eventually 🙂
MomHomeGuide.com
That's too bad. I would love to stain the stairs that lead to my home's basement someday. What are you supposed to use to apply the stain with?
Ashley Phipps
A rag works best for staining! 🙂 It is actually a really SIMPLE process if you don't mess up as many times as we did! hahaha! Stay tuned so you don't make the same mistakes that I did! 🙂
Colleen
Oh my goodness. My heart goes out to you especially since all that stain has to be stripped off.<br />Will look great once finished I'm sure.<br />Wishing you the best<br />ColleenB
Ashley Phipps
Thank you so much Colleen!! You are so sweet!<br /><br />And yes...the all had to be stripped...sigh! <br /><br />Thankfully it all worked out in the end!<br /><br />Ashley
minhster
ouch! uhmm... i totally need to see where this goes before I start mines. I've heard of a few other people that had problems staining their stairs as well. I've seen others just resort to panting the stairs also which I was considering also... So much suspense right now!!!
Ashley Phipps
Minhster,<br /><br />Yes! Stay tuned!! We did finally get our stairs right and in all honesty, it IS a really easy process as long as you don't make as many mistakes as we did :)<br /><br />I will continue to show you all our failures and successes! Stay tuned :)<br /><br />Ashley
Charlotte Smith
Since this is DEFinitely something that we could stumble into, curious what the solution is! I'm so sorry that your loss will become our informational gain!! (Props for sticking with it! I might have painted over the whole thing and just quit!!) :)<br />Charlotte @ CIburbanity
Ashley Phipps
🙂 I am so happy to share my failures 🙂 I hope it helps! And there were totally times we thought about giving up...<br /><br />Ashley
Magali@TheLittleWhiteHouse
I'm sure your stairs look lovely now... And I'm happy to be able to learn from your mistakes!!
Ashley Phipps
I'm so happy people can learn from our mistakes!!<br /><br />Thanks for stopping by!<br />Ashley
Kim Wilson
Oh my gosh Ashley, you know I love you to pieces, but I KNOW you were freaking out inside. I am really wanting to do this with both of our staircases and your honesty during the DIY process is a blessing! (I have already taken a personal note to let hubs sand and let me stain... my hubs would do the exact same thing. Lord bless'em... he's trying). Looking forward to the next step! <br />
Ashley Phipps
Kim!!<br /><br />Oh my goodness, yes! There was some inside-freaking out going on! hahaha! I am glad you are already learning from my mistakes 🙂 hahaha My husband proved to be an AMAZING sander :):) <br /><br />Thanks so much for stopping by!<br /><br />Ashley
Sylvia
New to your blog. I do not have an interior design degree but I do know that pine is not hardwood ( I read part 1 of your stair story). I also know from experience staining raw soft woods like pine, that to get an even stain it is necessary to use a pre-stain conditioner. Soft woods are more porous that hardwoods and therefore absorb stain unevenly. I am looking forward to see your finished
Marisa
Hi Ashley, I'm refinishing my steps and we have made some mistakes along the way too. Your stairs look awesome now!! My question for u I where did u get the custom stain made to match your other floors?
Ashley Phipps
Thank you so much Marisa! Any place that sells stain will do a custom match for you! I believe we ended up getting ours from Sherwin Williams though!
Sofia Jonsson
After renovation this staircase is looking so beautiful. Thanks for sharing this blog!!!
Kendall
Oh my. We are in the midst of this project right now and I soooo appreciate your wise words. We are at the initial sanding stage). Your staircase turned out so nice! I hope ours does as well! I'm impressed by your caulking skills. I'm a bit nervous about that part. Question for you, if I may... did you have to patch all the holes with wood filler from where the carpet was stapled into the stairs?
Ashley Phipps
Good luck! I bet your stairs will turn out great! We did not patch the small holes from the staples. They were so small and we are ok with a bit more rustic of a look! But you certainly can if you'd like to.
adam
in the same boat, i should have read a blog before attempting, rather than finding someone allready made the same mistake.|
i painted on the stain with a brush and it was too much, wondered why it was not dry the next day.
the tins need to be more clearly labelled, to use very sparingly and rub in. and to wipe off excess after!.
hope you got it sorted, im reading on to find out my fate of how to remedy it, if there is one.
I would say, choose a lighter stain than you think and add more.