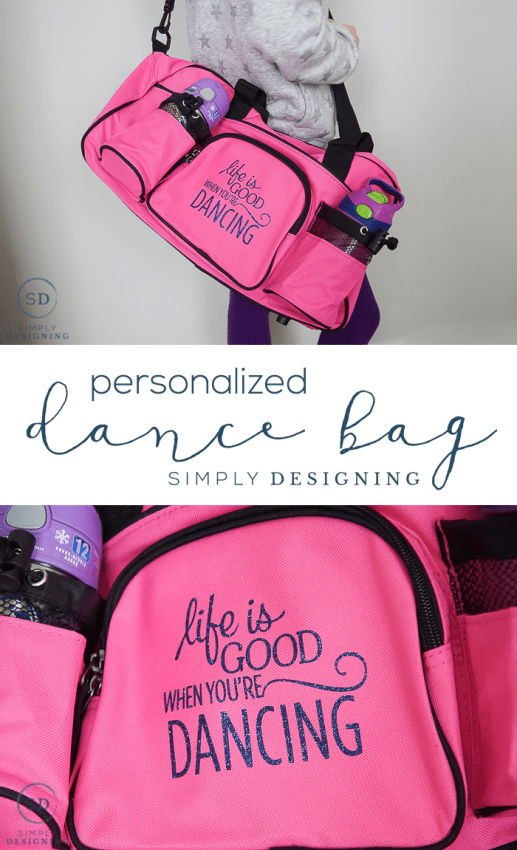
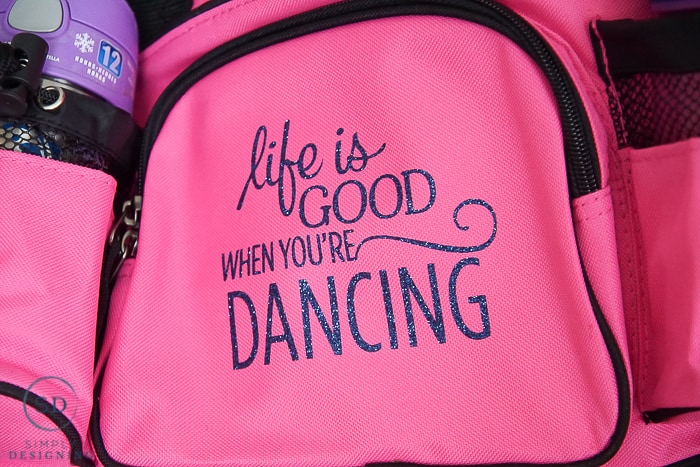
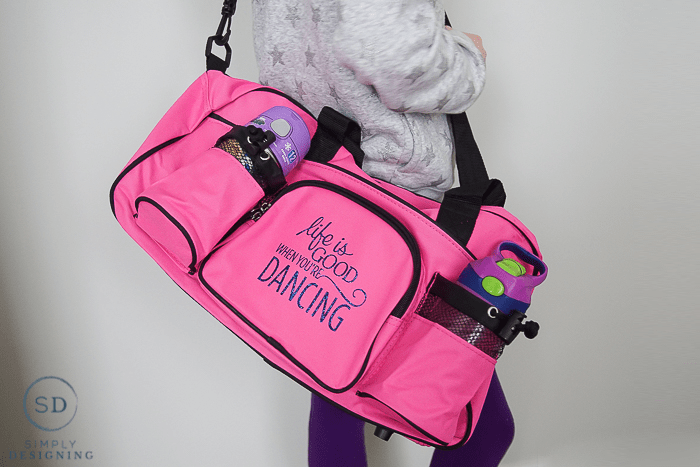
Was one of your new year's resolutions to work out more? Mine sort of was, but see it is actually just a continuation of what I started last year. I don't go to a gym, I am more of a work-out-from-the-comfort-of-your-own-home kind of gal. But my kids! They love to exercise. My daughter loves to dance and my son loves karate. My daughter's dance bag recently broke and she needed something bigger. So in an effort to find something that was functional, I was left with very few options. I finally found a cute bag that wasn't too huge that I knew would work perfectly. It was cute, durable and pink! But it was a little plain. So I decided to take the ordinary bag and use it as a base to make a personalized dance bag for my daughter! I just wanted to add something cute, and simple and the quote "life is good when you're dancing" sums up my daughter! So I knew this would be the perfect new dance bag for her! Keep reading for all the details.
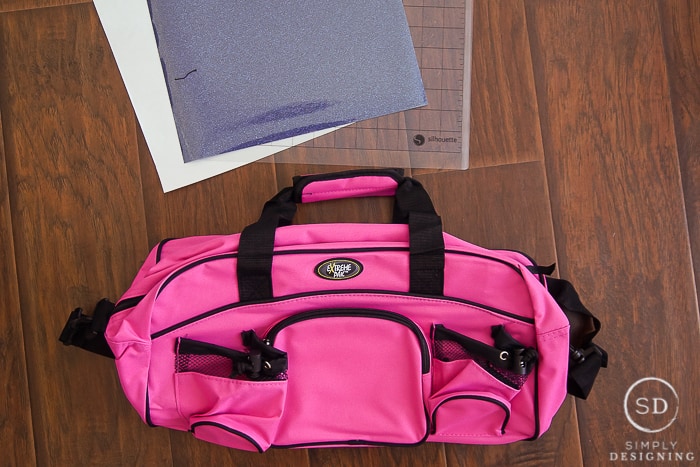
A big thanks to Expressions Vinyl for making this post possible today. You all know I love my Silhouette and crafting with vinyl, heat transfer vinyl is one of my favorite types of vinyl and the glitter heat transfer vinyl, makes my heart just burst! It is so pretty! And I knew my daughter would love a glittery touch on her new personalized dance bag. So I got to work with just a few items
To create this personalized dance bag, you will need:
- Sport or Dance Bag of your preference (I bought this one HERE)
- Silhouette (or other vinyl cutting machine)
- Glitter Heat Transfer Vinyl, Sapphire
- Multi Use Paper
- Iron
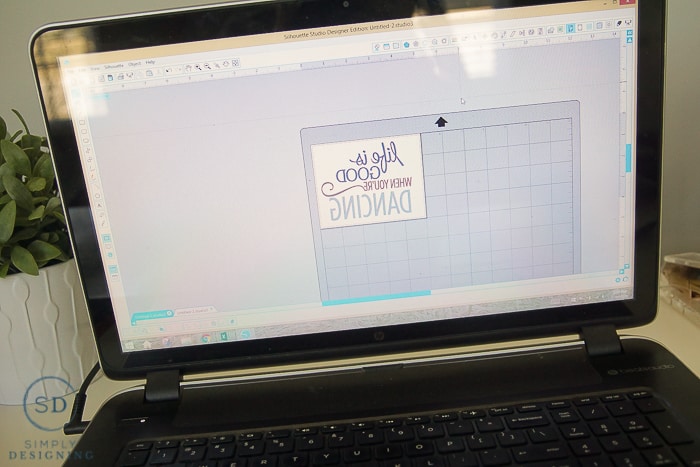
You will begin by designing your image in the Silhouette Studio program. I was lucky enough to find the quote I wanted already made into a beautiful cut design! So I simply bought it, downloaded it, sized it and then FLIPPED IT! Remember that whenever you are cutting heat transfer vinyl you need to always, flip your image horizontally prior to cutting it otherwise it will be backwards. (Which is ok for some shapes and designs, but not usually good for words.)
Once you have designed your image and flipped it, you will place your heat transfer vinyl SHINEY SIDE DOWN onto your cutting mat (or directly into your machine if you prefer not to use a cutting mat) and cut your design. Always be sure when you are cutting to specify your cut settings to your material being used. Also I always run a test cut before cutting the entire image, just in case.
Once the design is cut, I like to cut around the image with scissors and then weed the excess vinyl off of the backing paper (ie take the part of the vinyl that you do not want on your bag off of the backing paper.) This can easily be done by hand, but I love to use a pair of tweezers to remove the smaller pieces of vinyl as needed.
Then heat your iron on the cotton setting, no steam, and place your vinyl design (plastic backing paper side up) on your bag. Once it is in place, put the sheet of multi use paper on top and iron the design as directed.
When using heat transfer vinyl, I always wait until the backing paper has completely cooled down before removing it. If you try to remove it too soon, the vinyl might not adhere well to the fabric.
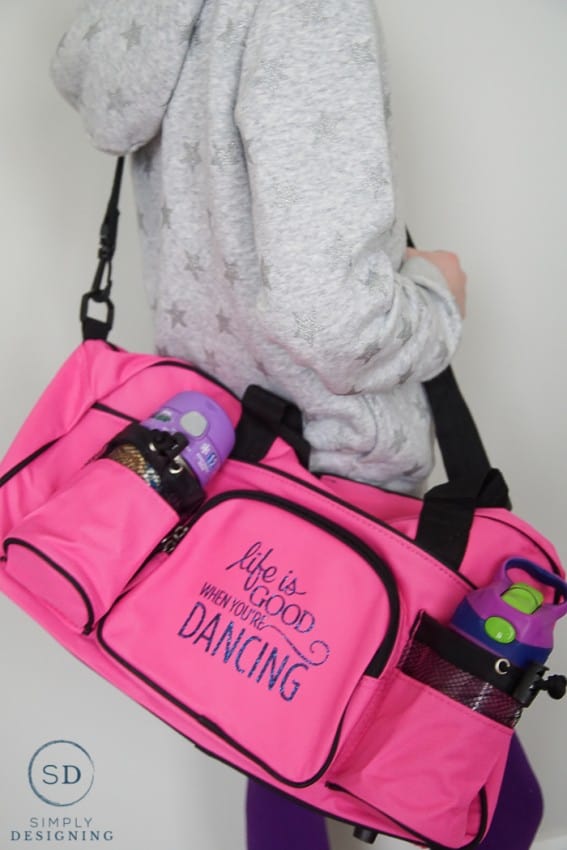
I just love how my daughter's personalized dance bag turned out. And she was so excited too!! It is big enough to fit all of her stuff and cute and just for her! Plus it now has a little sparkly saying on it...what could make it any better!?
And the best part of today is that Expressions Vinyl is hosting a giveaway! Woot woot! So be sure to enter below for your chance to win!
*This giveaway is hosted and fulfilled in its entirety by Expressions Vinyl. Simply Designing, its owners, employees and affiliate are not held responsible or liable in any way. Good luck*
You might also enjoy:






Braden Bills
My daughter recently got into dancing classes. I noticed that some of the other children there have customized dance bags with them. I didn't know that it was a thing that you could do! I'll have to help my daughter out with it. Thanks for sharing!