I've been wanting to create DIY Signs from pallet wood for a while. I've been working on creating this pallet sign for a couple of weeks now and I am so excited to be able to show it to you! It was the brain-child of a few ideas, meshed together and I am absolutely in love with how it turned out! It started with the need to have some art in my master bedroom; we have none. My problem was finding an image or a quote that "fit" my husband and I. I finally pulled all the pieces together and love my final result! So I present to you the complete (ie long) tutorial on how to make this super cute Together is our Favorite Place to be pallet sign!
This is truly one of my favorite projects I have every made! It combined my love of my Saw, Kreg Jig and my Silhouette cutting machine! These three tools create a deadly combination for a killer project in my opinion so not only did I love making it, but I also love how it turned out.
Please forgive the length of this post about making DIY signs from pallet wood, but I wanted to walk you through the entire process from start to finish. And even give you tips on using the Kreg Jig, walking you through how to make and use a Stencil out of vinyl and every other step in between! So the post is long, but I've jam-packed a ton of information in here; it's kinda epic!
Steps to make DIY signs that look like pallet wood:
1. Cut pallet wood from hardware store boards
I use a chop/miter saw, but even a simple hand saw would work fine for this step.
My overall board ended up being 27"w x 32"t. I used 2"x6" boards from my local hardware store, measured twice, cut once and soon I had (5) 32" long wooden boards for my pallet sign.
2. Sand pallet wood boards
It is important to take the time to sand the wood well so that the stain applied evenly. I started with a lower grit sandpaper, then finished off with a finer grit sandpaper. I used my electric sander for this step. Be sure to get the ends very well too to avoid the ends being three shades darker than the face of the wood.
After my boards were sanded really well, I used a clean cotton knit cloth and wiped my boards down to remove any sawdust.
3. Stain pallet wood boards
I use a cotton knit rag and a Dark Walnut Stain for making DIY signs. This is one of my all-time favorite stains! It is so pretty!
I dip the tip of the rag into the stain, blot it off and patiently work the stain into the wood. You want to apply stain with the lightest coat possible so work it in and make a little go a long way.
I used two coats of stain for my project.
4. Drill holes in boards to put pallet sign together
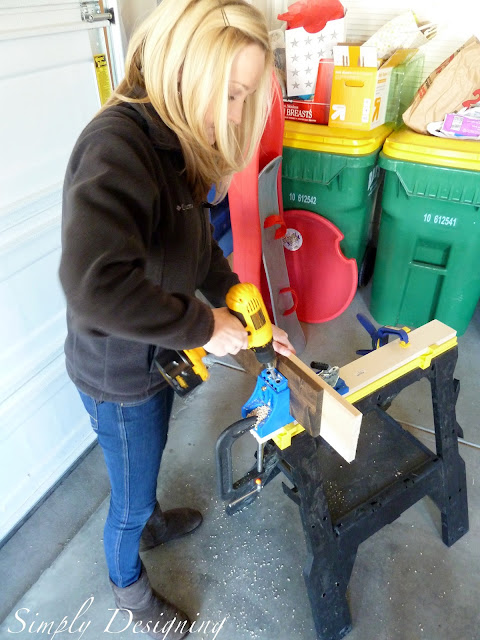
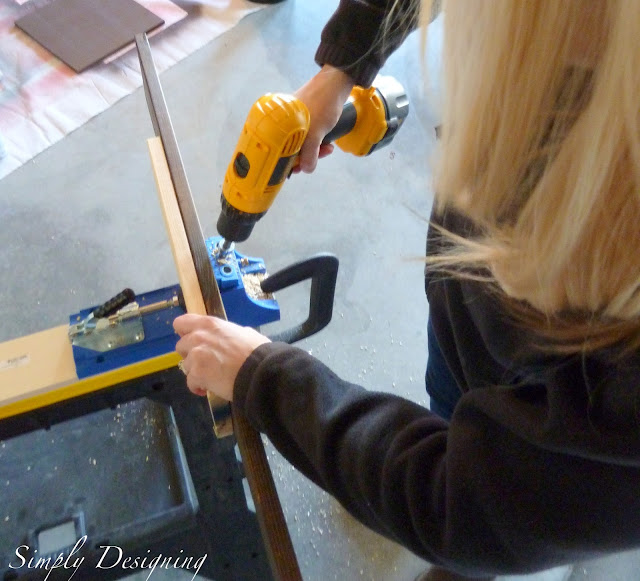
I brought out my Kreg Jig and got to work! If you are looking to assemble a few pieces of wood together this is truly the quickest and easiest way I have found to do this. Basically, you will clamp your wood into their neat little jig contraption, set a couple of settings to the size of your wood, take your drill and drill away! It is really so simple!
The jig will enable you to drill an angled hole so that you can screw two boards together easily, simply and cleanly.
HINT: With the Kreg Jig, you clamp the wood into place. Since my wood was finished and beautiful and I wanted to be sure to preserve my wood, I placed a second piece of wood between my finished board and my clamp.
GIRLS CAN USE POWER TOOLS TOO TO MAKE DIY SIGNS!
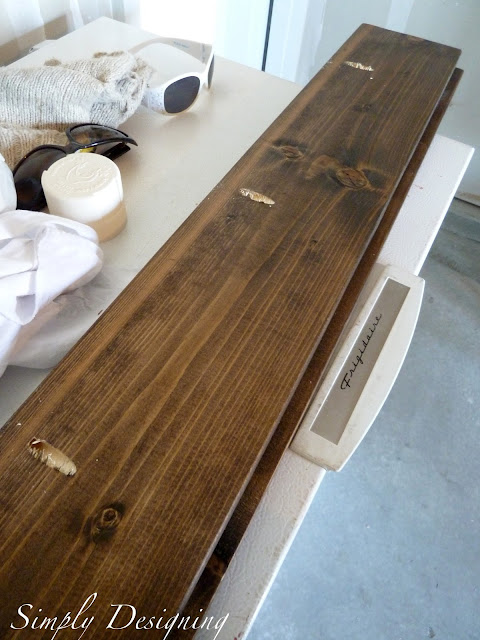
With boards this long, I drilled three holes in four out of my five boards using my Kreg Jig. You do not have to measure where these holes go, I just eyeballed it, one on each end and one in the middle-ish.
5. Assemble pallet sign together
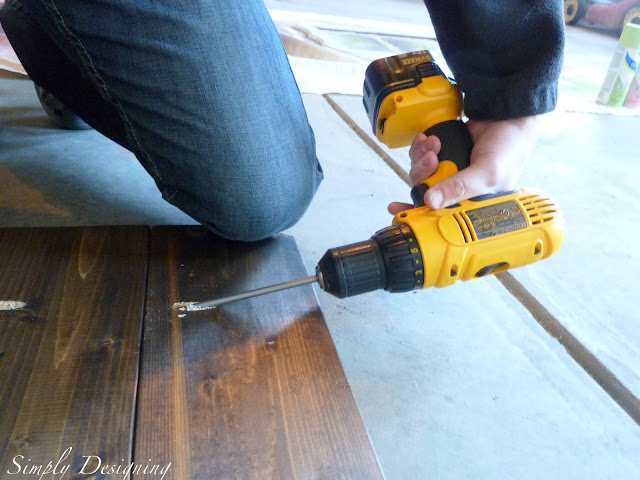
Using your drill you will assemble the boards together. The Kreg Jig comes with a special drill bit that is extra long and works with their screws. It is totally worth the investment. You only need to place two boards side by side and screw into the boards using the holes you previously drilled. It is so simple!
With pallet boards this big, I enlisted my husband to help so it only took just a few minutes to assemble my big pallet-style board! I held the boards together and snapped photos while he put the screws in one end. Then we switched jobs and I put the screw into the other end. That's either really good teamwork or us being lazy 🙂
After you've assembled the entire board in this fashion, you have made your own really fun, beautiful pallet sign! I loved it so much at this point I knew making one of these DIY Signs was going to be awesome!
6. Cut out a stencil to paint the words on your pallet sign
I chose to use vinyl as a stencil for my board. You can also use vinyl for your lettering, but I wanted a bit more of a rustic, handmade look so I decided to use a stencil to paint the words on my pallet sign.
I am lucky enough to have a Silhouette Cameo that I am desperately in love with! I also have the Designer Edition Software Program which allows me to customize my designs in so many ways. But even without the designer edition software program, one of my all-time favorite features of the Silhouette vs. other cutting machines is that I can use ANY true type font on my computer to design text with. Yup. I can turn any TTF into a design to cut out. One of the many reasons I love my Silhouette.
I started laying out, designing, and picking fonts for my board. I knew I wanted to use two fonts, one fancy and one more simple and two paint colors so I took a lot of time to carefully design my final look. Once it was fully designed, I cut my design out with my Silhouette and weeded the letters out of the design, leaving a stencil still on the backing paper.
After your stencil is cut and weeded, you will want to use transfer tape to carefully apply your vinyl to your board.
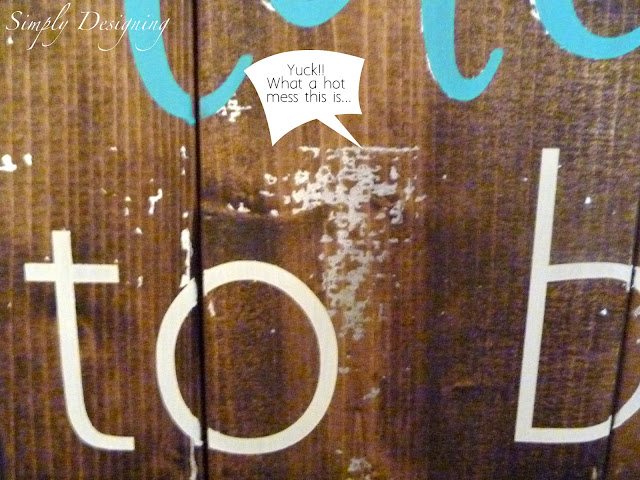
Since my vinyl wasn't going to be on my finished board, I grabbed some old vinyl I knew I wasn't going to use. This shiny silver vinyl totally has its place, but I personally had no foreseeable use for it so it became my lovely stencil!
But I did keep joking with my husband telling him I was going to leave it just...like...this 🙂
7. Stenciling DIY Signs with Paint
When you use vinyl as a stencil here are a couple things to keep in mind:
- Make sure all edges around the letters are firmly adhered to the board to help prevent seepage.
- You will always have seepage so be "ok" with a handmade, rustic, shabby look.
- Apply the vinyl, paint, and remove vinyl as quickly as possible to help prevent the vinyl from sticking too badly to the pallet sign. But don't remove your vinyl until the paint is at least almost all the way dry, preferably all the way dry.
- Do not, under any circumstance, use latex paint. Use craft paint when making DIY Signs! Ok. You can use latex paint, but be warned that the latex paint will try to stay on your vinyl when you take it off so it will take extra time and a lot of patience when removing the vinyl from your board to be sure that your letters stay on the board too. Craft paint makes this process so much easier! I may or may not know this from personal experience...just sayin'
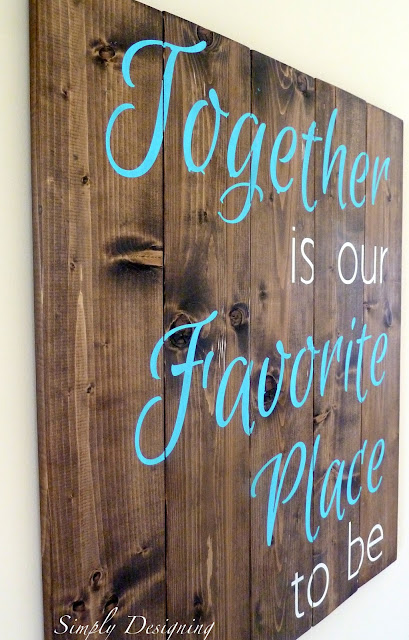
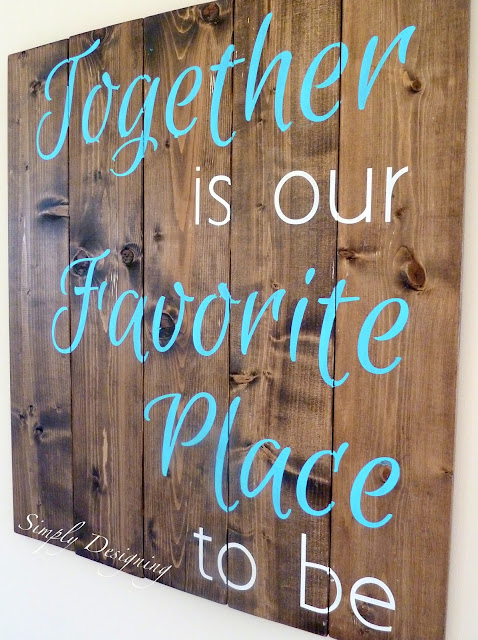
After the cutting, sanding, staining, drilling, assembling, vinyl cutting, painting, and a little cleanup, my lovely pallet sign was done and as pretty as could be!!
Both my husband and I love this quote and it just "fits" us. We love spending time together, we love working on house projects together, we love going on dates. Spending time with each other is an important part of our relationship so this quote is perfect for us. It is the reason I chose it and the reason I looked for so long for a quote for us for our bedroom. I had to find the perfect one, and this is it:
DIY signs are perfect to create in your home with a quote that fits you or your family. I actually have a couple more ideas up my sleeve now that I've made this pallet sign for other projects that I'd love to do! I can't wait to get started on them!!
If you like this DIY Signs Tutorial, would you mind taking a moment to Pin It? Thanks 🙂 You're the best!





Stacie@hometownperch
Very pretty! I love the pop of turquoise.
landa britt
What kind of wood do do work with for your sign? Is it an oil base stain?
rumah minim
i find many idea here.. thank u dear Ashley
Gretchen
Looks great! Thanks for the instructions on attaching the boards together....I have a sign project in mind, and I hadn't even really thought through how I was going to get the boards to stay together...but I have a kreg jig, so I might be all set now 🙂
Jill @ Create.Craft.Love.
Love it! Wish my husband would let me use power tools. (I am a bit of a clutz...LOL) Maybe I'll make him do that part!
Jenn @ Clean and Scentsible
Looks fabulous! I have been wanting to make a pallet style sign for ages now!
Diana Miller
You totally rock! I'm so jealous of your power tools skills. lol We have a bunch of cool stuff in my garage but I have no idea how to use any of it. Boo. lol Great job!!
Desiree Young
Gorgeous! I love this quote, and the bright paint you used against the dark stain. Just got my SC yesterday, and was looking for help in creating a sign. Your instructions were EXACTLY what I needed. Thanks so much for the help and inspiration!<br /><br />
Ashley Phipps
Thank you so much Desiree!And I am so glad that this post will help you create your sign! Good luck!!<br /><br />Ashley
Angie
Love the sign but it sure looks like 1x6 instead of 2x6. Wondering which it really is? And i love the kreg jig! Fun tool!
Reduce, Reuse, Renewed
What a lovely saying. 🙂
Krista thehappyhousie
Stunning! After all the projects I have seen lately that use a silhouette I guess I should look into getting one... thanks for the tutorial!<br />Krista @thehappyhousie
Ashley Phipps
Thanks so much Krista!!<br /><br />Ashley
Dolce Vita
This is lovely. And I like the fonts that you used. Would you be able share the font types you used? Many thanks!
Ashley Phipps
Sure thing. I used Emporia Script and Arial I believe.
landa britt
Can you share the front types ? Love your projects
Brock and Heather
I love your sign. Beautiful. What color/brand of paint did you use?
Brock and Heather
I love your sign. Beautiful. What brand/color paint did you use?
Ashley Phipps
Thank you so much. Honestly, the paint I used for this is already in my big stash of paint...I am not really sure what color it is anymore or what brand. But I would suggest to choose colors that work for your space!<br /><br />Thanks for stopping by<br />Ashley
Brock and Heather
I can't find that "Emporia" font anywhere. Where can I find it
Ashley Phipps
It was a free font but I am not sure if it came with my computer or if I downloaded it for free. You should be able to find it by googling it though.<br />
Lorraine Merry
I have spent hours looking for this font. For those of you looking for it: http://www.fontsquirrel.com/fonts/euphoria-script !!!!<br />
Melissa Llado
Love it!!
Inspire Me Heather
Your sign turned out great, thanks for posting your tutorial and I've got this linked to my quotes DIY post too today!
Melissa
I LOVE your sign! Good work! How did you end up hanging it?<br />
Ashley Phipps
Thank you Melissa! I just went to the hardware store and bought a hanging kit that was good up to 80 lbs. No, my boards don't weigh that much 🙂 but I wanted to be safe!
landa britt
another question how do you hang it? thank you
Carolyn Trimble
Can I purchase one of your "Together Is Our Favorite......." Plaques from u?
Ashley Phipps
I am so sorry but this is not for sale.
Ben Esser
What size font did you use for the 2 different styles??
Ashley Phipps
I do not recall. I am so sorry. But I would just make them to fit the size of your board. Thanks!
ami
Hai,i was wondering what kind of paint that you used? And how did you made that cutting sticker? I usually did it first in corel,then i print ot out,cutting with cutter like a knife then i put the paper on the board,then i paint it. But you did very simple. I was wondering.
Kristin
Love this so much! Do you mind sharing what size you cut your letters at?
Free
Take a exacto knife and cut along the edge of the vinyl were the paint is and then you can pull up the vinyl w/o pulling up the paint.
Di
What do you mean by cut and weeded? Do you just cut out the letters with exacto knife??
Wanting to do a project like this but I don't get how to make the stencil!
Pls help lol
Ashley Phipps
Hi there. I cut the vinyl using my Silhouette Cameo. But weeding is when you remove the excess vinyl after it's cut. In this case, I removed the letters so that the vinyl could be used as a stencil as shown in the photos above. You can use an exacto knife, but I find using something like a Silhouette Cameo to be a lot easier if you have one available to use. Hope that helps.
Kim
If you use Mod Podge over your stencil before you paint, that will seal it and it won't bleed under. I cut stencils with transparency paper and use spray glue to adhere it instead of using vinyl (and much easier to remove than vinyl!)