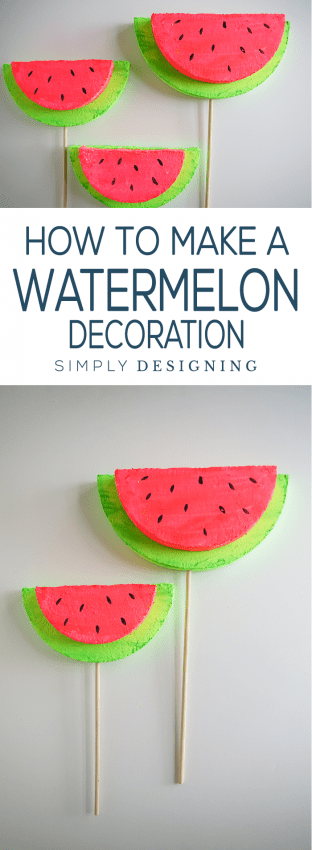
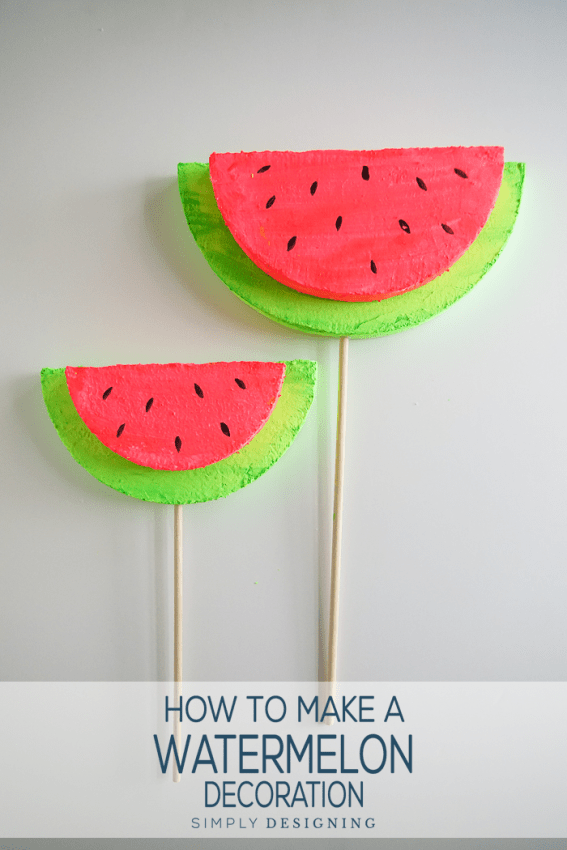
I'm so excited for warmer temperatures and all the fresh fruit that comes in season this time of year. I love all the summer parties when families and friends get together and hang out on porches and patios, around pools and parks. And what better way to decorate for summer than with this fun watermelon decoration in multiple sizes? They would be perfect to place on picnic tables, in vases, in planters, or even in a long foam rectangle for a centerpiece. However you want to place them, they will add some summer flavor to any setting.
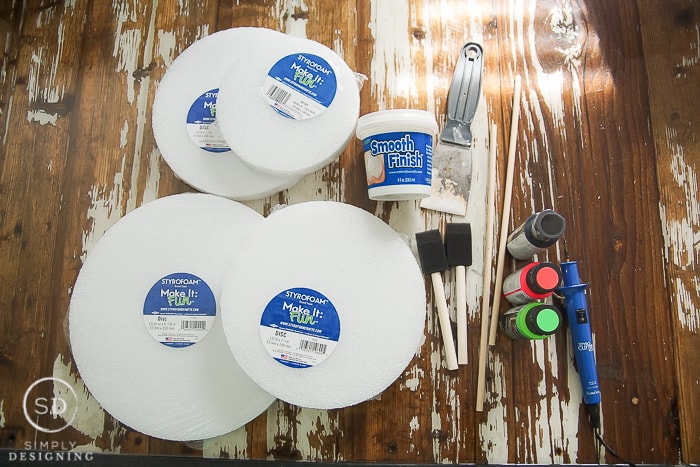
Supplies Needed to Make a Watermelon Decoration:
This post contains affiliate links for your convenience. By purchasing any items, I receive a small commission but you never pay a penny more. Thank you for supporting my blog.
- Styrofoam Discs--one 9 ⅞", two 7 ⅞", one 5 ⅞" https://www.amazon.com/s/ref=nb_sb_noss_1?url=search-alias%3Daps&field-keywords=styrofoam+discs
- Styrofoam Cutter https://www.amazon.com/s/ref=nb_sb_noss_1?url=search-alias%3Daps&field-keywords=styrofoam+cutter&rh=i%3Aaps%2Ck%3Astyrofoam+cutter
- Styrofoam filler https://www.amazon.com/s/ref=nb_sb_noss?url=search-alias%3Daps&field-keywords=smooth+finish+styrofoam&rh=i%3Aaps%2Ck%3Asmooth+finish+styrofoam
- Palette knife or other applicator for Styrofoam filler https://www.amazon.com/s/ref=nb_sb_noss?url=search-alias%3Daps&field-keywords=pallet+knife+spackling&rh=i%3Aaps%2Ck%3Apallet+knife+spackling
- Paint - black, pink, green https://www.amazon.com/s/ref=nb_sb_noss?url=search-alias%3Daps&field-keywords=deco+art+acrylic+craft+paint+neon&rh=i%3Aaps%2Ck%3Adeco+art+acrylic+craft+paint+neon
- Foam brushes https://www.amazon.com/s/ref=nb_sb_noss_1?url=search-alias%3Daps&field-keywords=foam+brushes&rh=i%3Aaps%2Ck%3Afoam+brushes
- Dowel rods https://www.amazon.com/s/ref=nb_sb_noss_2?url=search-alias%3Daps&field-keywords=dowel+rods&rh=i%3Aaps%2Ck%3Adowel+rods
- Rapid Dry mixed media adhesive https://www.amazon.com/s/ref=nb_sb_noss?url=search-alias%3Daps&field-keywords=rapid+dry+multi+media+adhesive&rh=i%3Aaps%2Ck%3Arapid+dry+multi+media+adhesive
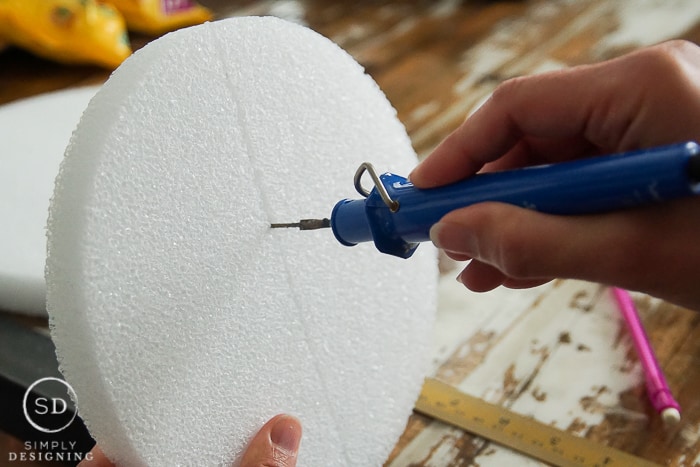
Once you have gathered all your materials, you will want to use your Styrofoam cutter to cut each disc in half. You can measure them or just guess--whatever you prefer!
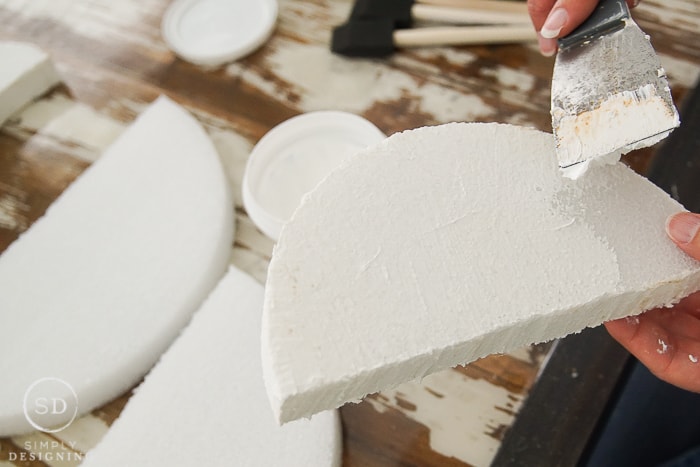
After you have cut each disc in half, spread your Styrofoam filler onto the front, top and sides of each half-disc. You'll want to follow the product's instructions and spread the product in all directions in order to achieve maximum coverage. Then, you will want to allow the filler to dry completely. This can take a few hours. You may want to plan to let the discs dry overnight.
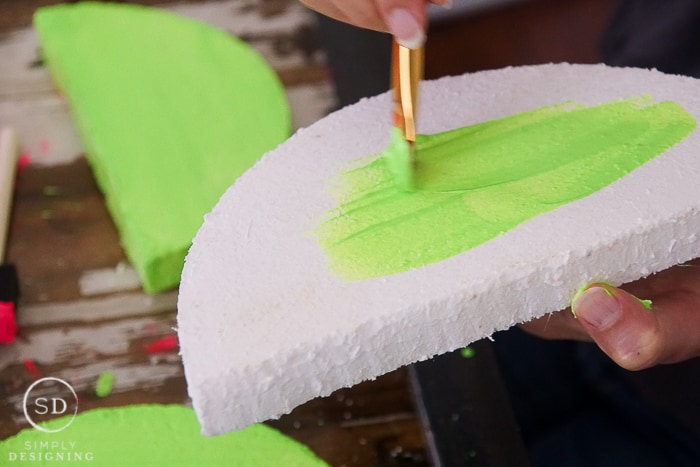
Once the Styrofoam filler is dry, you can begin painting. I painted one large disc and one medium disc green. Then, I painted one medium disc and one small disc pink.
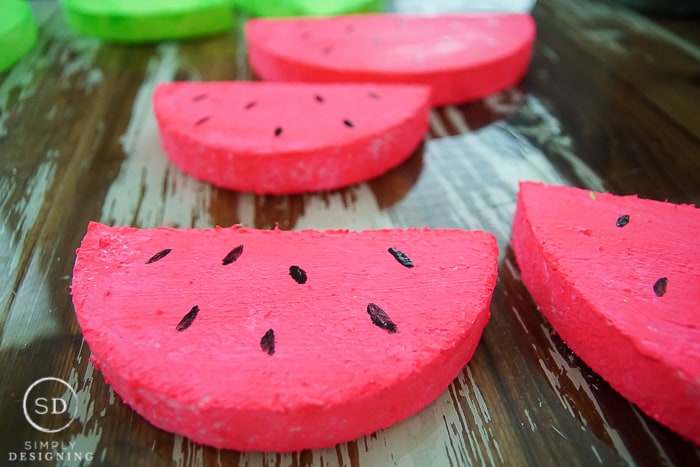
I painted the front and sides so they had a nice coat of paint. Using the Styrofoam filler makes painting a lot easier and makes the colors pop. After the pink was dry, I painted small black seeds on the pink discs.
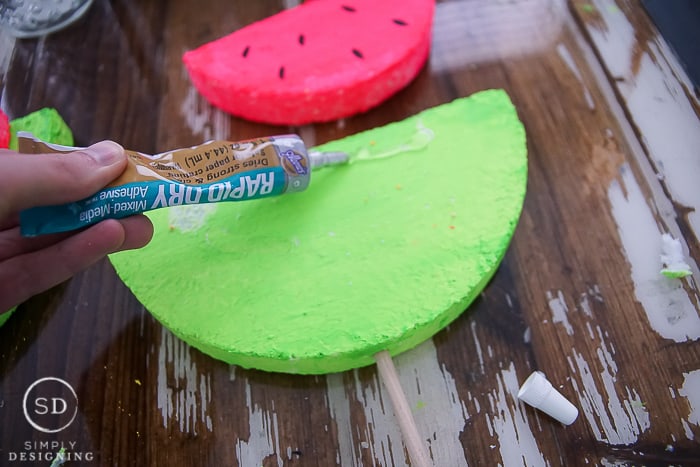
Then I inserted a dowel into the bottom of each green disc and attached the pink discs to the green ones using a mixed media adhesive. Don't they make such cute decorations? They almost look yummy enough to eat!
This idea was shared first on the Make It Fun blog.
You might also enjoy:




Victoria @DazzleWhileFrazzled
Very cute! Great for summer parties or a tropical birthday. Visiting from Inspire Me Monday party.
Michele Michael
These are fun. They must look exciting in the decor, brightening up everything. Thanks for posting at Funtastic Friday