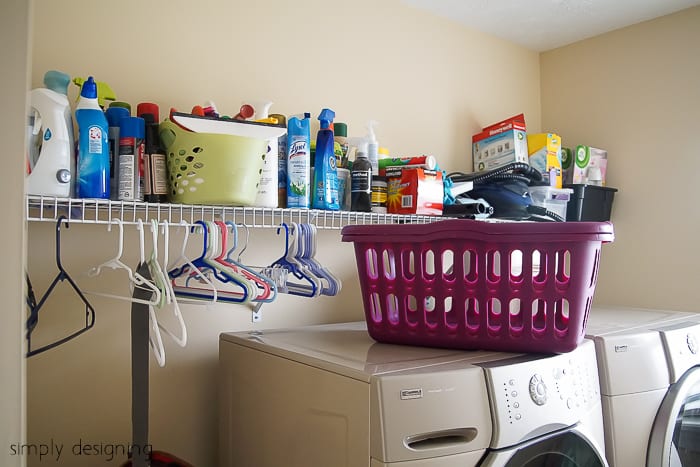
I love updating my home and one of the places in my home that has really needed an update is my laundry room. I have a decent size laundry room but there is an ordinary wire shelf over the washer and dryer that was not the prettiest and it was also a bit too high up for me to reach. It just made the whole room a bit awkward and while it wasn't completely unusable, I have been hoping to make a few tweaks to it to make it a bit prettier and a bit more functional. Today I am excited to share my mini laundry room make-over with you!
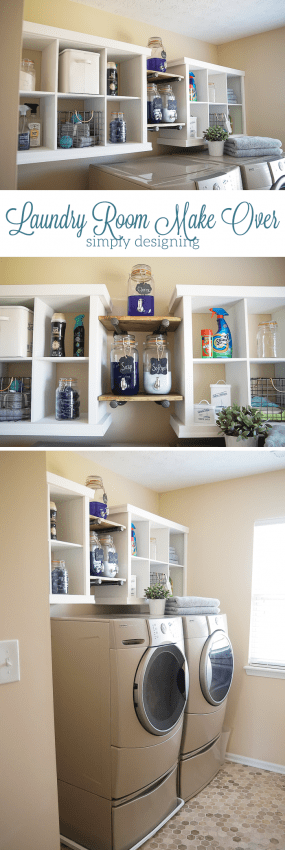
Thankfully, as one of HomeRight's ambassadors, I was able to finally update this laundry room with a mini make-over.
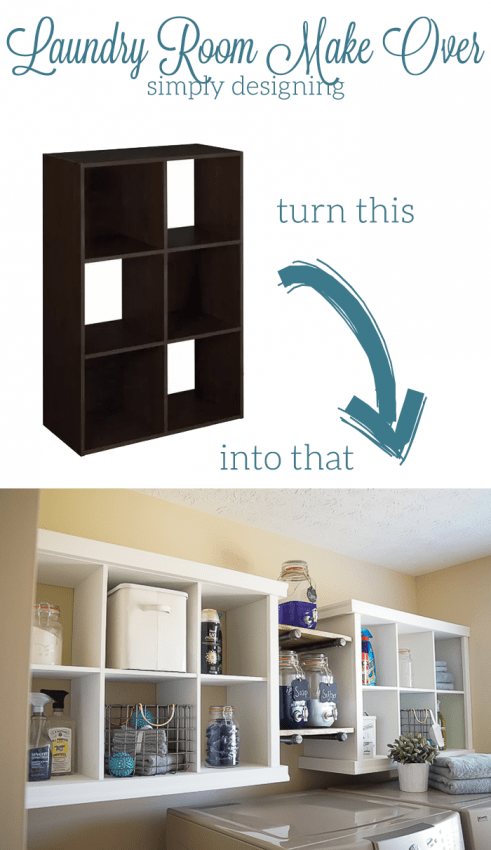
I love how a few simple changes transformed this room into a beautiful and usable space. The requirements for the HomeRight hack challenge are to take this simple ClosetMaid storage unit and transform it. I also needed to use Valspar's Chalky Finish paint and my HomeRight FinishMax for this project.
You know I love a good hack and this one was definitely a fun challenge!
I decided that this unit would make beautiful storage in my laundry room!
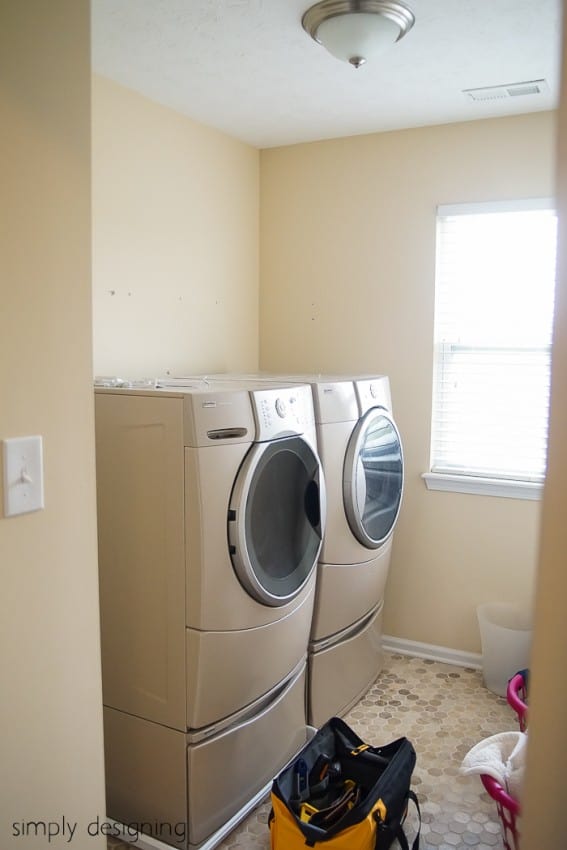
Here is what my laundry room looked like before:
Supplies to make DIY Laundry Room Shelving:
- ClosetMaid 6 Espresso Laminate Storage Cubes (because my laundry room wall is so big, I decided to pick up two)
- Decorative Trim
- 1" x 2" wood
- Steel piping
- 12" wide wood
- Wood stain
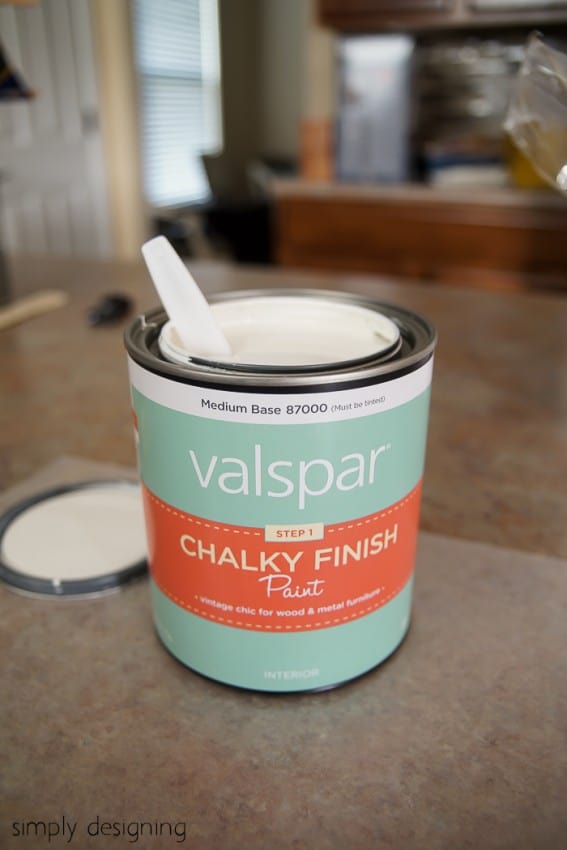
- Valspar Chalky Finish Paint (the color I used is Kid Gloves)
- Polyacrylic
- Zinser Primer
And I, of course, used my awesome HomeRight FinishMax for this project as well!
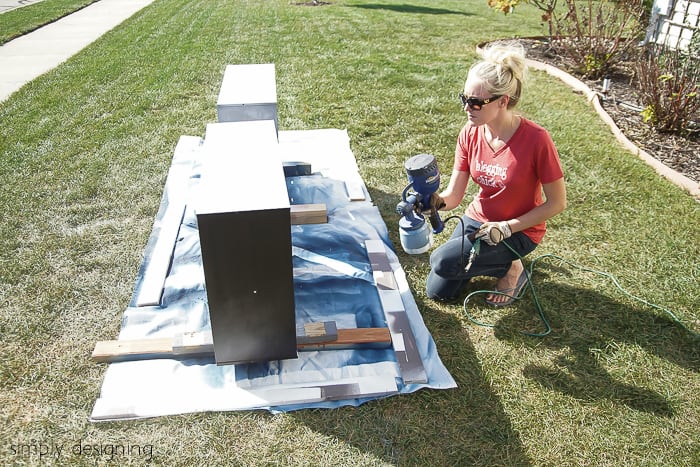
How to paint laminate furniture for this laundry room makeover.
We began by assembling the storage unit, I left off the back. Then I used my FinishMax to spray primer onto the cabinet.
I will be honest with you, spraying cheap laminate furniture can be a challenge. Sometimes I have success with lightly sanding the piece of furniture first and sometimes I just need really light coats of primer. This is a case where doing both is a good idea, but I just opted for spraying several light coats of primer onto the storage unit.
I allowed plenty of dry time too.
After the unit was primed, I filled my FinishMax up with Valspar's Chalky Finish paint. I had to thin this accordingly and again I opted for several very thin coats of paint. I also painted my primed trim as well.
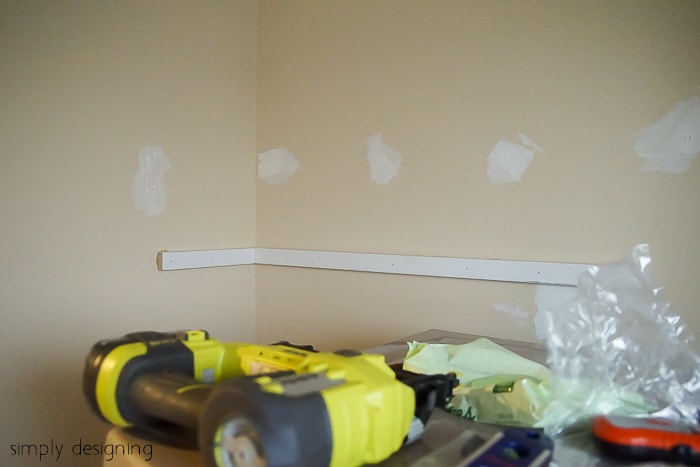
While my new storage units were drying, we removed the wire shelf from the laundry room. We then patched the walls.
Mounting the storage units in the laundry room:
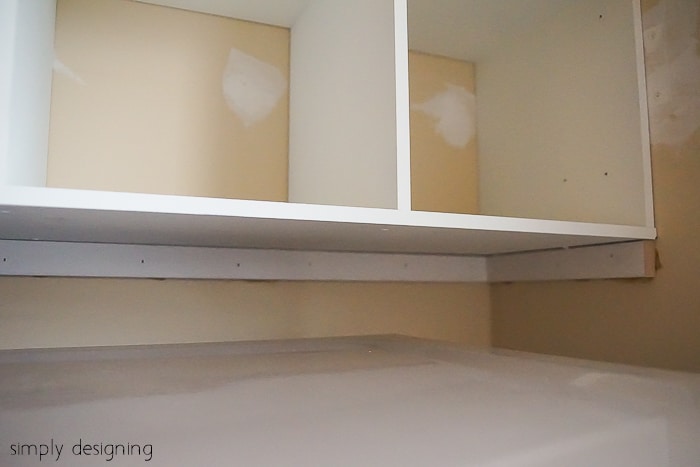
After determining where we wanted the new storage units to be, we attached 1"x2" directly onto the walls below where the bottom of the shelf would sit by using liquid nail and a nail gun.
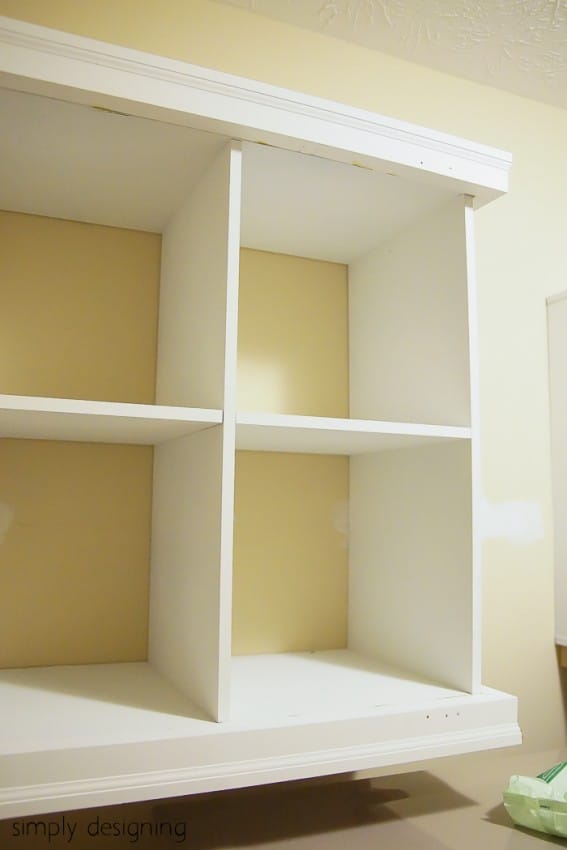
Then we installed the storage units by resting them on the 1"x2" and used liquid nail and a nail gun to attach them to the 1"x2" and the wall on the side of the unit.
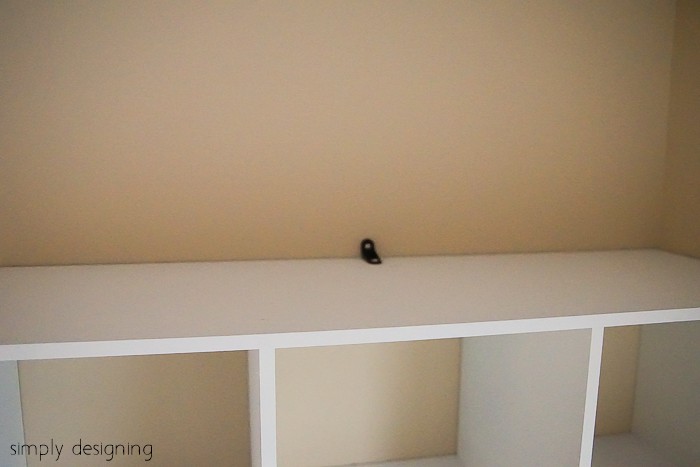
We also installed the safety bracket that came with the shelf to help hold it securely to the wall.
After mounting the shelving units in the laundry room we used our nail gun to attach the trim to the top, bottom, and sides of the unit.
We used a decorative trim on the top and bottom and a plain trim on the sides.
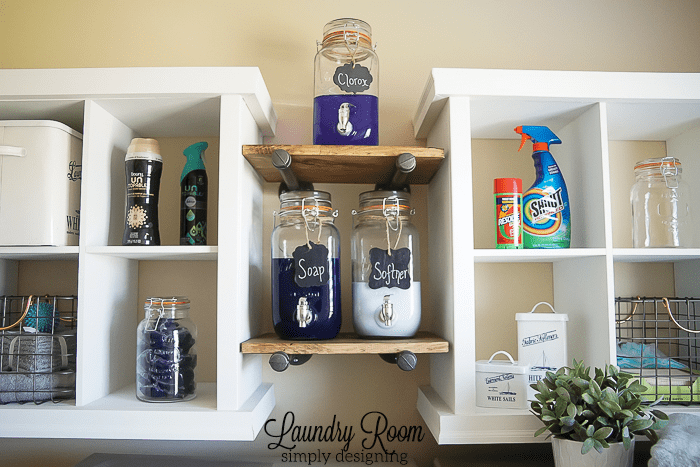
If you noticed, I have a space about 15" between my two shelving units. I decided to use this space to add a bit of character to my laundry room.
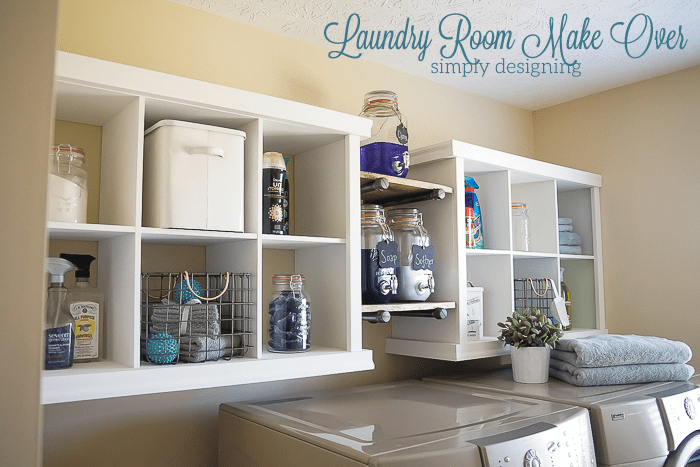
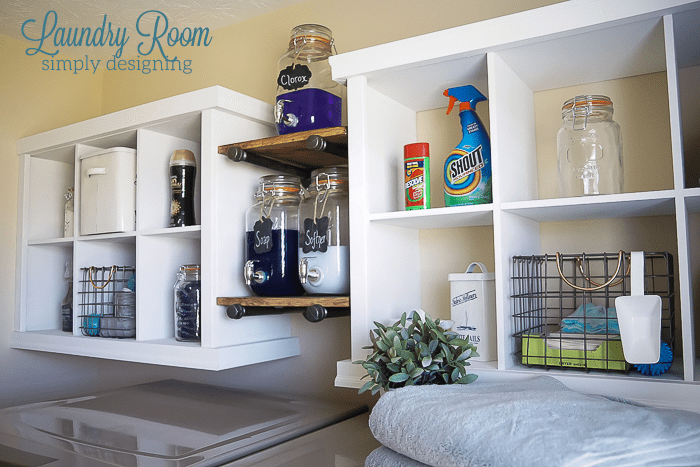
I used steel flanges to attach steel pipe to the wall. We cut 12" wide boards to fit the space and stained them. Then I placed the wood on top of the pipe. I love that this adds a unique industrial touch to the space!
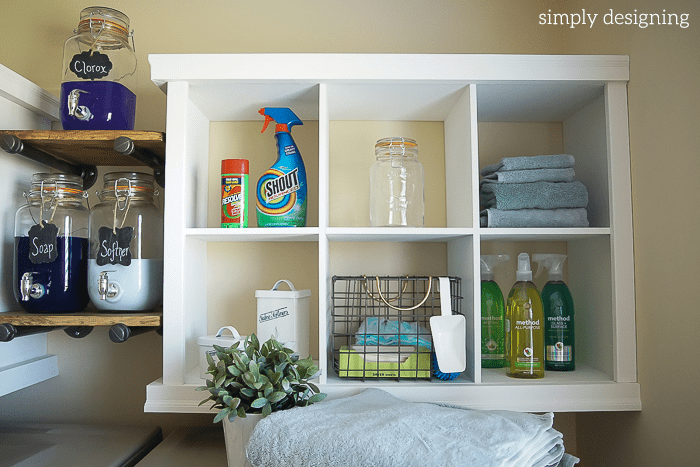
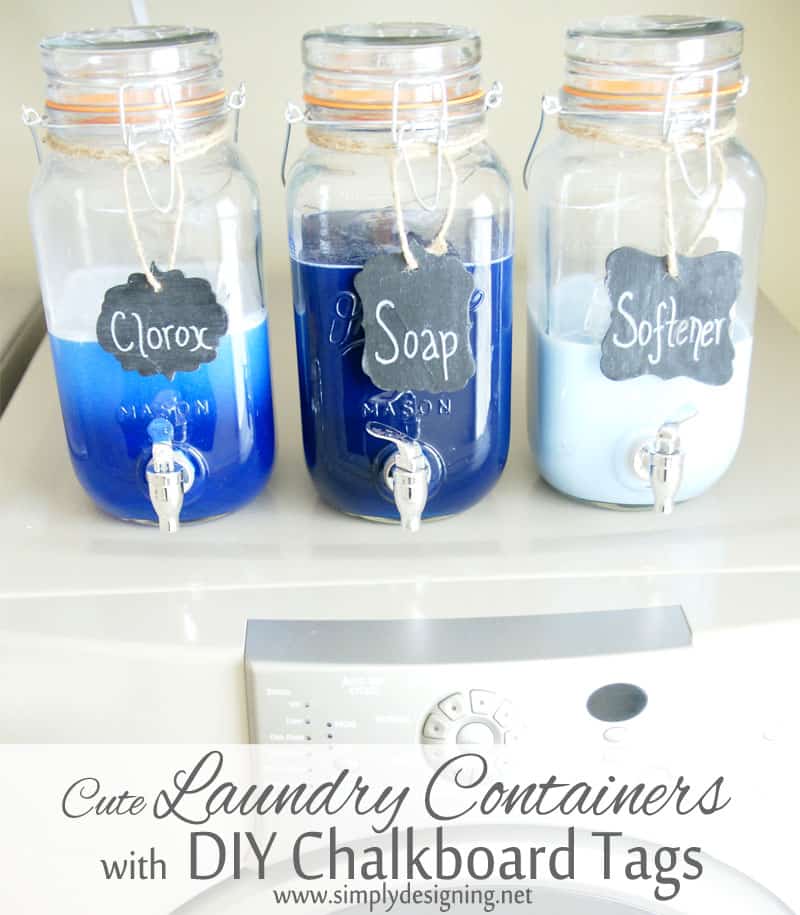
I chose to place my Mason Jar Laundry Soap Containers on the shelves.
At this point, we had some touch-up work to do. We patched and painted the places where we had used the nail gun and any other places that got dinged. We also touched up the walls as well.
Because I knew I would have touch up work to do, I left sealing it until this point and choose to do that with a brush.
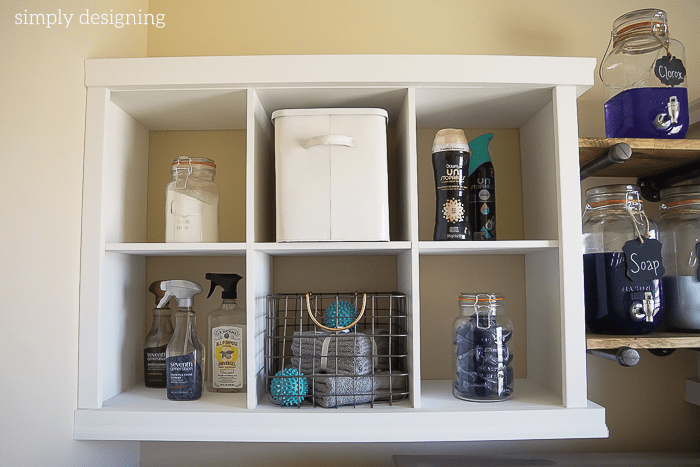
After it was dry it was ready to fill with pretty laundry and cleaning items that I use often. I weeded through all of my laundry and cleaning items and choose to only put back things that I actually used.
I got rid of quite a few things. I added a few baskets and put everything back in an orderly way.
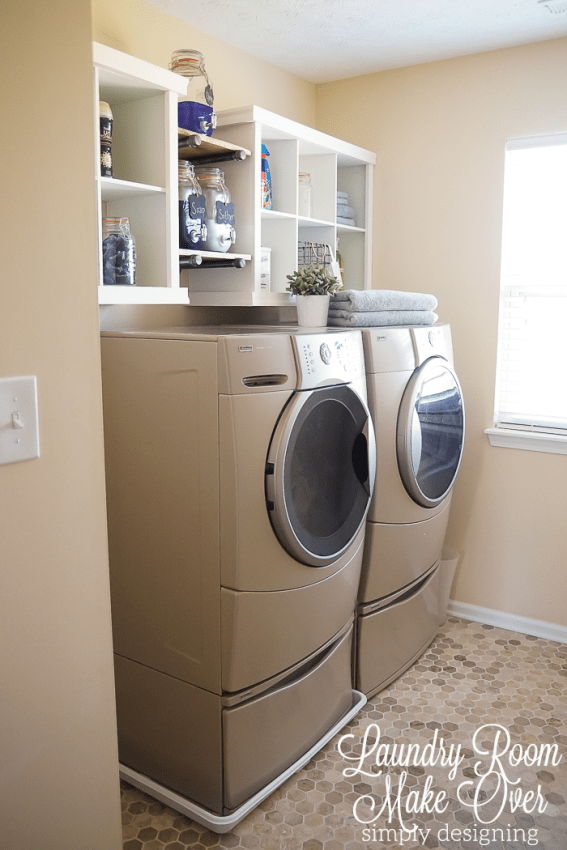
I honestly can't believe how much additional storage space these laundry room shelves have given me! And can you believe the difference these shelves make in the space!
I can't believe the transformation! And I am just in love with my laundry room!
Isn't it amazing how a little project can completely transform a space!? And I can't believe my pretty shelving started out as two shelves!
I absolutely love how my laundry room turned out! It is so functional and beautiful! It is so light and bright and open.
2018 update: And even now, a few years later, I still just love it! It is still really functional for my family and I love all the organizational spots it gives us.
Now I know that open shelving in a laundry space may be a little controversial. Some love to be able to hide all of their laundry things behind closed cabinet doors.
And while I totally see the allure of that, I actually am in love with the open shelving in my laundry room! It makes everything super accessible and easy to get to even if my hands are full of laundry. I know that sometimes open shelving can look unorganized and messy, but with all the bins and square shelves, it is really easy to keep organized and looking nice.
Check out these cool posts too:
Mason Jar Laundry Soap Containers
Cement Gold Color Blocked Planter






Debbie Refresh Restyle
Great idea! Your laundry room looks awesome!
Debbie
Barb Ullman
I would love this for my son who needs to do some painting at his home
Anne Marie
I would paint a small table that I have - I have been putting this off for ages. Love you laundry room!
Laundry Shoppe
From chaotic to calming! Your laundry room looks great. Laundry bliss!
Amy hulbert
So many projects I'd love the sprayer for! Like... A new vanity with a concrete sink for the kids bathroom;)
Tiffany Sheridan
I am DYING over the shelving units!!!!!
Lauren
This project looks great and gives so much room for everything!
Lauren
Whoops, hit done to soon. I want to build some toy storage for my boys.
Angela
Great inspiration! I am also in the process of making over my laundry room. Just took down the cheap builder grade wire shelving yesterday. Can't wait to add more storage too. Thanks Ashley!
Laura
We just bought a new (to us) house! I love all your ideas for updating it because they are simply enough that I can do it! I can't wait to get started! Thanks for all the tips and tricks!
Nornee
I have two projects! One is to rehab an outdated corner cupboard, and the other is to paint some dark rough paneling. Thanks!
Isaura
love those Mason Jar Laundry Soap Containers
Kimberly T.
I would love to win the paint sprayer, what a useful tool! If I won I would paint a music cabinet that's been waiting for me for quite a while now. I have the paint and everything. Haha
And yes, I LOVE your hexagon tiles. Adding that to my wish list for someday. You're laundry room is beautiful!
Maria
It looks amazing! It makes me want to do the same to my laundry room.
Jodee
I have been struggling with a two painting jobs--a dresser and some dining chairs. I cannot seem to get the paint smooth or the poly not patchy. I would first take care of those projects with the sprayer and then update my barstools.
Lisa
Love it! I decided years ago that I spent way to much time in my laundry room to not keep it fun & functional.
Lindsay
This makeover is beautiful and so simple.
Julia
Great job! I love the makeover. I am wondering where you now hang clothing items when you do the laundry now that you have taken down the wire rack. I want my laundry room to look great and be functional.
Ashley Phipps
Honestly I rarely hang clothing to dry. I usually lay it flat so I don't miss the hanging space at all.
tammigirl
I love this! I bought the paint I need for my laundry room, and am trying to decide on wall treatment and how to do my shelves. Great idea with the jars! I might just need to do that myself.
p.s. Your site is totally KILLING my computer. Really bad. It's definitely your site, without it everything else is fine. I'm going to try to enter your rafflecopter, but if I quit halfway through, that's why. I thought you should know, because you probably want lots of traffic and lots of entries - and maybe it's getting a lot of attention from HomeTalk today. If you don't get the comments and entries you expect, you'll know why. It's exceedingly difficult to leave this comment.
Kimberly Bennett
This is a terrific project! I definitely think you will win this challenge! Good luck and thanks for posting this!
Benny Sequeira
My craft room needs painting.
Natasha S
Am moving to a new apartment, this would be handy.
Ananya Gupta
I would gift to hubby for his birthday, he is a handyman will put it to good use in renovating our home.
Jennifer Creviston
Oh my! What wouldn't I paint?! I would start on a small accent table I picked up on a yardsale facebook group or some chairs...
Glory J Thomas
I love it. I don't have a laundry room but a wall in the garage. I so desperately want and need and ideas to beautify it. When the garage opens, I want it to be noticed in a good way. Any ideas? Glory
Ashley Phipps
You could paint your walls in your garage or even add some wallpaper behind where your washer and dryer are! The wallpapers out now are so trendy and removable, they stick on like a sticker so no glue needed. It could be a fun way to add a pop of color and style to your laundry space!
Dana Altum
how do you reach the cubbies, i have the exact same situation , but if I do this, I am afraid I won't be able to access the storage, and I am 5'7"
Ashley Phipps
I am 5'6" and do have a little trouble reaching the top cubbies but have no issues with the bottom ones! However I had trouble reaching the shelf I previously had in the room too that was installed by the builder. If my washer and dryer were not on pedestals I would have installed the shelves lower. So for now I just snag a step stool from my kids bathroom if I have trouble reaching anything!
Tiffany
How does it hold up with weight? Can you put heavy stuff on it?
Brian
I love the use of unconventional shelving. I notice a lack of space for hangers, which seems to take away from the daily functionality of a laundry room. I'm planning an overhaul of ours and need to plan for rod space to hang clothes taken out of the dryer, or hang-drying clothes, etc. Does your room have a space for that but just not pictured? I'd love to see your ideas on that.
Ashley Phipps
To be honest I don't really hang clothes to dry so I do not have a spot for it. But if you want one I would definitely make that a priority in your laundry room!