If you follow me on Instagram (which you should...if you don't go follow me HERE and then come back...I'll wait...) you may have noticed I've been sharing sneak peeks of our latest project all week! Why!? Because it's stinkin' awesome! I think this might be my favorite project ever! It is so fun, stylish and can you believe, we made it ourselves!? Truly! So today I am so excited to share this amazing DIY Industrial Cabinet Hack! Yes, it is a hack...and you won't believe WHAT it looked like before! Read on to see...
As an ambassador for HomeRight every once in a while I receive a challenge that I can't turn down! And this was one of them. So a big huge thank you to HomeRight for helping to make this post possible and for challenging me to do something creative this month!
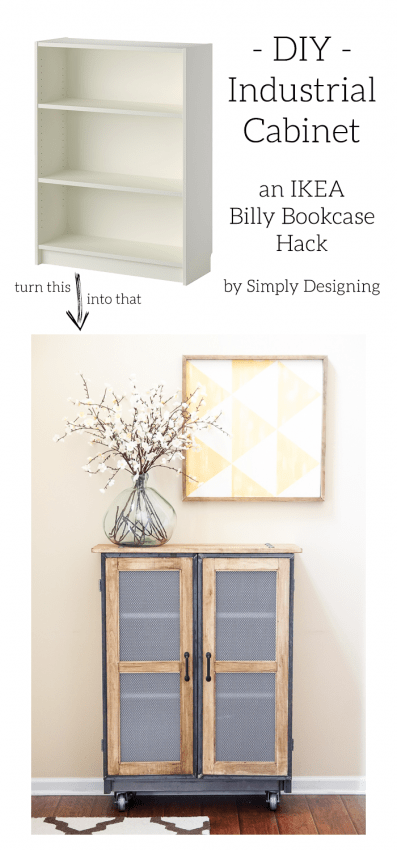
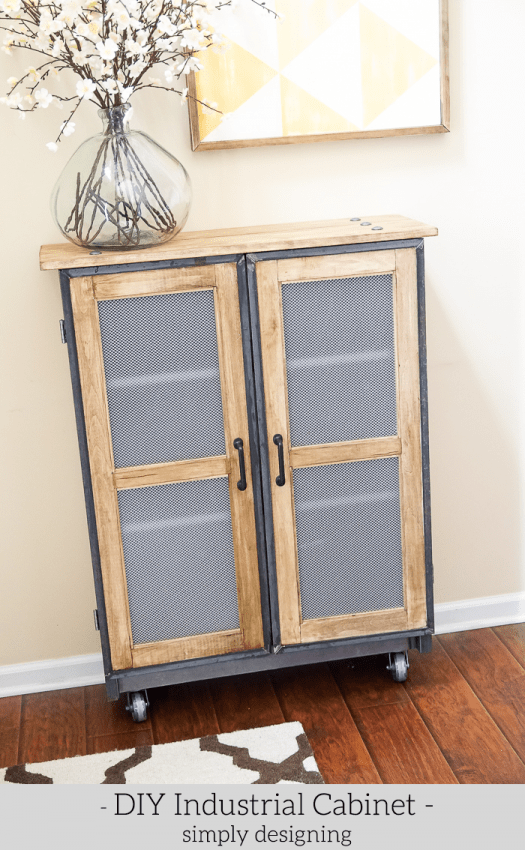
As I mentioned, this DIY Industrial Cabinet is actually a HACK! HomeRight sent me an IKEA Billy Bookcase and challenged me to do something creative with it. And I think that we succeeded! What do you think!?
What a transformation this bookcase took!!
I think we pulled out just about every tool we own to make this project happen...but our HomeRight FinishMax was the start of it all! Have I mentioned how much I love my FinishMax!? It's one of my all-time favorite tools!
So today I am really excited to walk you through step by step, how to turn an IKEA Billy Bookcase into an Industrial Cabinet!
Here is what you will need:
- IKEA Billy Bookcase
- (2) Welding Iron, Angle, ¾" x ⅛" x 36"
- (3) Welding Iron, Angle, ¾" x ⅛" x 48"
- (4) Welding Iron, Angle, 1" x ⅛" x 48"
- (1) Welding Iron, Flat ¾" x ⅛" x 48"
- (1) Welding Iron, Flat 1" x ⅛" x 48"
- (1) Welding Iron, Flat 3" x ⅛" x 36"
- (2) Cabinet Pulls
- (4) 3" Cast Iron Casters
- (4) 2" Hinges
- (1) sheet Prisma Clear Acrylic
- (4) ¼" x 6" x 4' Aspen Boards or ¼" Hardwood Plywood cut to size (depending on availability)
- (1) 1" x 6" x 4' Aspen Board
- (1) 1" x 8" x 4' Aspen Board
- (1) 1" x 2" x 4' Aspen Board
- (5) 1" x 3" x 4' Aspen Board
- (14) ¼" x 36" Poplar Square Dowels
- (1) 2" x 4" x 4' Construction Lumber
- (2) Magnetic Catch
- (6) ½" x ⅖" Carriage Bolts
- (1) quart Rustoleum Grey Hammered Paint
- (1) quart Xylol (you won't use all of this)
- (1) quart Cabot Stain, Aged Leather (or stain color of your choice)
- Rag to stain with
- Strainer
- Plastic Sheet Cutter (believe me, it's worth the $5...just buy this!)
- Sharpie Marker
- Metal Straight Edge (or ruler)
- (1) 1" Foam Paint Brush
- HomeRight FinishMax Paint Sprayer
- Compound Miter Saw with wood blade and metal cut off blade
- Grinder
- Rockwell BladeRunner or similar
- Electric Sander and sand paper, both rough and fine grit
- Kreg Jig
- Drill and Driver
- Brad Nailer with brad nails
- Screwdriver
- Clamps and/or Tow Straps
- 1 ¼" Kreg Screws
- Elmer's Wood Glue
- Elmer's ProBond Advanced
- Liquid Nail
- Paper Towels
- Wipes
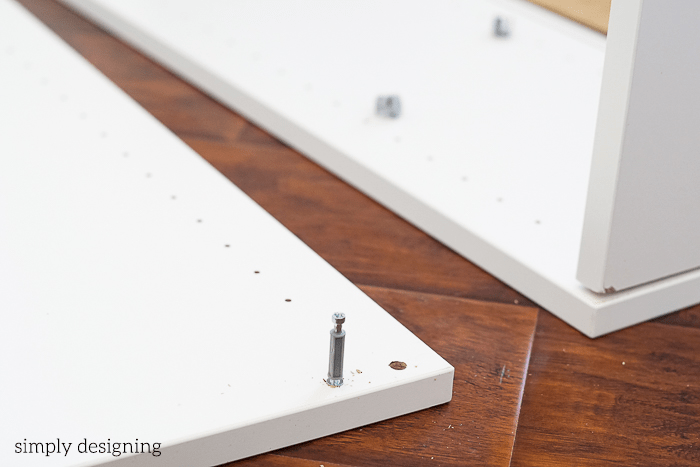
First we built our bookcase. I really do love how simple IKEA furniture is to put together. We did not put the shelves in, but we assembled the rest of it together.
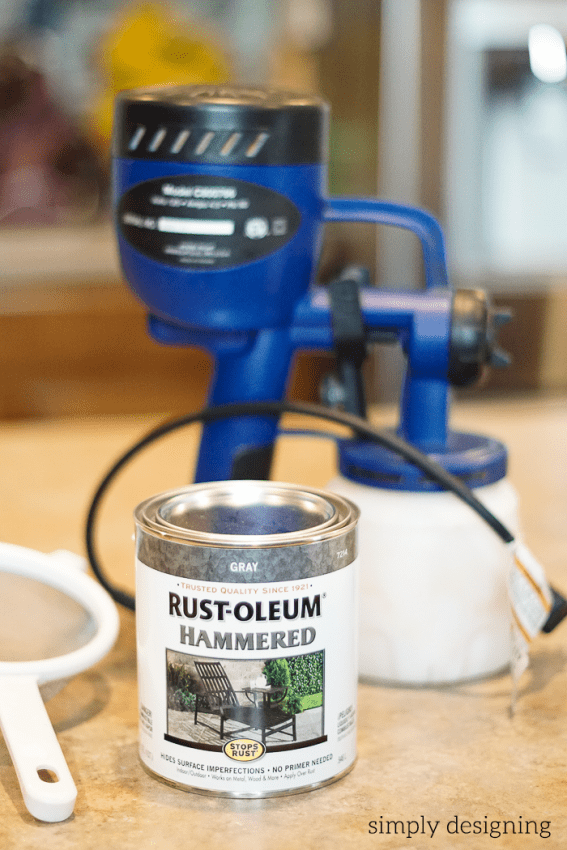
Next it was time to paint! We used Xylol to thin our Hammered Metallic paint to the consistency recommended for my HomeRight FinishMax. We used Xylol instead of water because this is an oil based paint. Also you will use the Xylol to clean up after you are done as well.
Always run your paint through a strainer before using it in your FinishMax. Even fresh paint can clog, so be sure to strain it first.
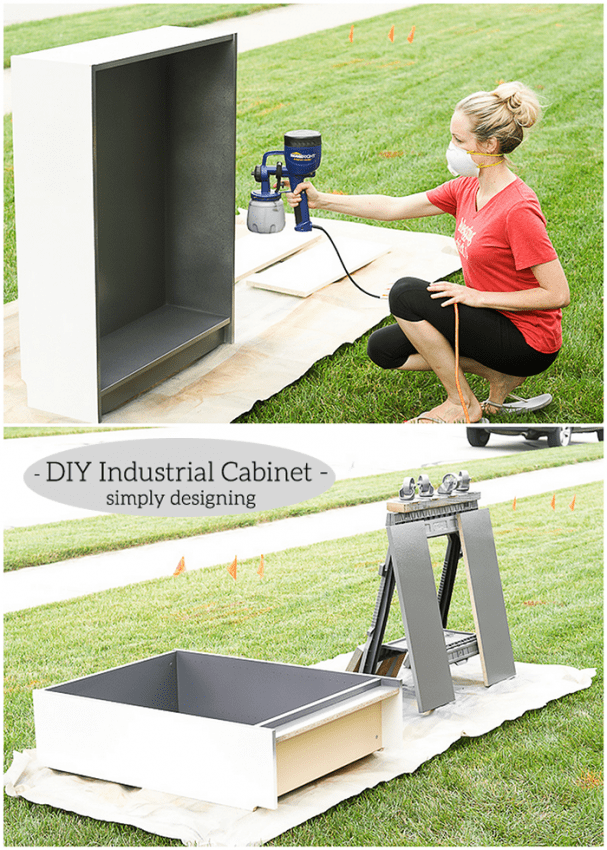
After our paint was prepared we painted the cabinet! I love how well the FinishMax worked for this project. It gave the paint a beautiful smooth finish.
We sprayed a couple of coats of paint on everything. The bookcase, the shelves, the casters, the bolts etc.
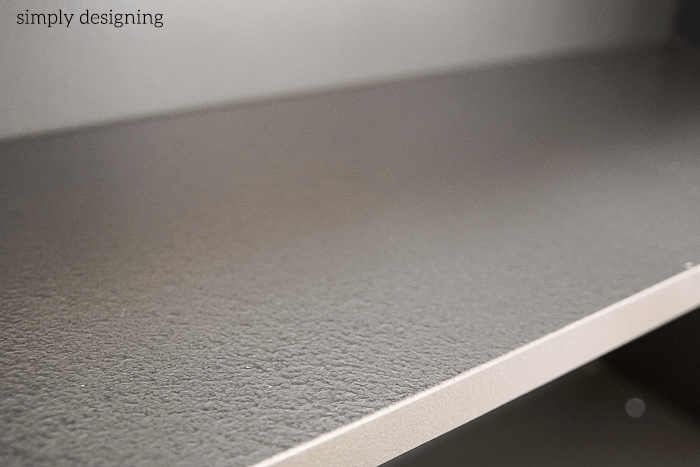
We chose this paint because it gave the shelf a beautiful hammered metallic look. It is hard to see in the photo but the texture is really beautiful and gave this piece a more industrial feel to it.
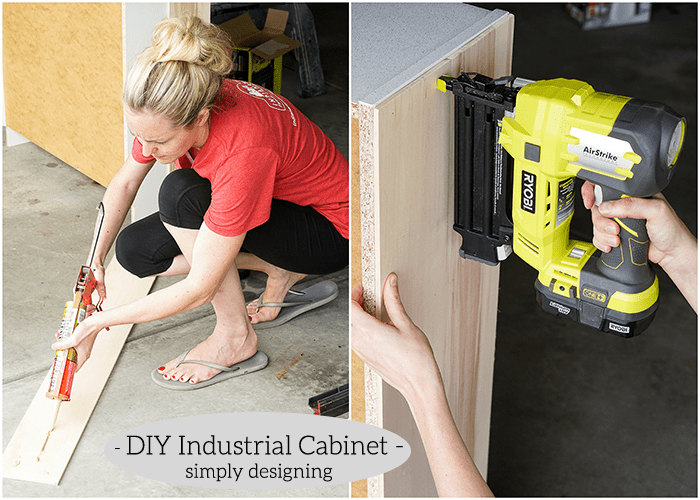
Then we trimmed the length of our ¼" x 6" Aspen Boards (or plywood) so that they would cover the sides of our bookcase. They we used liquid nail and our nail gun to attach the boards.
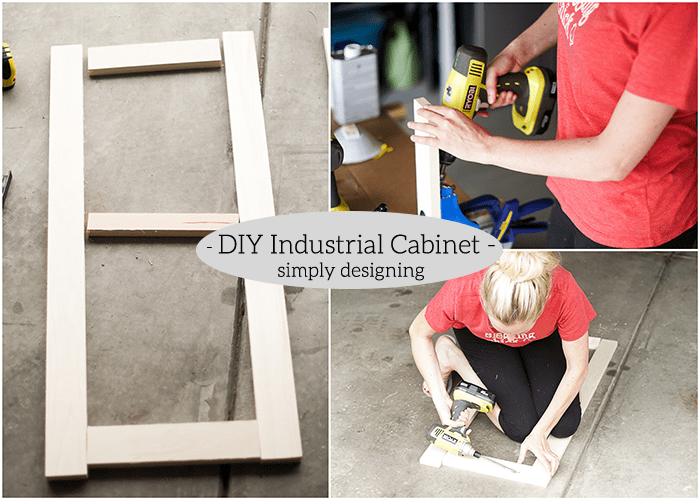
Next we built our doors using 1" x 3" Aspen Boards for the frame of the door. And used the 1" x 2" Aspen Board for the cross member. We used our Kreg Jig and Wood Glue to assemble the door frames together.
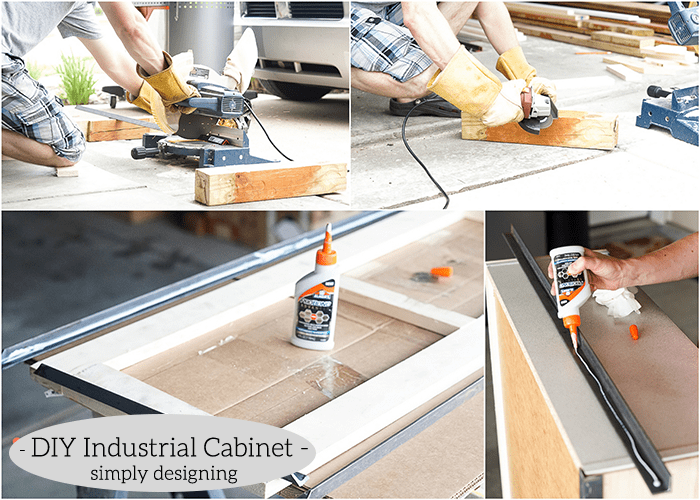
Next we cut the welding iron to size. We used the 1" iron on the bookcase and the ¾" iron on the doors. We cut the iron using our compound miter saw with a metal cut off blade. The iron will get hot so wear leather gloves, eye and ear protection. We used a grinder to smooth the edges of the iron where the cuts were made.
We used Elmer's ProBond Advanced to glue the welding iron into place on the bookcase and doors.
We also cut and placed the 3" x ⅛" welding iron in place along the toe kick area of the bookcase.
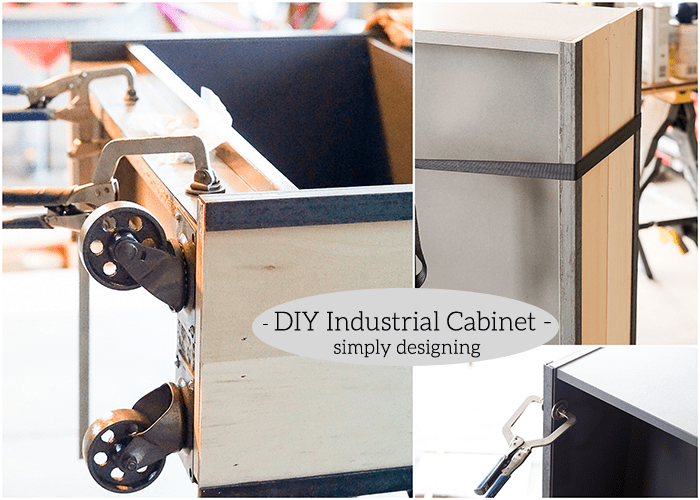
We held our welding iron in place using clamps and tow straps and then we let it set completely.
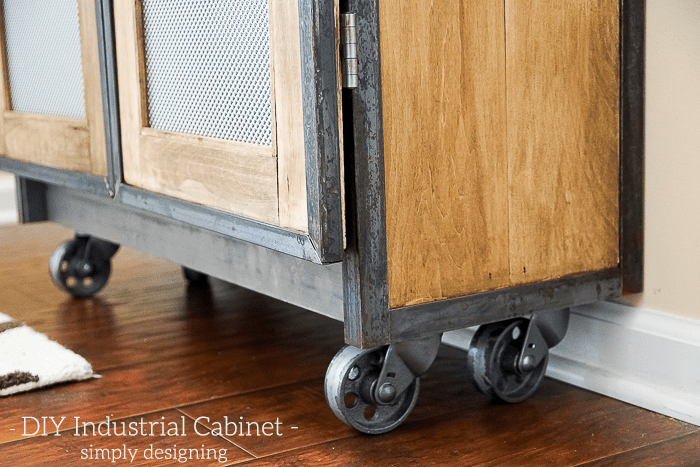
We cut and attached (2) stacked 2" x 4" along the bottom of each side of the bookcase and then attached the casters.
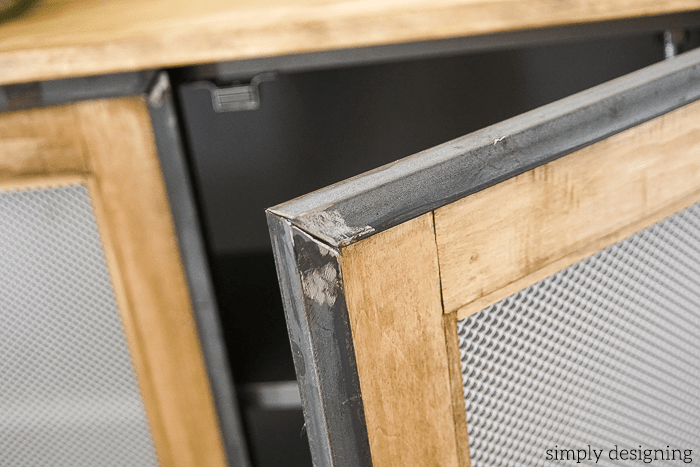
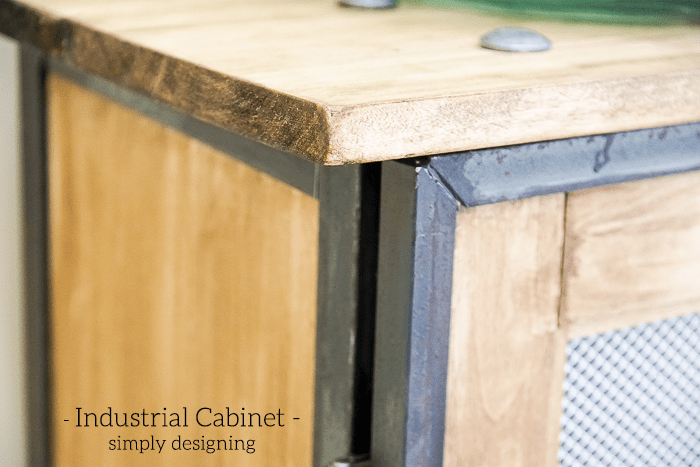
Here is a closer shot of how the welding iron looks in place! Isn't it so cool looking!? It gives this bookcase a very industrial look which I love! Also, it makes the bookcase very heavy so be sure to enlist help if you need it!
We attached the door hinges and doors to the cabinet by drilling pilot holes into the welding iron with a small drill bit and then we attached the hinges using screws. The doors are heavy and it is important to line these up well so you will probably need a second set of hands for this.
We also installed a magnetic catch to help keep the doors closed.
Next we stained all of the wood and let it dry.
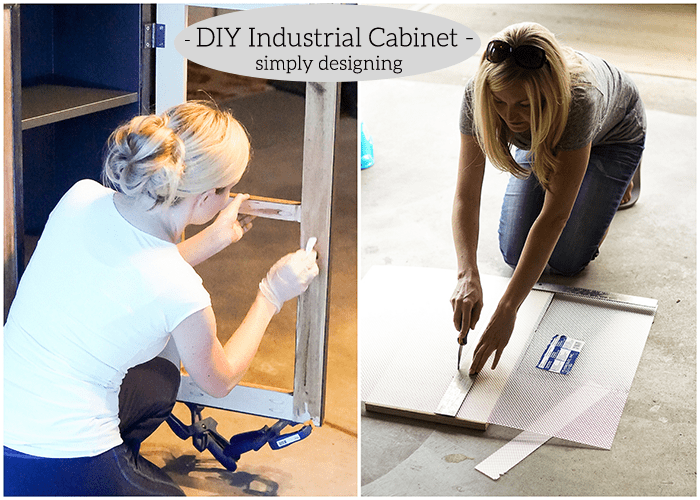
Then we trimmed our acrylic panel to fit inside of the doors with our plastic cutting knife.
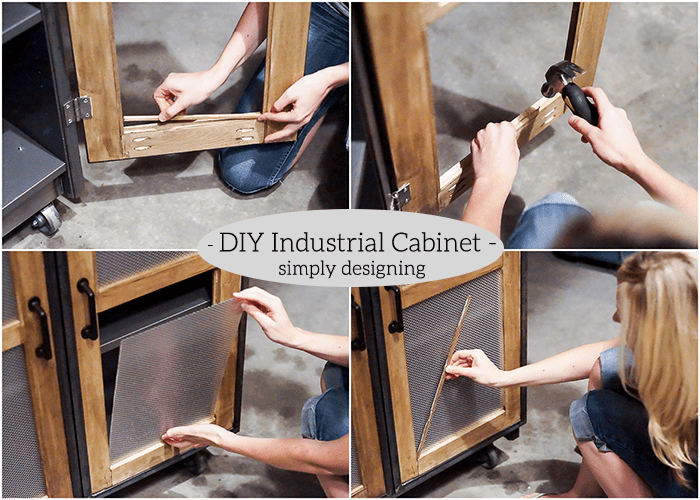
Next we cut, stained, wood glued and nailed (with ¾" length brad nails) our ¼" x 36" Poplar Square Dowels along the back edge of the door frame windows. (We used our BladeRunner to cut these.)
Then we set the acrylic panel in place and added another ¼" x 36" Poplar Square Dowels along the outside of the door frame window.
This secured our acrylic panel in place while keeping it clean and beautiful looking.
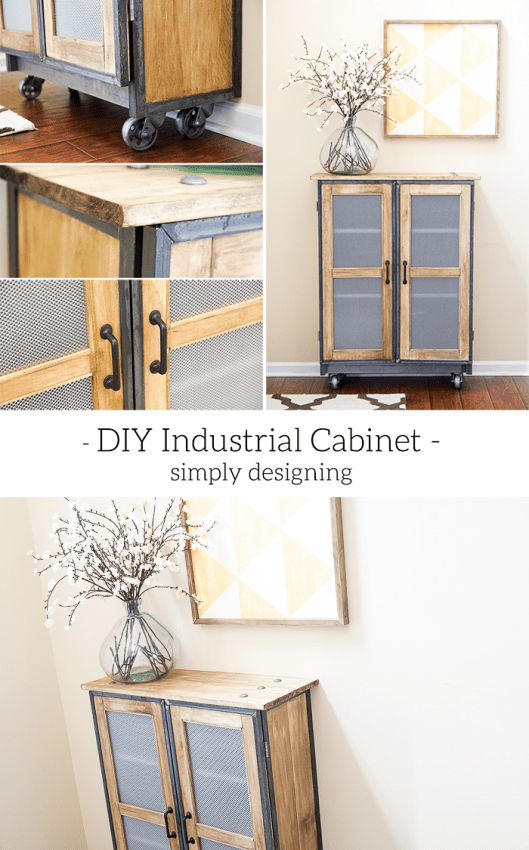
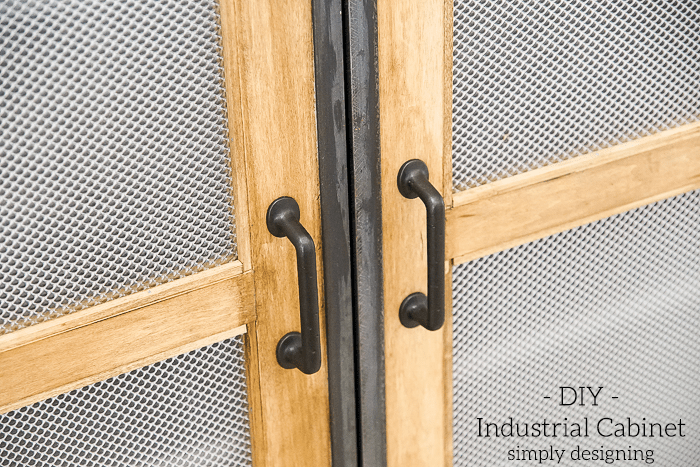
Here is a close up of these beautiful doors!!! I really love how the acrylic panels help to give this cabinet a very industrial look and feel.
Oh and we attached our handles too.
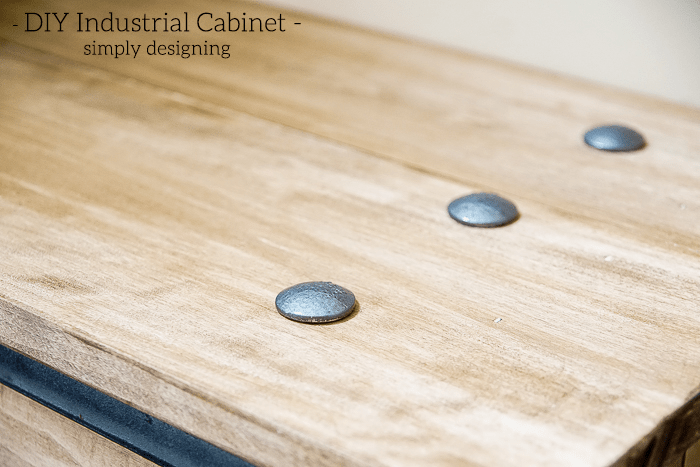
We use wood glue, our brad nailer and then carriage bolts to attach the trimmed and stained 1" x 6" and 1" x 8" Aspen Boards. (6" flush with the back and 8" in the front, overhanging a bit)
You can't tell from this photo, but the seam of our top aligns with the seam of the boards on the side of our cabinet. It's the little things like this that make a DIY piece look well done.
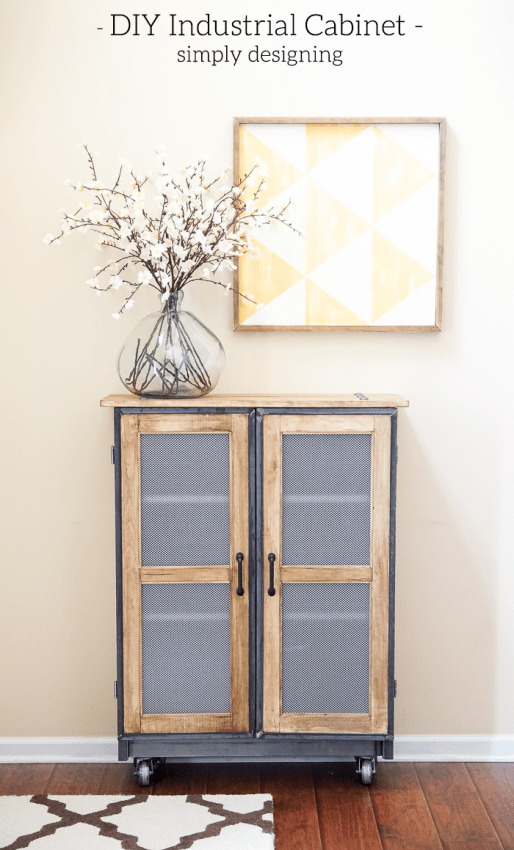
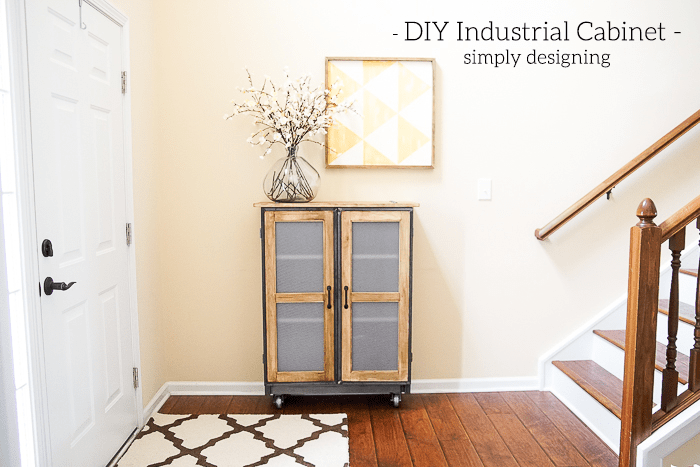
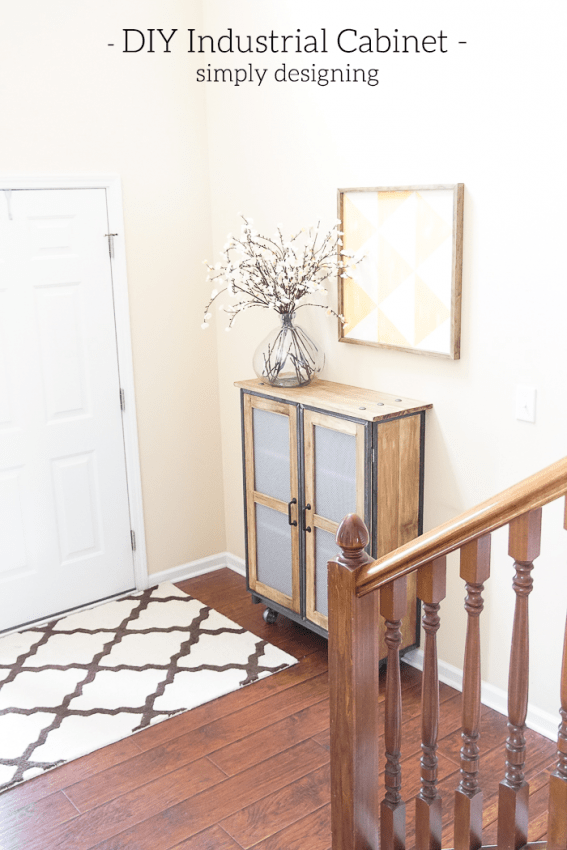
We decided that this would be the perfect new addition to our entry way! And I really do love it here! This industrial cabinet is just our style and makes a big statement when you enter our home.
Once we decided exactly where the cabinet would go, we used the hardware that came with the bookcase to attach this to the wall. The added wood and iron make this heavy and so I would hate for it to ever tip over.
One of my favorite details of this project are these casters and the iron along the toe kick! They really make this piece stand out!
We moved our Pottery Barn Knock-Off DIY Diamond Art to our entry way and this pretty vase and flowers for the time being to finish the look. I can't decide if I will keep the vase and flowers here or return them to their original home in my Kitchen.
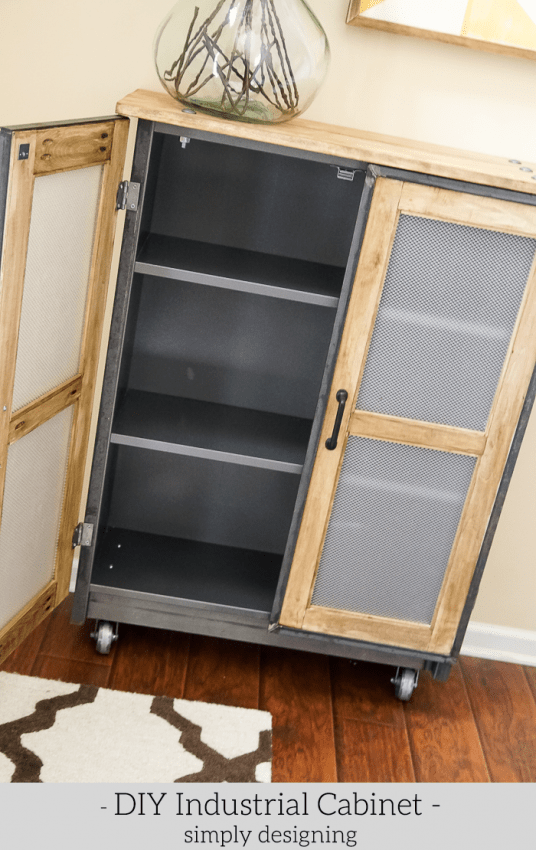
Oh and the inside!! I love how the hammered metal paint looks inside of this cabinet! This piece is not only beautiful but so incredibly functional!
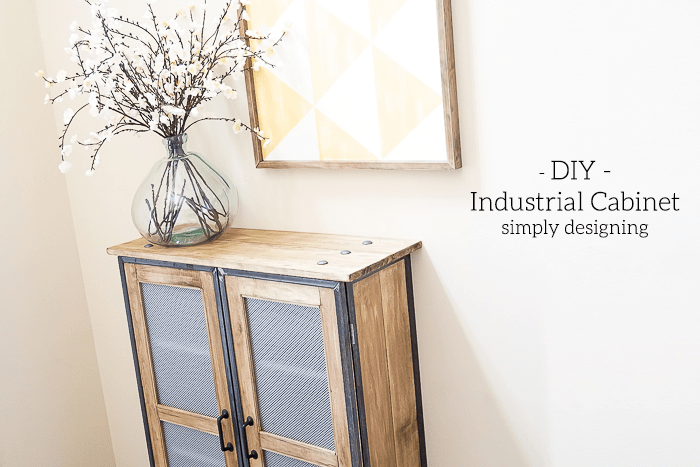
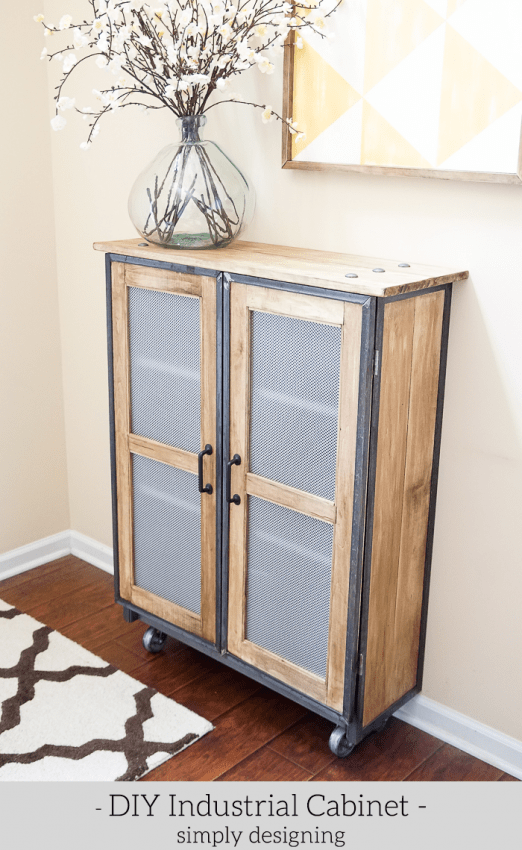
And one more photo just for fun!
And I am so thrilled because HomeRight has generously offered to give one lucky Simply Designing reader a FinishMax Sprayer! Woot woot!
Please wait until the rafflecopter fully loads below and enter to win! (If you are on a mobile device, you may need to click the Rafflecopter link to be taken to the entry page.)
And be sure to share this with your friends too!
By entering to win, you agree to these Terms: Winning entries will be verified. This giveaway is in no way affiliated, administered or endorsed by Facebook, Pinterest, Twitter or Instagram. No information will be disclosed to Facebook, Pinterest, Twitter or Instagram by entering this giveaway. No purchase necessary to win. Odds of winning are based on number of entrants. Winner for prize package will be chosen randomly through Rafflecopter. Giveaway will run from June 28, 2015 until July 7, 2015 at 6:30am EST. Winner will be announced on July 7, 2015 in this blog post and the winner will need to respond within 48 hours of announcement via email to claim their prize or another winner will be chosen. Winner must be 18 years of age or older and a US citizen with a US mailing address in order to win. Void where prohibited. Winner is responsible for paying any necessary taxes on winnings. All prizes will be mailed / emailed / fulfilled by the sponsor and the blog owner(s) involved are not held responsible if the prize is not fulfilled. A list of winners may be requested after the giveaway has ended. Please email me with any questions or to obtain additional information at: [email protected]
Check out these cool posts too:




Jacque
Awesome Hack! I love the industrial look!
Colleen B
Love this but I am going to do mine it black and brushed nickel to match my refrig.
Jana
I love your cabinet! If I won the sprayer, I would use it to paint an antique dresser that has seen better days. It has quite a bit of detail on it that would really show nicely painted!
Megan S.
i would paint these old lockers I picked up on Craigslist for my own industrial entry storage!
amy @ one artsy mama
Wow! I am so impressed!
amy tolley
I would stain my hubbies work benches in his garage if winning this amazing prize
Rom Kruse
an old entertainment center I would like to turn into a bakers rack for my daughter
Kat@Home. Made. Interest.
This is beautiful and exactly what I need in my living room. Another thing to add to the to-do list.
Emily
This is such a great project! I can't believe this started as a book case, it looks amazing!
gail
Wow! you outdid yourself on this hack Ashley! I love the colors and the wheels. 🙂
fabulous job!
gail
Amy Anderson
I have a dresser that needs this sprayer!
Emily @ Table & Hearth
Wow! I have been on the search for a rustic-meets-industrial cabinet to use as the hubby's liquor cabinet (so I can get a shelf in my pantry back) and this would be PERFECT! I can't even believe it started from the Ikea bookcase, awesome job!!
David
We have a spare bedroom in our house that we are converting into a playroom for our kids, and painting is a big part of that.
Jeannie
I need a sprayer that works! Looks fantastic!
Nicole Dziedzic
I would love to win this to paint my outdoor bench and also my patio chairs, would be a huge help.
Heather Dawn
I would paint an old dresser that I have been wanting to bring back to life !
Christine
Such a beautiful piece Ashley!! Looks fabulous! I have yet to try the HomeRight FinishMax Paint Sprayer, looks like such a fun tool to play with!
Condo Blues
Wow! I cannot believe you made it from an IKEA bookcase. It looks like you bought it from Restoration Hardware for big bucks. Nice job!
David
Thank you very much. I just sent a reply to your email.
rebecca lopez
Love Love Love this! Great job!
Katie @ Upcycled Treasures
This transformation blew me away, it's absolutely gorgeous and such an incredible custom piece. Love it!
Ashley Phipps
Oh thank you so much!