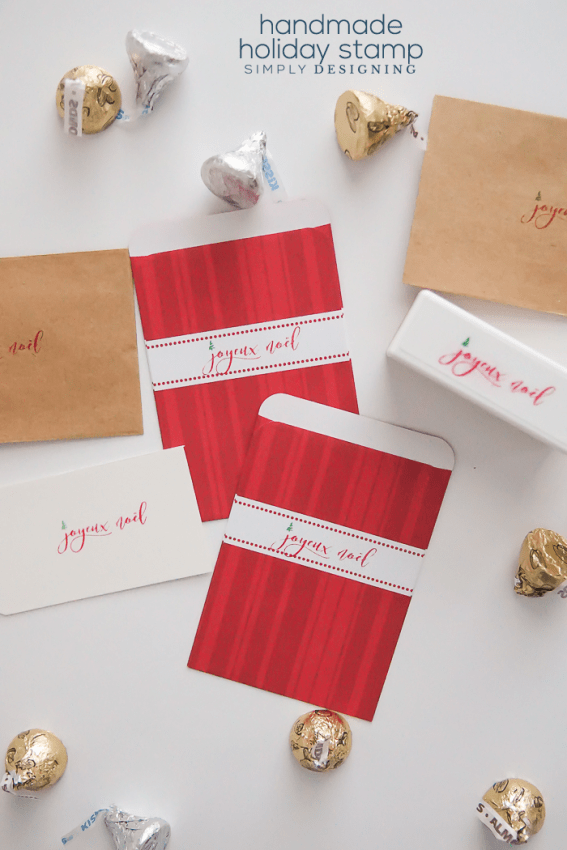
I love Christmas. I love the magic of the season, the kindness, the lights and extra time and energy we spend thinking about others and how to serve or help others. I just love this time of year. I don't know if it was because I was supposed to be born near Christmas (I was nearly a month late...my poor mom!) or if it's because my middle name is Noelle, but I feel especially drawn to this time of year. One of our favorite things to do is to give little gifts. I shared a few gifts that we are planning to give this year here, but today I wanted to share another way to decorate and make your gift special. I wanted to share how I made this beautiful joyeux noel holiday stamp! And you won't believe how incredibly easy it is.
A big thank you to Silhouette for sending me a Mint for purposes of this post. Affiliate links are included in this post, you won't pay a penny more but you will be helping support my blog by purchasing through my links. Thank you!
I had a lot of fun playing with this and really really love how easy it is to create your own beautiful custom stamp! No design degree required. And if you already have a Silhouette then you will love the Mint and it will be really easy for you to use too. The software program is very similar and you can use the same cut files that you already own, true type fonts you have loaded on your computer, or you can create or import your own design as well. It is really pretty awesome to have so much control over designing your own stamp!
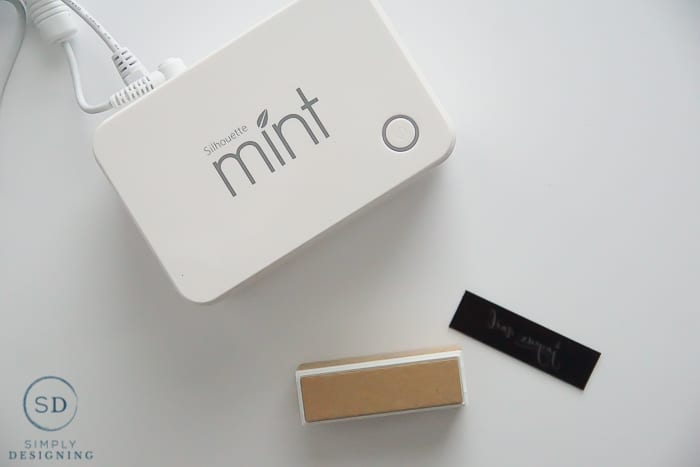
After I opened my Mint and uploaded the software I was ready to begin. I found a cute, joyeux noel design that looked like it was hand lettered and fell in love with it right away! But I wanted to replace the dot over the J with a Christmas tree to make it a little extra special. So I found a fun Christmas tree design and purchased that from the Silhouette store as well.
Once I had both files downloaded I brought them both into my Mint software program and sized them for the stamp I wanted to create. I used the eraser tool to delete the dot and placed the Christmas tree in its place.
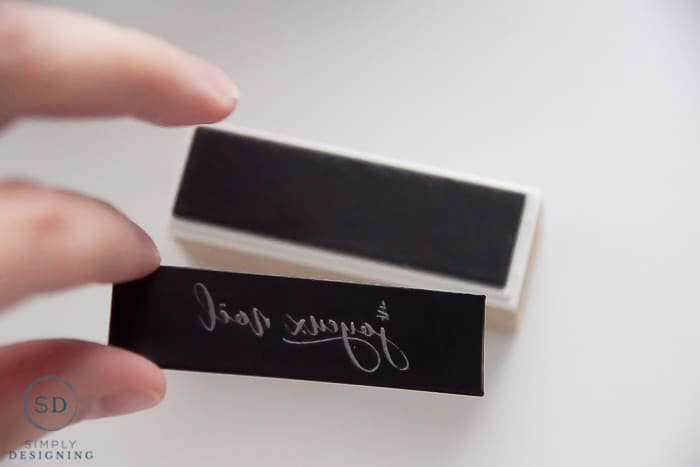
The important thing to know is that before you can cut your stamp, you need to add a "filter" to every item you want to cut. If you don't, that portion of your design will not cut. So I applied the standard filter to the joyeux noel portion at 50% and the standard filter to the tree at 8%. Then I cut the file as instructed in the manual (you can also follow the prompts in the print dialog box in the software program as well.) Basically you send the design to the Mint, insert your stamp to be cut, hit print design and then let the little machine of wonder work its magic!
And magic it truly is!
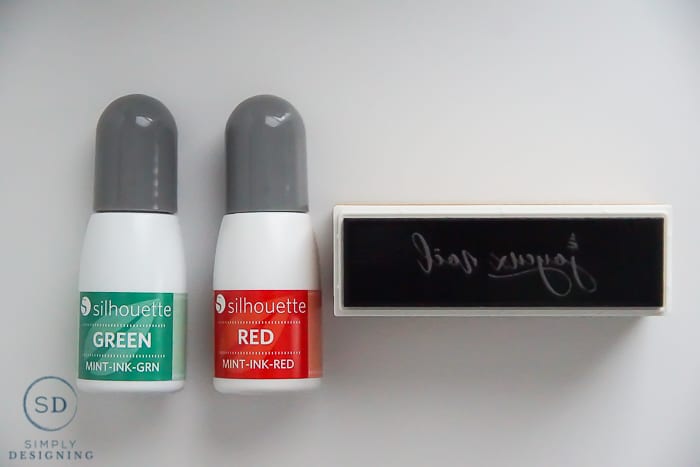
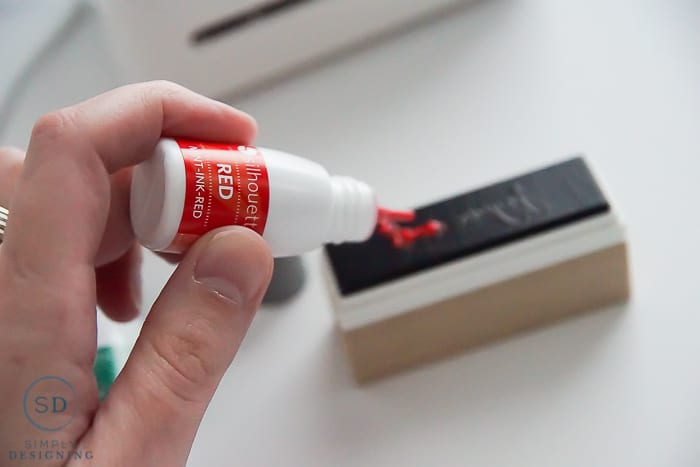
Once the stamp was created, I placed it onto my stamp pad as directed and then used my red and green ink to ink the design. This part is a little different than a normal stamp and stamp pad.
You will cover your design with ink, I covered the words with red ink and the tree with green ink, and then you just let it sit and soak into the stamp for about 5 minutes.
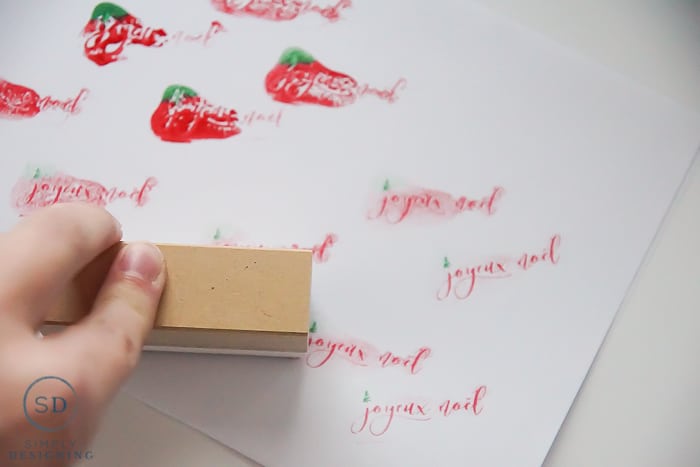
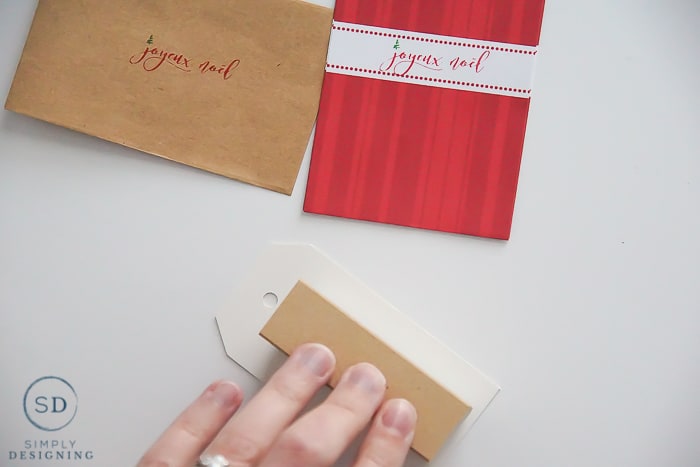
After the time is up, you will do a few "test" stamps on a scrap piece of paper and it will remove the excess ink from the stamp. After a few test stamps your stamp is ready to stamp your bags or tags!!
What is great about this stamp and ink is that the ink soaks in and you will be able to use the stamp many times before needing to re-ink it so you can quickly stamp a lot of items without needing to re-ink the stamp. It's fantastic.
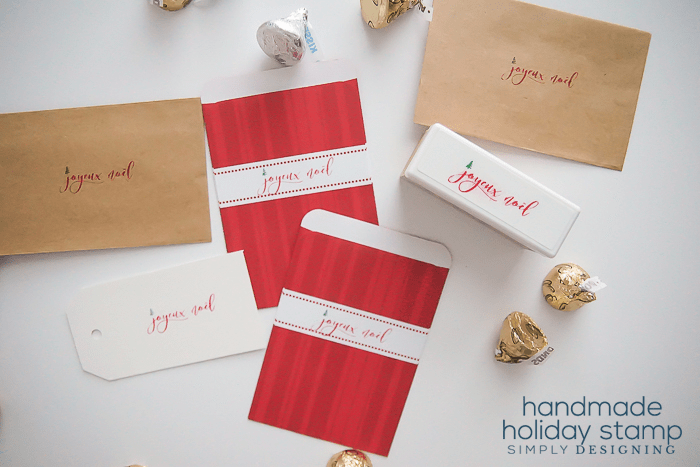
And even with this intricate design, the Mint did a great job creating this stamp and I just love how it turned out! So cute and so festive! I can't wait to make more stamps with my Mint!
You can buy a Mint HERE. And if you don't have a Silhouette, what are you waiting for? Snag a Silhouette CAMEO HERE.




Stephanie
This looks great, what a versatile idea!
Jessica Bruno
How fun! Love this 🙂
Leanne
That turned out so beautiful! I love how it looks hand written.
Amy Anderson
You MADE a stamp?? Awesome! This is super cool!