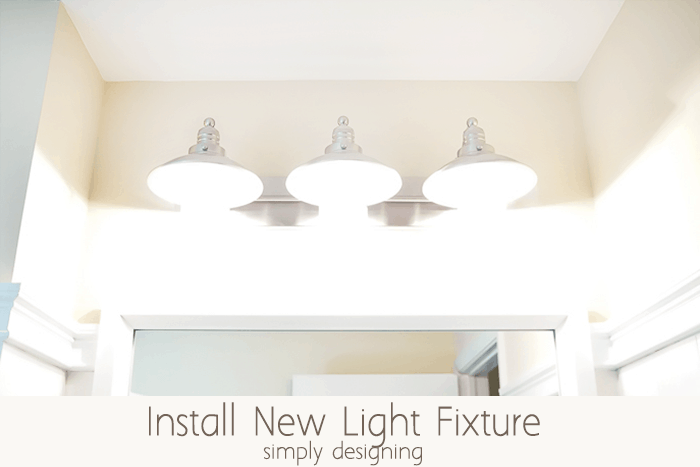
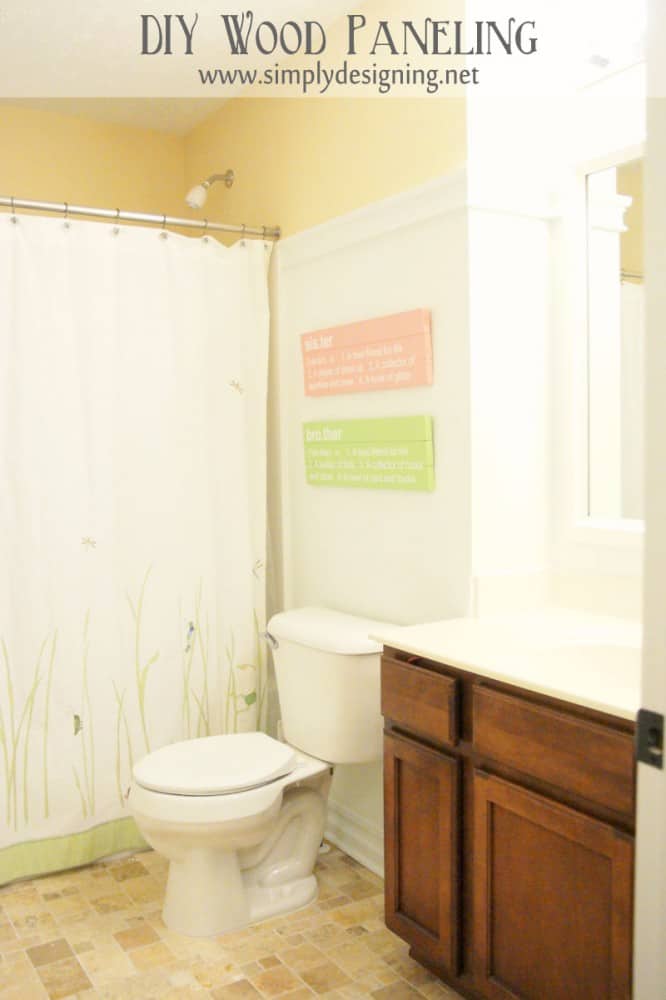
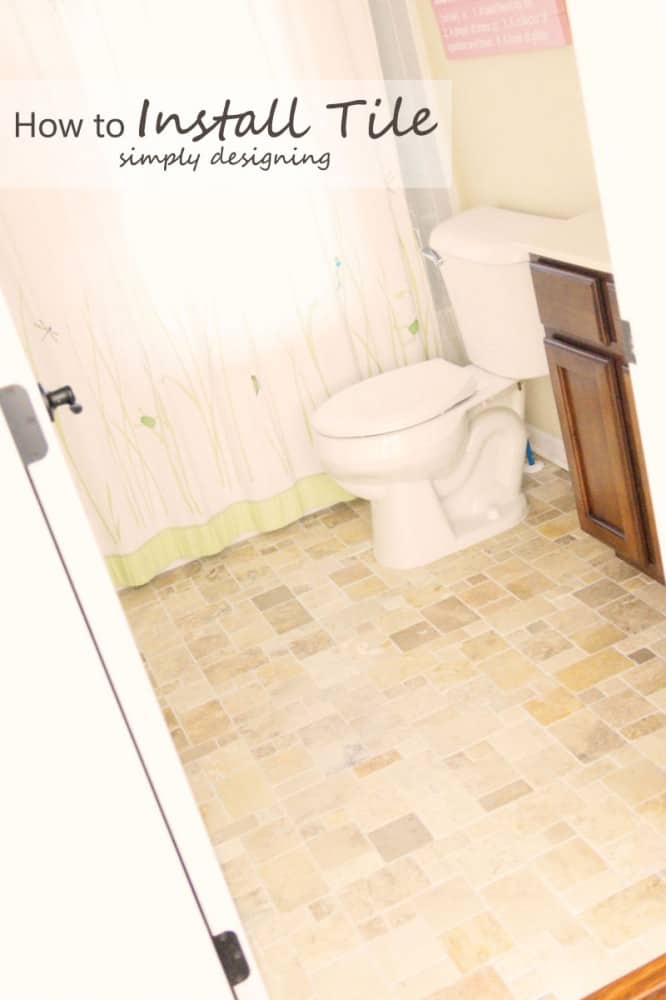
This past year we have spent a lot of time remodeling our home. One of the rooms we remodeled was our kid's bathroom. We installed new tile floors and we installed plank walls. We also installed brand new faucets and fixtures too! The one last item on my to-do list for the kid's bathroom was to replace the old ugly light fixture with a new one! So today I am sharing how to Install a New Bathroom Light Fixture!
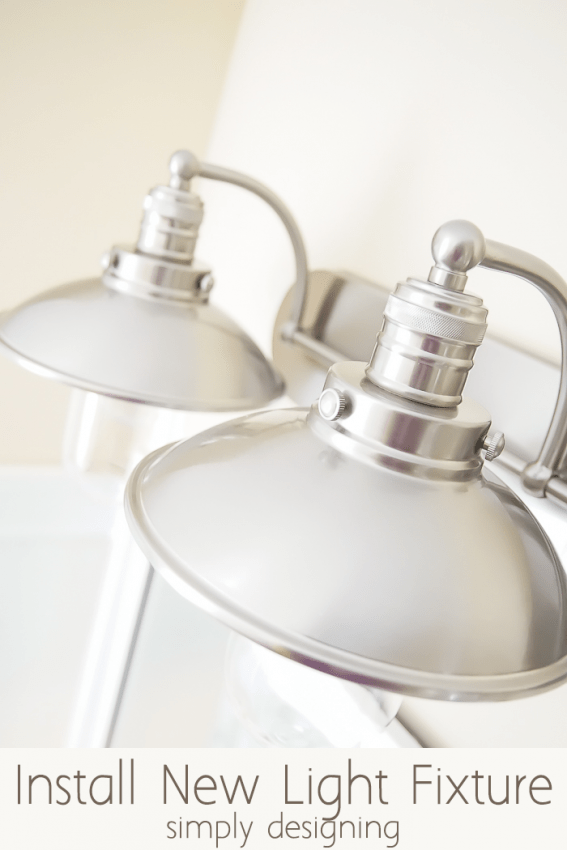
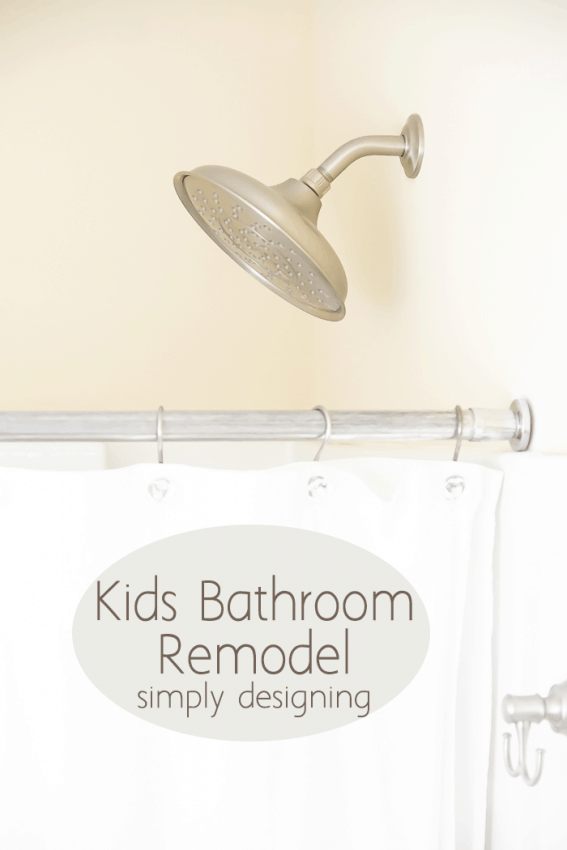
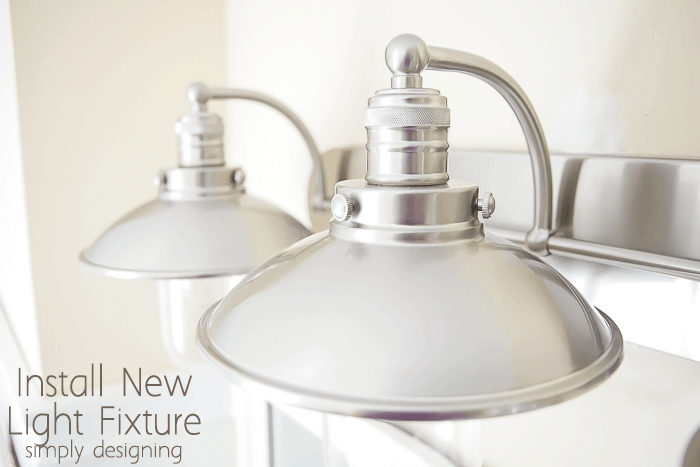
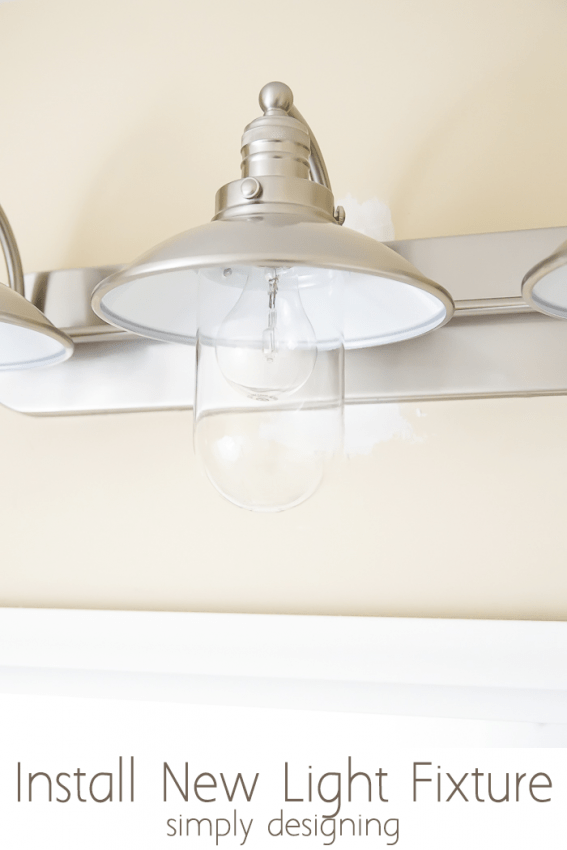
We looked long and hard for a new light that matched the style of our bathroom. We wanted something that would look good with our existing Moen fixtures and that would also be really pretty and unique! After a lot of looking we found this beautiful industrial light fixture from Build.com . We chose the Minka Lavery light. A big huge thank you to Build.com for helping us to get this new light fixture for our kid's bathroom but all opinions are mine and no monetary compensation was received.
Once I placed my order for the light, it arrived quickly and in great condition! I was really impressed with how nice this light was in person. I fell in love with it instantly! (It is always hard to tell what a light fixture will really look like in person and this one did not disappoint.) And I had no customer service issues with Build.com either.
But I particularly love that on the light product page, there are all the details and help I could ever need! I particularly love how detailed the specs were on this site. And some products on Build.com even have installation videos on them! I love that it is not only a great source to buy from, but that they want to ensure you know how to install and use the items properly too!
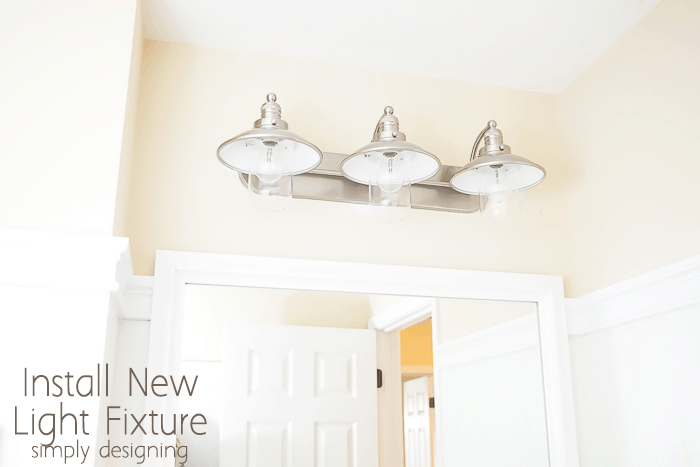
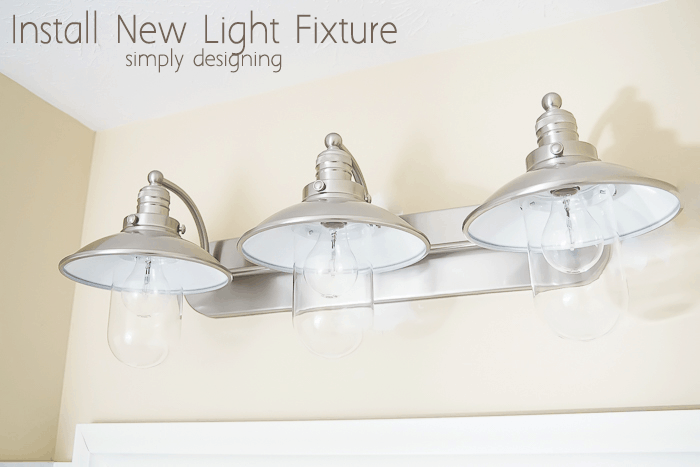
We love that the style is reminiscent of our bathroom fixtures without matching it exactly. And I absolutely LOVE the contrast of the pretty white plank walls with an industrial styled light fixture!
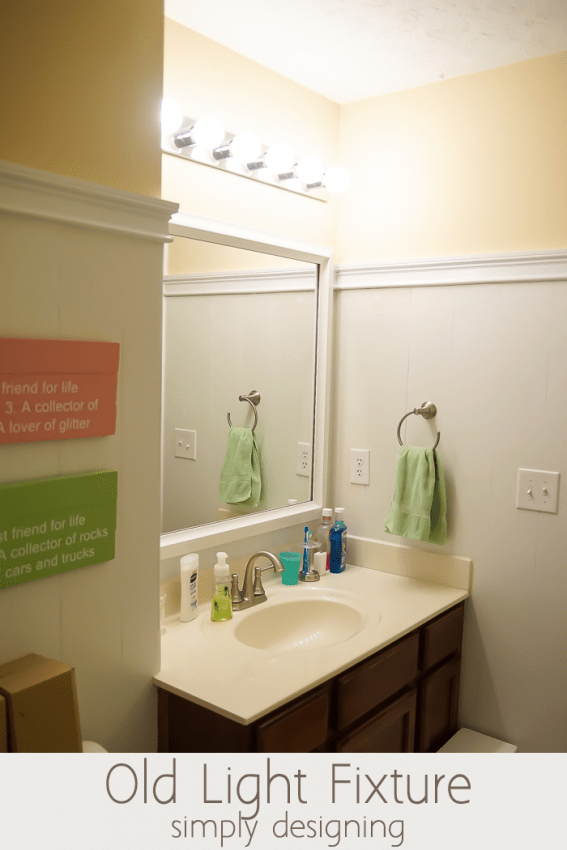
This is the old light fixture we had. It was an ugly, shiny, builder-grade hollywood-style light that is just really not that attractive in my opinion. Yes it gives off a lot of light in the otherwise really dark room, but besides its functional purpose, it is aesthetically not the prettiest. Here is a before shot just so you can see how un-pretty it is!
This past year we replaced our downstairs bathroom light fixture like this with two pretty sconces (read all about it HERE) but that was a bit more complicated since we had to split the electrical. When replacing an existing bar light fixture with a new bar light, the process is actually quite simple!
How to Install a New Bathroom Light
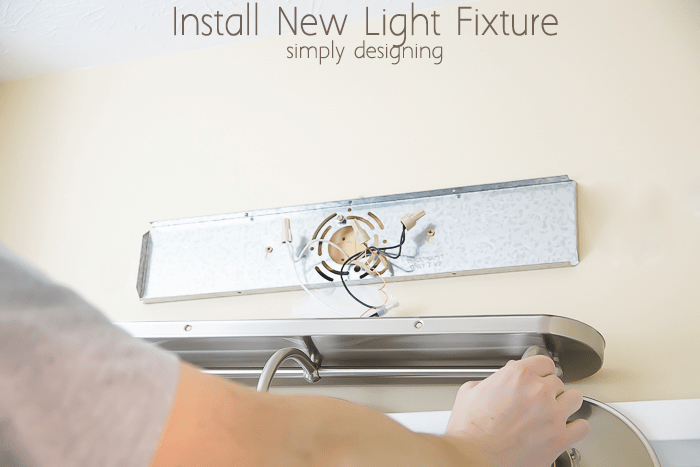
We simply turned off the electrical circuit that went to the light fixture and then we tested the lines to ensure the no current was running through them. Then we removed the existing light fixture and unscrewed the twist-on wire connectors. We put our new base plate up according to the instructions and fed the wires through it. We connected the wires to the new light fixture using twist-on connectors. And then hung the light fixture in place over the base plate. We then turned the power back on and in just a few minutes, we had a brand new, beautiful bathroom light!
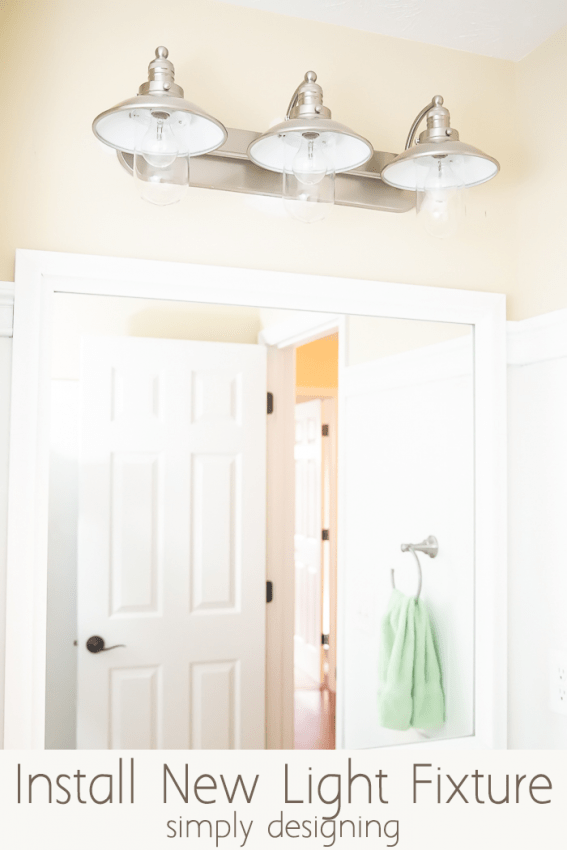
This actually came together quite quickly and the change is really dramatic! Once again, here is a before and the after:
Wow! I love how our new bathroom light looks! And I simply can't believe the transformation our kid's bathroom has taken this year!
This light provides a ton of light in the space. And isn't the design just so pretty!? Oh I love this!




Gina
LOVE the light. I have been searching for the right one for the kid's bath. I think this may be the one.
Sharon - Her Organized Chaos
This looks so pretty! I think it was a great choice for a bathroom light fixture. I also really love the wood paneling that you did with the wood sister/brother signs. What do those say? I would love if you linked this up to my Crafty Chaos Tuesdays. Thanks for sharing this! It's starting an itch for me to redo our bathroom! lol