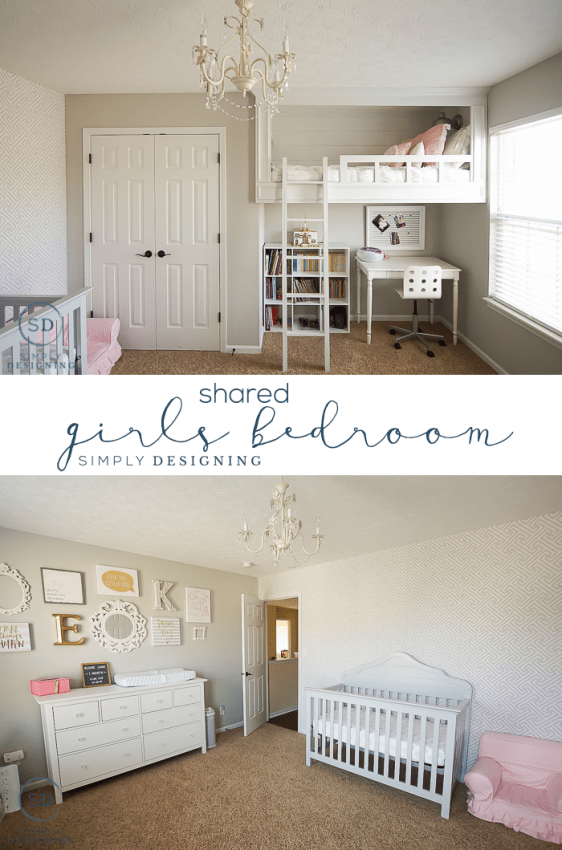
This post is a long time coming, I am so sorry it has taken me so long to complete this space and share it but there was a reason. Because I have previously lost pregnancies, I had a hard time having a desire to decorate for a new baby through most of my pregnancy. It took until nearly the end of my pregnancy to hit me that we needed to create a space for our baby. And then, since I was really pregnant, it took us a while to complete it! And I still was so hesitant to share it until our baby actually arrived safe and sound. And then I had a newborn... I know it took us far too long to get to the point where we were ready to actually begin the room, but in the end it turned out better than I could have imagined! We decided that our girls would share a room and so we needed to completely rework my daughter's room to accommodate two kiddos, a bed, a crib, enough dresser and closet space for both of them...the project took on a life of it's own! But in the end we came up with a gorgeous and beautiful solution for both of my girls. I have put off sharing this space also because I wanted it to be completely "done." I am not sure if it will ever be completely done. But while there are a few things we still need to address in the room, it really is mostly done! And I love it! So today I am really excited to share our Girls Shared Bedroom and Baby Nursery Reveal with you!
Girls Shared Bedroom and Baby Nursery Reveal
Mostly I just have a ton of photos to share with you today! And a lot of excitement and love for the final room! So sorry for the photo overload. I hope you love the space as much as I do! I will do a post later sharing more on my daughter's bed. But I couldn't put of sharing the whole space with you any longer!
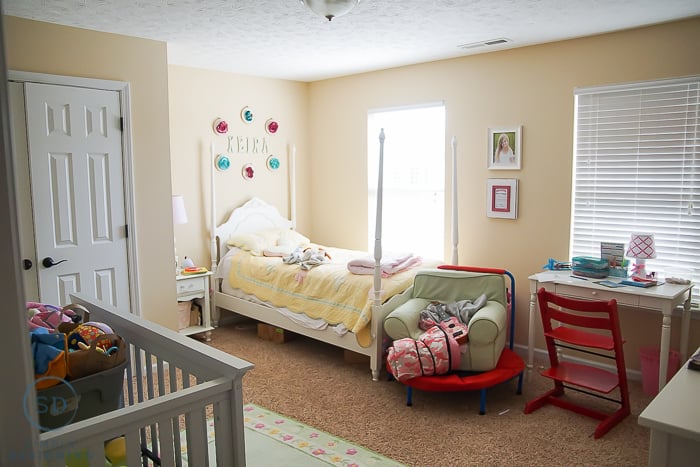
Here is now it looked before:
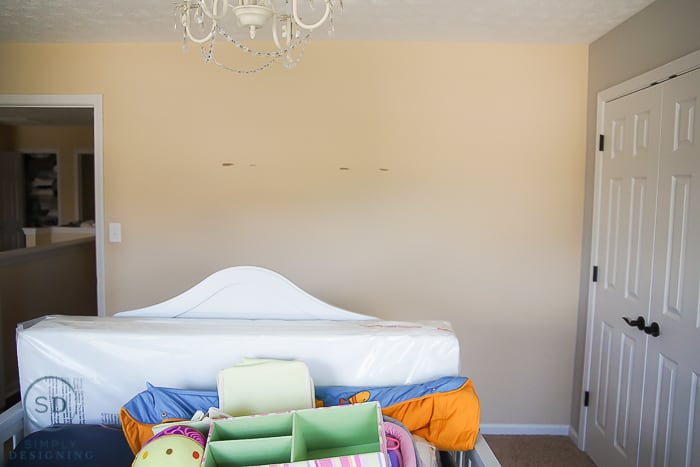
This is at it's worst. We had already put the crib in the room and moved a few things around which really made it into a mess and made it very clear that we needed to do some major work to this room to get it in shape for both girls to share.
So my daughter has a nook in her room. We previously had the bed sticking out of it. It worked. But the space was actually long enough for a mattress to go lengthwise in the space! Our only issue was the window dictated our depth. The depth was literally about an inch too narrow for a normal mattress to fit. So I took to the internet to see if I could find a mattress to fit the space! Thankfully Amazon pulled through and I ordered a mattress that would fit this space perfectly! (I ordered this mattress here, but they will custom size mattresses if you need something different. This is an affiliate link so I make a teeny tiny portion if you happen to buy from clicking on this link. Thanks in advance for supporting my blog!)
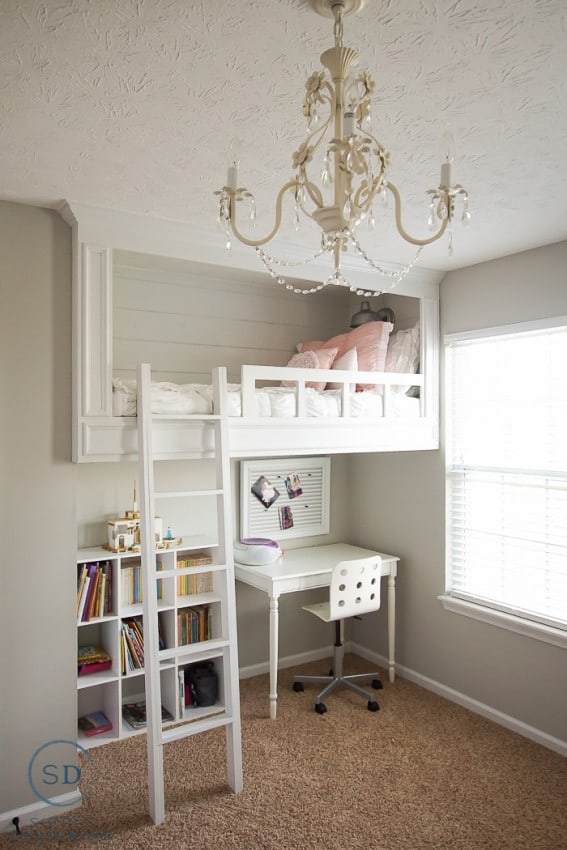
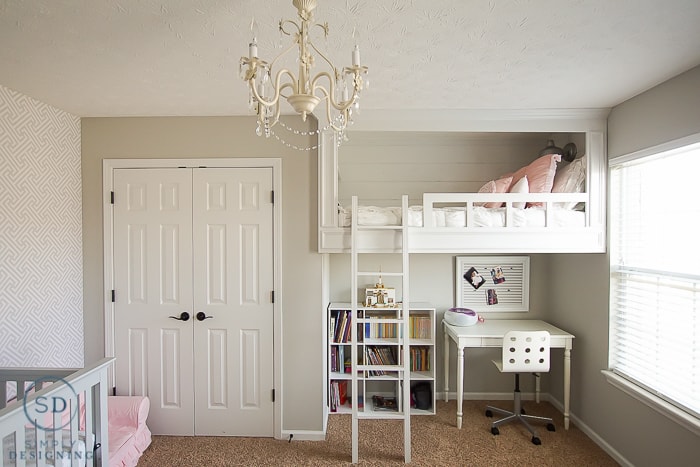
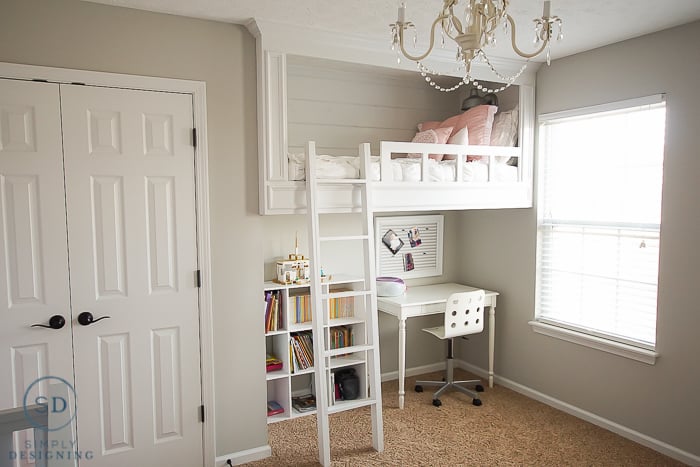
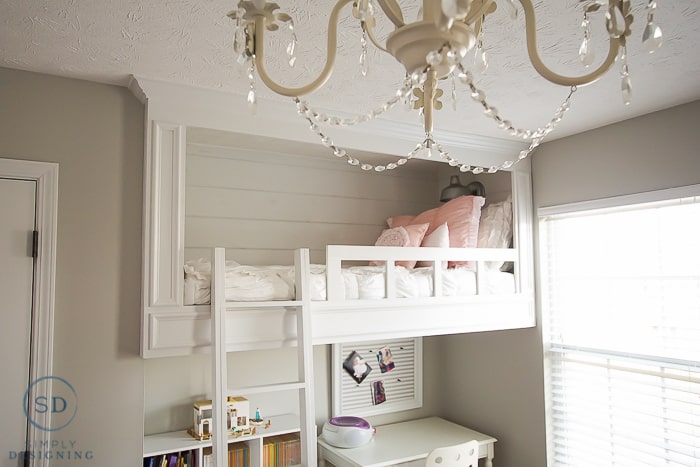
After I knew I could get a mattress to fit the space, we were able to move forward with our plan to build her a loft bed in this space. Believe it or not, we began this loft bed before our son's that I have posted sneak peeks of on Instagram! But this one is a bit more feminine, beautiful and oh just perfect for my daughter(s)! I will share more about her bed in a later post but I just love the shiplap style walls, the molding, the pretty ladder and the fact that it is all just white and light and beautiful!
Loft beds are a perfect way to save space and helped us be able to make this room truly functional as a girls shared bedroom.
Under her bed we were able to put her desk and a bookcase! While the bookcase is probably not a permanent solution, it works for now. Oh did I mention we painted her room a really pretty light gray too! So lovely!
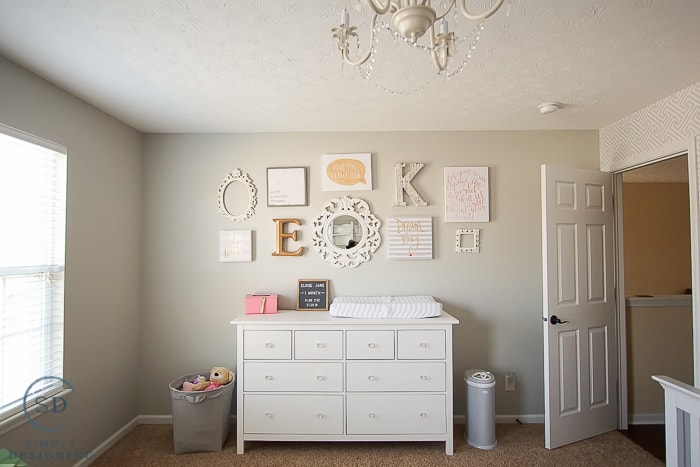
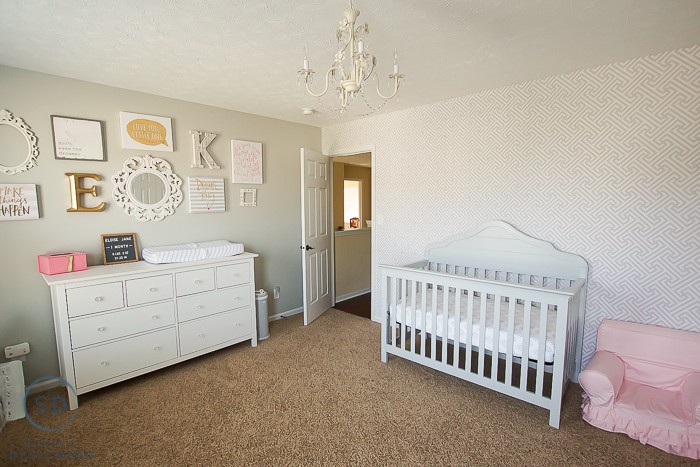
We got rid of her old tall dresser and replaced it with a long dresser from IKEA. I can not believe how many parts and pieces are in a dresser...it was not the most fun to put together but we did it! And even though you can't tell, it is a 6' long dresser! It is pretty huge and perfect for both my girls to share! We replaced the standard knobs with pretty glass knobs which made it just perfect for our daughters' room! The dresser will double as a changing table while we need one. Don't worry, everything is properly secured to the wall.
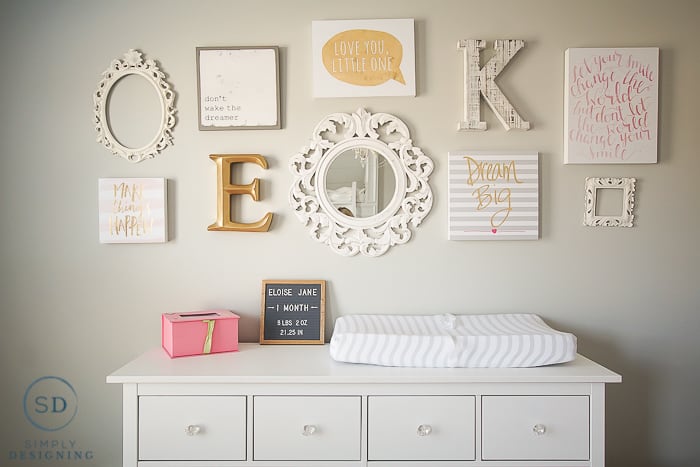
Above the dresser we created a beautiful gallery wall. I just love how it turned out! White, gold, grey and light pink! Just perfectly pretty.
We took everything out of the closet and installed closet organizers we bought from a local hardware store. It is nothing special but it completely meets the needs of our two girls and is just perfect for the space.
We found a fun chandelier to install in the girls room too that just makes the space a little extra special.
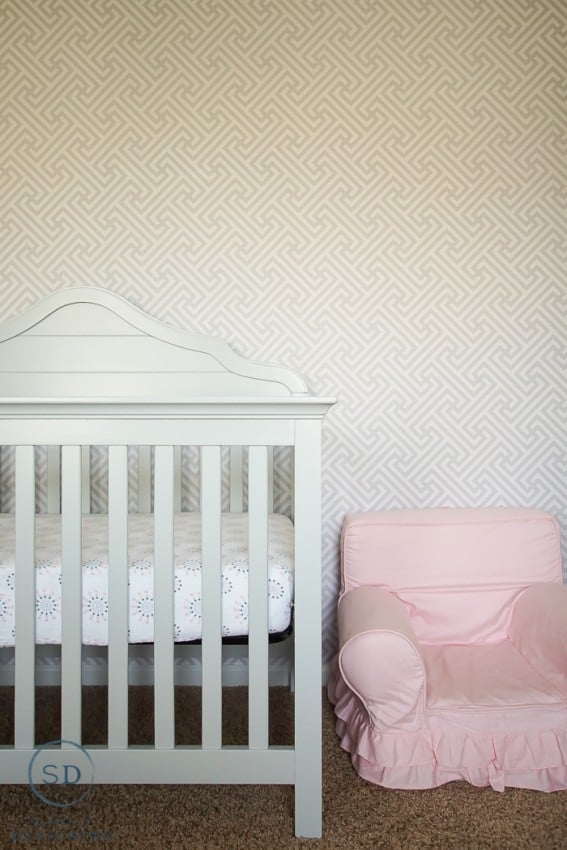
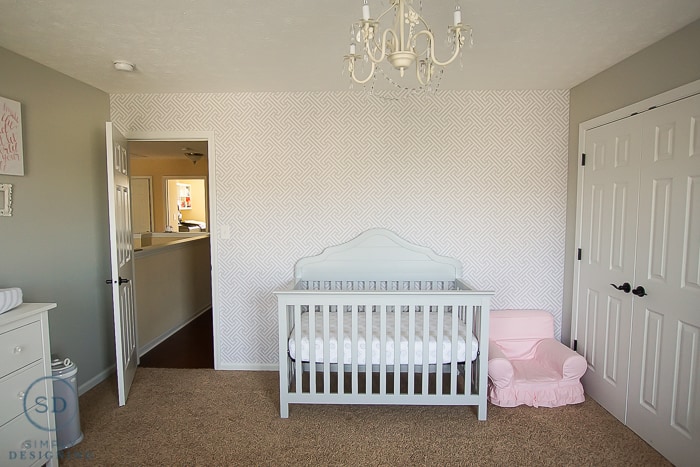
And finally the crib! We decided to make the wall where the crib was against a little something special. Last year at a blog conference I met the wonderful people from Walls Need Love (affiliate link) and instantly fell in love with their beautiful, unique and modern wallpaper! This is not your ordinary wallpaper either! It just sticks on your wall like a sticker, and it is removable! No glue, no mess and so pretty!
I was really grateful that Walls Need Love was willing to send me wallpaper for my baby girl's room in exchange for posting about it. I decided to go with something that would stand out from the grey walls and be a beautiful accent wall but would also compliment the rest of the room. I didn't want anything too busy or different in color from the rest of the room. Their Impossible Labyrinth wallpaper ended up being the perfect solution for my girl's room! I just fell in love with it the minute I saw it!
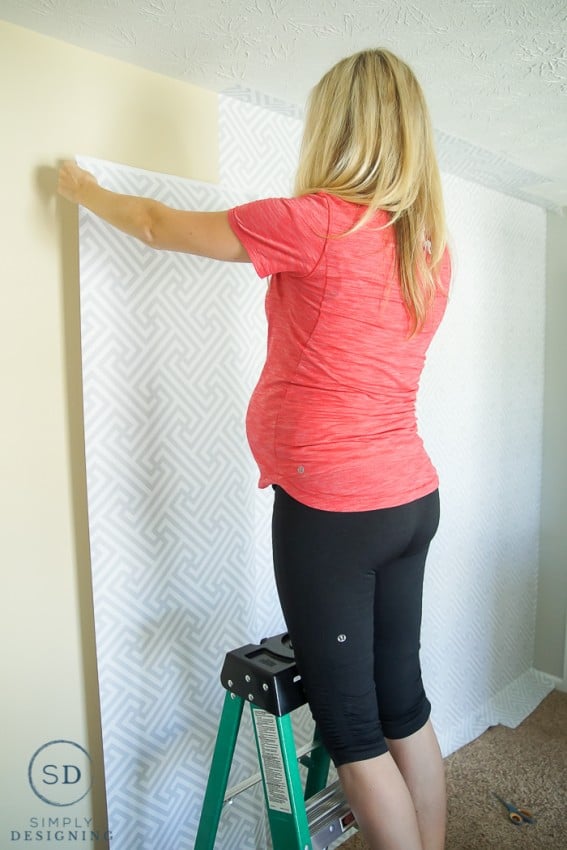
I will admit I was nervous to put the wallpaper up at first. I had watched my mother put up wallpaper (and take it down) growing up and the whole idea of it just made me so nervous. But it is really NOTHING like the old school wallpaper. It literally peels off the backing and sticks on the wall like a gigantic sticker.
I did enlist my husband's help because our walls are tall and having his extra height and a second set of hands made this a lot easier to do. Especially since I was super duper pregnant.
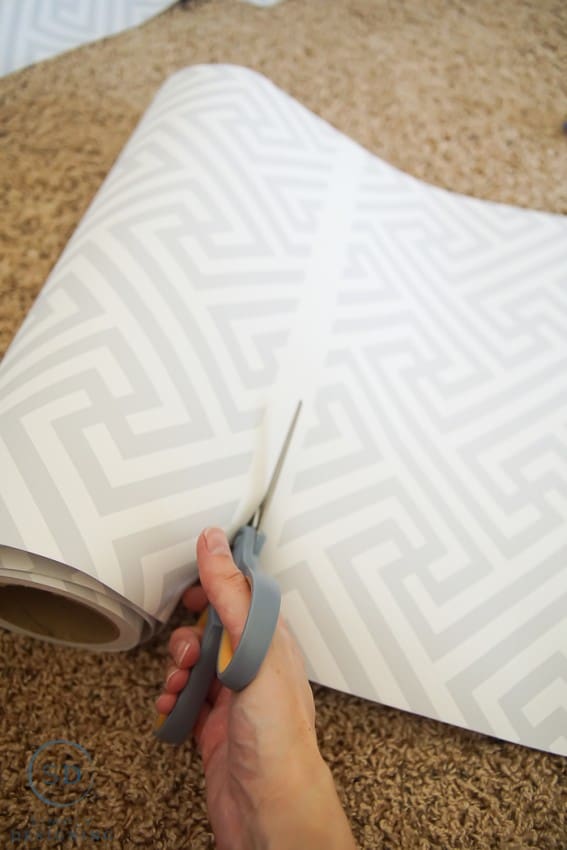
We simply followed the directions and cut off a portion of the wallpaper a little longer than the wall, removed a bit of the backing paper and adhered it to the top of the wall. (My wallpaper came on a roll but was printed in sections so I just cut between the sections. It could not have been easier!)
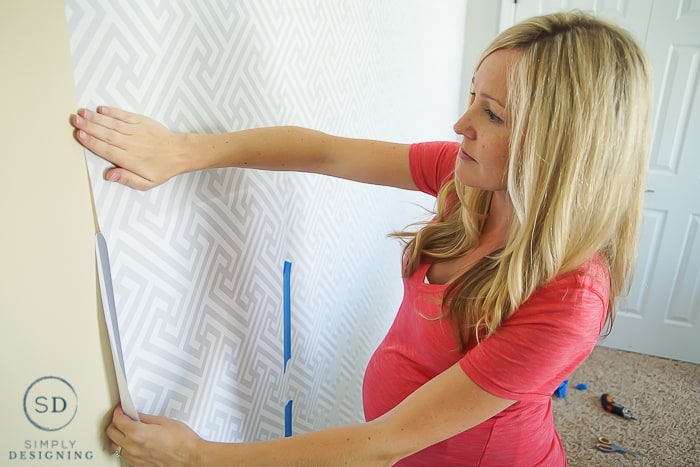
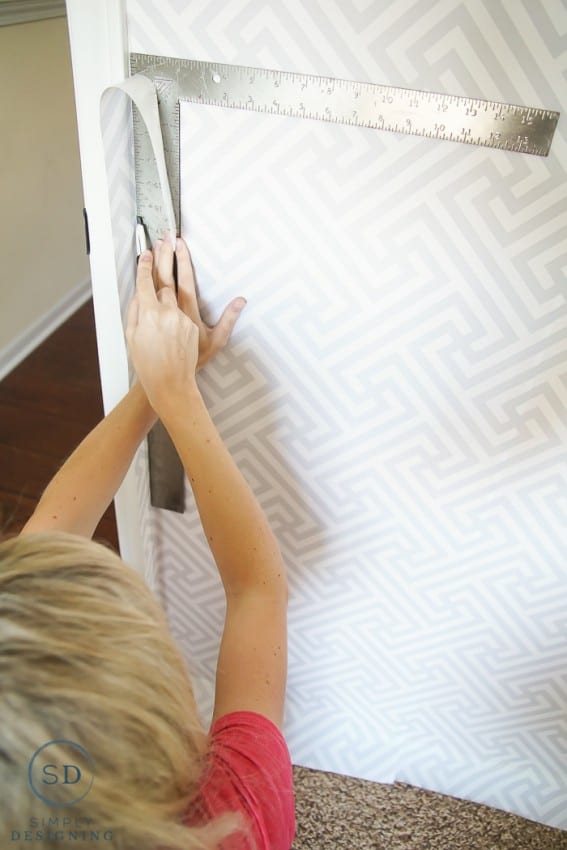
We smoothed it down as we went and then repeated until the whole wall was covered. We overlapped the wallpaper a bit when laying it down so we cut off the extra using an exacto knife and a metal ruler (the wallpaper came with instructions on how to do this). We ended up with nice pretty seams across the whole wall! And we were careful to line up the pattern in the wallpaper as well so that the overall look was one continuous pattern.
Once we hung the first panel, it was really pretty easy to do. And so not scary at all! And as a hint, we used a bit of painters tape to help keep the wallpaper hanging straight and lined up while we were working.
When we had hung the whole wall, we used a metal ruler and an exacto knife to trim all the excess wallpaper off around the top, bottom and sides. It was really quite easy to do.
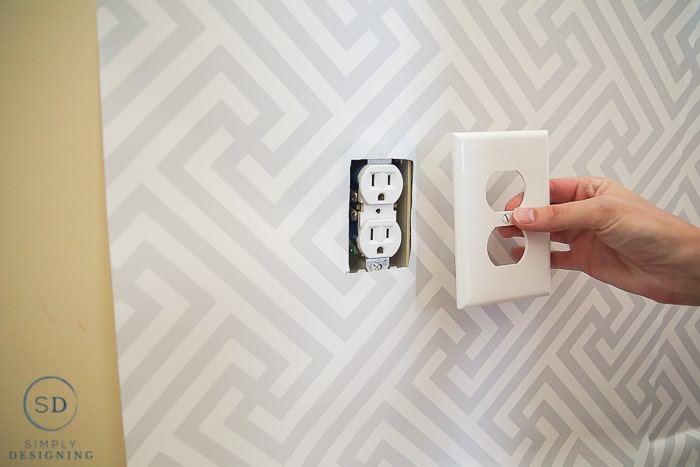
We cut around the outlets too.
And I am just in LOVE with how the wallpaper looks in the room! It gives the room such a beautiful and unique look!
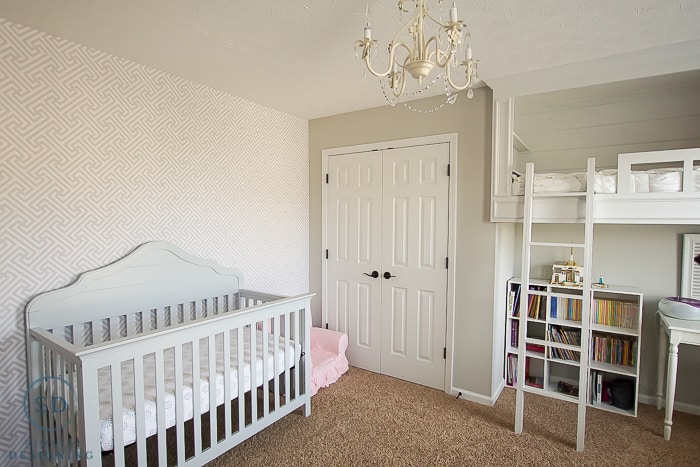
I love how my girls' room is feminine but subtle. Chic but not over the top. Light, airy and just plain pretty! It is one of my favorite rooms in the house!
And just one more picture because I love the room soooooo much!
Aw...isn't this room just to die for!? I seriously want to move into to my daughters' room. I love how we were able to create a beautiful space for both of them to share! My older daughter just loves the space and her fun loft bed and it is perfect for my little one too!
This might be my favorite room in the whole house!
You might also enjoy:




Nadia
The room looks so beautiful! I love soft colors that you chose for the room! And wall paper adds so much interest to the room! It is amazing how wallpaper or mural can transform the room! I used wallpaper in our entryway and mural in our master bedroom.
Darlene
My daughter bought the same dresser in black-brown and she's using it for a changing table as well. I also got the white one like yours and yes, there are sooooo many pieces. The room looks amazing!
Kimm at Reinvented
I just love that loft bed. What a great use of space!
Thanks for sharing at Funtastic Friday!
the cape on the corner
that nook is AMAZING! no wonder you want to live in there, i do too. i love the way you beefed up the top and made it look so....permanent? it just looks like it's always been there, and should always BE there!
b
Cynthia Huynh
I love this room so much!! My favorite is the gallery!
Shannon
I love the room, so beautiful! What is the name of the gray paint you used on the walls?
Ashley Phipps
Thank you so much! The paint is Sherwin Williams Repose Grey.
Sandy P Harvill
I loved your son's room, but I dearly love this one too! Your children will be so proud of their rooms, and they are rooms that can grow with them too!
Just about the two most perfect rooms I have seen!
stacey
so cute! the desk under the loft bed, where did that come from?
Gina M
Love this immensely! One question comes to mind, as the baby grows older, how do you make the ladder safe or inaccessible to a growing toddler? I'd love to do a loft for my nearly 5 yr old but her nearly 2 yr old sister tries everything she does. 😉 Thanks!
Ashley Phipps
I totally understand that! I have a toddler too! The ladder actually just hooks over the bed so it can be easily taken on and off if we wanted or needed to. But honestly my toddler never really played in the room by herself and I worked with her so she learned early how to get up and down it safely too.