Industrial Rolling Paint Storage : Craft Room : Part 8
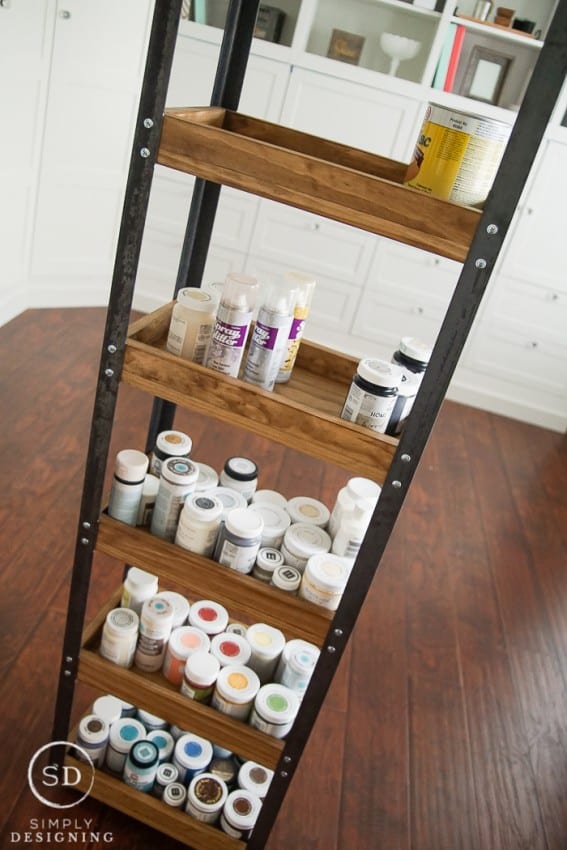
I have really enjoyed blogging about my Craft Room process! What started out as a play room, has transformed into a beautiful, functional work space that I am simply in love with! While I will admit I am not quite done (will I ever be done!?) I am getting close and today's post was another important step in turning my space into something beautiful and useable. Today I am going to share my Industrial Rolling Paint Storage project with you!

Industrial Rolling Paint Storage
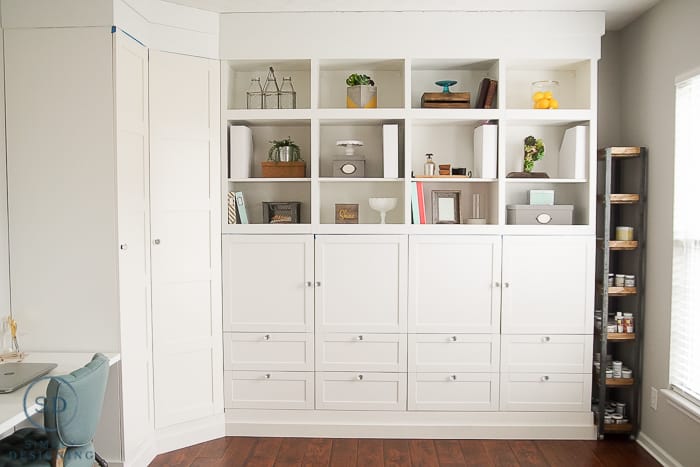
When we installed our IKEA hack cabinets, I knew we would have a little space left on either side of my cabinets to the walls. I just couldn't get a cabinet configuration to fully fill the entire walls of my office space and while I had the idea of building it in so you basically wouldn't see or notice the space, I really wanted to make use of the space!
One thing I learned as an interior designer is to maximize the use of space. It is a pet peeve when I walk into a home or office with too much wasted space and so I knew that I wanted to use this space for good! And before my cabinets were even bought or installed I knew I wanted to use that space to add rolling storage to my office! Rolling paint storage to be exact.
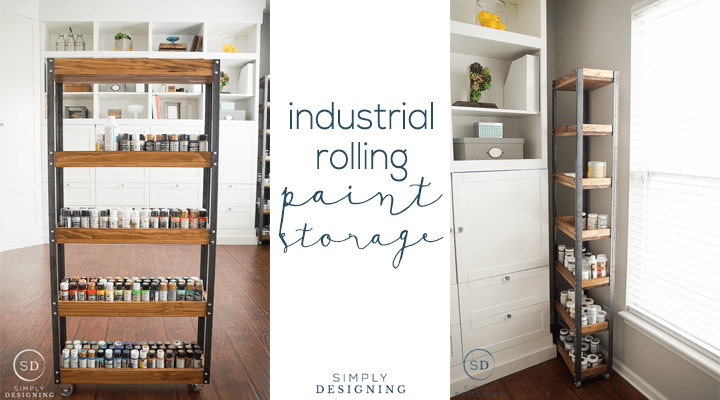
I love painting things and I have a...uhm...rather large selection of craft paint, stains, spray paints and finishes on hand at any given time. No matter how much I purged I always had too much paint for my storage capacity, so I knew I wanted to use this space to efficiently store my paint in a useable and functional manner while adding beauty and purpose to the space. And then my cool Industrial Rolling Paint Storage idea was born!
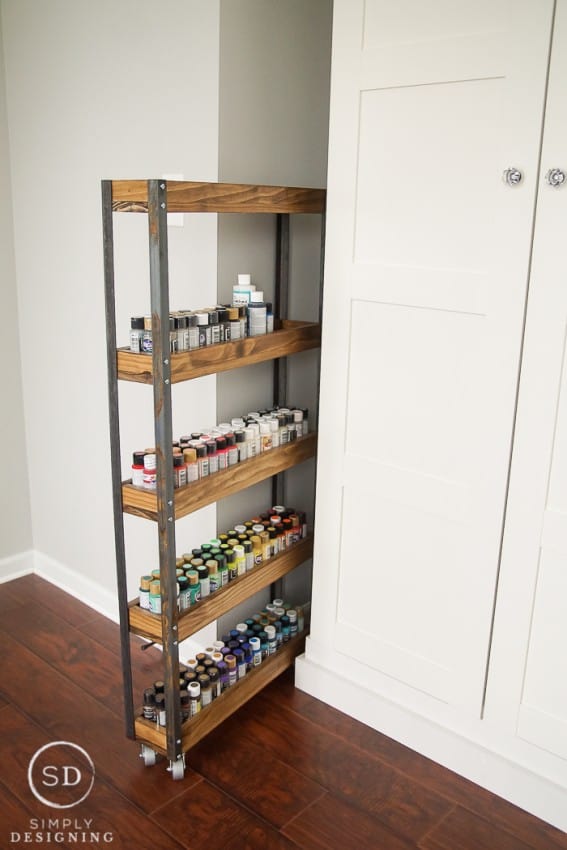
Because my office has a Barn Fancy feel to it, I wanted something useful, but a bit rustic and a bit industrial. My husband actually came up with this design and honestly, I am in love with them! He is so creative! And my rolling paint storage turned out beautiful and so functional! I honestly love going to pick out paint now! And I love that I can actually FIND what I already have so I am wasting a lot less money buying duplicate paint at the store. Win-win.
Both sides of my room are a bit different, so one of my rolling paint storage bins is wider than the other, but we created both to fit the existing space that we had. We began by cutting wood to length for the space and assembling boxes. We had a 1"thick piece of wood for the bottom of the box and used 1"x2" pieces for the sides. We simply used our Ryobi Nail Gun to create these boxes. (affiliate links included in this post for your convenience)
Then we stained the boxes with 2 coats of stain. I used Cabot stain in Aged Leather for these boxes and am just in love with this color!
After the boxes were built and stained we screwed screws through angle iron into the boxes. Then we added 2" casters to the bottom so that I could wheel these in and out of their little cubby space.
A few notes about the angle iron. It comes in different lengths in the store. I bought different lengths for each shelf, the smaller shelf is 4' and the larger shelf is 6' long pieces of angle iron. Angle iron is available in different lengths, but if they don't have the size you need, you can use a metal cut off blade in a compound miter saw to cut the ends. (Be sure to use safety precautions when doing this.)
To screw the angle iron into the wood, you will begin by making a pilot hole in the angle iron using a drill and a drill bit. Then simply put the wood and angle iron in the correct place and attach together using a screw.
No special tools required. Just normal run of the mill tools for this project!
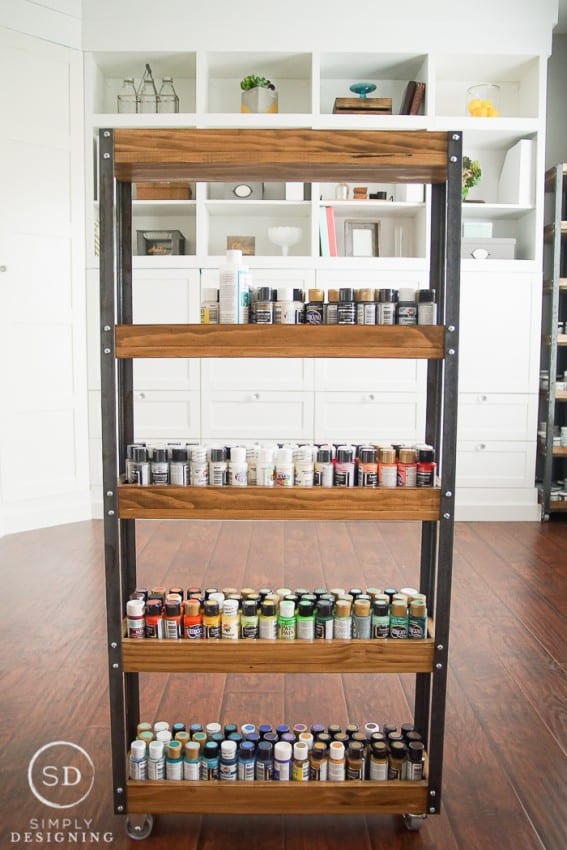
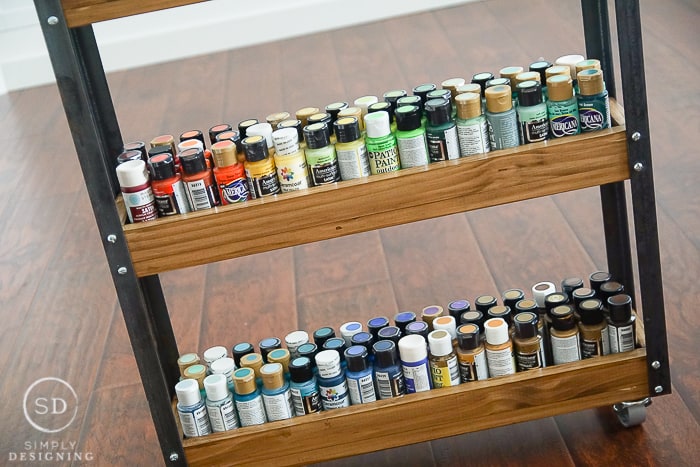
And aaaahhhhh! I can't tell you how nice it is to have my paint all out of boxes and bags! And organized by color! It makes my heart so happy!
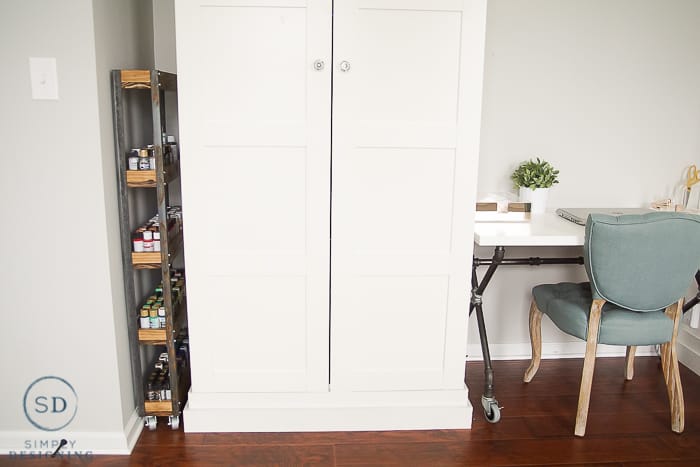
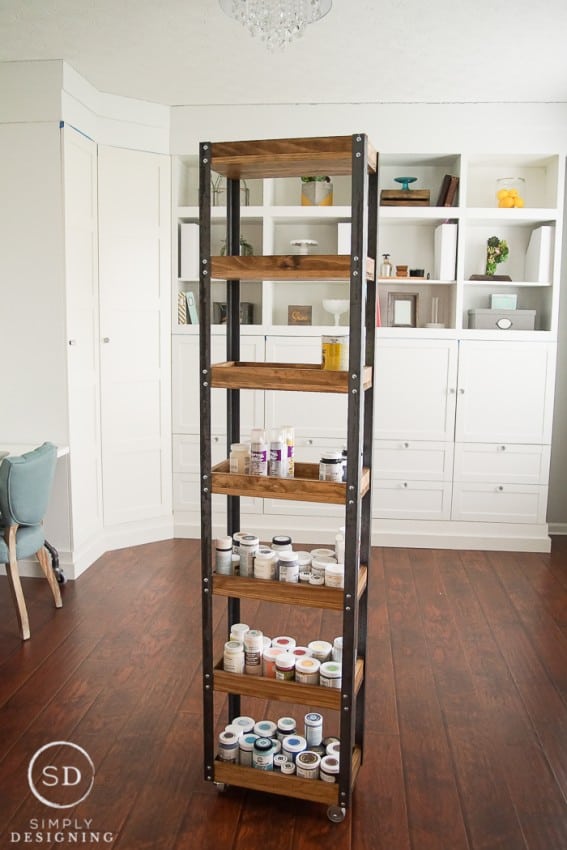
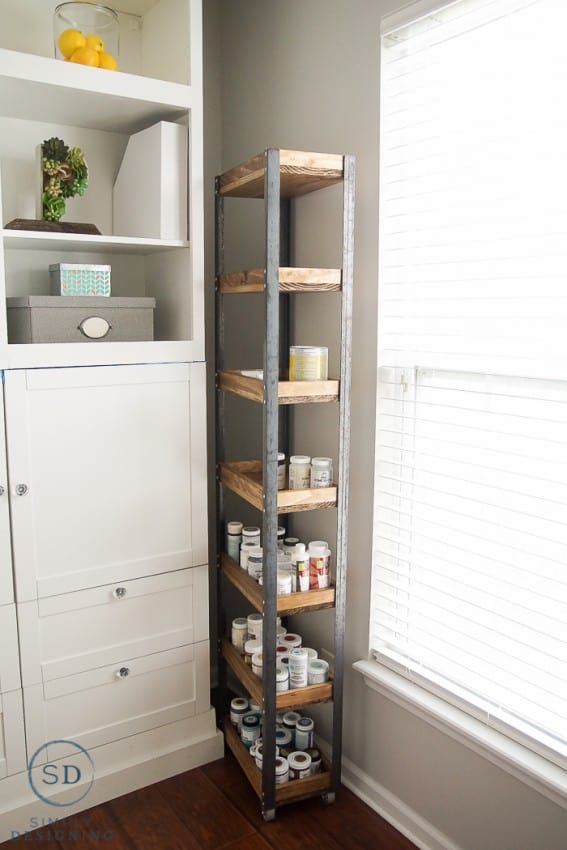
Both of my rolling paint storage bins are different widths and different heights. But they fit their spaces perfectly. Because one is more narrow, I didn't want it to be too tipsy, so it is not as tall as the wider one. But both offer plenty of storage and I really am just in love with them! It makes for a great use of space and I love having my paint organized and easily accessible.
Here are a few photos of my smaller rolling storage:
And here are a few photos of my larger rolling paint storage:
They are both simply perfect for my space and I just love them!
Check out the whole Craft Room series here:
Play Room to Craft Room : Part 1
Choosing Cabinet Knobs : Part 5
The Perfect Gray Paint : Part 6
Industrial Pipe Leg Desk : Part 7
Industrial Rolling Paint Storage : Part 8
Concrete Industrial Pipe Shelf : Part 9
You might also enjoy:
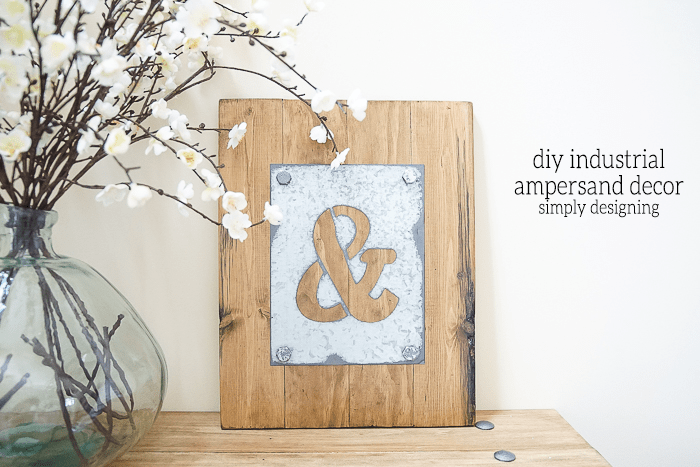
DIY Industrial Ampersand Decor




Susan L
Where did you buy the metal supports for your paint sto rage shelves?
Ashley Phipps
From a hardware store. I don't remember which one I actually bought them at...we have four local ones! But any hardware store should have this!
Allie C
Are the metal angle iron predrilled??
pb
What color is the Cabot stain? I can't find anything on internet for aged leather.
condo blues
I simply love it! I want to make one to store canned goods and such next to the refrigerator in my kitchen.
Angie ~ ambient wares
Wonderful idea for the tight little spaces that would otherwise go unused! I've got a few spaces that could use something like this! Pinned 😀
Tara J Heffernon
The uses for this beautiful cart are endless!! I am soo making this for my project room. it would be wonderful storage for endless jars of screws and nails and my tools and project supplies !!
Bessie
Made the shelf unit for laundry room and it looks great. Thank you????
Amanda
I love this project and want to make one (or more!) for myself. Do you happen to remember what size bolts you used for these? It doesn't look like you used washers, though. Thanks for sharing this!
Ashley Phipps
Hi Amanda,
We did not use bolts for this project, so we also did not use washers. We just used screws and brad nails in the nail gun.