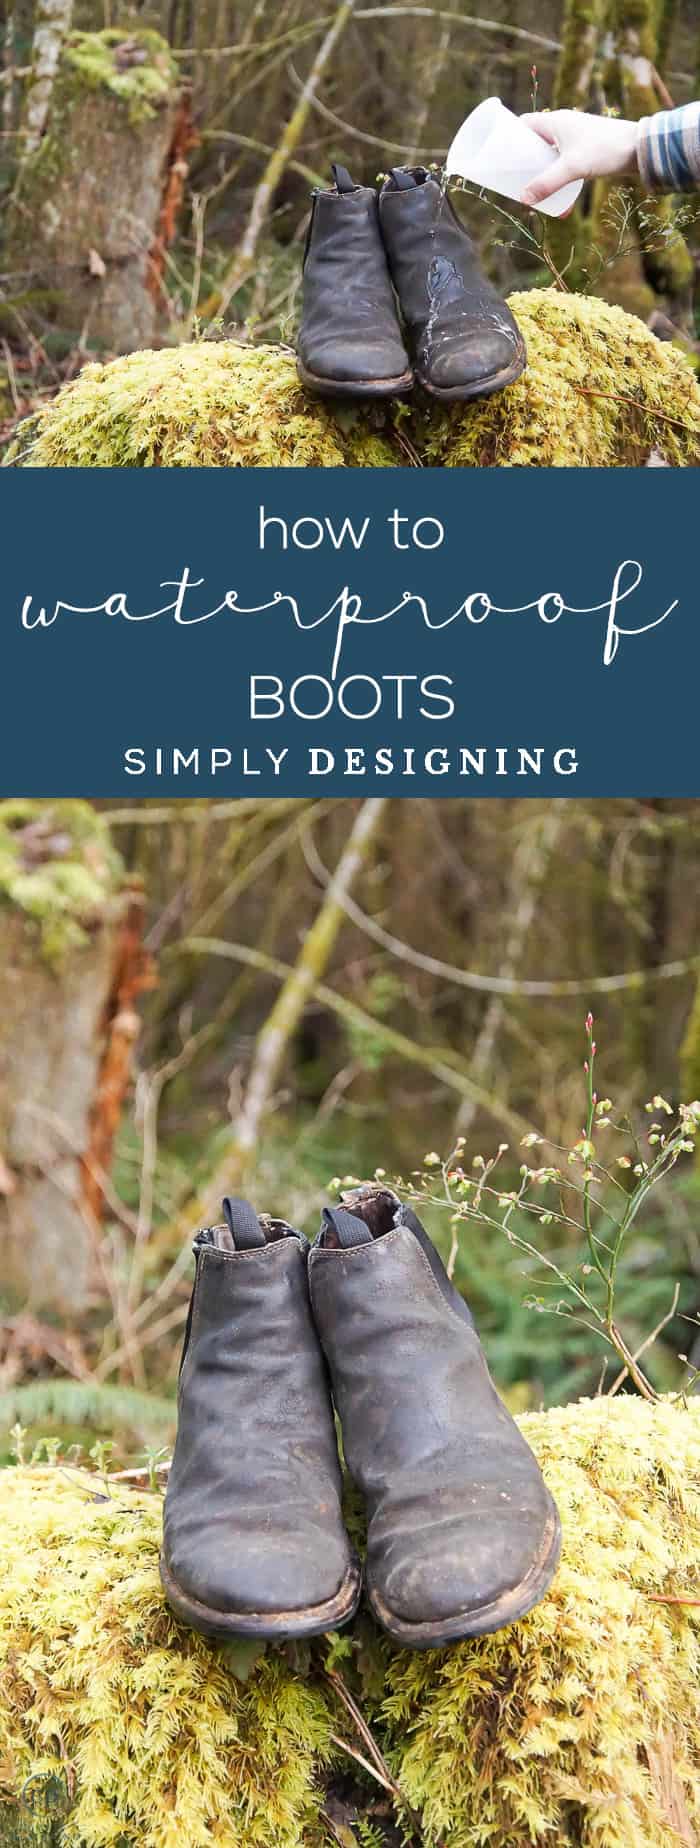
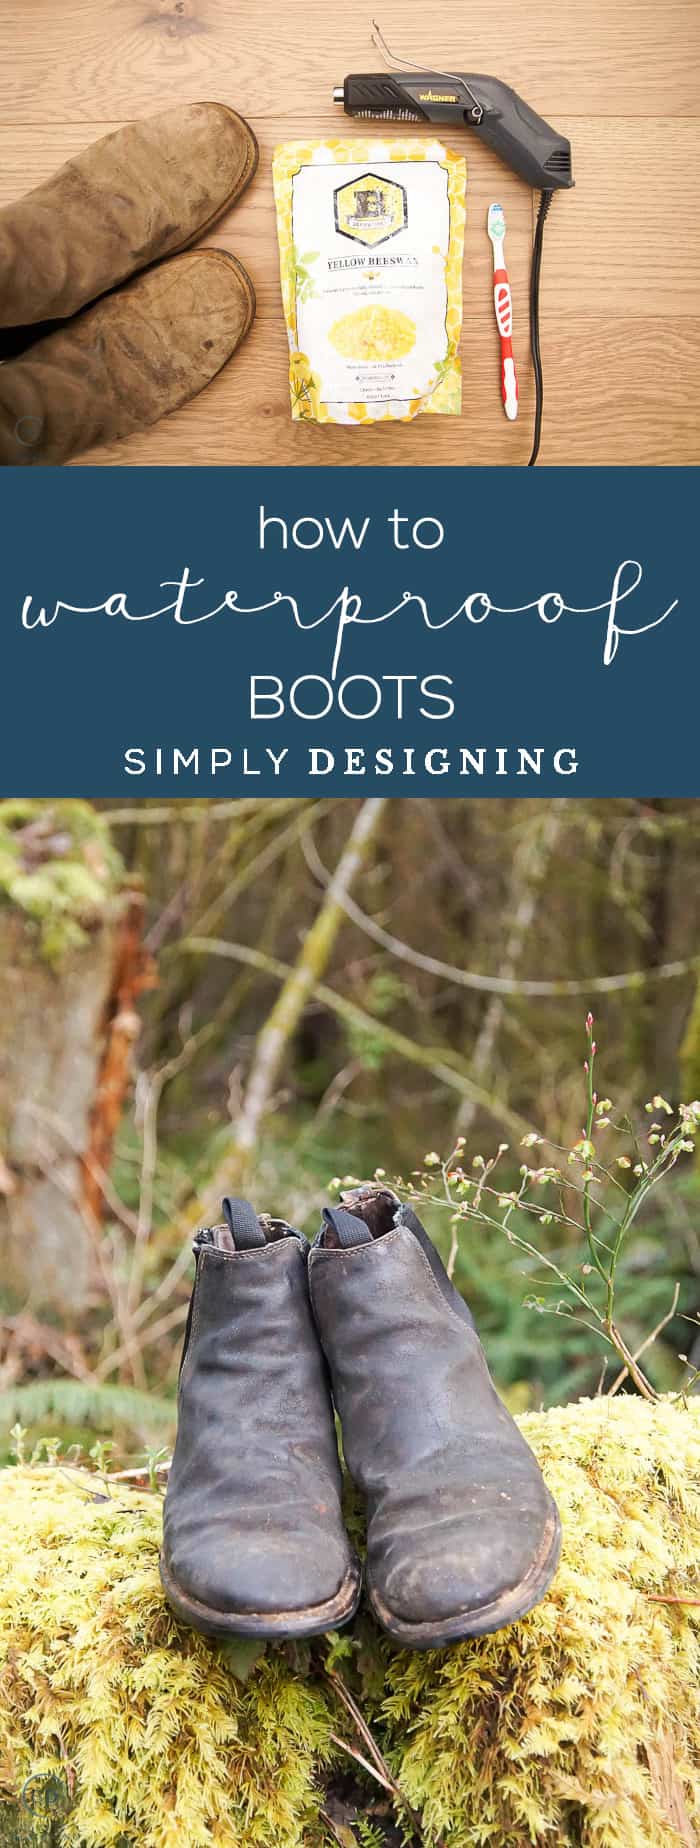
It is warm enough here to begin working outdoors again, but rainy enough to need waterproof boots, so today I am really excited to share my tips and tricks for How to Waterproof Leather Boots with you! This is easy and inexpensive and it totally works! Yay! Keep reading to learn tips and tricks for how to waterproof leather boots easily with this cost-effective method using beeswax, a toothbrush, and a heat gun.
Thank you to Wagner for sponsoring this post. All opinions are mine. Affiliate links are included for your convenience. Thank you for supporting my blog.
How to Waterproof Leather Boots
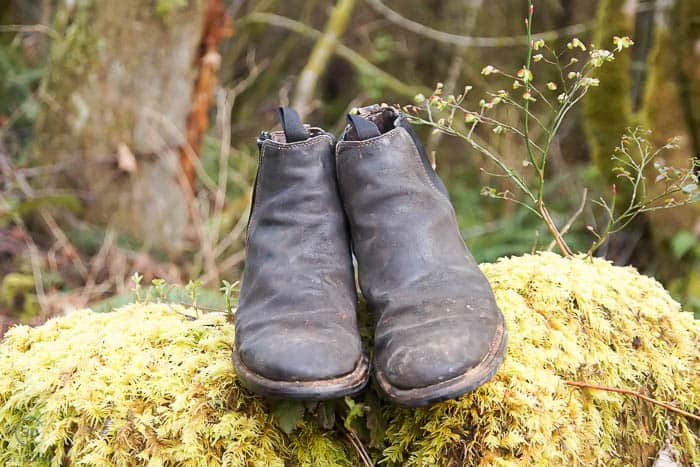
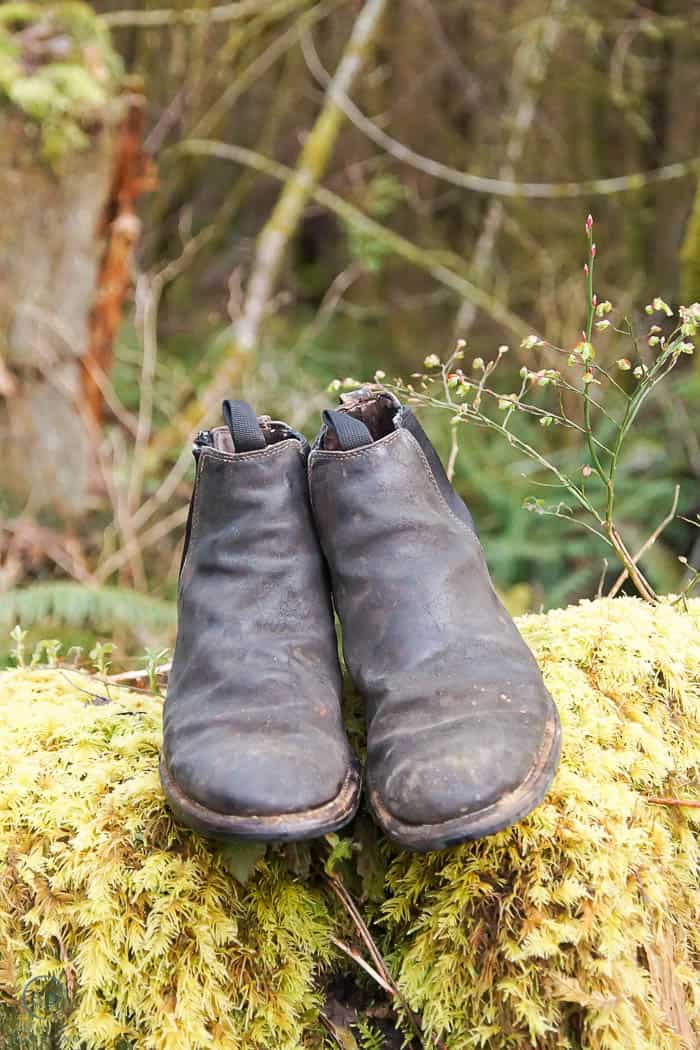
Waterproofing leather boots can give boots new life! My husband had this pair of work boots for probably about 15 years. They were never waterproofed to begin with, which was fine, but living in the PNW means waterproof stuff is important.
These boots were old, worn, loved, and most definitely NOT waterproofed. And we knew he would be able to use them so much more if they were waterproofed.
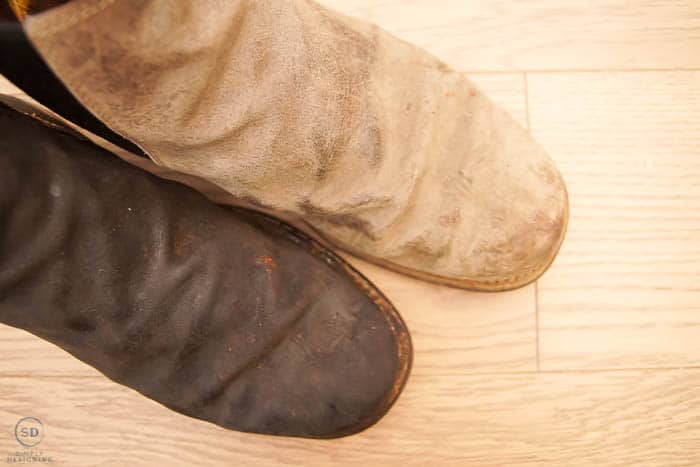
Hit boots were also NOT a smooth leather. They were a more of a rough leather so I knew they could absorb the wax differently and potentially be more prone to changing color. I haven't tried it, but I would imagine this method on a smooth leather or already waterproofed leather may not change the color as much.
So even though we knew ahead of time that this process could potentially change the color of his boots, we also knew it would protect them, seal them and keep his feet dry when working outside! And so we decided to get moving and waterproof his boots.
As noted in my site terms, Simply Designing and its owners are not held responsible for any adverse results. See more about my release of liability here.
Things to know when waterproofing boots
- This can affect the overall color of the boots so either spot test first, or go into this knowing and being ok with it potentially darkening the leather. These boots were never waterproofed and they were a rough texture, not smooth, so I assume that also played a factor into the darkening of the leather.
- Smooth leather boots are easier and work better with this process. But it will work for rough leather boots too. Just be prepared for the leather to potentially darken.
- This will take a little time.
- You will need to be careful to get your entire boot! No one wants a missed not-waterproofed spot.
- There are many options out there, from store-bought creams, waxed and even sprays. This DIY method is inexpensive and worked SUPER well, but is potentially a little more work than buying a store-bought cream. However, the waterproofing is holding up really well, so I think we will continue to use this method in the future.
- Be prepared to use items you don't mind throwing away unless you like cleaning wax out of things.
- Do this in a place safe to work with heat and wax and protect any surfaces you are using and close to from both heat and wax.
- As always, as I mention in my Terms of Use under my Privacy Policy, Simply Designing, it's owner and employees are not liable in any way for the results of anything you try based either entirely or loosely on my blog posts.
Can you make leather waterproof?
Leather, like skin, is porous. It will always absorb some water. But you can treat it to make it almost completely waterproof. There are several methods to do this, but I am sharing how to do this with beeswax today.
How do I make my leather boots waterproof?
You can make leather boots waterproof by applying waterproofing creams, waxes or sprays to your leather boots. You can also use Beeswax to give your boots a nice waterproof layer as well. This is the method we used and the one I will be sharing with you today.
Do I need to waterproof leather boots?
Some leather boots come already waterproofed. It may be important to re-waterproof them again after some use. But many leather boots do not come with any sort of waterproofing on them. It is up to you whether or not you want to waterproof your leather boots, but I typically recommend doing something to protect them especially if you plan to wear them in the winter, when it rains, when it snows, or if you plan to work in them.
Can you use Vaseline to waterproof leather boots?
Vaseline on your leather boots is a very quick and very temporary way to waterproof your boots. But it is not recommended for rawhide leather. I personally do not recommend this method. I recommend using a more permanent waterproofing method like beeswax and heat like I am sharing with you today.
Does using beeswax to waterproof boots really work?
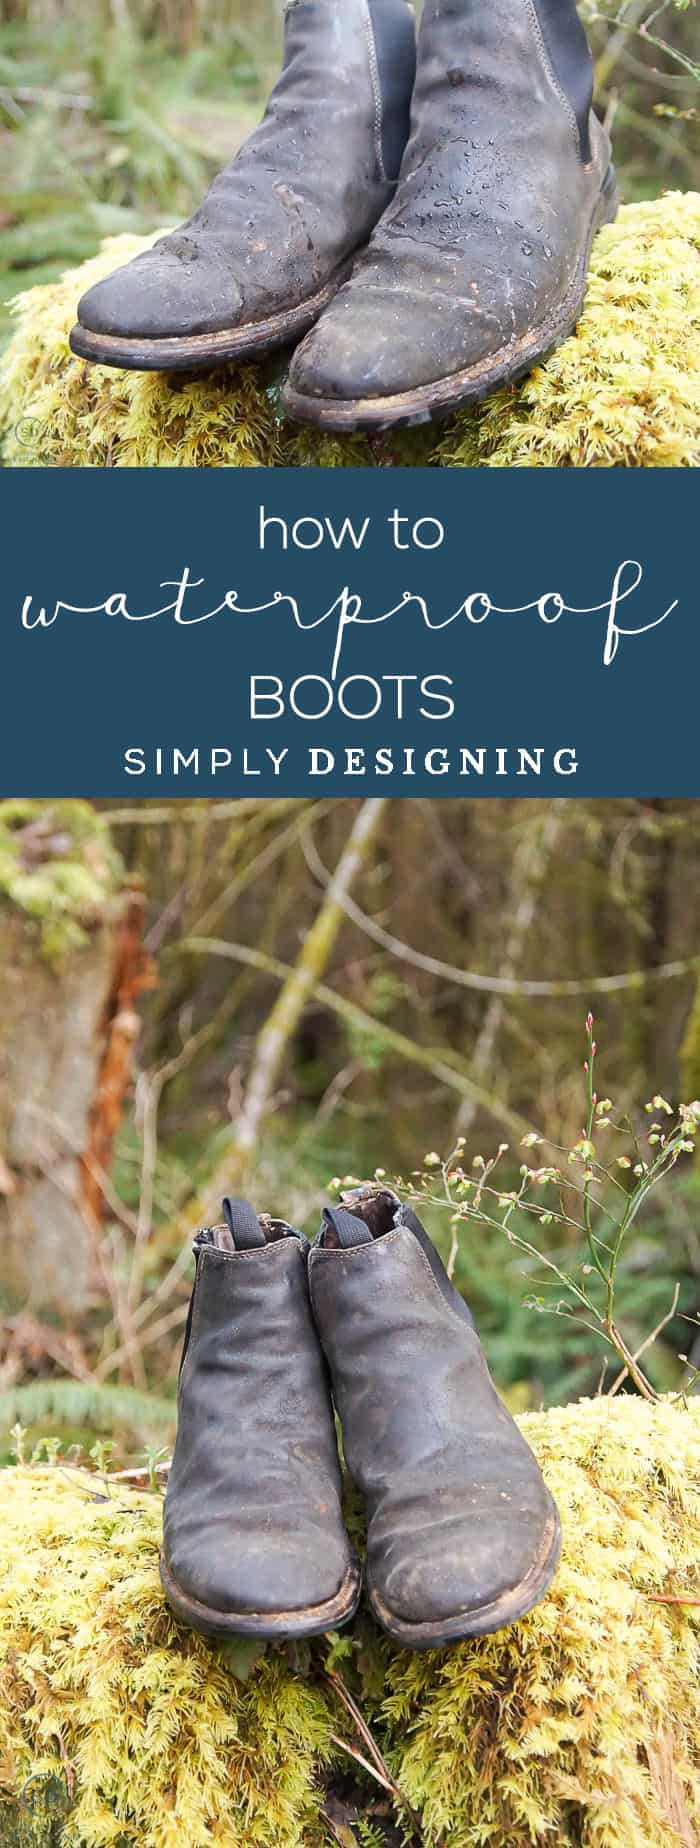
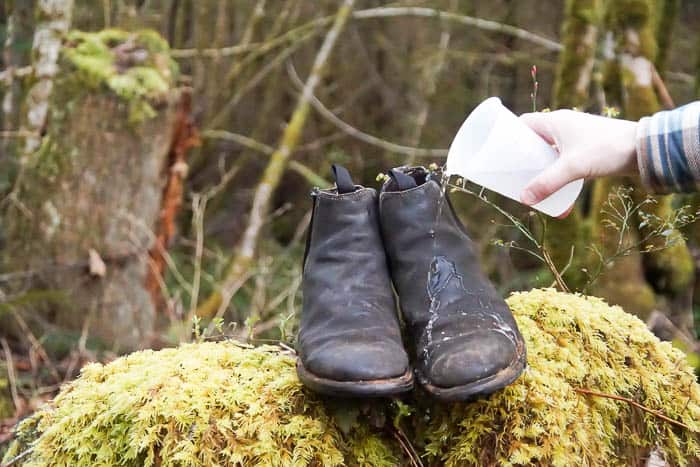
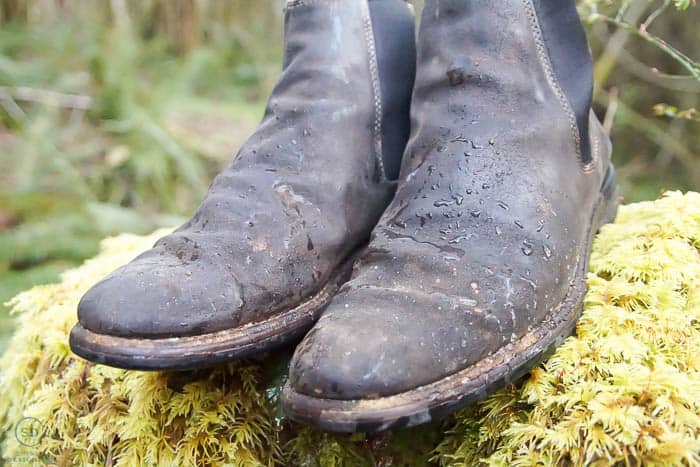
Yes, it really does work! See how the water just rolls right off of them in this short 3-second video.
So super cool!
What supplies do I need to waterproof boots?
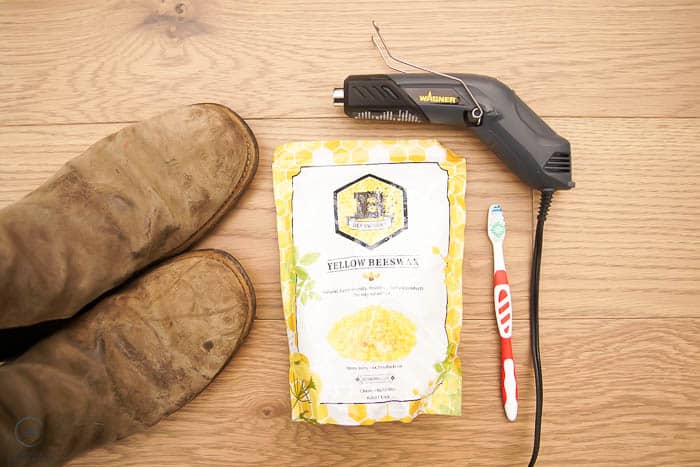
- Leather Boots (see notes above)
- Beeswax Pellets
- Wagner Heat Gun HT400
- Disposable Bowl
- Disposable, Clean Toothbrush
- Paper Towels
What is the best way to waterproof boots?
- Brush of dirt, debris and clean your boots as well as you can.
- Melt beeswax.
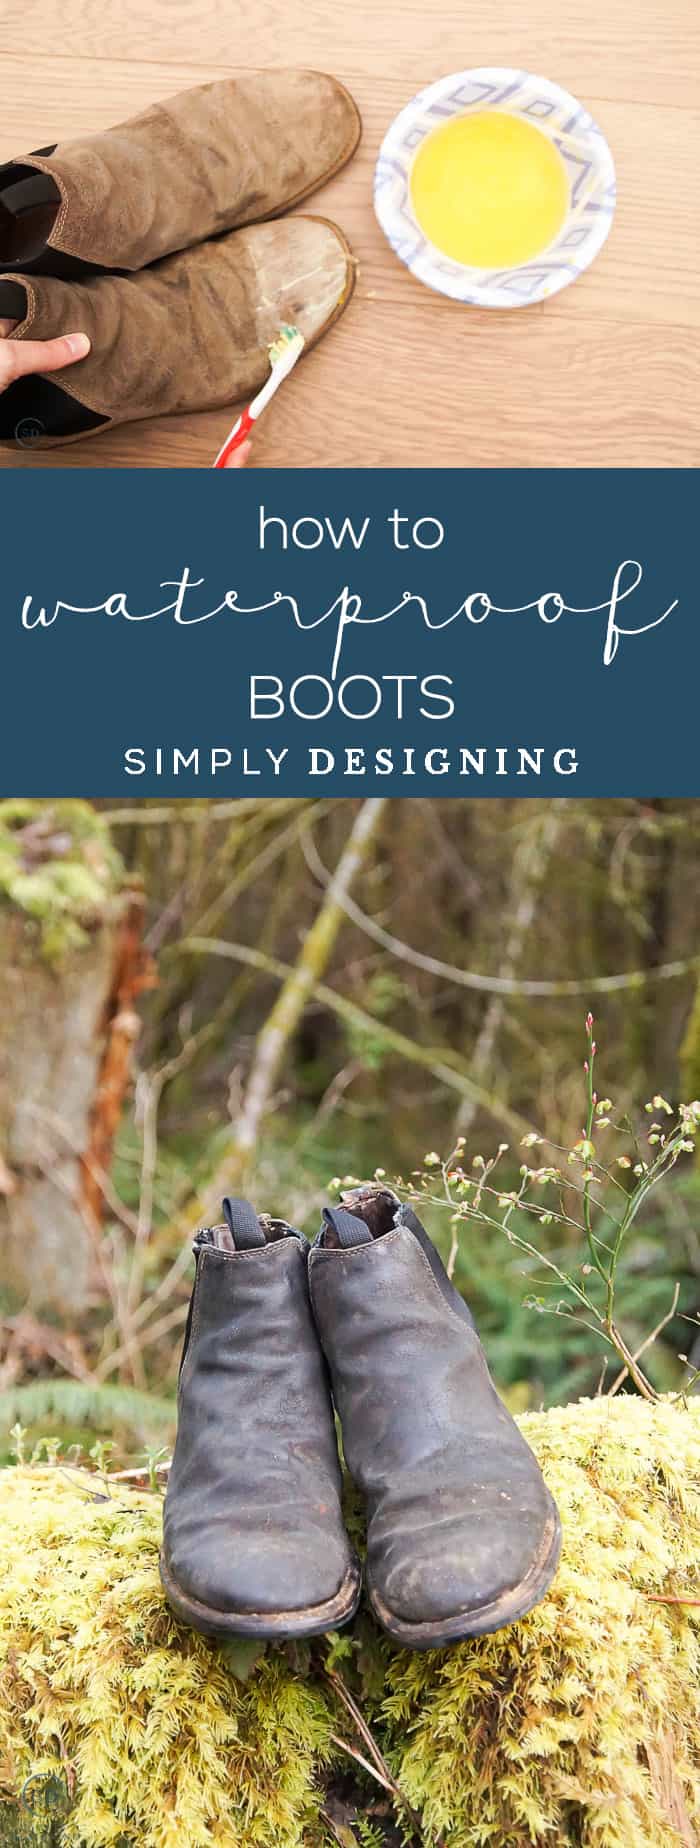
- Use a toothbrush to apply beeswax all over leather boots being careful to cover the entire shoe evenly.
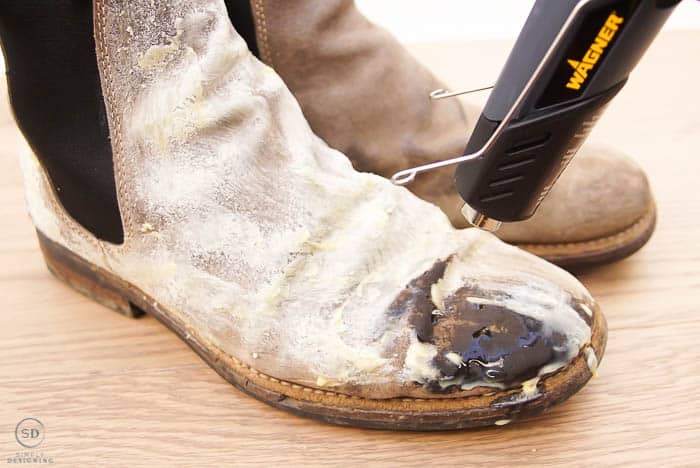
- Use a Wagner Heat Gun HT400 to heat the beeswax on the shoes so it will absorb into the leather.
- Use a paper towel to wipe any drips of excess beeswax off.
- Enjoy your newly waterproofed shoes!
Why should I use the Wagner Heat Gun HT400 to waterproof boots?
It is important when waterproofing your leather boots with beeswax to be able to reheat the beeswax for leather absorption. Without proper, consistent heat, you will not be able to melt the wax into your boots effectively. I love the Wagner Heat Gun HT400 because it is smaller and easy to hold in my hands, has dual temperatures (hint: both work for this project but the higher temperature makes this project go super quick), it has a retractable stand so I could set it down and move my shoe around it if I wanted to and because of its size it is easy to apply concentrated heat to small portions of the boots at a time enabling the wax to soak into the leather well! This heat gun is really the perfect heat gun for this project!
Let me walk you through each step with photos of how to waterproof boots with beeswax:
STEP 1: Clean your boots off. Brush all the dirt and debris off and clean them the best you can.
STEP 2: Pour Beeswax into a microwave-safe, preferably disposable bowl. You probably only need ¼c-½ cup of beeswax for your boots depending on the size of them.
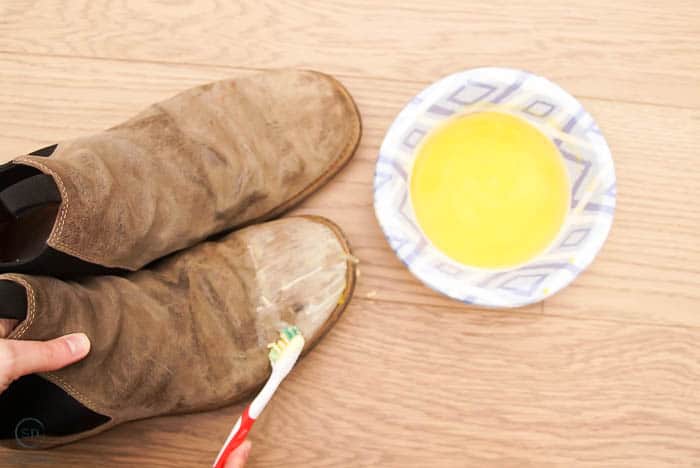
STEP 3: Use your microwave to melt your beeswax completely.
STEP 4: Use a clean toothbrush to apply the beeswax to your leather boots. Beeswax will dry fairly quickly upon application so move quickly but carefully.
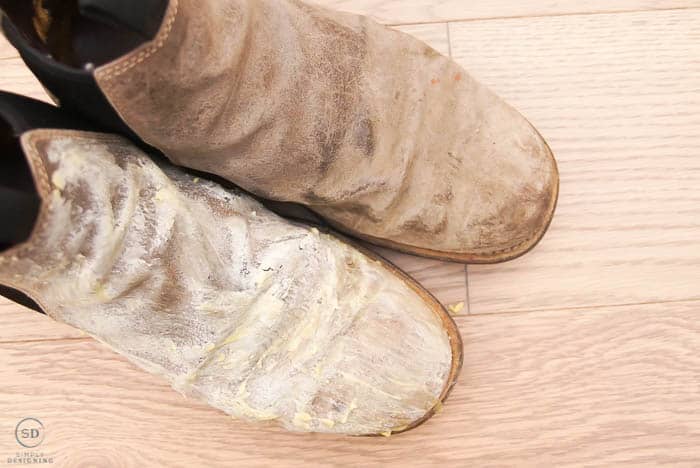
STEP 5: Once your boot is completely covered with beeswax, use a Wagner Heat Gun HT400 to heat the wax up. You will see it melt into the boot and create a protective layer of wax on your leather boots.
STEP 6: If you find you missed any spots, add more beeswax to the spots on your boots that were missed and heat it again using your heat gun. Use a paper towel to wipe up any excess or drips.
STEP 7: Repeat with your other boot.
STEP 8: Enjoy your newly waterproofed boots!
And check this out! These boots are totally waterproof!
I love how easy this was and how cost-effective it was too. I will be able to waterproof so many pairs of shoes with this one bag of beeswax!
You might also enjoy these posts:








Stacy Risenmay
So smart! I never would have thought of doing it this way!
Sue
Can you use a blow dryer to heat the beeswax?
Jeannie
If you use good old fashioned shoe polish on boots occasionally, they will be water and stain resistant...and look good too.
Briggs Safetywear
I've been using Briggs Safetywear leather waterproof safety boots for months—amazing comfort and protection! Perfect for any work environment.