Normal wear and tear on a home often leaves marks and scuffs on the walls and so today I want to share my tips and tricks for How to Touch Up Paint with you.
If you are looking repaint an entire room, check out my post about How to Quickly Paint a Room HERE.
But if you just need a little touch-up painting done, keep reading for all my tips.
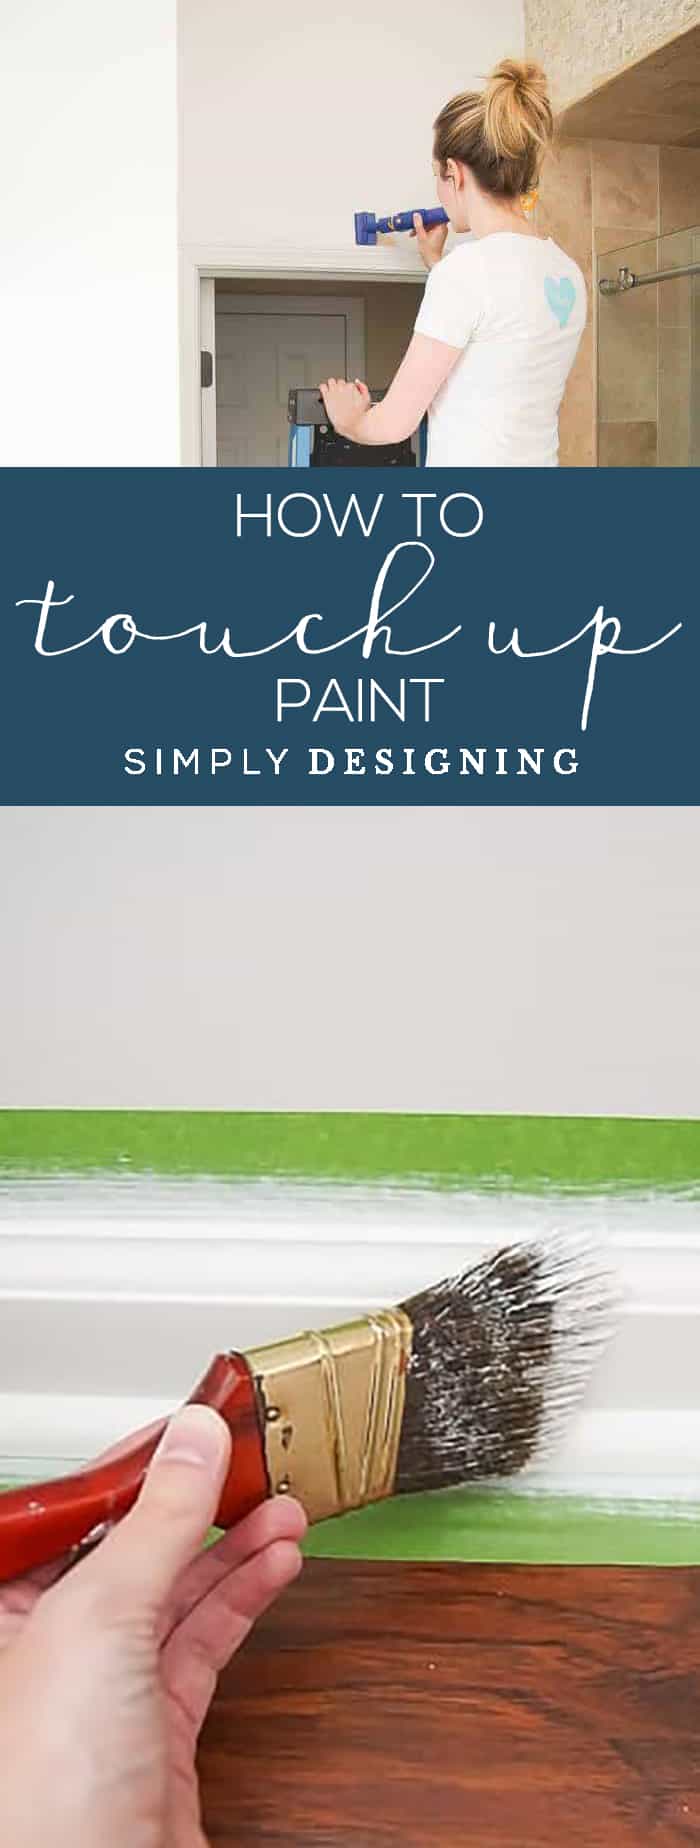
How to Touch Up Paint
Touching up paint can be tricky.
Often when we try to do this, the areas we touch up turn out darker, we can see edges or the paint doesn't seem to even match at all anymore.
Thankfully these problems can be easy to solve.
But there are some tips and tricks that are important to know first.
Will touch up paint blend in?
Touch-up paint can blend in, but it really depends on a lot of variables.
Keep in mind that touch-ups on a flat paint (with a matching flat paint) will be easier to blend in than a high gloss paint.
If you dilute the old paint before touching up, use the same kind of applicator, and use a light hand and feather the touch-up, you should be able to get a nice touch-up job without too much trouble.
Keep reading for more tips and tricks for doing this.
Why is my touch-up paint darker?
Paint touch-ups usually look darker because there is less moisture (and therefore more pigment) in the touch-up paint than the original paint coat. This can happen for a few reasons:
- Stored paint can lose water and moisture over time causing there to be less moisture in the touch-up paint
- Less moisture in the paint will mean that the evaporation and wicking will happen at a different rate than the original coat of paint which will cause color differences
- Depending on painting conditions like temperature and humidity, evaporation and wicking that can also happen at different rates than the original coat of paint can cause color differences
Basically, water, evaporation, and wicking play important roles in determining how the paint coat looks.
And those things change due to time, access to air, heat, cold and current air conditions.
Because there is no way to ensure that the evaporation and wicking of the touch-up paint occur at the same speed as the original coat with all of those factors, it is hard to ensure an exact match.
But if you store your paint correctly, and follow a few easy tips for touching up walls, you will learn how to master touch-ups in no time!
How do I store paint properly for best touch-up results?
Stored paint can lose water and moisture over time which will cause issues with touching up paint.
Here are a few tips for storing paint properly to help avoid as many issues as possible:
- Wipe the paint off of the groove in the paint can and the rim of the lid so that you can get a good seal when putting the lid back on the paint can
- Do not close the paint can with a hammer, that can damage the lid shape and you won't get as good of a seal
- Use a rubber mallet and a block of wood to seal your paint can properly
- Store paint in a dark, room temperature location
- Do not store paint in an attic, a garage or a basement
- Do not store paint in direct sunlight (UV rays fade pigment)
- Do not store paint where it can freeze (this ruins latex paint)
- Do not store paint where it gets hot (heat accelerates the moisture evaporation)
How do you touch up old wall paint?
- Use the original paint if possible for touch-ups. If you don't have access to the original paint, you can get a color match it at most paint stores. Be sure that the finish is the same.
- The higher the gloss, the harder the touch-ups are. Touch-ups are easiest with flat paint.
- Remove any film from the top of the paint. Do not try to stir it in, it won't stir in completely and you will end up with chunks of it in your paint. Simply remove it before using the paint.
- Stir the paint well.
- Dilute your touch-up paint by 5%-10% to help account for lost moisture
- For latex-based paint add water
- For oil-based paint add mineral spirits
- Use the same type of painting applicator for touch-ups that you used for the original application (ie if a roller was used originally, use a roller for touch-ups if a brush was used originally, use a brush etc.). This will help ensure the texture of your touch-ups is the same.
- Paint touch-ups at the same temperature that the original coat of paint was painted in if possible. A few degrees different can actually make a difference in how well the paint blends.
- Touch up using very light coats of paint
- Feather the edges of your touch-up paint by either lightly bringing your roller or brush away from the wall near the edges so that it "feathers" into the old paint and doesn't create a hard edge that will be more likely to see
How to Touch Up Paint
- Clean the surface you need to touch up well with soap and warm water.
- Allow the surface to dry completely.
- Make any wall repairs you need to make.
- If you have made wall repairs, you may want to prime the area you want to touch up first. Only prime the area that you repaired.
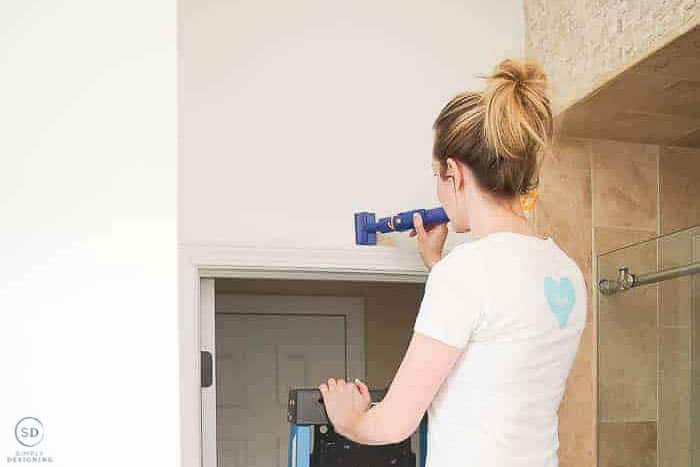
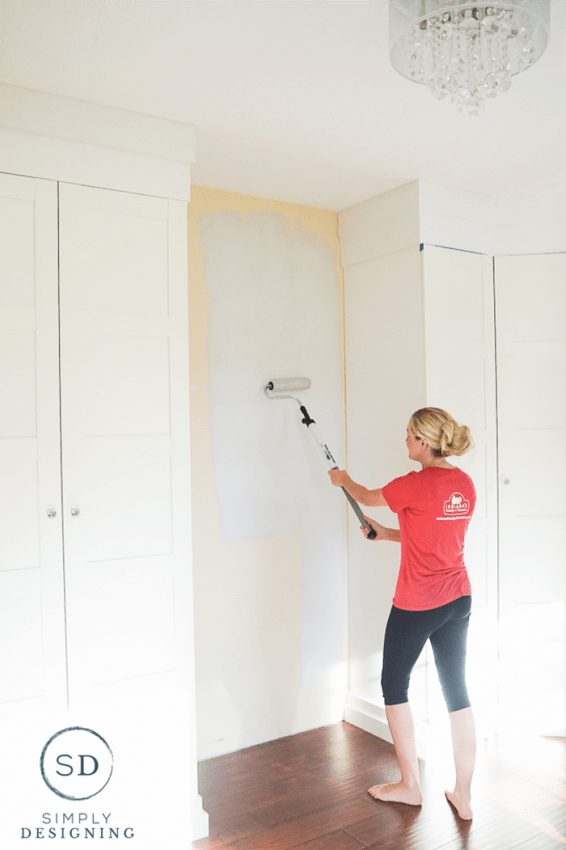
- Dilute your paint and grab a brush or roller (use whatever was used to apply the previous coat of paint) and lightly apply a touch-up coat of paint, feathering it and blending it out into the original painted area so that there are no hard touch-up lines.
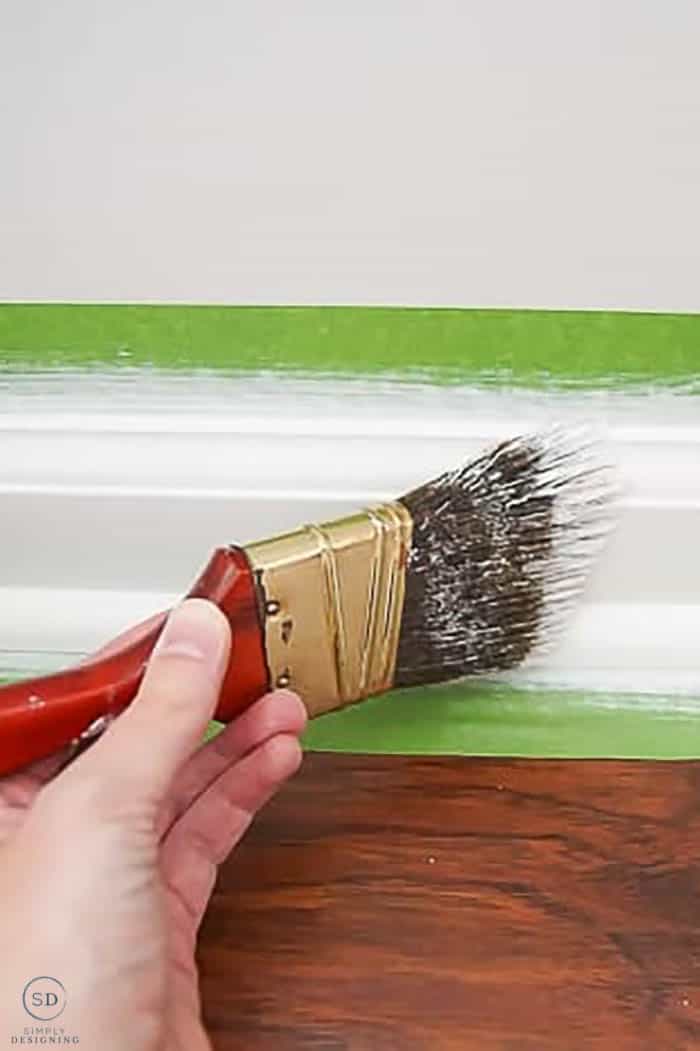
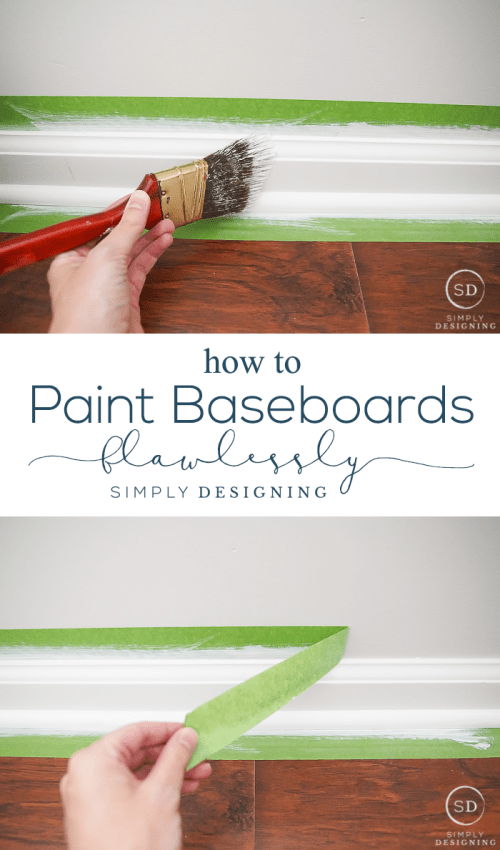
- If you are touching up baseboards, you may want to tape.
- Wait for it to dry.
- Apply a second coat of touch-up paint if needed.
What if the touch-ups look bad?
I have a very critical eye and tend to notice touch-ups more than someone coming to my own home would.
So be sure to grant a little grace.
You will know where the touch-ups are and you will be much more likely to notice them than anyone else.
If they really look bad though you can always repaint the entire wall from corner to corner.
It is a bit more work, but you will end up with a great-looking wall and space with only a little more work than doing touch-ups.
There is no need to repaint the entire room, just repainting the wall should do the job.
What are the best painting tools?
I wanted to leave you with a few recommendations for some of my favorite painting tools.
Of course, if you are touching up, you want to try to use the same applicator as the original coat.
But these are the tools I love to start out using the first time for an easy and beautiful application:
If you are looking for more information about painting, I've got you covered! Check out these popular painting posts:
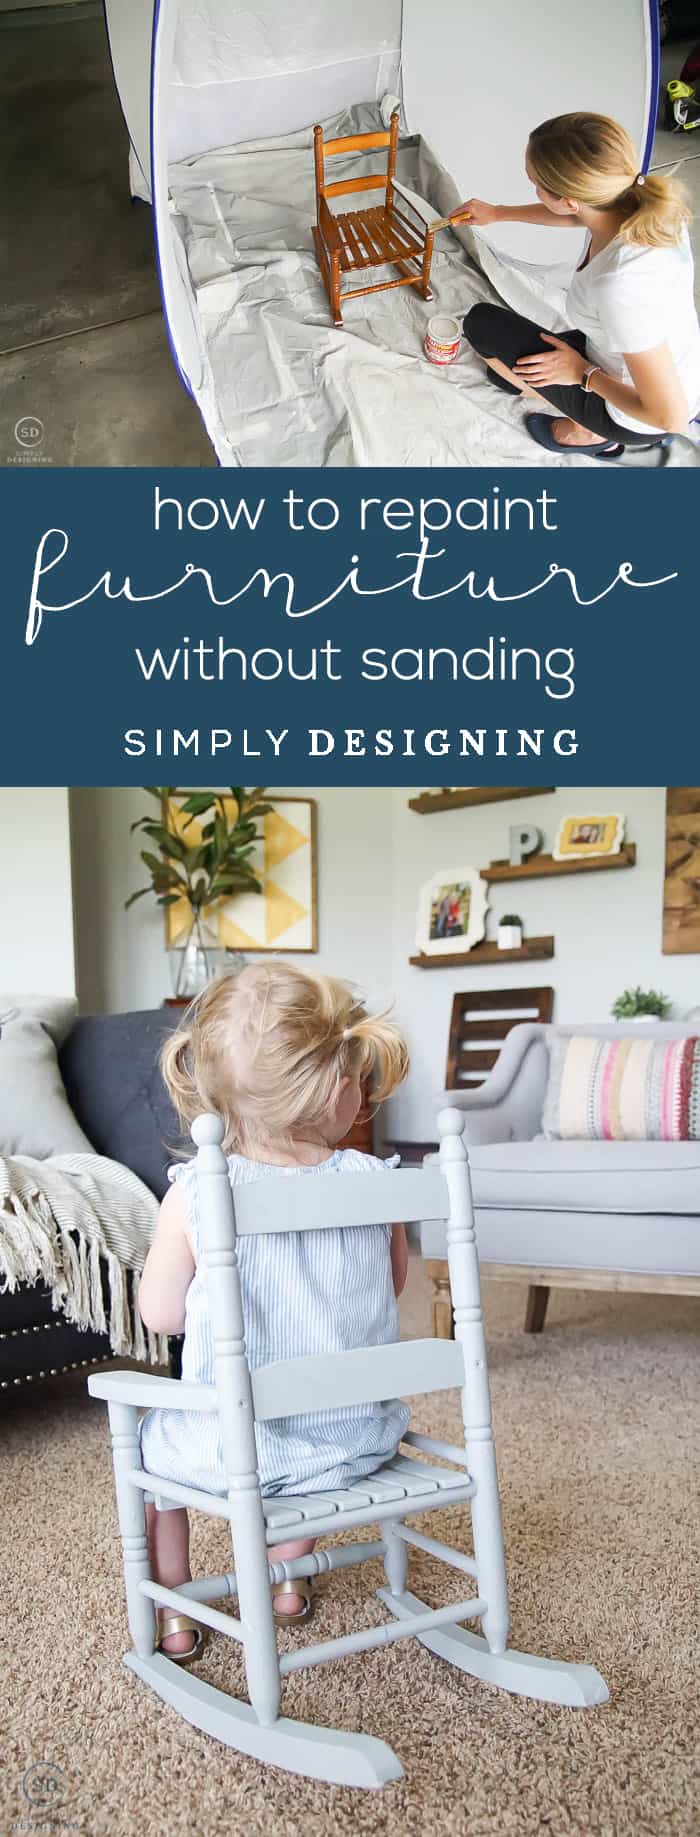
How to Repaint Furniture Without Sanding
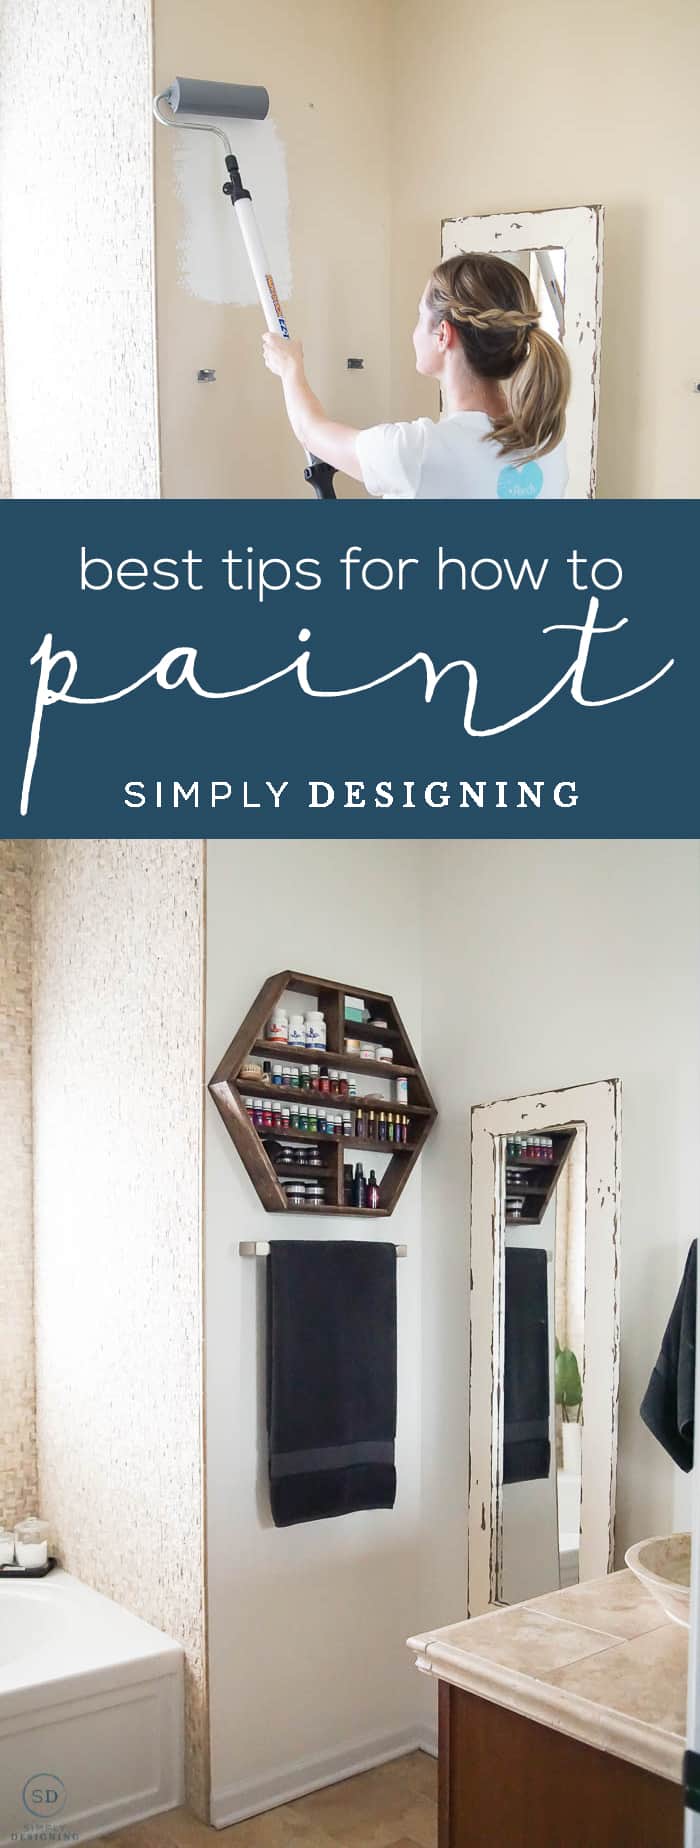
How to Paint A Room Like a Pro






Alison
Hi we are renting and wanted to touch marks on the wall. We took a paint flake to the shop to match but putting it on its way too dark. After reading your article ( too late) we want to know how to paint over the repairs. We understand we should dilute the paint but how do we paint over our mistakes as it is very dark. Thanks😊
Ashley Phipps
Hi. Oh man, I am so sorry. It can be so tricky to paint match sometimes. If you are able to get a match on your original paint and then dilute that, you may be able to paint over the mistake and blend it in, but I haven't tried that so I don't know for sure if it will be a perfect result since there is a darker layer there now. The other thing you can do is to paint over your mistake with primer (blend it in with soft edges so you don't have hard edges) and then repaint the whole area. I would do 1-2 coats of matching paint and then blend it in with a layer of diluted paint. Best of luck!