Painting can be fun or frustrating but I'm going to show you how to paint trim so you will love it as much as I do.
I love painting furniture and craft projects and I LOVE how walls and trim look when they are freshly painted!
Since we have lived in our home for nearly 6 years, our whole home needs to be repainted, and our baseboards are in bad need of being touched up too!
It is just part of life, and since I am a DIY-er, something like a simple baseboard touch-up is usually not something I want to outsource because I know I can do it myself.
And I know if I do it myself, I will be happy with the results and I will also save money.
I remember in one of our first apartments as a newly married couple, asking the manager for some paint so we could do some touchups.
They agreed, and I have been touching up baseboards ever since.
So today I am excited to share my Tips on how to paint trim and baseboards flawlessly!
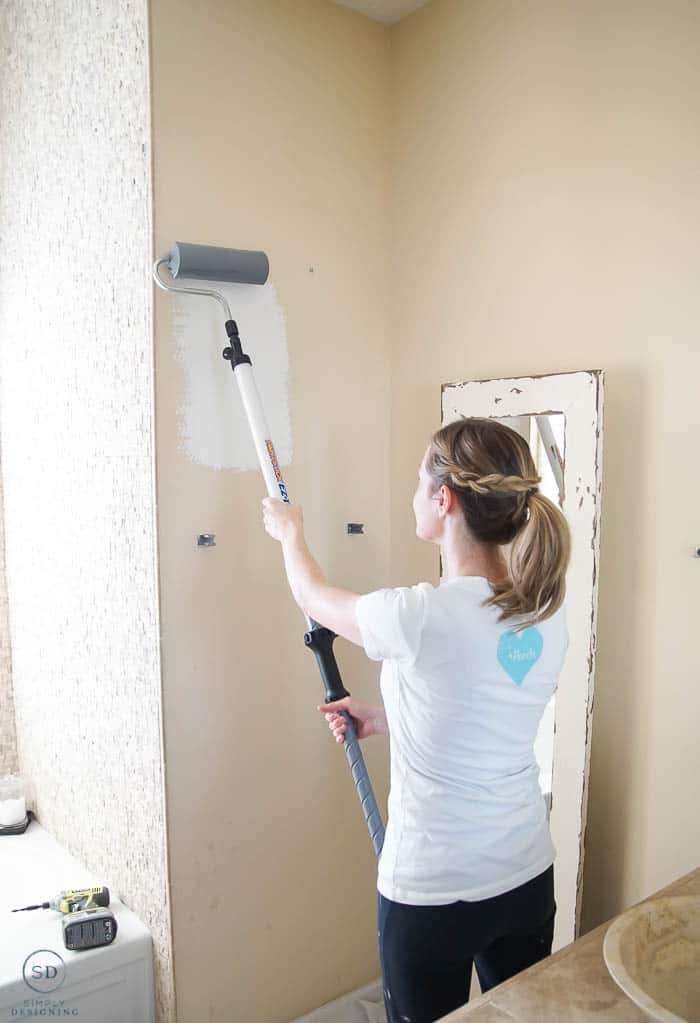
If you are painting the walls in your room check out my tips on How to Paint a Room.
Affiliate links may be included in this post for your convenience. By clicking the link, you never pay a penny more but it helps to support my blog.
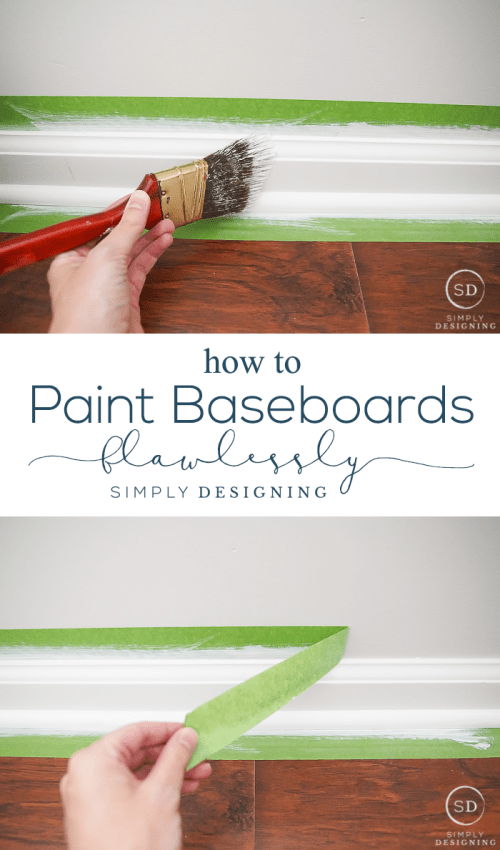
How to paint trim in 5 easy steps.
The key to learning how to paint trim or baseboards is in the prep work.
I can promise that if you don't take time to properly prepare your baseboards, they just won't look great.
So take your time to prep your baseboards well, and you will get great results!
Step 1: Gather Your Supplies
Before you begin painting your trim, gather all the supplies you will need.
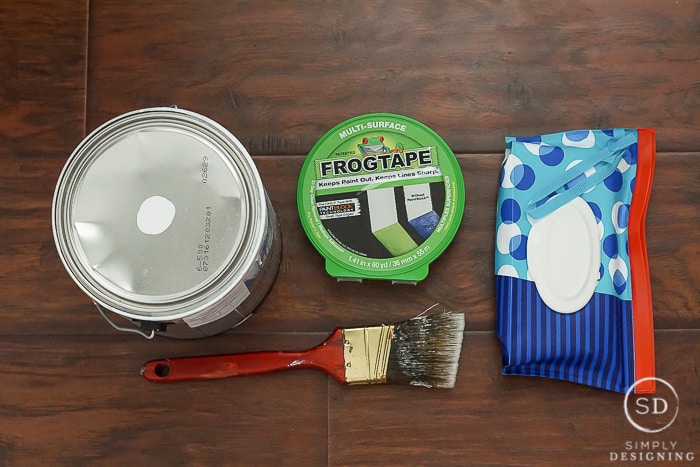
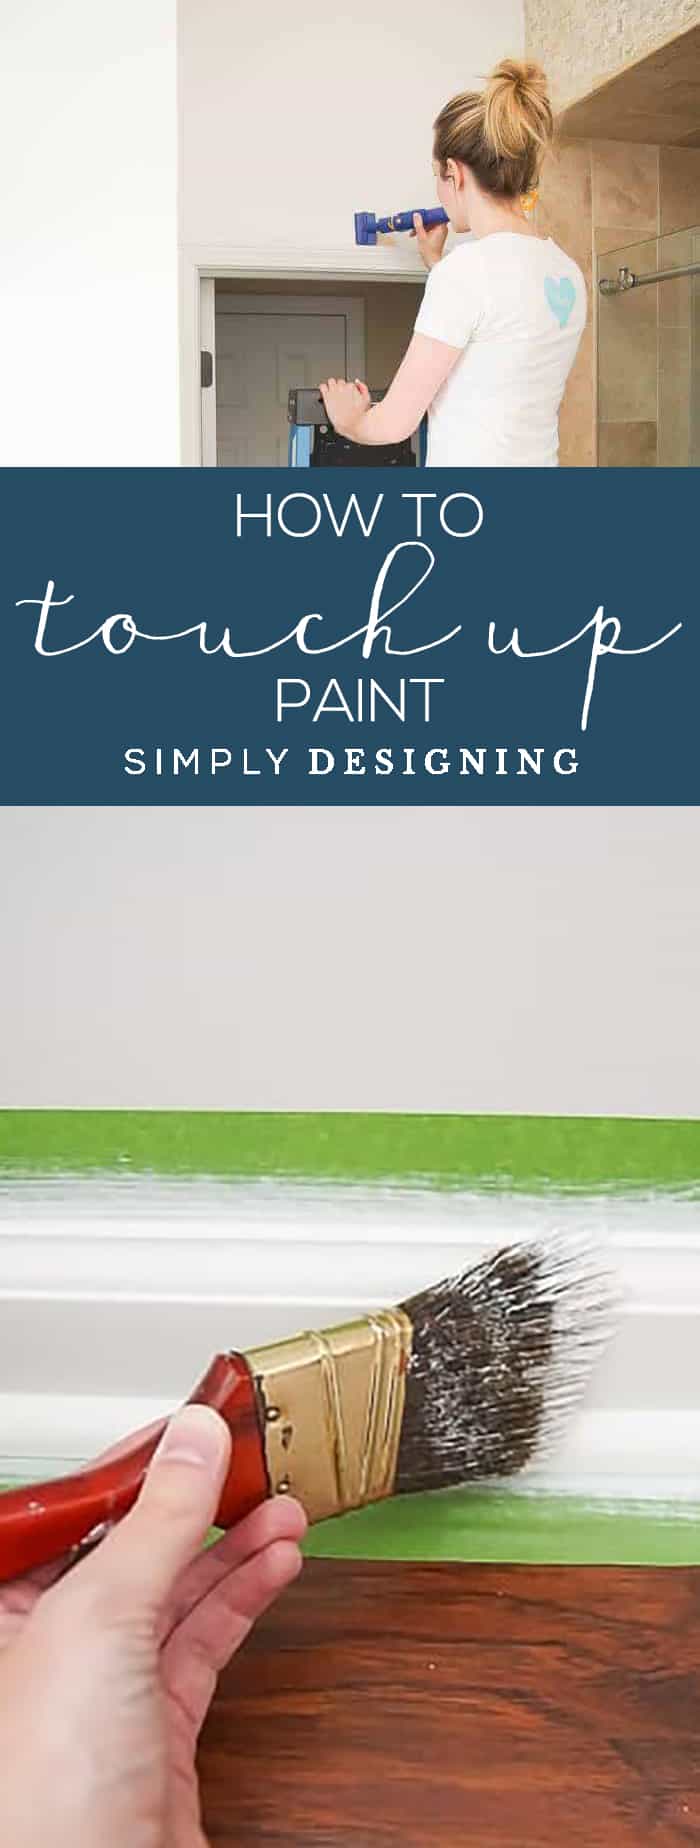
Your supplies might be different than mine, but I like to gather my paint (and a way to stir it), a 2" Angled Trim Brush, wipes, and painters tape.
I am using FrogTape® brand painter’s tape.
Step 2: Dust and Clean
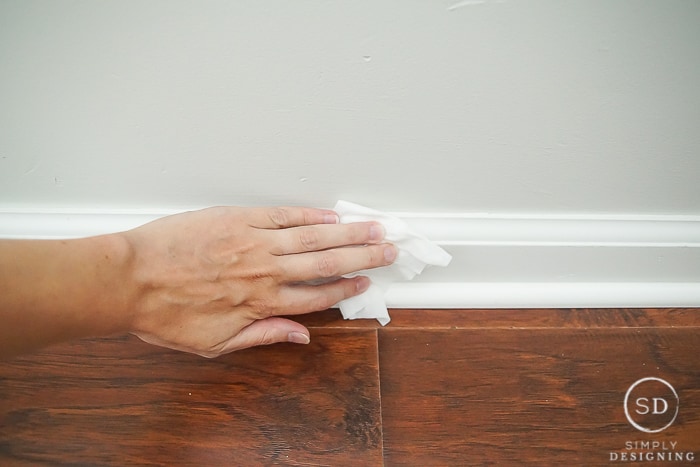
Hopefully, you dust your baseboards every once in awhile anyway, so this step shouldn't take long.
Give them a quick dusting and call it good!
If your trim is dirty, and they often are near doors, in bathrooms, and in kitchens, take a moment to clean them first.
Dish soap, water, and a rag work well, but I usually pull out a baby wipe and give them a quick wipe.
You will need to wait until the trim is completely dry before moving on to the next step.
Step 3: Tape
Most of us do not have a steady enough hand to paint baseboards without getting paint all over the adjacent walls and floors.
So it is important to tape your baseboards off in order to protect your walls and floors and to get a clean, crisp line!
When buying painters tape, be sure to get the right kind for your project!
FrogTape®, for example, has several different lines of tape that should be used for different purposes.
FrogTape®'s Multi-Surface tape is a great tape to keep on hand and it is good for many uses!
It has a medium adhesion but should only be used on cured painted walls and trim, glass and metal.
FrogTape® Delicate Surface tape is a better choice for freshly painted surfaces, faux finishes or on wallpaper.
Today I am using a FrogTape® brand Multi-Surface painter’s tape and it worked great!
FrogTape® is the only tape with PaintBlock® Technology and it really does make painting easier because it prevents paint from bleeding so you get really sharp, clean paint lines.
PaintBlock® reacts with the water in latex paint and it instantly forms a barrier against paint bleed and I am happy to say it really works to help me get nice, crisp, clean sharp lines!
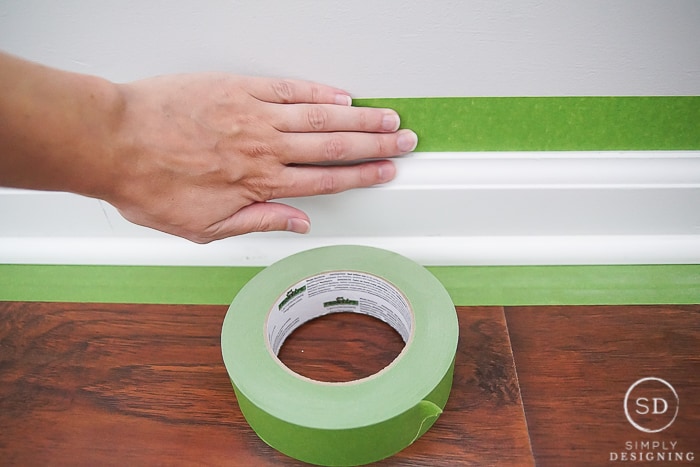
After you select a painters tape, (I chose FrogTape® Multi-Surface tape because I repainted my walls several months ago in this room, but never touched up the baseboards) you will want to carefully apply it along both the top and bottom of your baseboards.
Be sure to press it down fully along the edges so that the tape is secured well to your surface.
Step 4: Paint Trim
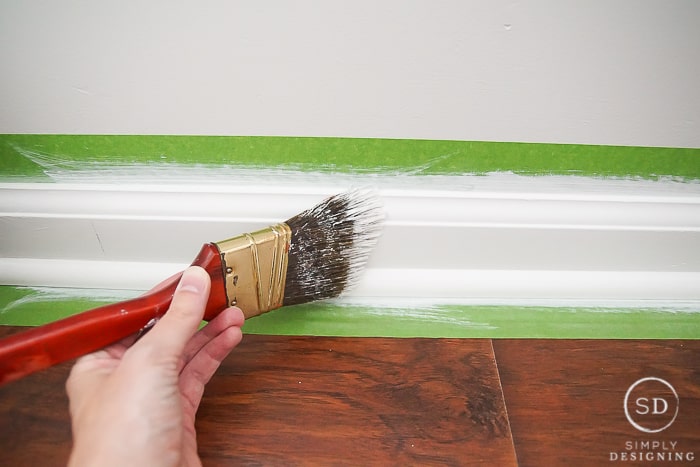
When painting baseboards, it is important to use the right brush for the type of paint that you are using.
I like using a 2" angled paintbrush for the majority of my trim painting.
I really love Purdy brushes and this Purdy 2" Angled Trim Brush would be perfect for this project!
When I come to inside corners, sometimes I pull out a small craft paintbrush to get the job done!
Also, I prefer a bristle brush over a foam brush, but either will work.
I usually paint one coat of paint, wait for it to dry and then paint a second coat of paint.
However, when you are touching up paint, because the wood already has several coats of paint on them, you might only need to do one coat.
The preference is up to you.
Also, you need to take into account if you are using matching paint or if you are painting your baseboards a new color.
If you are simply using the same paint, one coat is often enough.
If you are painting your baseboards a new color, you will want to do two coats of paint.
Step 5: Remove Tape
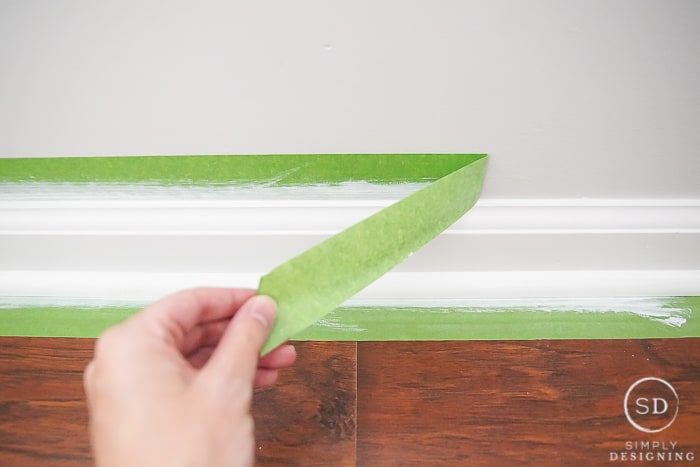
It is important to remove your painter's tape at just the right time.
If you wait too long, the tape can be hard to remove and you might even get bits and pieces of the tape adhered so well to the walls/paint that you may have a lot of difficulties getting it all off.
So I like to wait until the paint has started to dry, but is not dry yet before removing my paint.
So typically, after I get done painting my final coat of paint, I will go back to where I started painting and begin removing the tape there.
This gives the paint time to set just a little bit but not fully dry.
The paint should still be wet when you remove the tape.
If you follow all of these steps and the instructions on your painter's tape carefully, you will have beautiful-looking, refreshed baseboards in no time!
If you loved learning how to paint trim flawlessly, you might also enjoy:
How to fix a broken iPhone charger
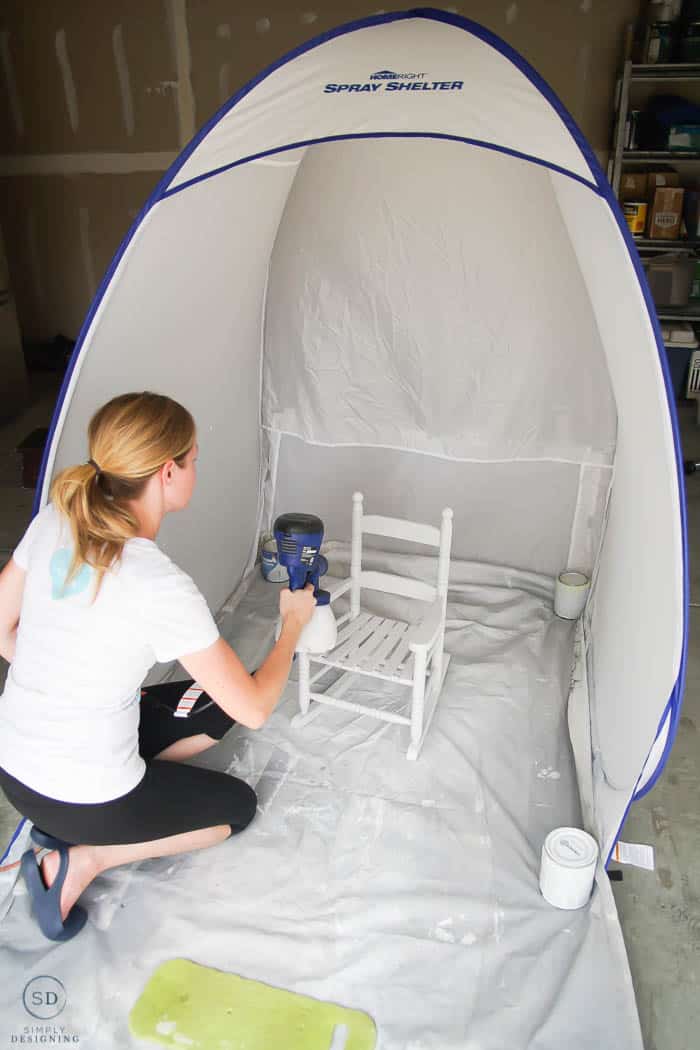
How to Repaint Furniture Without Sanding
How to Paint Furniture Flawlessly
How to Paint Your Room Like a Pro





Maryann @ Domestically Speaking
Great tips! I need to repaint our baseboards - DESPERATELY!
Amy Anderson
Frog Tape is amazing! My baseboards are a mess :0
linda smith
I LOVE Frog Tape!! My baseboards could really use a good painting, thanks for the tips.
MellyB
Question about the baby wipes. Don't these leave a residue that paint won't adhere to well?
Ashley Phipps
I have never had issues with them leaving a residue that the paint won't adhere to. I use them for everything honestly! Just be sure to let the surface completely dry before you begin painting.
Emily
FrogTape is the best, especially for baseboards! Thanks for sharing with Merry Monday this week.
Stacey
Great post, Ashley! Thanks for sharing at Thoughts of Home. 🙂
Ashley
If you are putting on 2 layers of paint , when do you remove the tape ? Or do you tape twice?
Ashley Phipps
You will remove the painters tape after the second coat of paint.
Kippi
I am in the process of painting the house and your painting tips are just what I need.
Happy Holiday Season,
Kippi
Ps. Please share this post on my site at You're the Star blog hop