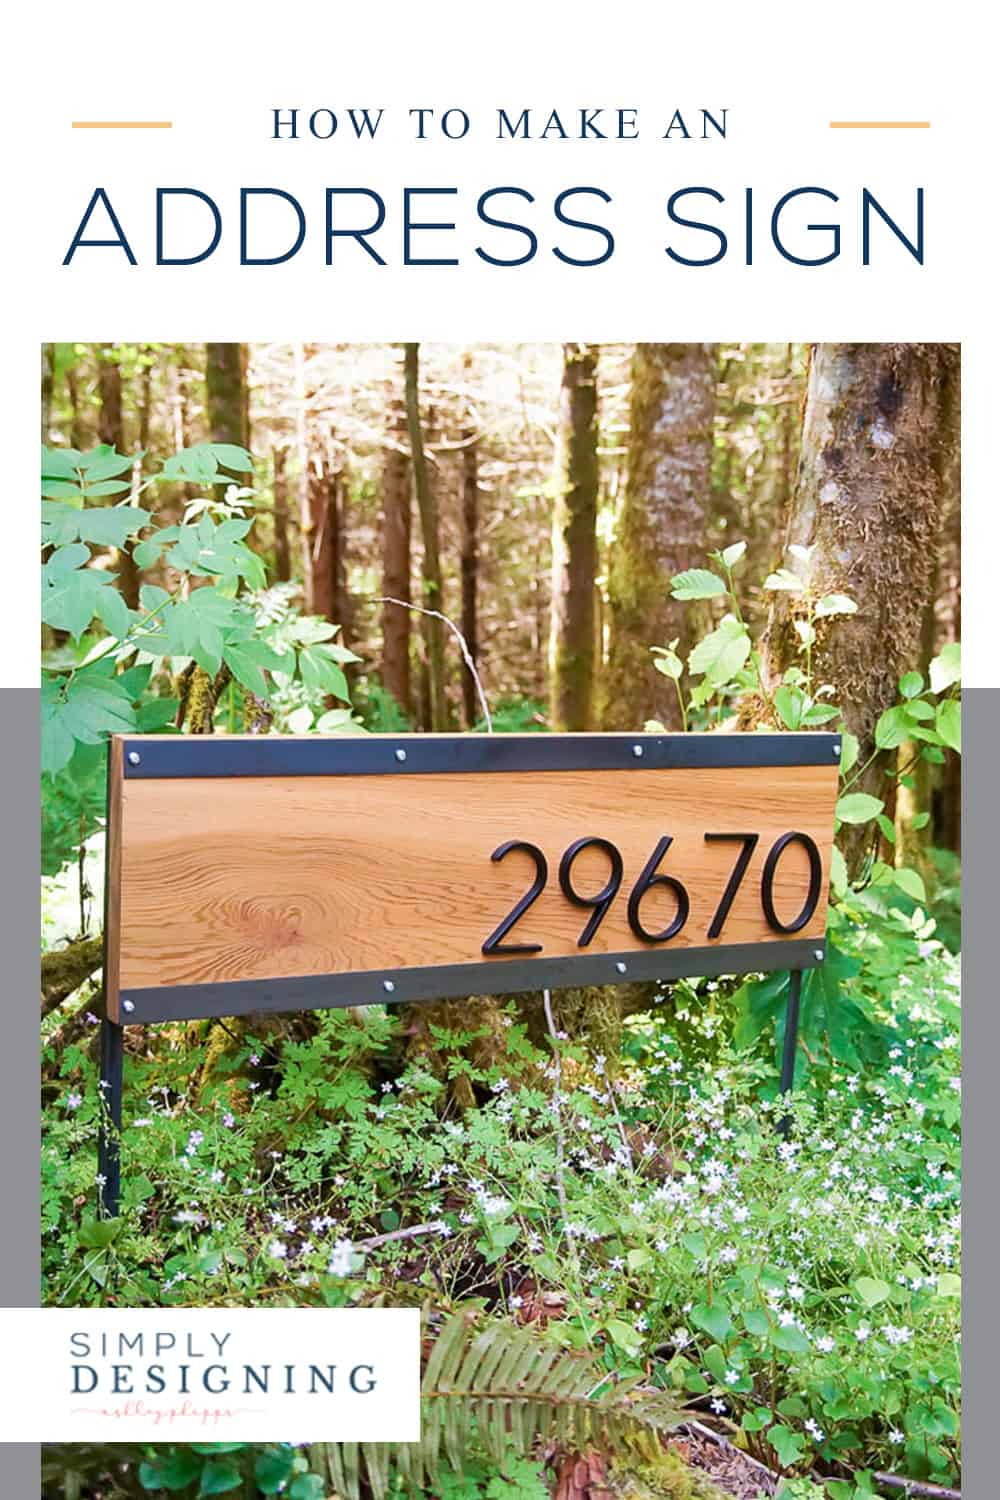
An address sign can be the first impression of your home, so make it stand out with a beautiful, modern, yet easy to make yourself option! Learn how to make an address sign in only a few easy steps. Keep reading for all the details.
Thank you to Wagner for sponsoring this post about a DIY Address Sign. All opinions are mine. Affiliate links are included for your convenience. Thank you for supporting my blog.
How to make an Address Sign
I love how every little detail can really tell a story when it comes to your home.
From the front door to your address sign, it all creates a lasting first impression into your space.
Where we live, it can be difficult to find homes, especially at night.
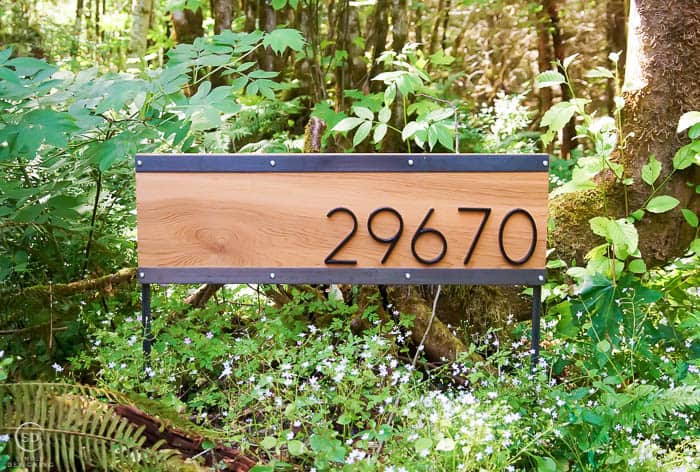
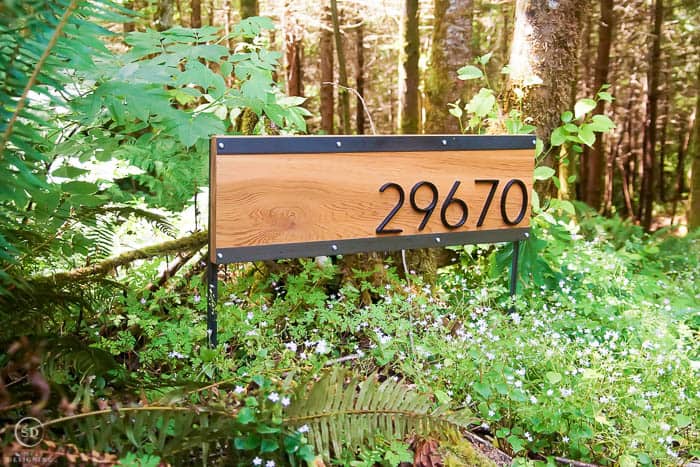
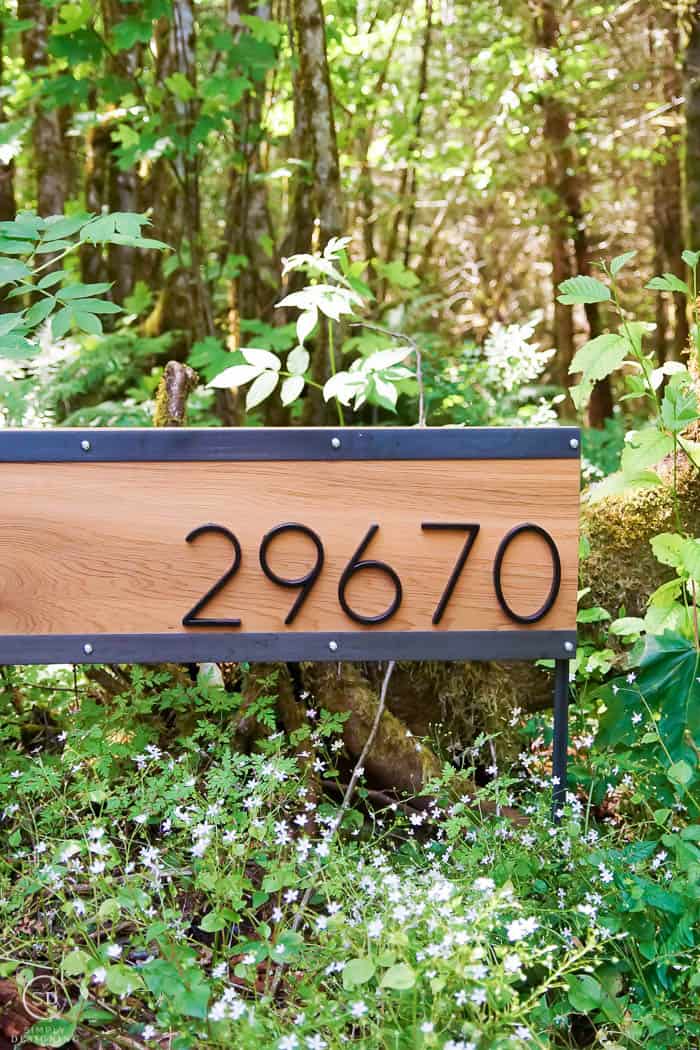
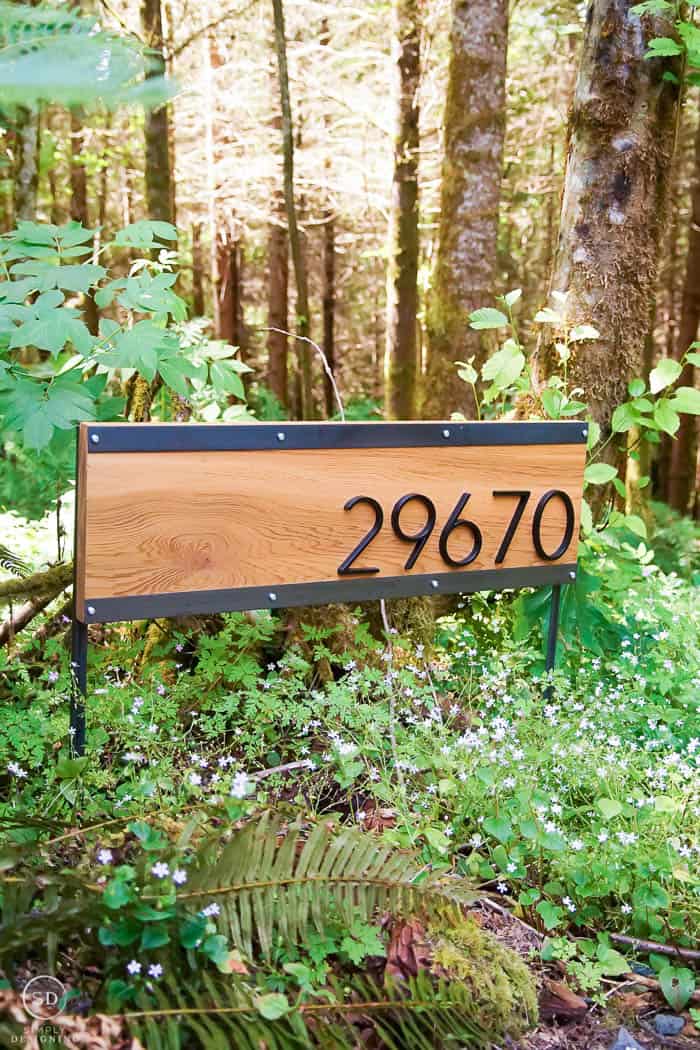
So we wanted to create a large address sign that could be seen from the road and help people find our home.
But of course, we didn't want just any address sign.
We wanted one that had lots of modern style with an industrial touch because that just fits our style.
So when we couldn't find anything that fit what we were looking for, we decided to DIY an address sign for our home.
This address sign is large and is meant to be seen from the road.
It is not small and may not be suitable for a traditional neighborhood, but it is most definitely perfect for property.
Are address signs difficult to make?
They don't need to be difficult to make.
Even though this address sign has a lot of style, it is actually very easy to put together.
What kind of wood do you use for an address sign?
Because this address sign is outside in the elements (and we have a lot of elements in the PNW), we wanted our sign and the wood we made it from to be durable.
As such, we choose to use a kiln-dried cedarwood.
This wood is not only beautiful, but it also ages well.
Cedarwood looks so beautiful now and it also looks great for years to come.
If you want to keep your costs down, I would recommend choosing a different wood like a pine board and then painting it or staining it with an outdoor stain.
Kiln-dried cedarwood is not cheap, but it is beautiful and can be a great choice for many reasons.
But if you are looking to keep costs low, choose a different wood.
Do you paint or stain an address sign?
You can choose to either paint or stain this address sign.
Both would look great.
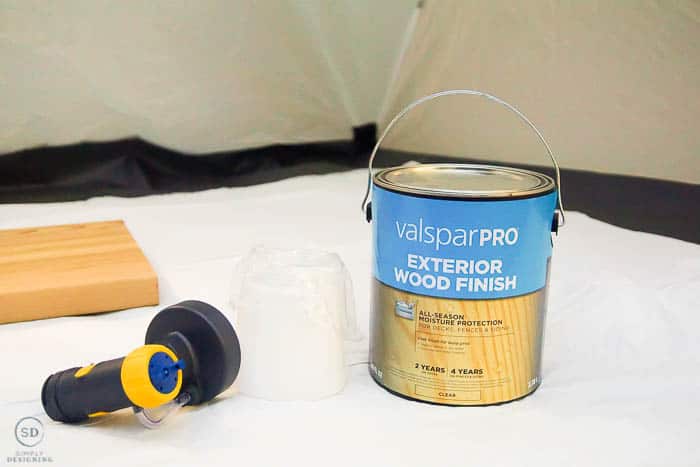
Because we choose to use a beautiful, kiln-dried, cedarwood, we actually just decided to add a clear coat to it.
This will protect it from the elements while allowing us to see the natural beauty of the wood.
But you can definitely choose to add an outdoor stain to it or paint it if preferred.
What is the best paint sprayer for this project?
In the last two months, I have completed projects with my new Wagner FlexiO 4000 and so I wanted to use it again this time.
If you want to learn more about how I used them last time, check out my DIY Cat House and my DIY Side Table with Herringbone Accent.
Both showcase awesome uses of the sprayer using both paint and outdoor stain.
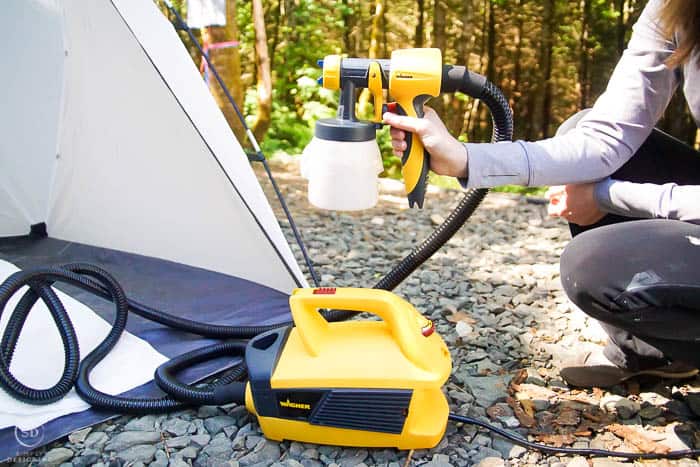
The Wagner FlexiO 4000 comes with two different paint cups and nozzle attachments.
Because I decided to use a clear, outdoor stain for this project, I decided to use the detail nozzle on it for a more fine finish.
Here are a few other things I love about this paint and stain sprayer:
- It can be used with a variety of paints and stains. It comes with two different paint containers and nozzles, one for thicker materials like latex paint, and one for thinner materials like a stain or for a fine finish. I used the detail nozzle for this project.
- This paint sprayer is super light to hold and use because the motor is housed in a base making the handheld portion super light!
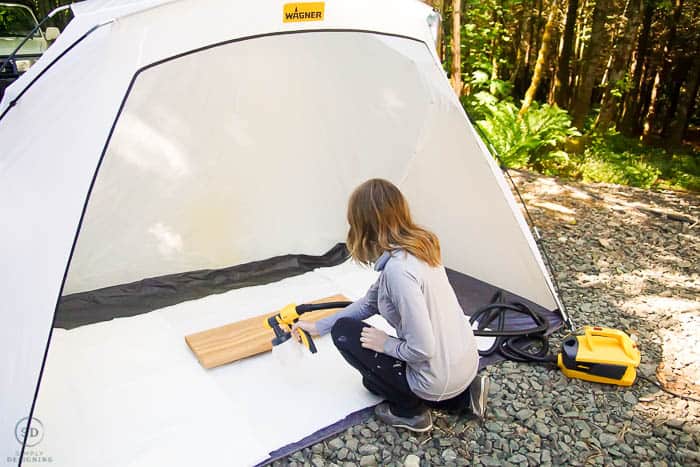
- This paint sprayer can be used indoors (with proper ventilation and taping off) or outdoors (I like to use it in my Wagner Spray Tent to protect it and to protect surrounding surfaces).
- It has variable speeds and variable power options to accommodate a variety of projects.
- Wagner spray liner cups. Life. Changing.
- Cleaning it is super easy. (Easier than other paint sprayers I have used in the past.)
- This paint sprayer is great for big or small projects.
- It works for a large variety of paints and stains including exterior paint, interior paint, latex paint, wood sealers, water-based stain, oil-based stain, outdoor stain, milk paint, chalk paint, primer, lacquer, urethane etc. Basically, if it can be sprayed, it can probably be used in this sprayer.
- This really is very simple and easy to use with clear directions included.
- I would guess that this can probably meet all of your painting needs so it could be the one and only paint sprayer you own.
What do you need to make an address sign?
Tools:
- Wagner FlexiO 4000 Paint Sprayer
- Wagner Spray Shelter
- 12" Compound Miter Saw
- Driver & Drill
- Drill and Drill Bits
- Electric Sander
- Strainer
Materials:
- Wagner Spray Liner Cups
- Stain (we used an outdoor clear stain)
- Clear Spray Paint (for metal, optional)
- Silicone Caulk
- Drop cloth
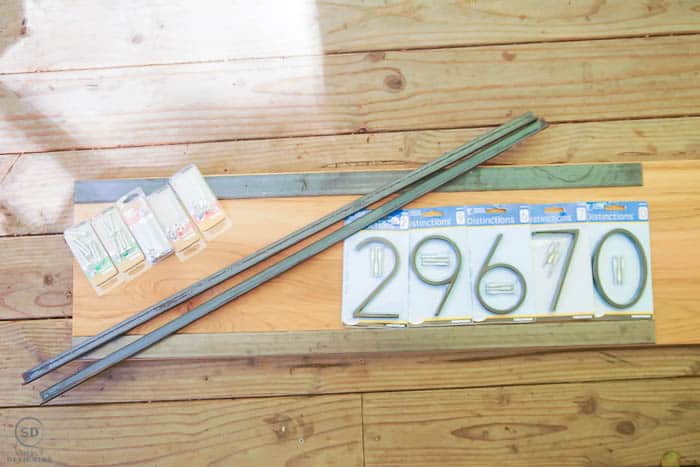
- 3' x 12" x 2" Board
- 3' x ⅕" long Flat Weld Steel Iron
- ½" x 3' long Metal Angle Iron
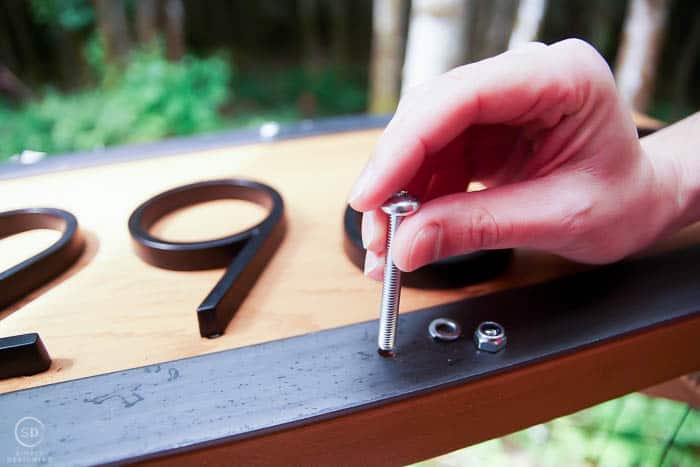
- (8) 2" long M6 Bolts plus Washers
- 5" tall Address Numbers
Directions to make an address sign:
STEP 1:
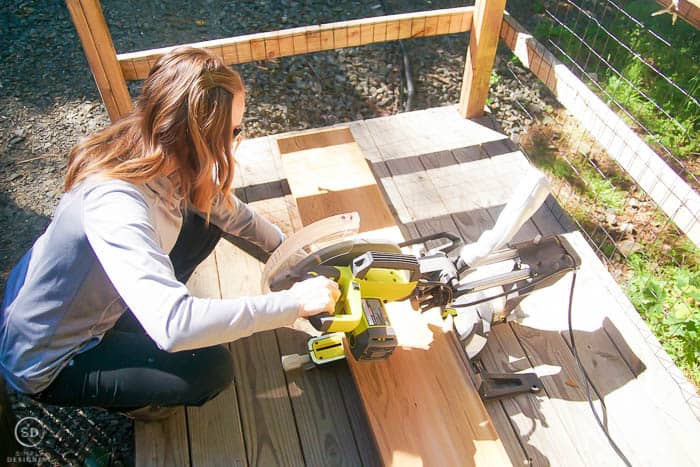
First, we cut a 12" x 2" board (we bought a board about 5' long) to a 3' length using a compound miter saw.
Then we gave it a light sanding on the edges where we cut the board.
STEP 2:
Then we placed a Wagner Spray Liner in the smaller paint cup, and then we filled it with the stain of our choice.
I like to stir and strain my stain first.
Then we used our Wagner FlexiO 4000 Paint Sprayer with the detail nozzle to apply one coat of outdoor clear coat stain to the cedar board.
Please remember to follow your stain directions.
With the particular stain we bought, it said to only do one coat, but some stains and clear coats are better with two coats.
Since our stain said to only do one coat of clear coat, we did one coat and let it dry completely.
Also, some stains suggest back brushing after spraying it, and some don't.
So just be sure to read and follow the directions for the stain you use.
It is important to let this dry completely before moving on to the next step.
STEP 3:
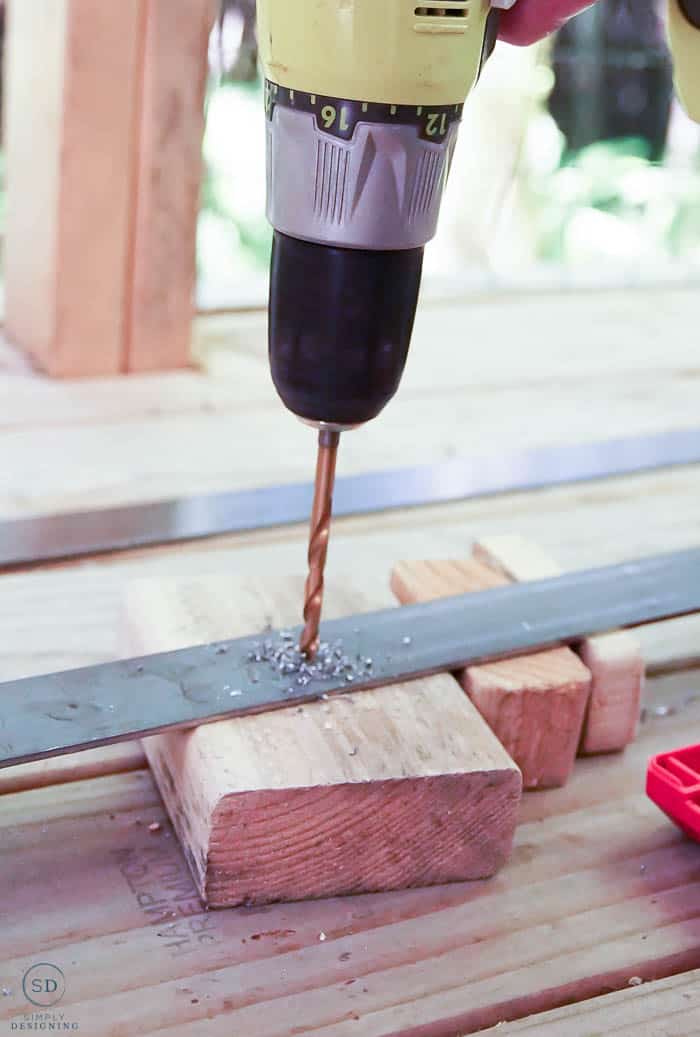
Next, we used a 5/16" drill bit to drill holes into the flat weld steel iron about 1' apart so we ended up with 4 holes in each piece of iron.
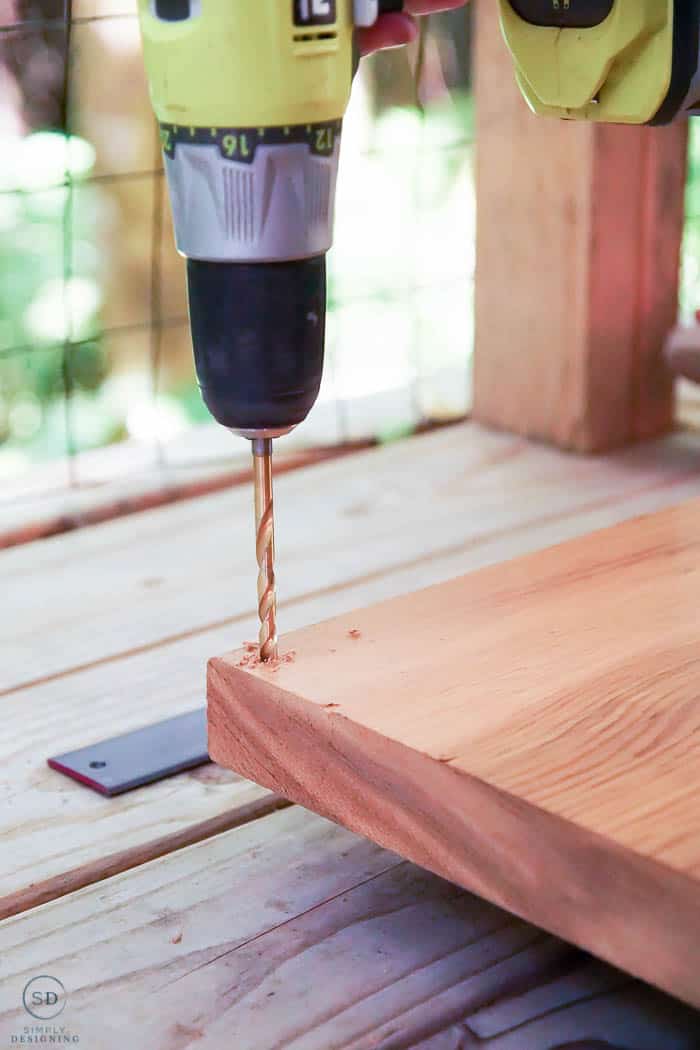
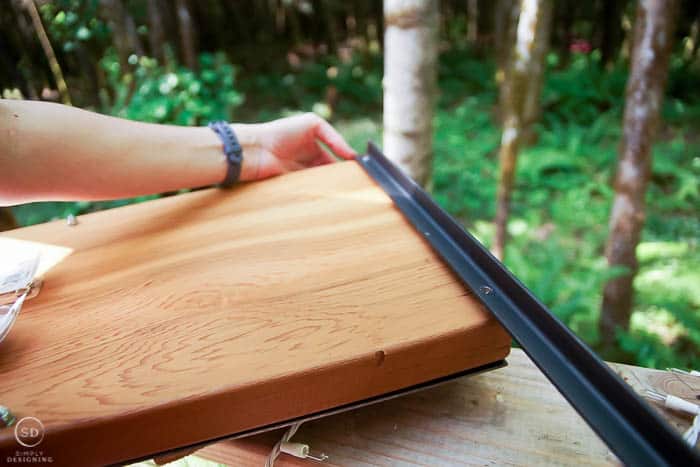
We set the iron on the wood board and marked where the holes were and then drilled holes into the wood using the same 5/16" drill bit.
Then we drilled 2 holes in the angle iron using the same 5/16" drill bit.
We wanted these to line up with the top and bottom exterior holes on the board, so we used the existing holes as a guide.
At this point, you may want to use a clear coat safe for metal on both the angle iron and the flat iron, but this is optional.
STEP 4:
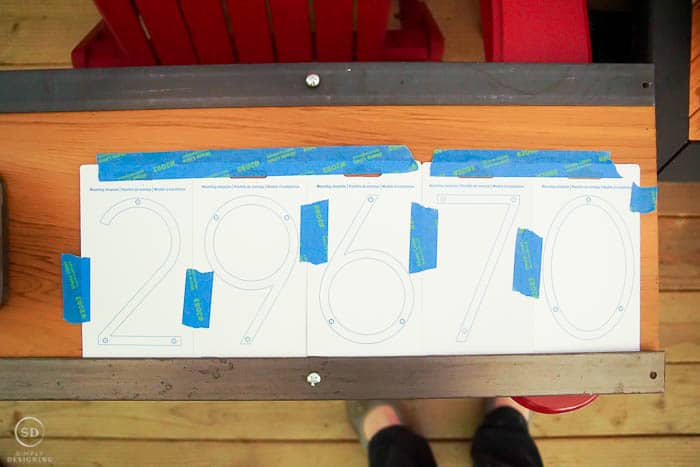
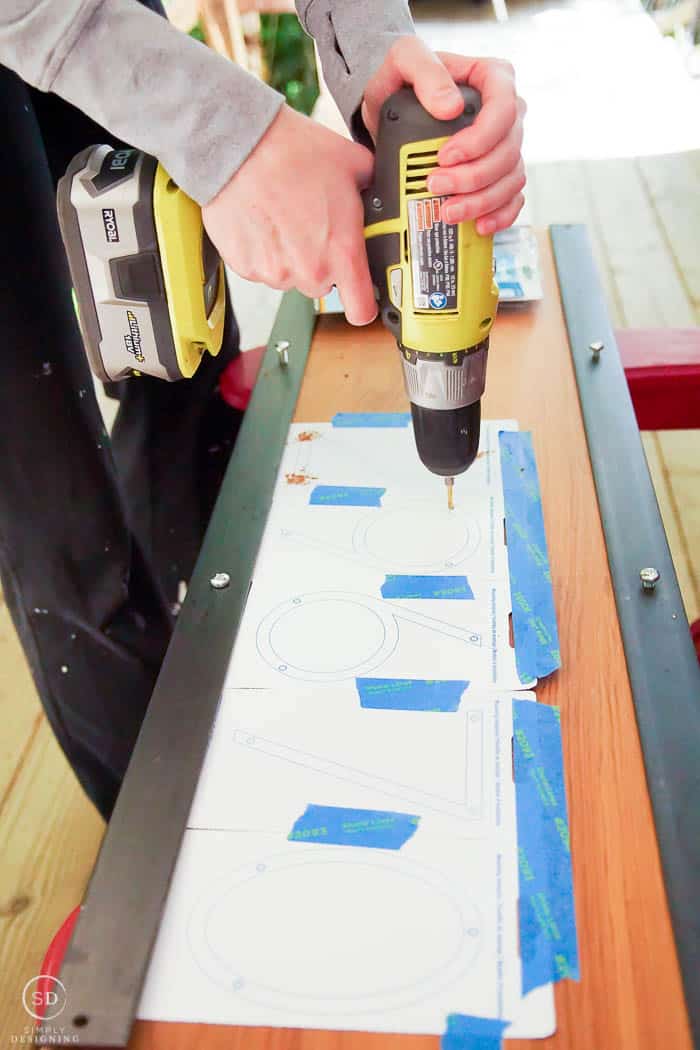
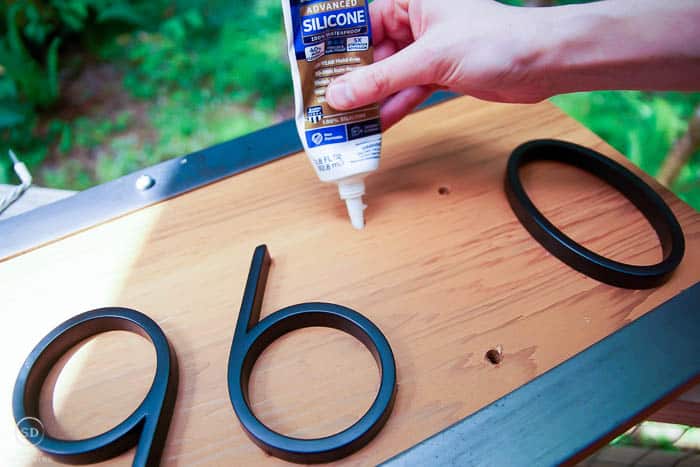
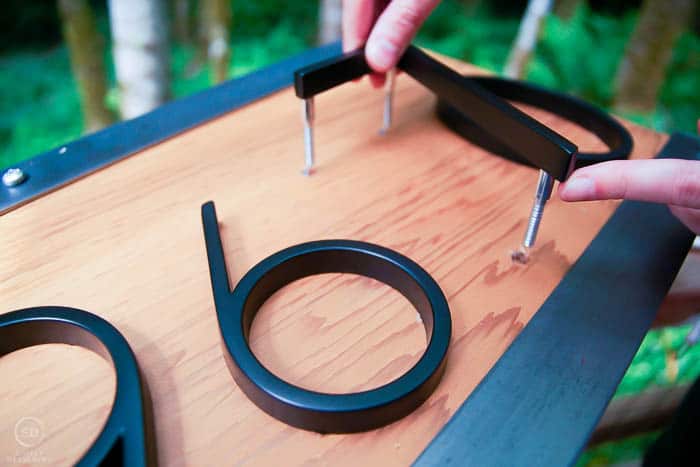
Following the directions on the back of the address numbers we got, we drilled holes and used silicone caulk to attach our address numbers.
These needed to dry completely before moving on to the next step.
STEP 5:
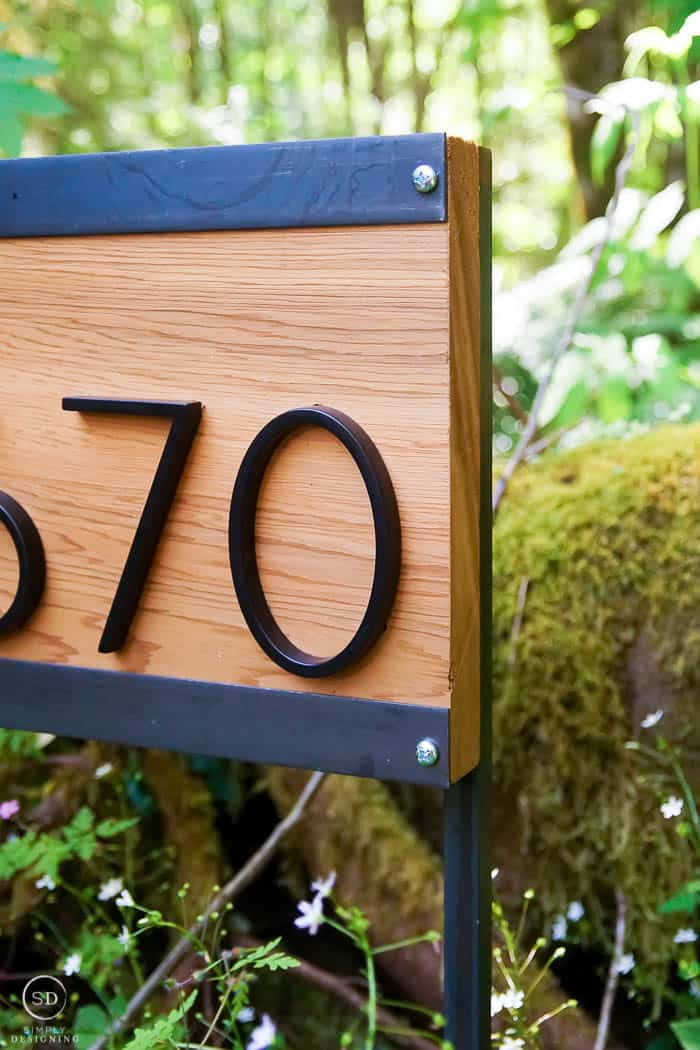
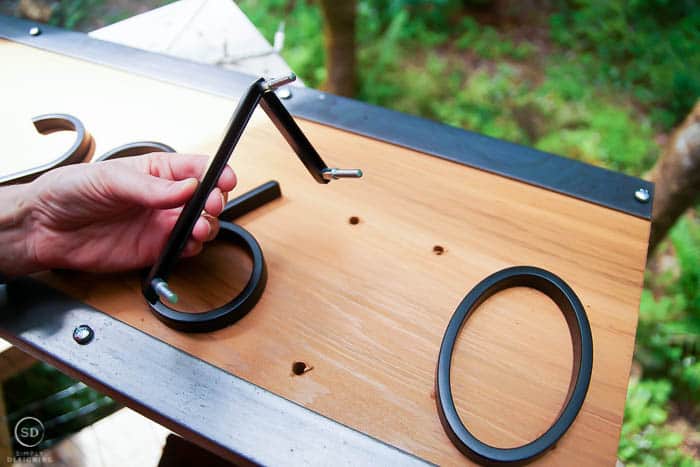
Finally, we used 2" long M6 bolts with washers to attach the flat iron to the wood board and also to the angle iron.
At this point, you can go ahead and use a rubber mallet to push your address sign into the ground.
We plan to add uplighting at some point soon too so that our home will be easy to find at night too.
This project was really pretty simple for anyone to complete and requires very few tools, but it looks so nice.
It is a great way to create a wonderful first impression and help people find your home.
You can learn more on the Wagner blog here.
If you want more great home inspiration projects, check these out:
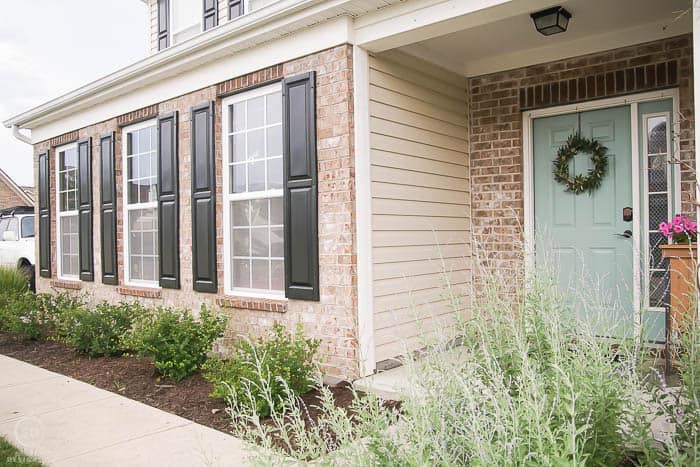
How to Paint Shutters and a Wood Door





Leave a Reply