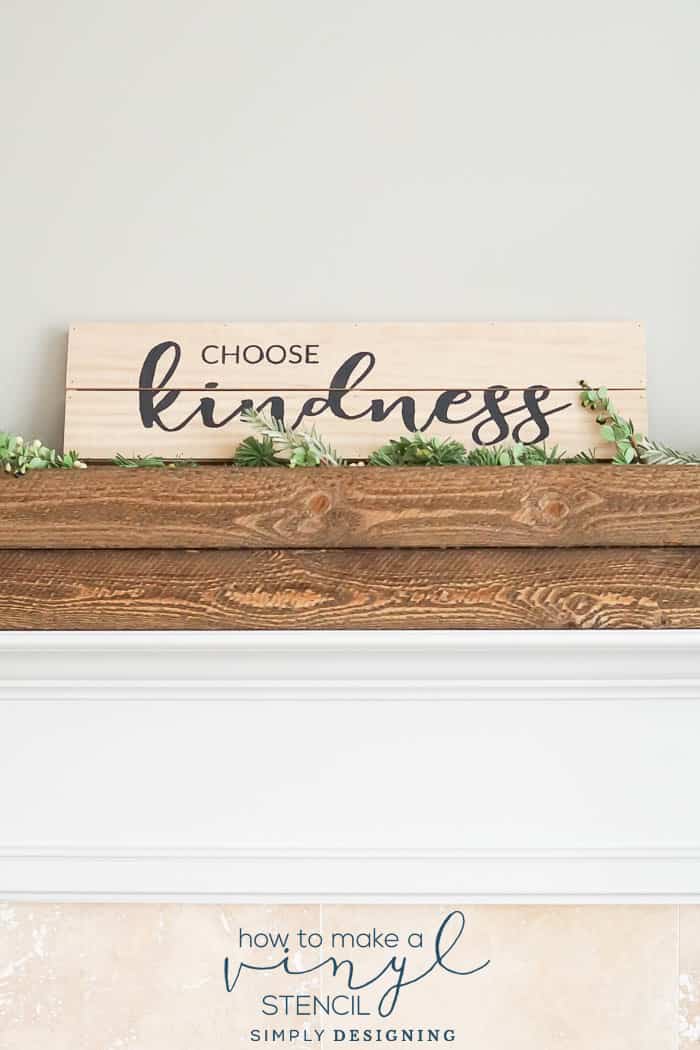
One of my favorite ways to make my own home decor is to stencil and wood sign and so today I wanted to teach you How to Make a Vinyl Stencil so that you can create your own beautiful home decor that is unique, personalized and saves you lots of money! My DIY Farmhouse Thankful Sign HERE has been a really popular post on my blog, and it's one of my favorite projects too! So if you want to create fun signs like this for your home, keep reading for the full step-by-step tutorial for how to make a vinyl stencil.
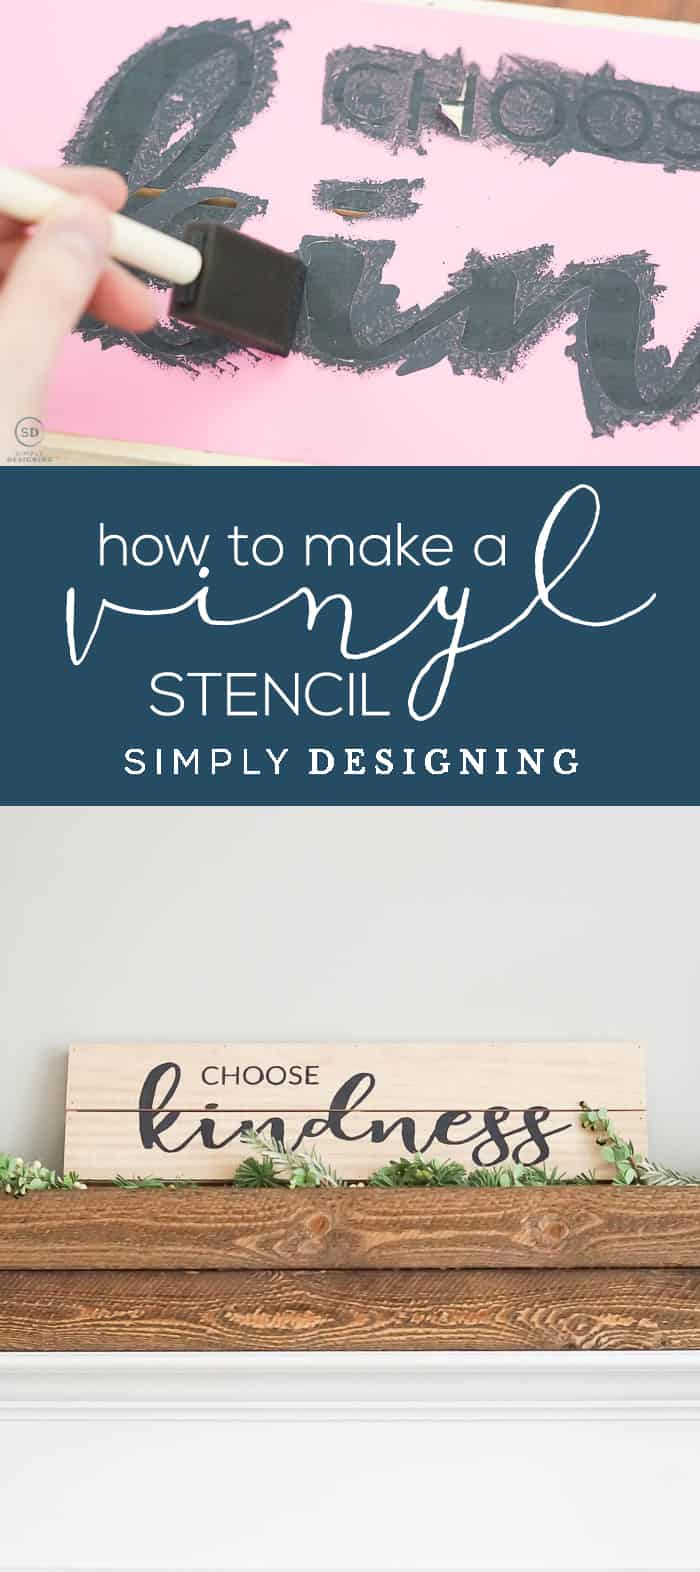
How to Make a Vinyl Stencil
I love using vinyl to make signs, it is easy and beautiful. But if you want a little more rustic or worn look, using vinyl as a stencil to paint a wood sign is a great way to create custom home decor without a lot of time or money.
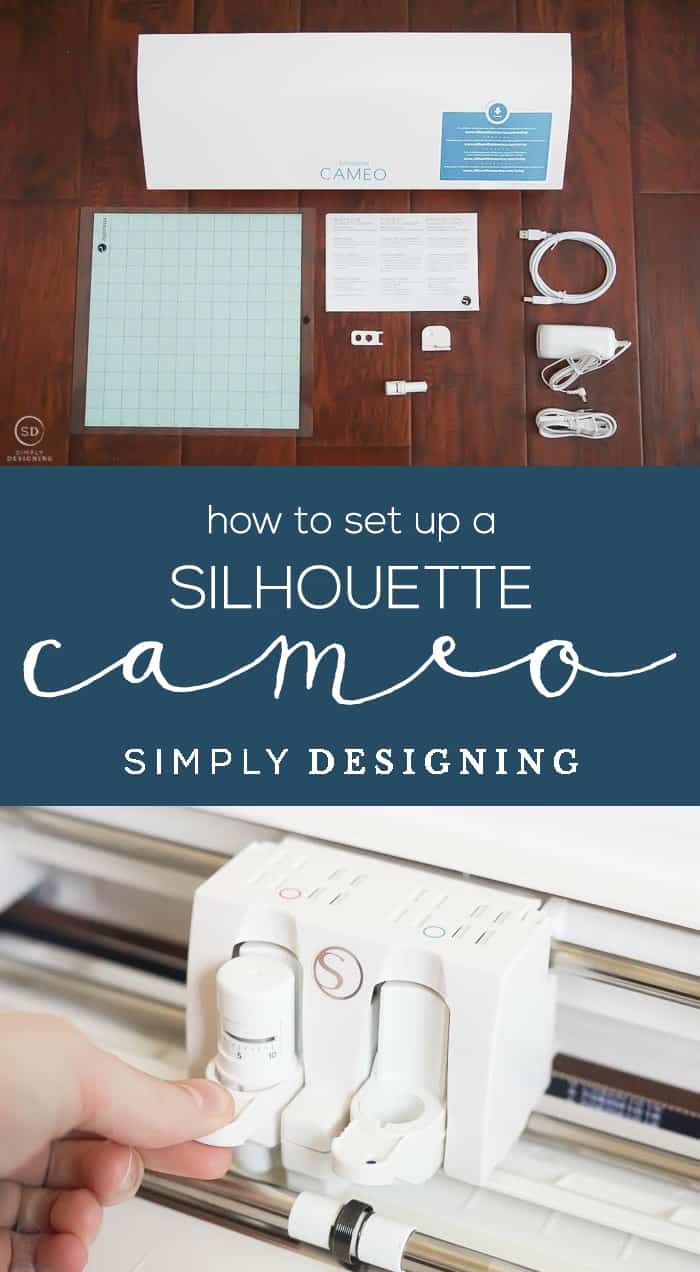
If you are new to owning a Silhouette CAMEO, be sure to check out my post about How to Set Up A Silhouette CAMEO here.
Can you use vinyl as a stencil?
Yes, you definitely can, and today I am walking you through the step-by-step instructions so that you can easily learn how to use vinyl as a stencil the right way.
It takes a few more steps to use vinyl as a stencil versus just using vinyl for your text or shapes, but I absolutely love the look of an all painted sign. And if you don't have a steady hand, or aren't skilled at drawing or hand lettering, using vinyl as a stencil is a perfect way to achieve the same look that is easy enough for anyone to do!
How to make vinyl stencils for wood signs.
My favorite reason for creating a vinyl stencil is to use it to make a painted wood sign. My tutorial walks you through the whole process as well as shares my tips and tricks for doing it the right way so that you can be a pro at this in no time!
It is important to follow these instructions carefully though so that you minimize mistakes such as paint bleeding or smudging.
Are vinyl stencils reusable?
Creating your own vinyl stencil is incredibly easy, versatile and customizable. They are not, however, reusable.
The best part about making a vinyl stencil is the fact that you can create a custom design that is uniquely yours!
The bad part is that if you want to make a second board with the same stencil design on it, you will need to cut another vinyl stencil out.
Thankfully that is super easy to do and I think the benefits outweigh the challenges by a million-billion times.
Will vinyl peel paint?
If you wait too long after the paint dries to remove the vinyl, the paint can peel off. But if you peel it off too fast, you are more likely to smudge your paint. It is best to remove your vinyl as soon as your paint feel mostly dry to the touch.
Do you mirror stencil vinyl?
The short answer is no, you will not mirror stencil vinyl. The only time I mirror a design is if I am using heat transfer vinyl, or if I just want the design to be facing the other direction.
If you mirror stencil vinyl, your end design will be mirrored. Which may be ok if it is just a pretty design or shape, but if it is words, you definitely don't want backwards words, so do not mirror stencil vinyl.
Alright, are you ready to get going? Let's do this!
How to Make a Vinyl Stencil
(Affiliate links included for your convenience. By clicking a link and purchasing product through it, I receive a small commission. Thank you for supporting my blog.)
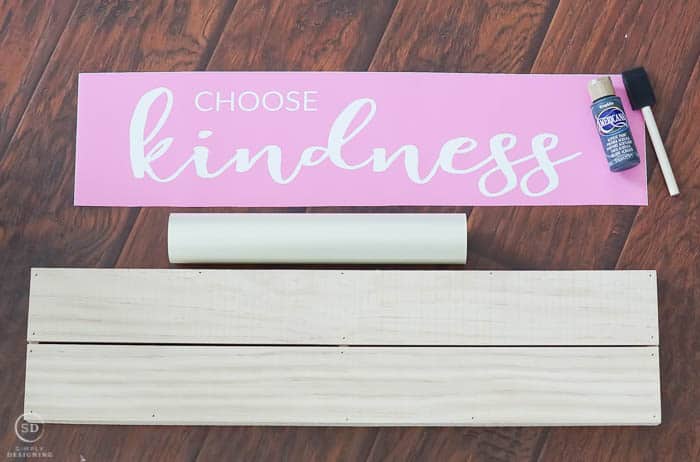
SUPPLIES NEEDED:
- Silhouette CAMEO (plus the downloaded FREE Silhouette Studio Software Program)
- Vinyl
- Transfer Tape
- Scissors
- Wood Board
- Acrylic Craft Paint (I used Americana, Graphite)
- Foam Paint Brush
STEP 1: CREATE YOUR DESIGN
The first step is to create your design in the Silhouette Studio Software Program. You can either create this yourself within the Silhouette Studio Software Program, or you can head to the Silhouette Store and download either a free or paid design.
There are so many beautiful designs for every occasion in the Silhouette Store, and since they only cost $0.99 each, I will often find and just buy a design I love.
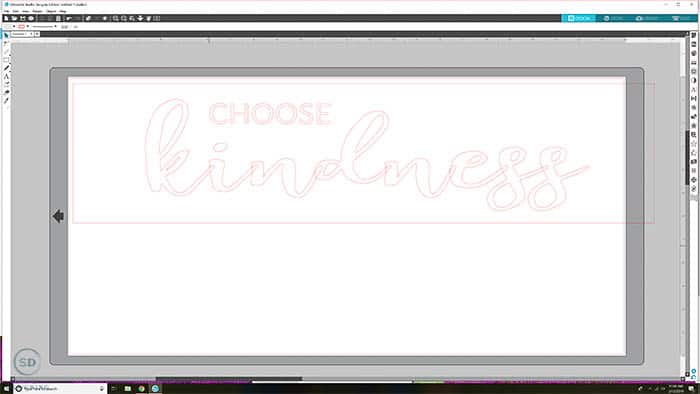
In this case, I couldn't find a design that I loved, so I used two fonts I had on my computer already, Lato and Art Love, and created this "Choose Kindness" design myself.
I simply typed the words and then adjusted the size and spacing, until the overall layout and proportions were just right.
PRO TIP: Because I knew this would be stencilled on a board, I wanted to size it correctly for the board it would go on.
Using the rectangle drawing tool, I simply made a rectangle the same size as my wood board and then adjusted the sizing of the text to fit into that box as I wanted it to appear on my final product.
This is the easiest and quickest way to visualize the end design without wasting any product.
STEP 2: FINALIZE YOUR DESIGN
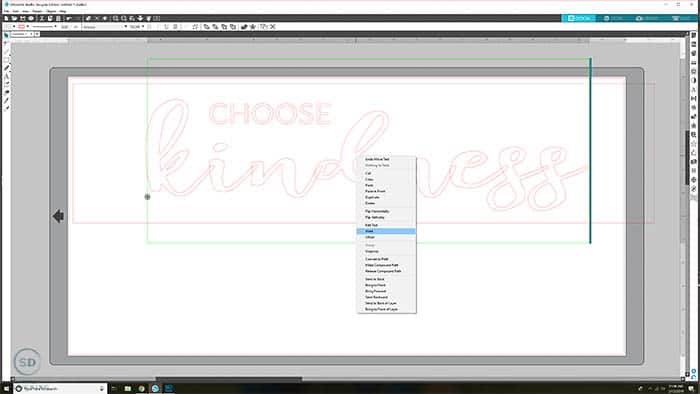
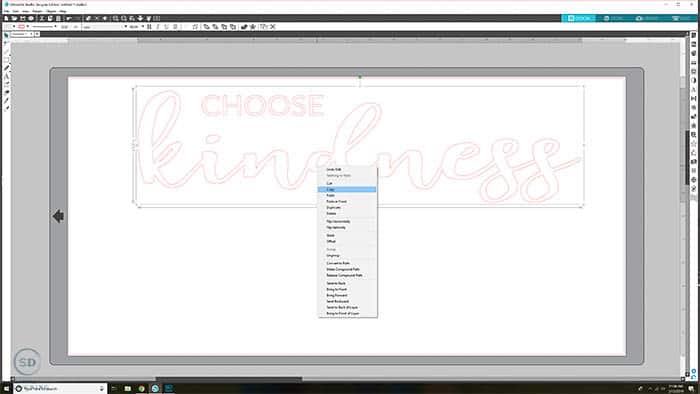
If you look closely, you can see that the font I choose for "kindness" overlaps itself. You don't want the vinyl cut like this so it is important to WELD the design together. Simply select the design, right-click, then select "weld."
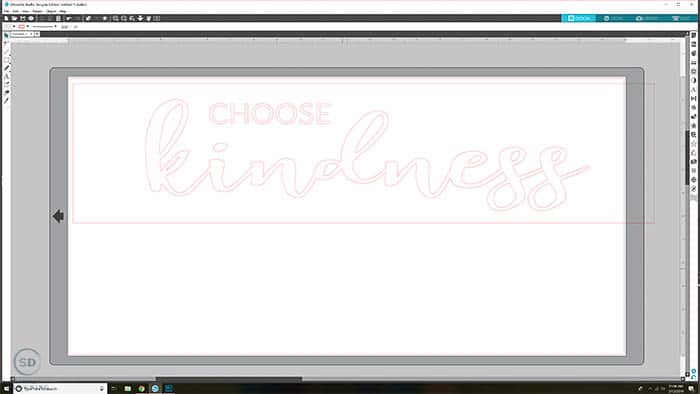
You can see that "kindness" is now one neat and clean word.
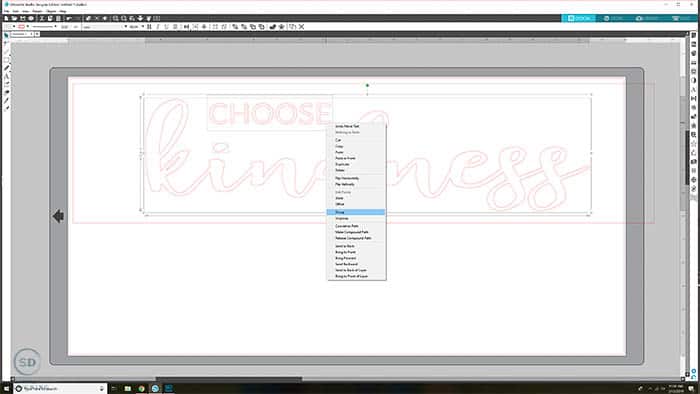
Once I got my design looking perfect, I decided to GROUP it all together so that if I moved it, it would all move together and my spacing would stay consistent.
To do this you will select everything you want to group together, right-click, then select "group." Now everything is one object that will stay together.
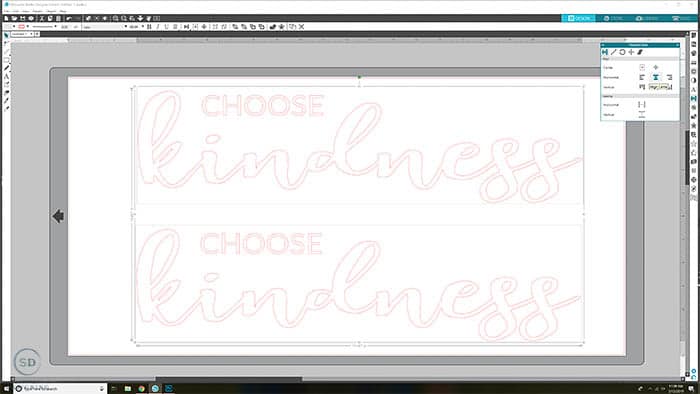
We touched on this before, but a vinyl stencil is not reusable. I knew I was going to create two of these boards, so I wanted to cut it out twice.
To do this I simply selected my design, right-clicked, and then selected "copy."
Then I clicked off of my design, and right-clicked, and selected "paste."
STEP 3: CUT YOUR DESIGN
At this point, I knew my design was perfect and it was time to cut it out of vinyl!
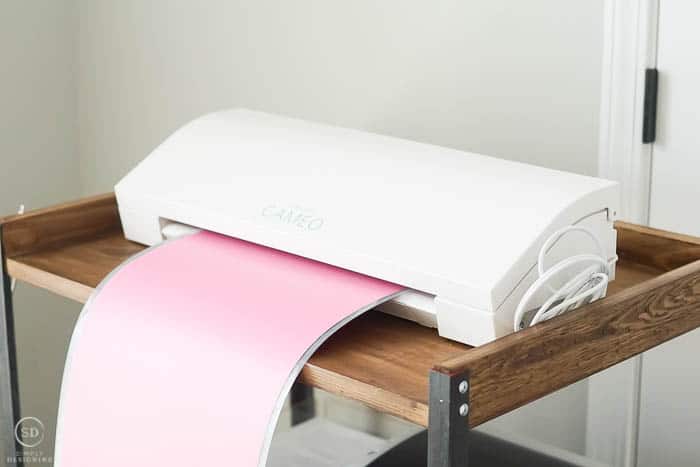
I clicked the upper-right "SEND" button, turned on my Silhouette CAMEO, and got prepared to cut.
I selected the type of vinyl I was going to use (this is super important!) and I always love to do a test cut just to be sure.
Then I placed my vinyl onto my carrier sheet, loaded it into my Silhouette CAMEO and sent my design to my Silhouette to cut.
STEP 4: APPLY YOUR VINYL STENCIL TO THE BOARD
After the vinyl is cut, you are getting really close to having a finished board! Woot woot!
I choose to leave the background of my wood unpainted, but use the stencil to paint the words onto my board. If you want to paint the background of your board first, go ahead and do that and let it dry completely before moving on.
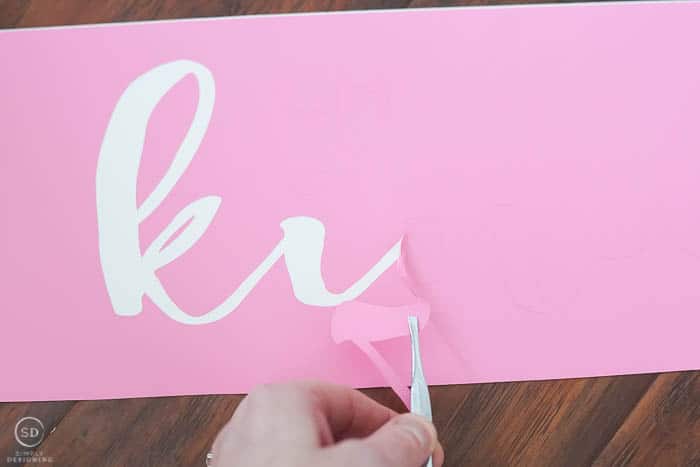
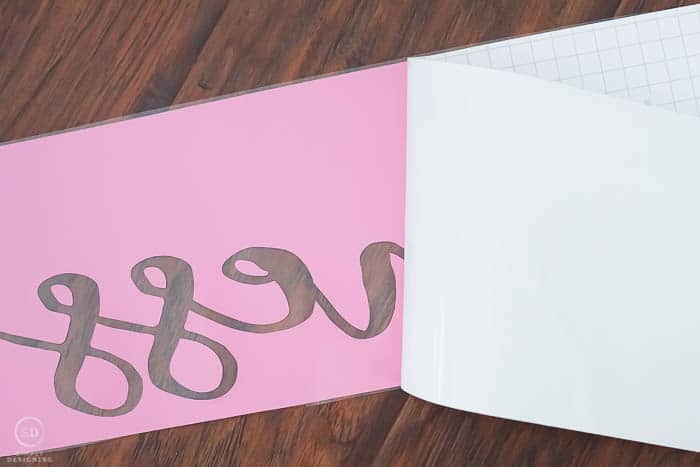
Because I wanted my words painted, I needed to remove the words from the vinyl I just cut.
Once the words were off of the vinyl sheet, I placed transfer tape over the vinyl and rubbed it down well.
PRO TIP: Put your transfer tape down, sticky side up, and then lay your vinyl on top of it for an easier application.
Once the vinyl is attached to the transfer tape, carefully peel the backing paper off of the vinyl.
PRO TIP: Pull the paper off at an angle to help the vinyl stick well onto the transfer tape.
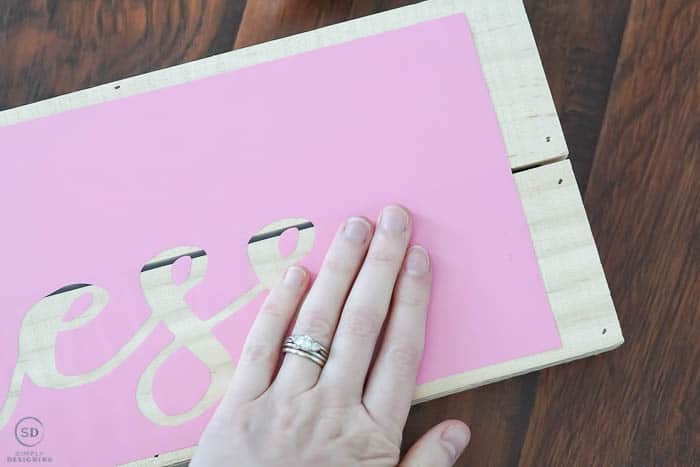
Then lay your design onto your wood board and rub down completely so that the vinyl sticks well to the wood.
Carefully peel the transfer tape off of the vinyl on your board. Again, if you pull the transfer tape off in a diagonal direction, keeping it close to the board, the vinyl will stick better to the wood.
Vinyl doesn't always stick the best to wood that has any roughness to it, so take this slow and make sure all the vinyl sticks to the board.
Give your vinyl another quick rub to ensure all the edges are sticking to your board.
STEP 5: PAINT YOUR DESIGN
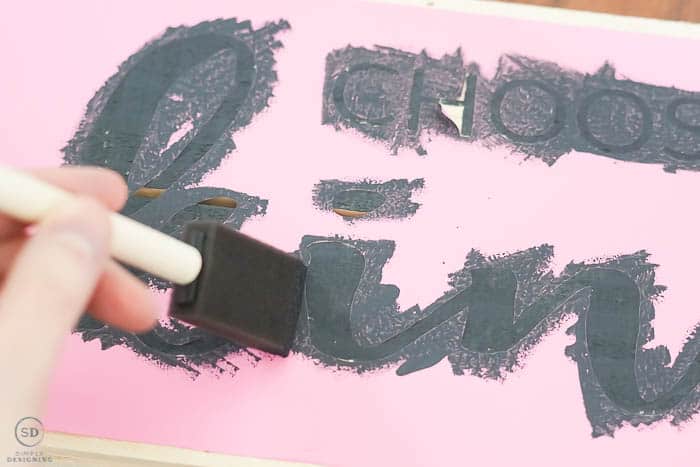
Once the vinyl is secure to the board, you will want to apply paint to your design.
I like to pour my paint onto a paper plate and use a cheap, throwaway-able foam brush to apply the paint to the wood.
I simply put a little bit of paint on my paintbrush and then dabbed the paint onto the areas to receive paint.
PRO TIP: Don't use too much paint, and don't brush the paint on. If you do, you will make a higher chance of experiencing bleeding paint under your stencil. For the cleanest, neatest application, dab the paint on in small amounts.
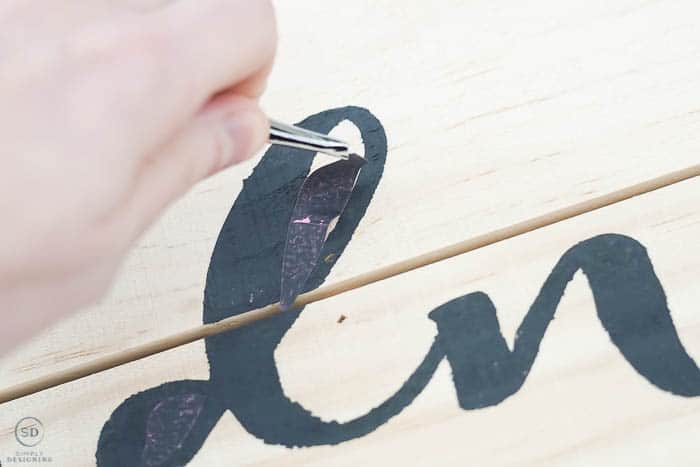
Let the design dry for a few minutes. You want the paint barely dry to the touch, but not too dry when you remove the vinyl from the wood.
If you let the paint dry too much, the vinyl may peel off when you remove the vinyl. But if you remove the vinyl too quickly while the paint is still wet, you risk smudging the paint on your board.
So wait until it is just barely dry to touch and then remove the vinyl from your board.
Let the entire project dry completely before hanging up.
TIP: If you want a more distressed look, after the paint is dry, use a piece of fine grit sandpaper over the paint to distress it a bit.
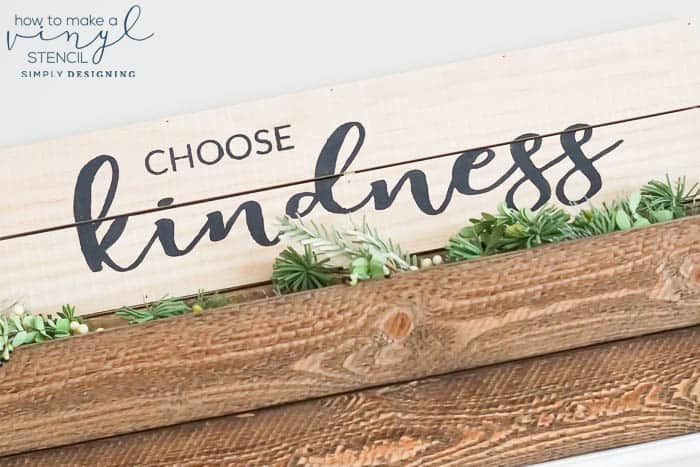
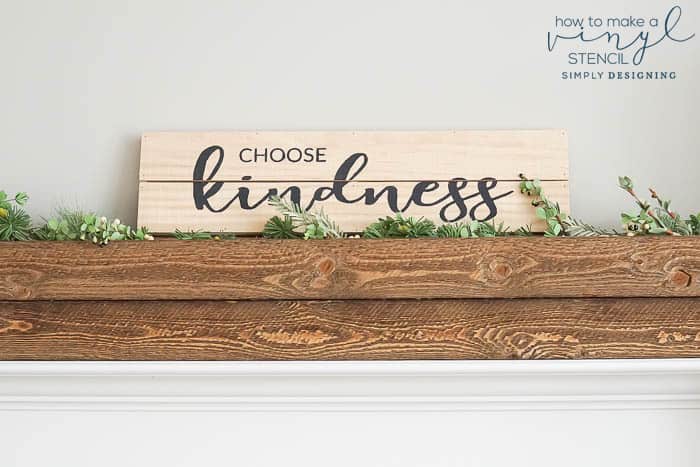
See how easy it is to create a beautiful, custom wood sign for your home?
I just love making these. Can't stop won't stop. They are so so pretty!
If you enjoyed this post, you might also enjoy these posts too:
How to Set Up A Silhouette CAMEO 3





Jenny
Creating vinyl stencils is one of my favorite ways to decorate my home to. Your sign looks beautiful. Thanks for sharing at Merry Monday.
Ashley Phipps
Thank you so much!