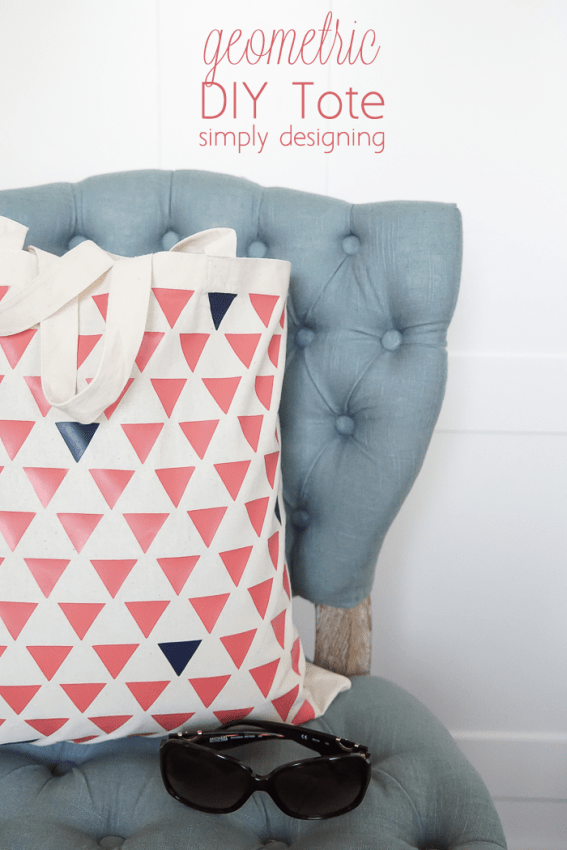
If you know me personally, you know I have a thing for bags. I love bags and totes, big and small, and I have a stash that is much larger then I need. At least that's what I am told. Anyway...that did not stop me from deciding that I needed another cute tote! And this time I wanted to make it myself! So when Expressions Vinyl challenged me to come up with a vinyl post this month with a geometric theme, I knew exactly what I wanted to do. Keep reading to see how to make this cute Geometric Tote Bag!
A big thanks to Expressions Vinyl for making this post possible today.
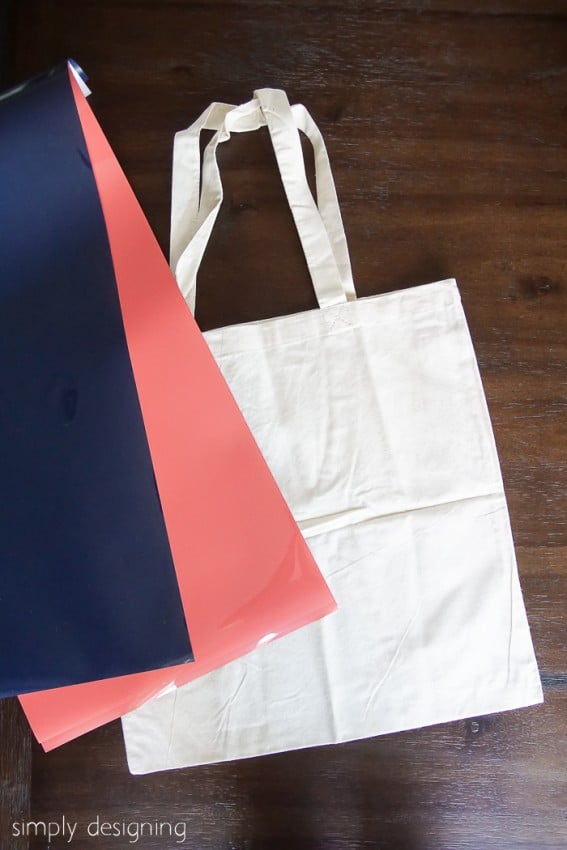
To create this fun Geometric Tote Bag, you will need a few items:
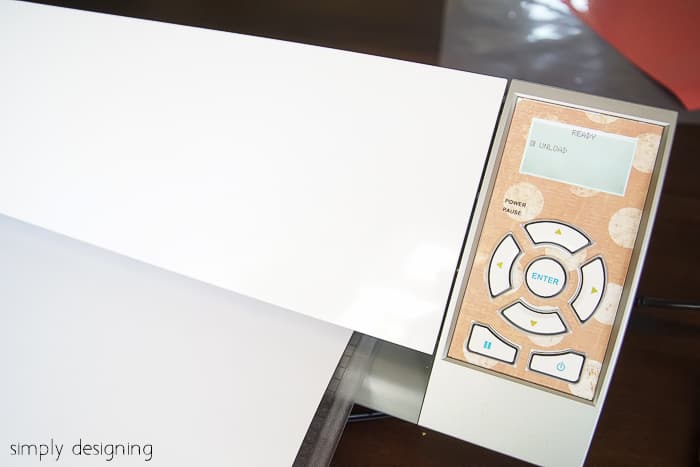
- Silhouette cutting machine (or similar, or a lot of patience and a good pair of scissors)
-
(1) Natural Carryall Tote (or similar)
- Iron
- Thin sheet of cotton fabric or pillow case
The first thing you will do is to find a geometric design that you like in the Silhouette Studio. I found a fun Triangle Pattern but you can choose any geometric pattern you want!
Next I enlarged it within the Silhouette Studio program so that it would fit the width of my tote. Because my tote is larger then a sheet of 12" x 24" vinyl, I needed to divide my pattern into two cuts. You can actually cut your pattern in half using the knife tool, OR just cut the same pattern twice if you need to. It's up to you and will depend on your design.
I cut out all of my triangles to fill the entire tote in Hibiscus.
Remember when cutting iron-on vinyl to always mirror your image if direction matters (it does with words but it does not with equilateral triangles) and to place the shiny side DOWN on your cutting mat prior to cutting. I always recommend doing a test cut before you try to cut the whole sheet of vinyl.
While I was weeding the Hibiscus vinyl (removing the excess vinyl from the backing sheet) I cut out a few triangles from my Navy Blue vinyl.
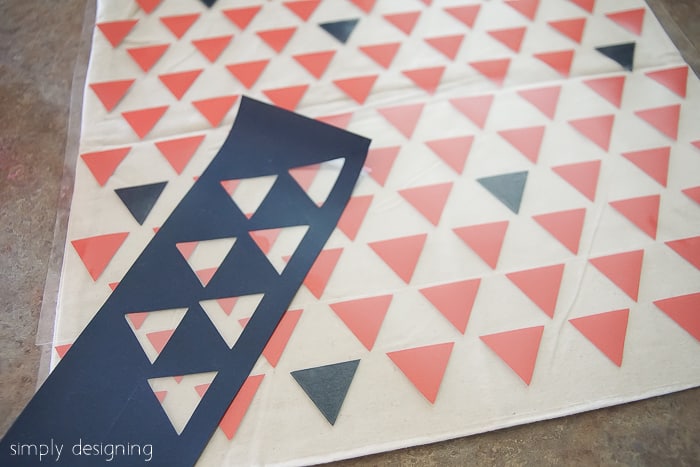
I then removed a few hibiscus triangles from the backing sheet randomly. And I placed a few navy blue triangles in their place. I did this randomly to add just a pop of fun color and an unexpected pattern but you can do this as random or as planned as you prefer!
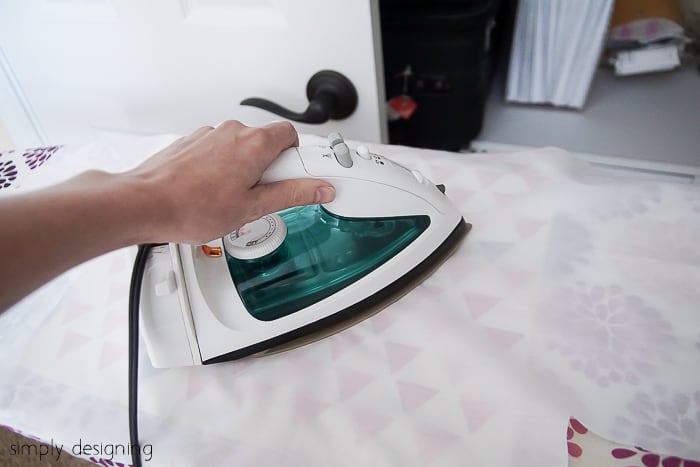
After that I placed the triangles in place onto the tote, shiny side up and covered it all with a thin piece of cotton. I used my iron set on high (but without steam) and ironed my vinyl in place. It takes a few minutes to get everything secured in place so be patient. Then let it cool completely before removing the plastic backing sheet from your tote.
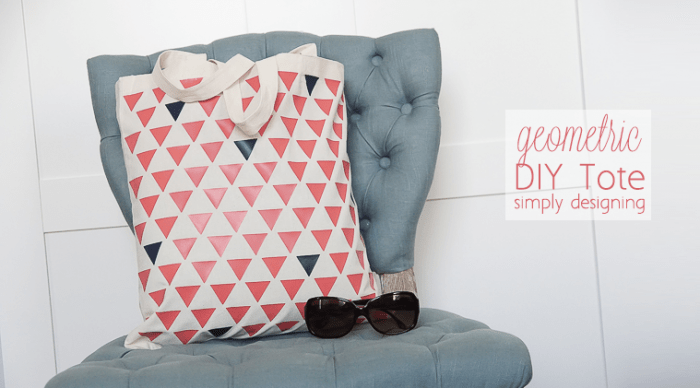
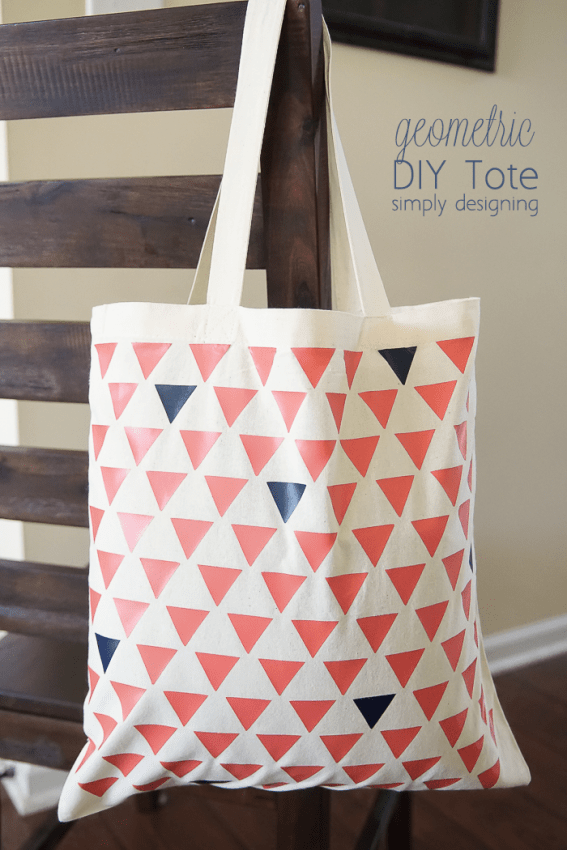
And in not a lot of time, I created this really fun geometric tote bag!!! Isn't it so cute! I can't decide if I want to let the kids use it for library books or if I need to keep this one for myself...I think I might need to keep this one, it is just so cute!
Keep on the look out for more Geometric Themed Vinyl Project this week from a few other amazing bloggers! And you can find links to all of them at Expressions Vinyl blog!
And be sure to enter this awesome giveaway too:
If you likes this post, you might also enjoy these:







laya gaga
Wonderful tutorial. Thank you Ashley Phipps.