Attract bats to your property with this easy-to-make Bat House. This is a simple and inexpensive way to make a DIY bat house today. Keep reading for all the details.
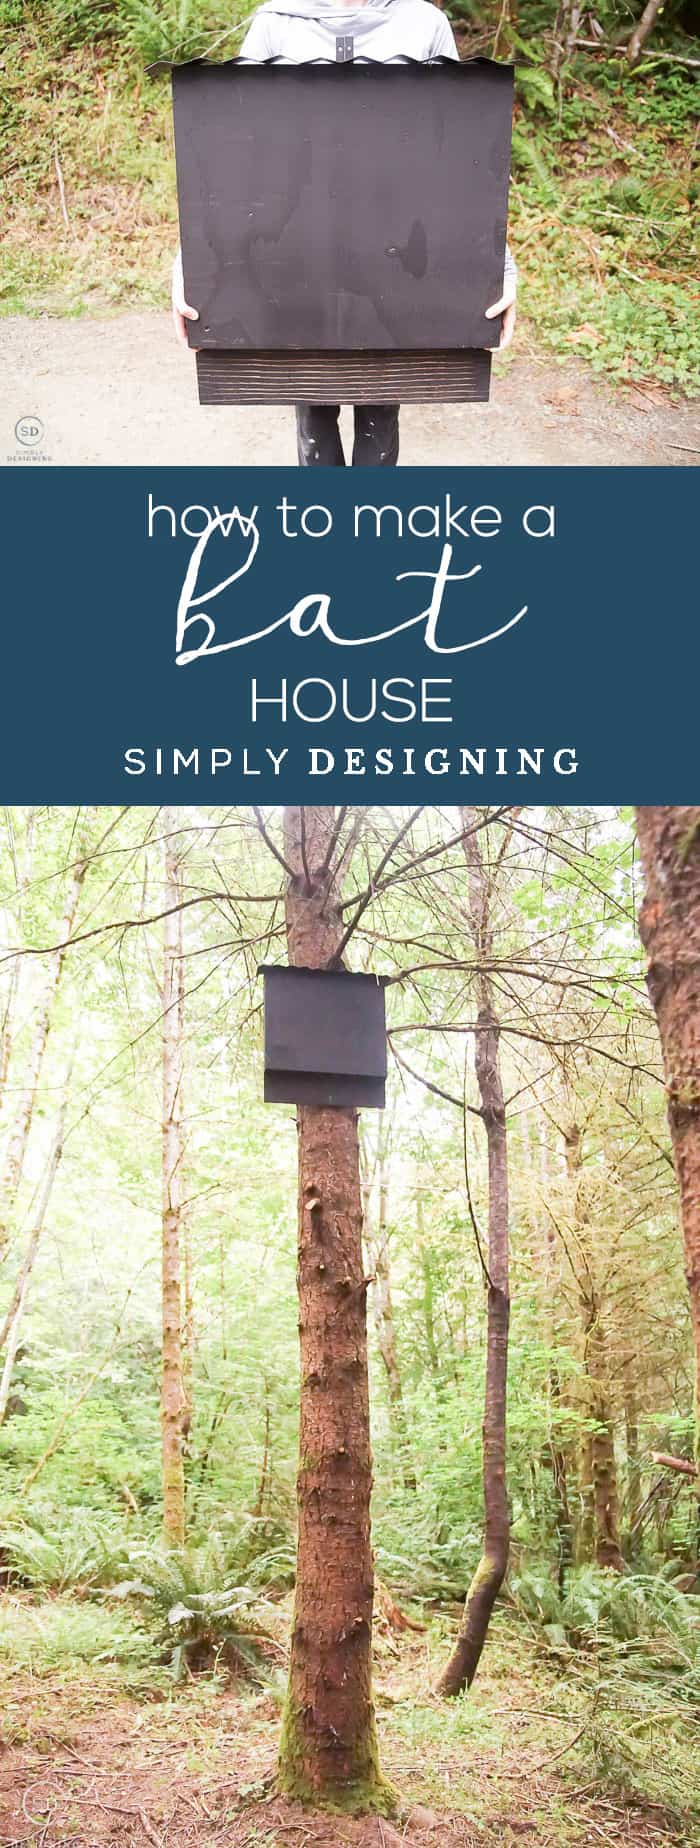
Thank you to Wagner for sponsoring this post about a DIY Bat House. All opinions are mine. Affiliate links are included for your convenience. Thank you for supporting my blog.
How to make a Bat House
If you have a lot of mosquitoes and are looking for ways to more naturally get rid of them...you might be researching bat boxes. And if you are anything like me, you've realized that you could probably make one of these really easily. So today I am really excited to share with you the exact details that you will need to make a bat house.
Why would you want to attract bats?
Bats are pretty cool creatures. Adult bats can eat around 1,000 mosquitos (or mosquito-sized insects) every hour! That's several thousand mosquitos every night. Whoa.
Mind blown.
We have so many mosquitos where we live and I don't want to spray pesticides unless we absolutely have to, so the thought of having a few bat friends on our property is very appealing.
If you are in the same situation, I am sorry, but I am also glad you landed here because this can really help.
Will a bat house attract bats?
Not necessarily. There are a few things you need to consider before building a bat box and whether or not this will work for you.
- Do bats live in your area? You can't attract something that's not there, to begin with.
- So you live near a water source? Bats often live near water.
- Do you have a garden, flowers, or orchards? Bats also like to live near these things because they attract bugs, and bats eat bugs.
- Can you put the bat box in a location where it gets 2 hours of sun? Bats are warm-blooded and like to stay warm too.
- Can you put the bat box high enough (at least 15' off the ground)?
If you answered yes to these things, you have a high probability of attracting bats to your bat house!
What color should my bat box be?
In most locations, bat homes should be painted or stained a dark color, inside and out. But in the south, sometimes a lighter painted exterior is better.
Where is the best place to put a bat house?
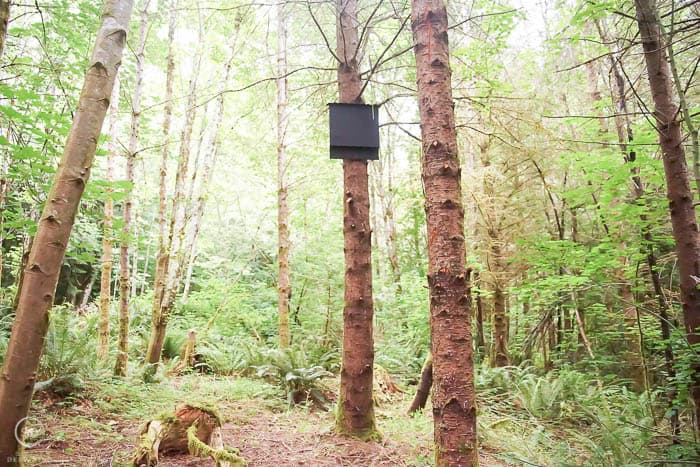
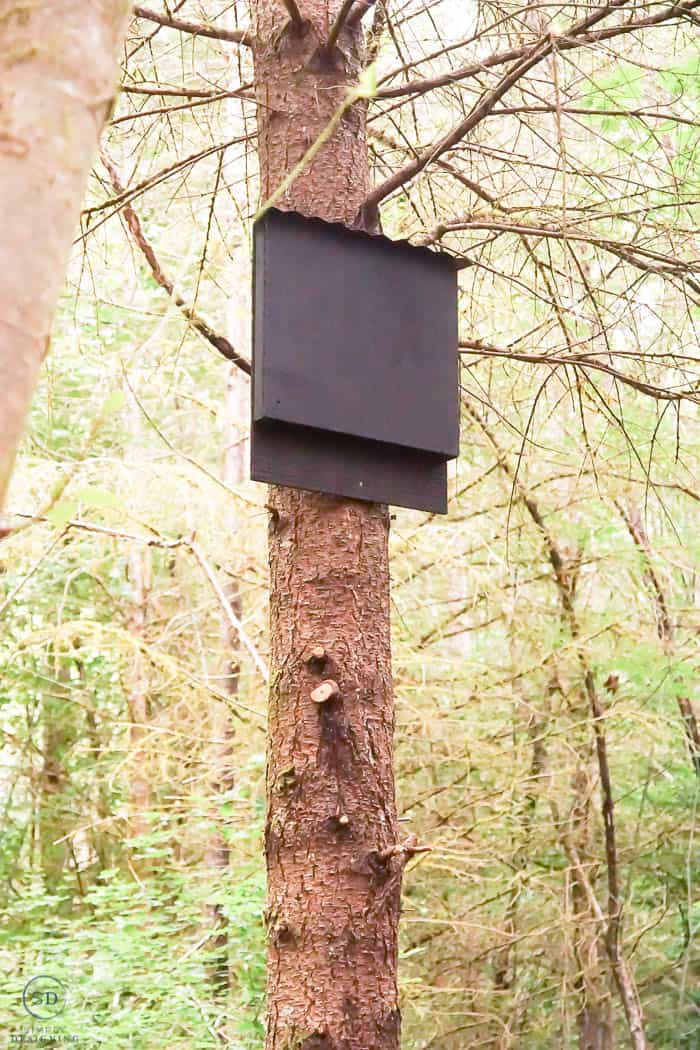
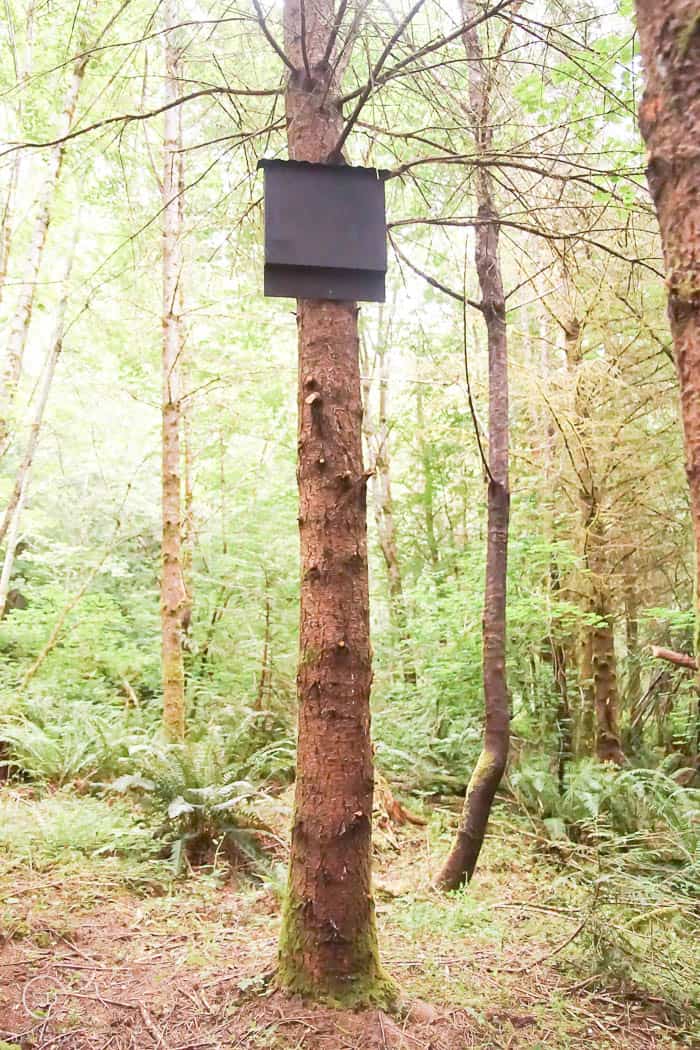
- At least 15' off the ground
- In a location that gets sun at least 2 hours of the day (face it to the south or to the east if living in the U.S.)
- In a spot where nothing would impede the flight pattern of bats flying straight down out of the box and then swooping up (ie not in the middle of a bunch of branches)
- About ¼ mile from a water source
- Near agriculture (flowers, orchards, gardens, etc)
How do you attract bats to your bat house?
- Place it within ¼ mile of a water source
- Place it in the right location to get sun for 2 hours a day
- Attach it high up
- Grow night-blooming flowers
- Plant a few fruit trees
- Make sure the bats can get easily in and out
- Make sure the house is built correctly for bats to inhabit
If you have bats in the area, and you follow these ideas, you should eventually attract some bats to your bat box. It is not a guarantee, but it is probable.
Are bat houses a good idea?
Bat houses are a great way to attract bats to your location and to help keep insects at bay. Bat houses can also encourage bats to live there instead of living in the eaves of your house, the attic, or other undesirable locations.
What color to paint a bat house?
The color you paint your bat box depends on where you live and the average temperatures.
However, you always want the inside of your bat box to be dark.
The exterior should be painted accordingly:
- Average July temperature is less than 85 degrees Fahrenheit - use a very dark color like black, dark brown or dark gray
- Average July temperature is 85-95 degrees Fahrenheit - you can choose a dark color like dark brown or dark grey
- Average July temperature is 95-100 degrees Fahrenheit - choose a medium color like blue
- Average July temperature is 100+ degrees Fahrenheit - choose a color like white
Did we paint or stain our bat house?
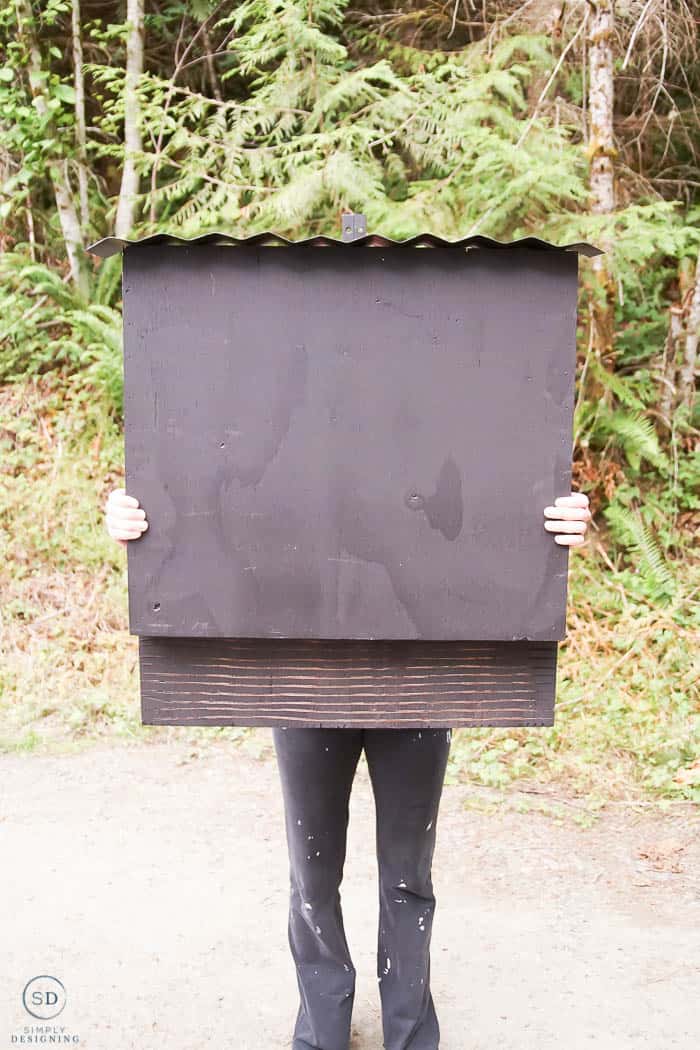
Some people recommend painting the outside and staining the inside. This is because you want to add grooves on the inside, a quick paint job with a brush can actually fill those holes in, removing the spot for bats to cling onto. But because we used our paint sprayer and are able to get a much more even, thin coat of paint, the paint is not as likely to pool in the crevices, so we opted to paint the entire bat box black.
What is the best paint sprayer for this project?
In the last three months, I have completed projects with my new Wagner FlexiO 4000 and so I wanted to use it again this time. I really love that I have been able to dive headfirst into using this product so that I can really learn about it and compare it to previous products I've used.
I will honestly say that I am loving this paint sprayer.
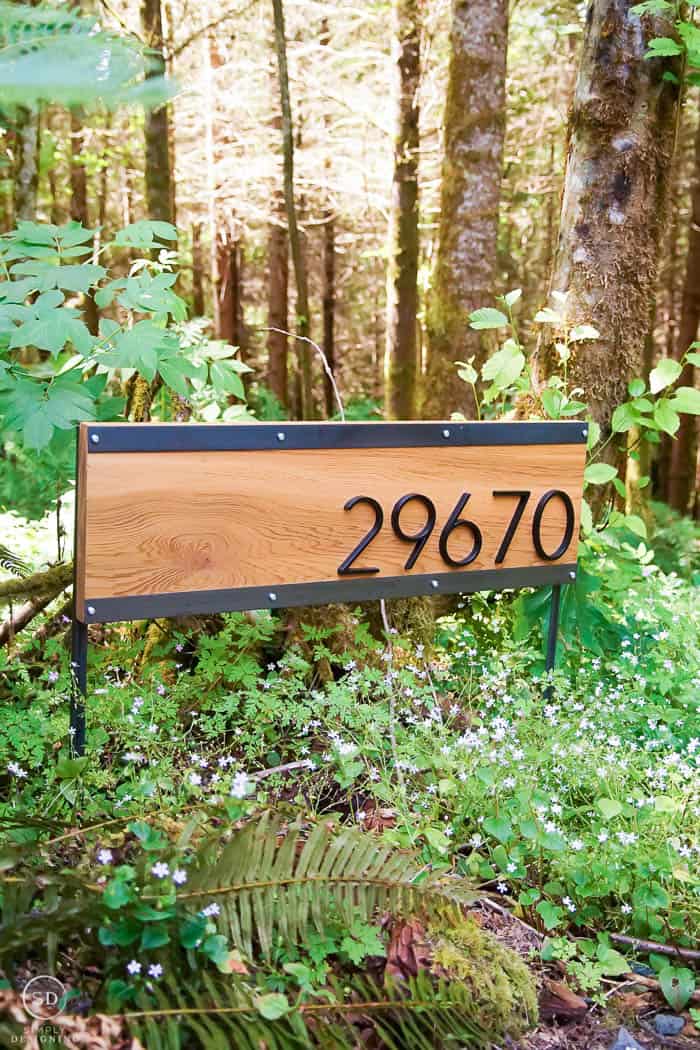
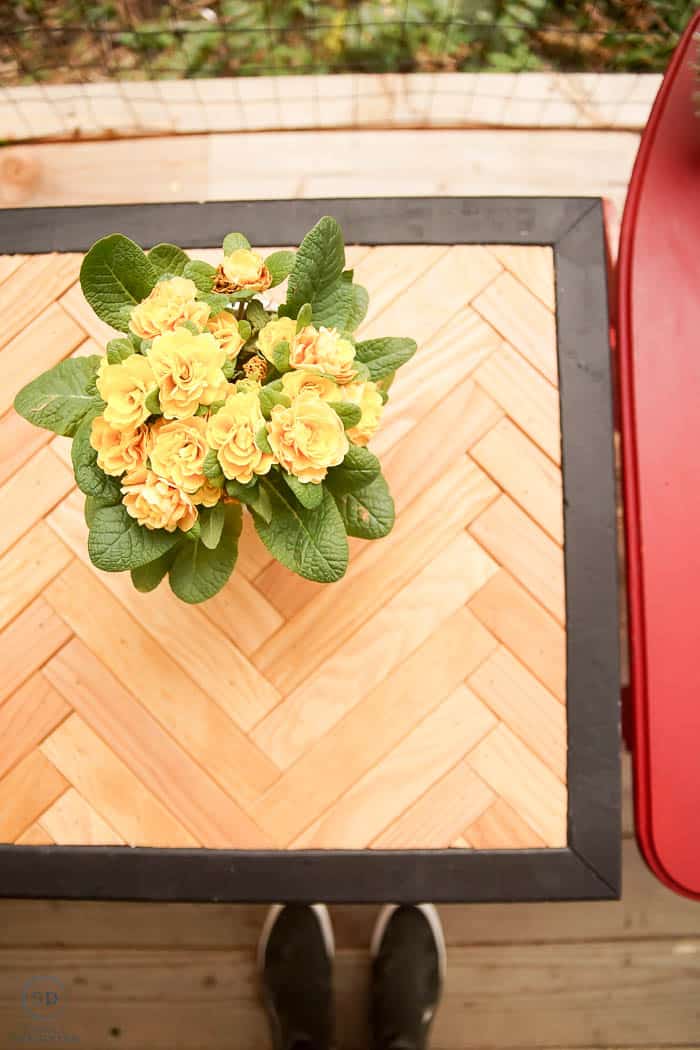
If you want to learn more about how I used them last time, check out my DIY Address Sign, DIY Cat House, and my DIY Side Table with Herringbone Accent. Both showcase awesome uses of the sprayer using both paint and outdoor stain.
The Wagner FlexiO 4000 comes with two different paint cups and nozzle attachments. Because we decided to paint this project, I decided to use the regular nozzle and bigger paint canister.
Here are a few other things I love about this paint and stain sprayer:
- It can be used with a variety of paints and stains. Indoor paint, outdoor paint, indoor stain, outdoor stain, clear coats...this sprayer does it all!
- It comes with two different paint containers and nozzles, one for thicker materials like latex paint, and one for thinner materials like a stain or for a fine finish.
- Because the motor is housed in the base, the paint spraying portion is quite light to hold and easy to maneuver.
- This paint sprayer can be used indoors (with proper ventilation and taping off) or outdoors (I like to use it in my Wagner Spray Tent to protect it and to protect surrounding surfaces).
- It has variable speeds and variable power options to accommodate a variety of projects.
- Wagner spray liner cups. Get these. They are life-changing.
- Cleaning up is actually the easiest and quickest out of all the other paint sprayers I have ever used and owned. This is a huge win in my book!
- This paint sprayer is great for big or small projects.
- It works for a large variety of paints and stains including exterior paint, interior paint, latex paint, wood sealers, water-based stain, oil-based stain, outdoor stain, milk paint, chalk paint, primer, lacquer, urethane etc. Basically, if it can be sprayed, it can probably be used in this sprayer.
- This really is very simple and easy to use with clear directions included.
- So far this paint sprayer is meeting all of my painting needs and I don't foresee myself needing a different paint sprayer any time soon except perhaps when we start building our home and we have some really really big projects in the works.
Will my bat house attract bats right away?
Not necessarily. Bats need time to find the bat house and then determine if it is the right location for them. Bats often find homes in spring, so if you are putting a bat box up in summer or fall, you may be more likely to not see any bats until the following year. And some people report that it takes a year or more to attract bats. So be patient. Bat homes don't usually work immediately and can take some time to really be put to work.
And because I know someone will ask, as of the time of writing this post, I do not currently have bats living in my bat house. But I also don't expect to since I just built and installed it 2 days ago! These things take time, this is a long game plan, not a short term fix. So we are patiently awaiting some bat friends while helping to do things to attract them too.
If after all of that, you think that building a bat house is the right move for you, continue reading for the exact method I used to create my bat house.
DIY Bat House
What supplies do you need to make a bat house?
Tools:
- Wagner FlexiO 4000 Paint Sprayer
- Wagner Spray Shelter
- 12" Compound Miter Saw
- Dremel Saw-Max with blade for wood and metal
- Circular Saw
- Kreg Rip-Cut
- Nail Gun
- Driver & Drill
- Drill and Drill Bits
- Electric Sander
- Strainer
Materials:
- Wagner Spray Liner Cups
- Paint
- Drop cloth
- Wood Glue
- ½" x 2' x 4' Plywood Board
- 2" x 2" x 6' Wood Board
- Corrugated Metal
Directions to make a bat house:
STEP 1:
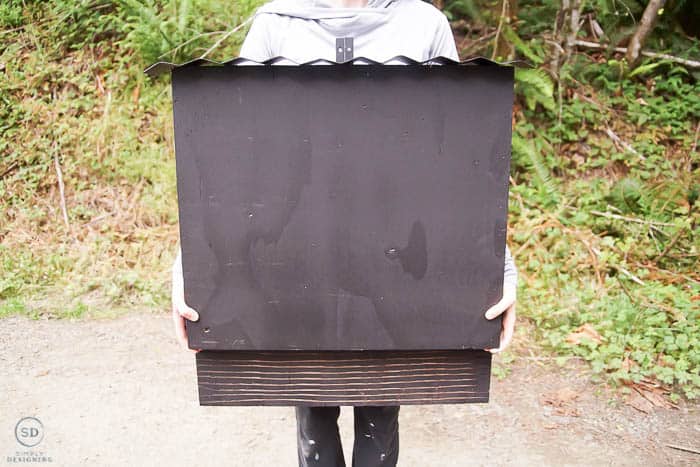
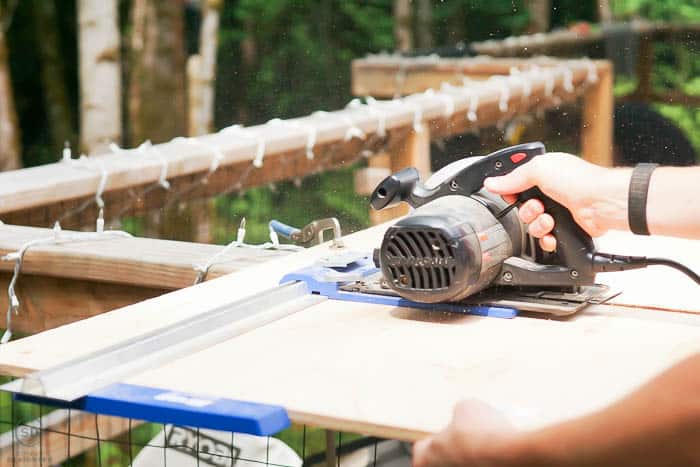
First, we used a circular saw and the Kreg Rip-Cut to cut the 2' x 4' plywood into two lengths at 21" and 27" keeping it 24" wide.
STEP 2:
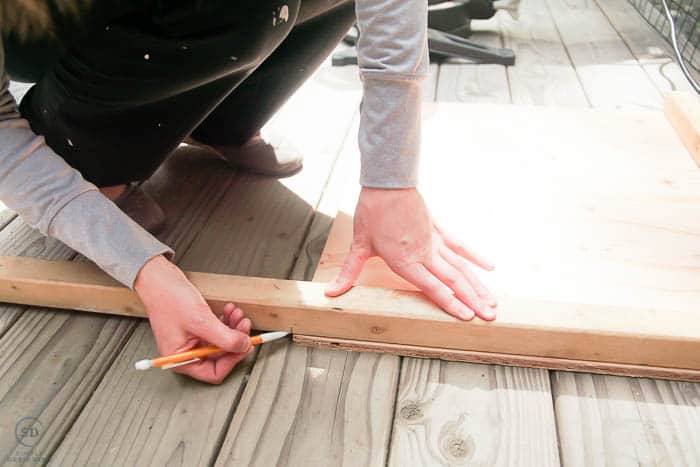
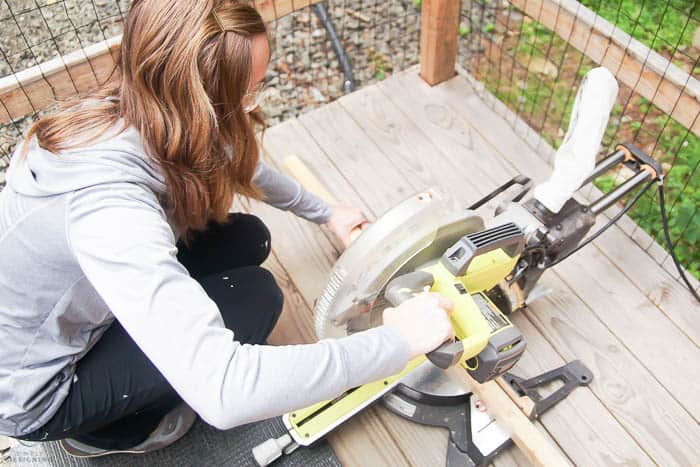
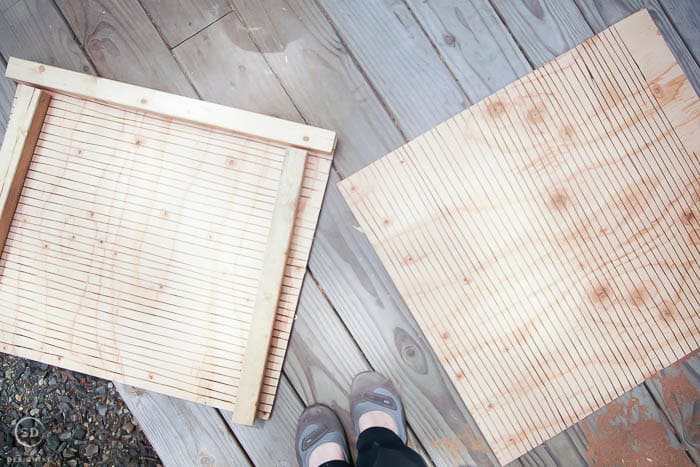
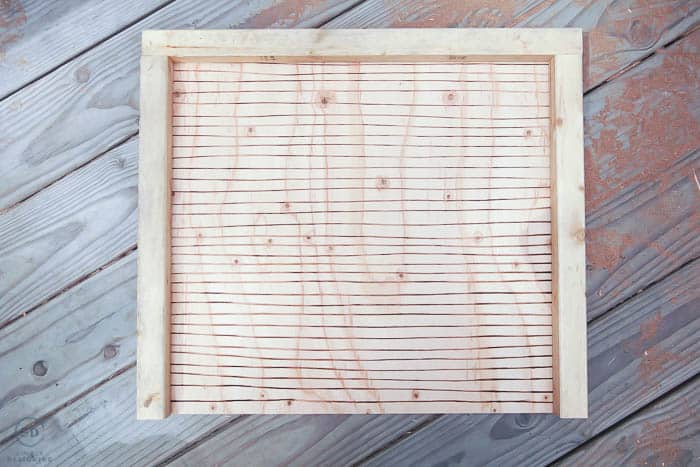
Next, we used a compound miter saw to cut the 2" x 2" board to fit around 3 sides of the 21" x 24" board. The three pieces were approximately 24"l, 19.5"l, and 19.5"l.
STEP 3:
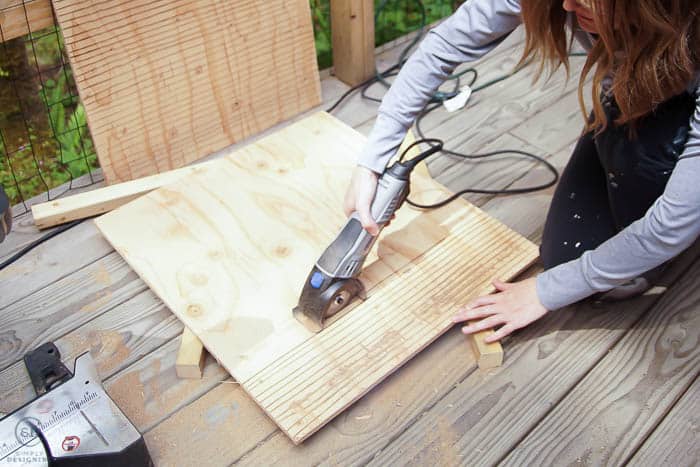
Then we used the Dremel to cut grooves about ½"=1" apart from each other on both pieces of plywood and we dusted this off well.
STEP 4:
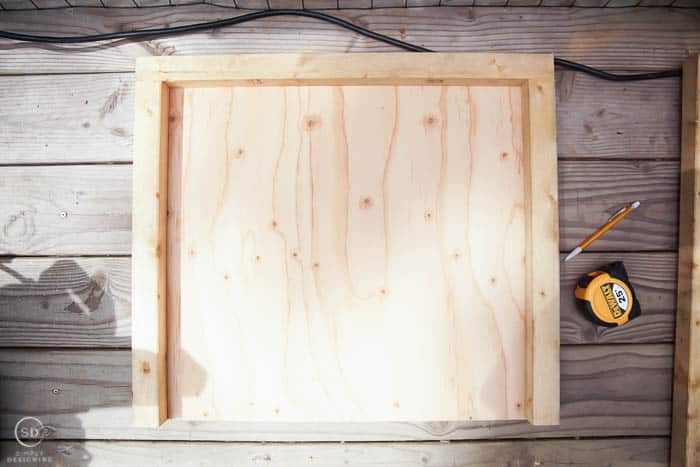
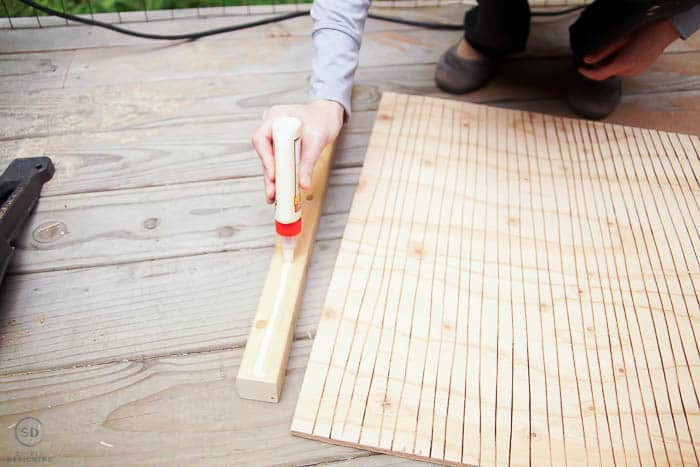
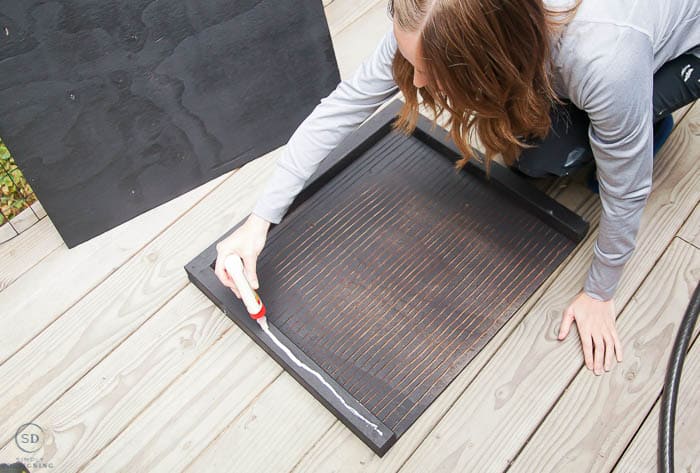
Next, we used wood glue and a nail gun to attach the 2" x 2" boards to the grooved side of the 21" x 24" plywood board.
You can use an electric sander to sand everything down at this point if you want. But this is a pretty rustic build, so you don't need to worry too much about getting a perfectly smooth surface since bats need surfaces to hang from.
STEP 5:
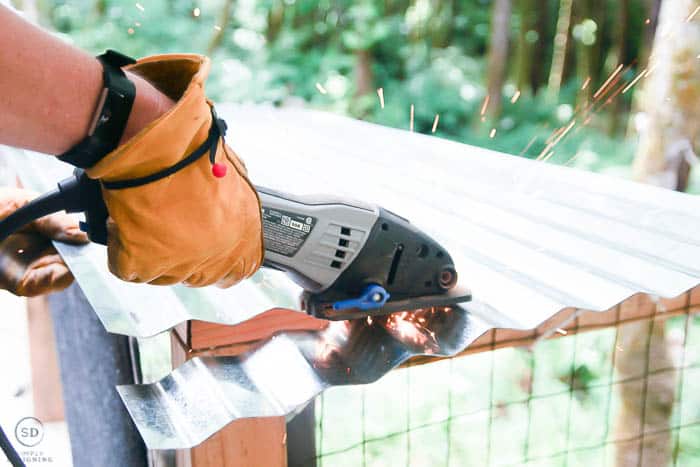
Then we used a metal cut-off blade on the Dremel to cut a piece of corrugated metal to be approximately 27" x 4" rectangular.
STEP 6:
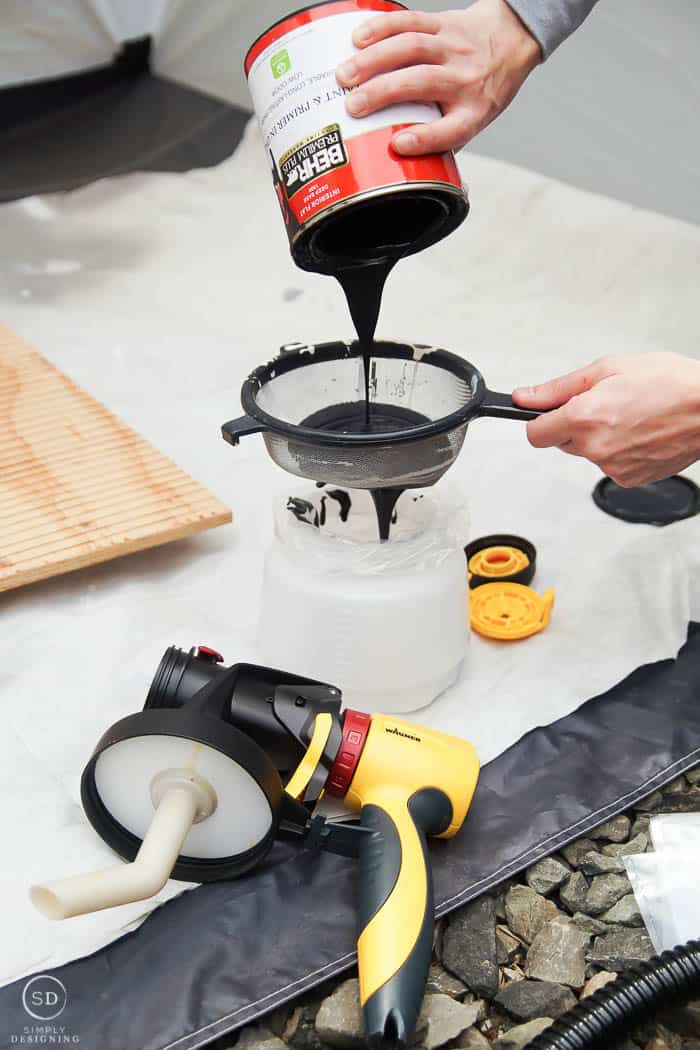
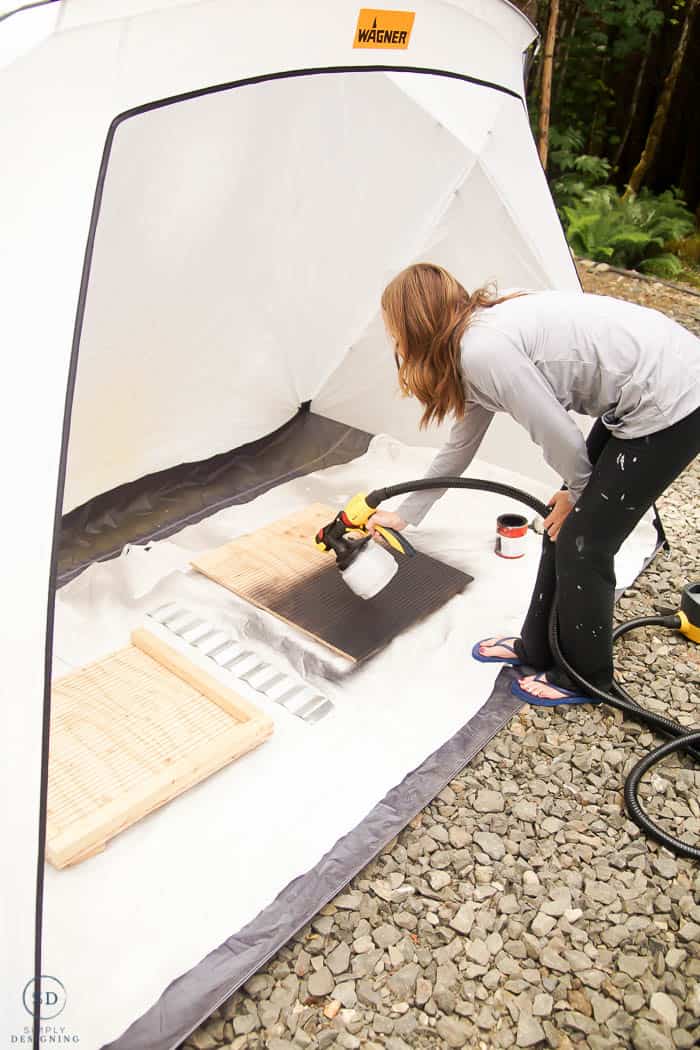
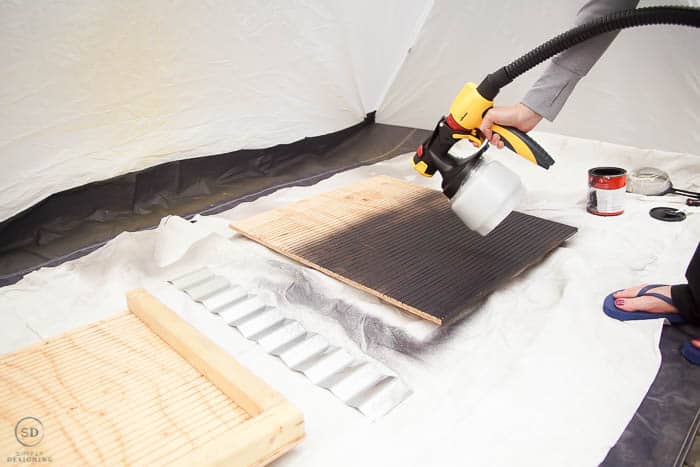
Next, we took both plywood boards and the metal roofing and placed them on a drop cloth in our paint shelter. We prepared our paint gun with black paint and painted all sides of these items with two coats of paint, letting it dry completely before turning them over and applying a second coat.
STEP 7:
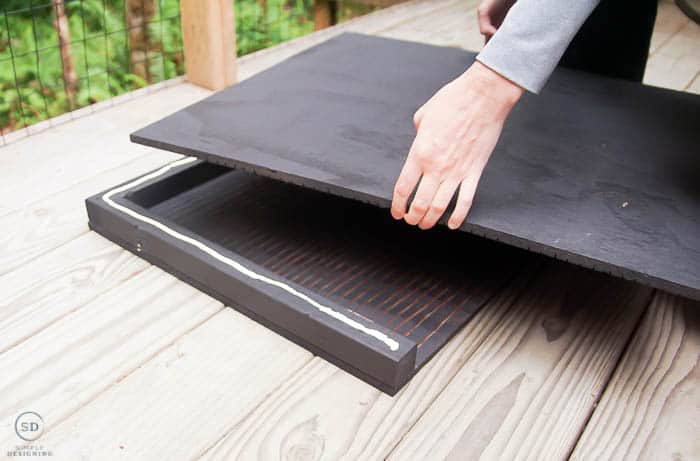
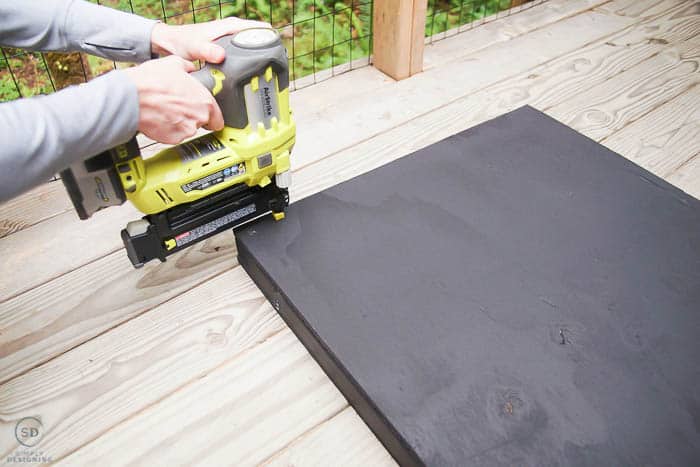
Once the boards were dry, we used more wood glue and our nail gun to attach the 27" x 24" piece of plywood to the other side of the 2" x 2" thereby forming a box.
STEP 8:
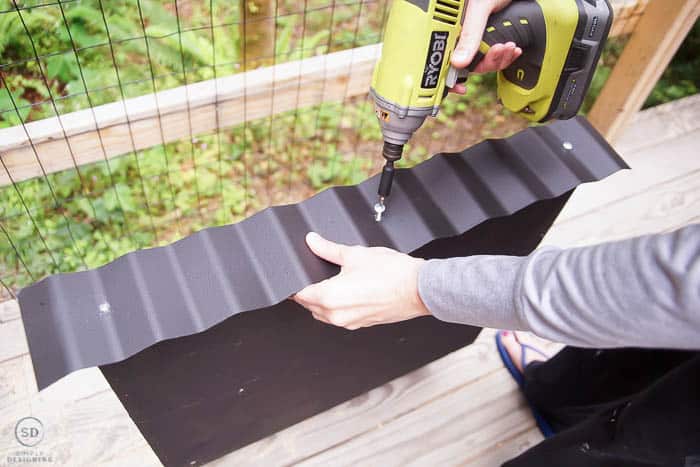
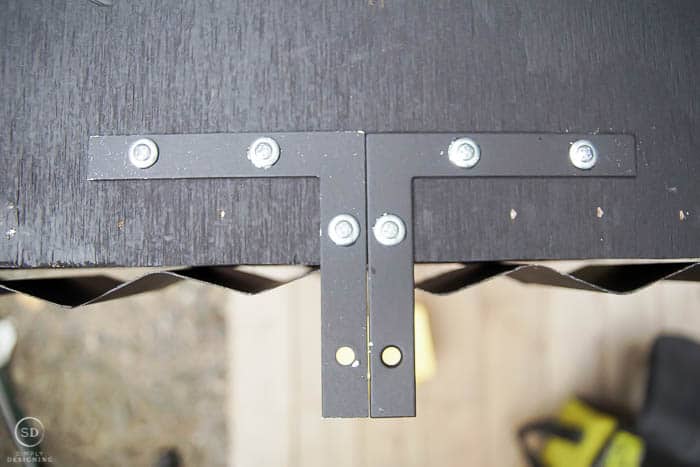
Next, we used a drill to drill pilot holes into the roofing and then attached it to the top of the bat house with screws.
STEP 9:
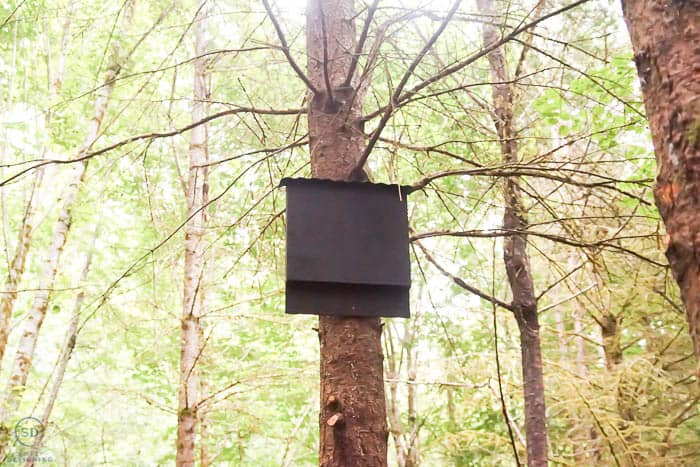
The final step is to attach the bat box in the proper location. Depending on where you are hanging this, you may use different methods. But we attached (2) 4" L brackets to attach to the back of the house and then screw into our tree worked really well.
You can learn more on the Wagner blog here.
You might also enjoy these posts:
How to Paint Shutters and a Wood Door




Mike
Was wondering what you thought of putting regular screen, glued to he inside, for the bats to use as hanging material? Could even put it over the grooves giving them a little extra?