The last few weeks we have been hard at work updating our kid's bathroom! First we ripped up the flooring and installed Travertine Tile Floors! Then we took the plunge and installed DIY Plank Walls! Both projects took a little bit of time but both of these updates were completely worth it! We loved how the kid's bathroom was turning out!
Our next project was to update all of our fixtures and accessories in the bathroom! So we took apart every faucet and holder and installed brand new Moen Ashville Brushed Nickel with Spot Resist and Microban fixtures! (A big huge thanks to Moen for supplying me with all new fixtures for this update!)
And today I am going to walk you through installing all new fixtures for your bathroom too!
One of the first things we did was to install a Robe Hook! Clearly we were doing this late at night and we were a bit silly (perhaps giddy from the recent paint fumes?)...as you can see from the photos! Don't worry, my cute husband was fully dressed the entire time.
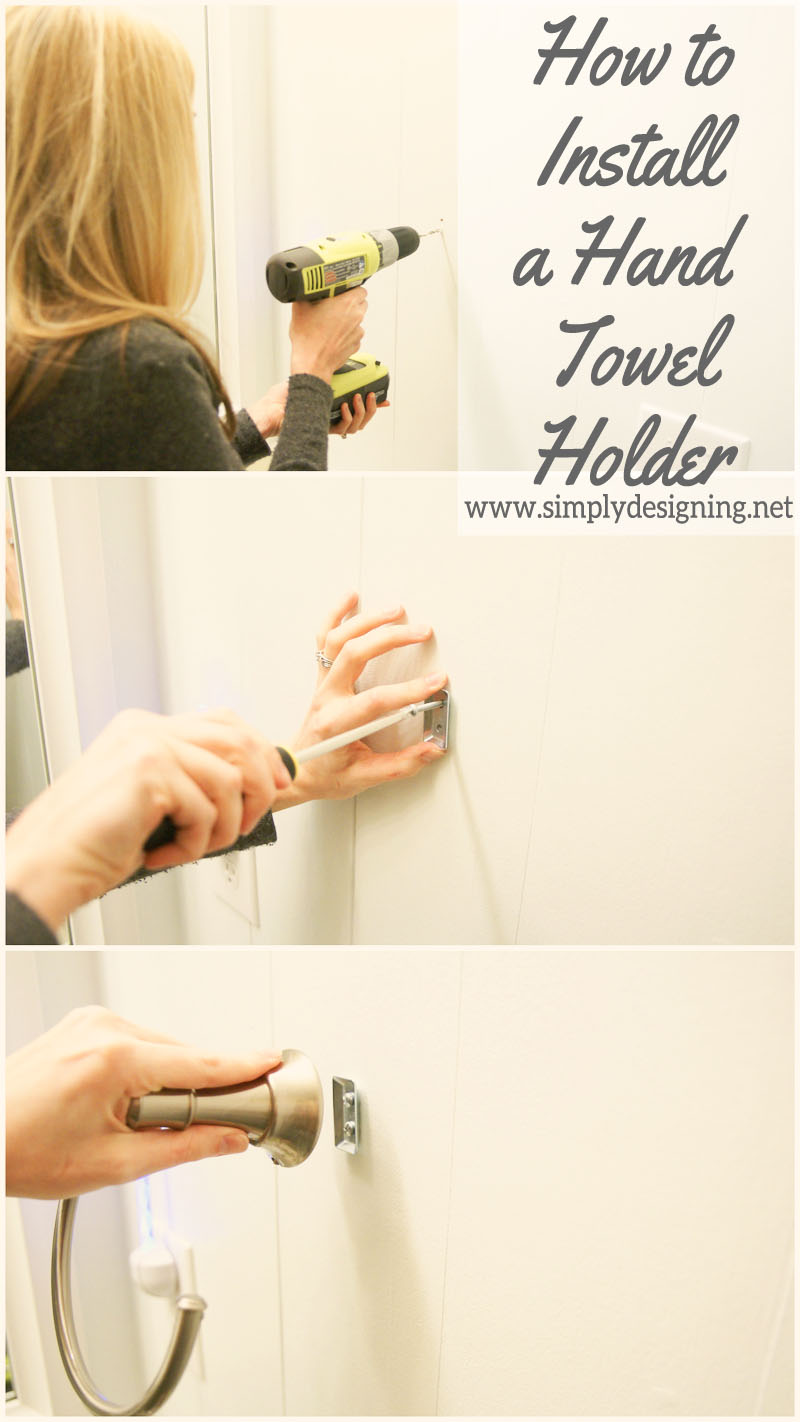
Our new Moen Robe Hook came with very clear instructions, but basically you will screw a plate in place, place the robe hook over top the plate, and use an allen wrench to secure the robe hook in place! Installing this only took a few minutes and will hopefully give everyone an easy place to hang their towel when showering! (Instead of throwing them on the floor like my children may or may not currently do.)
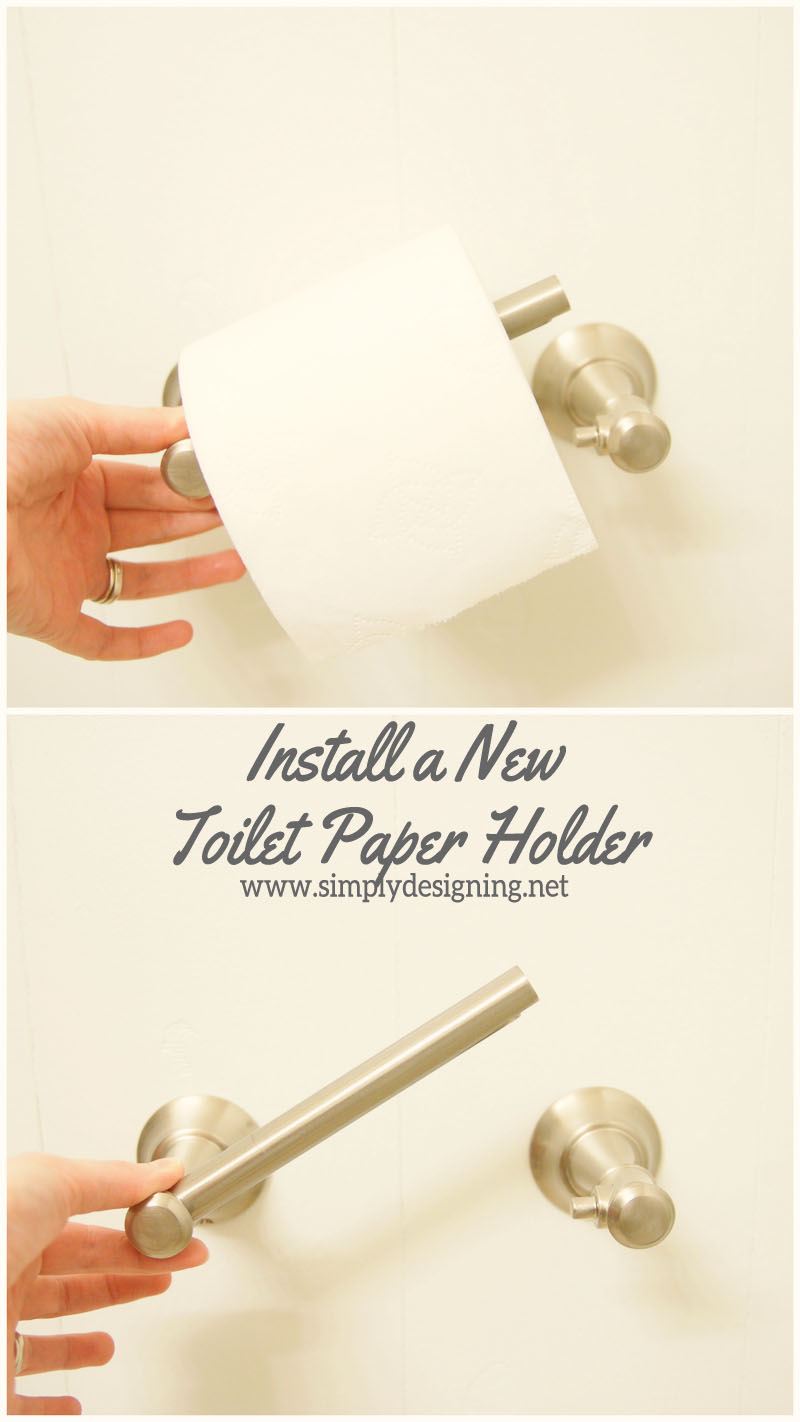
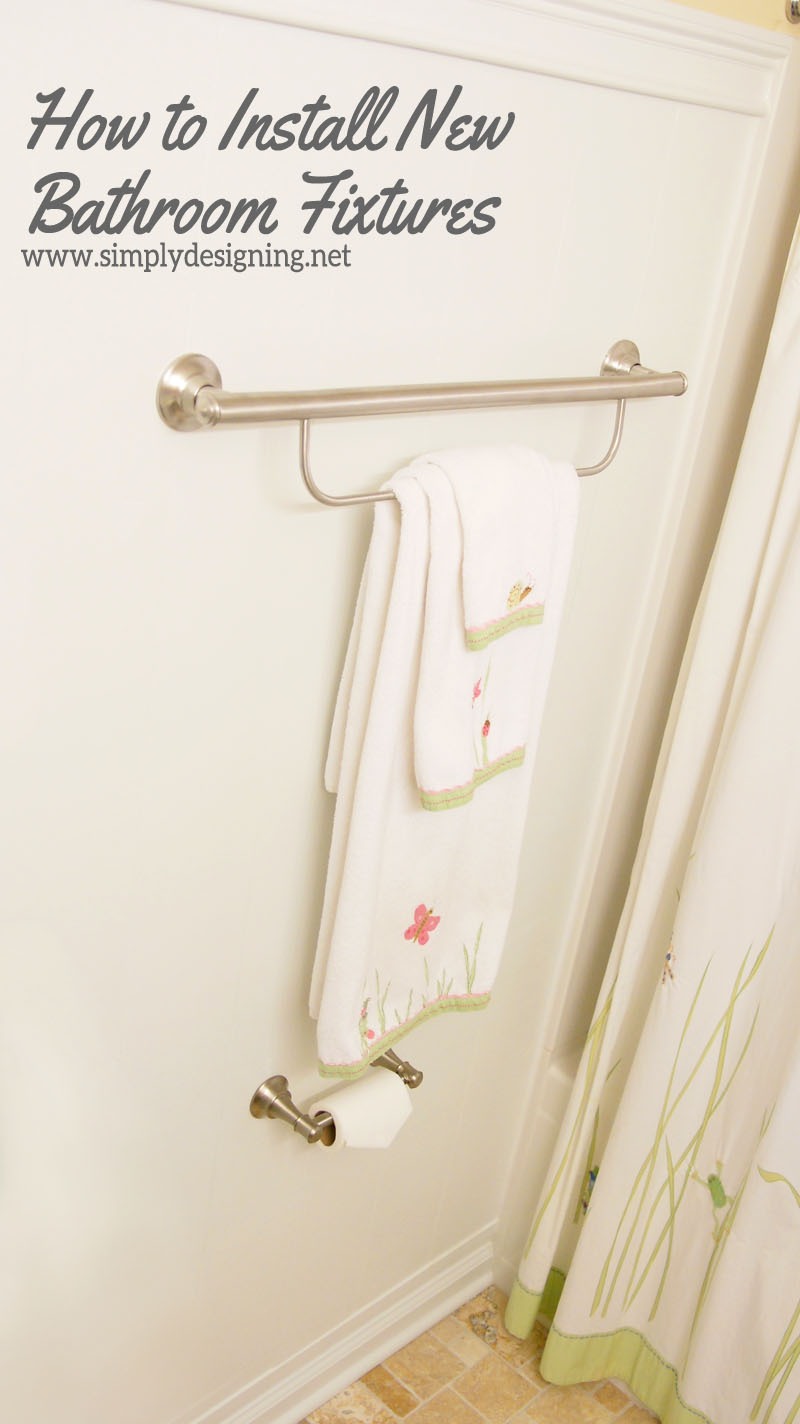
Installing a new Toilet Paper Holder was nearly as simple as the robe hook! Install a couple of plates (just be sure to use a level so that your toilet paper is not tilted!), place the knobs over the plates and use an allen wrench to secure in place!
And isn't this just about the coolest toilet paper holder you've ever seen!?!? My children could never figure out the toilet paper holder that we had before, a spring-loaded one. This one is oh-so-simple and both of my children are actually able to change the toilet paper roll without help!
Seriously folks, this is a must-have if you have young children!
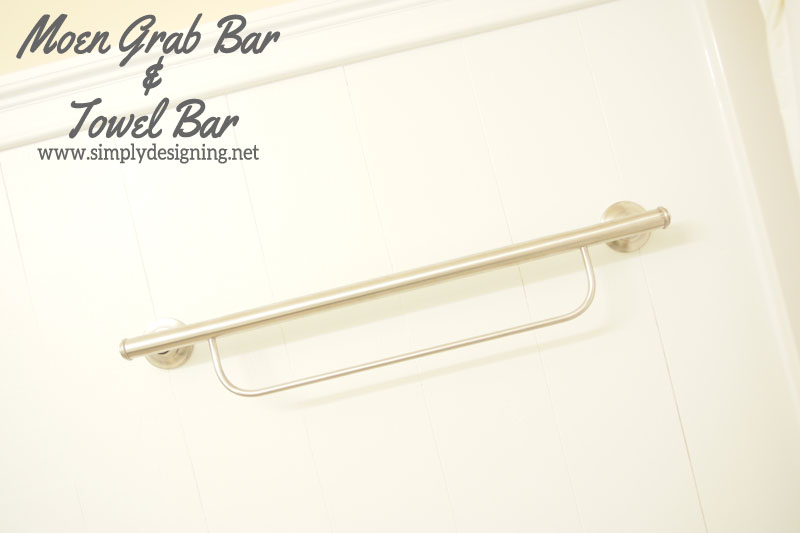
Next up was installing our Moen Home Care Grab Bar and Towel Bar! This grab bar is amazing! It takes a bit more time to install, but it is a truly useful grab bar that can support up to 250 lbs! Seriously! This bar is bolted into the wall very securely and I don't have to worry about my children hanging too hard on the towel bar or putting too much weight on it!
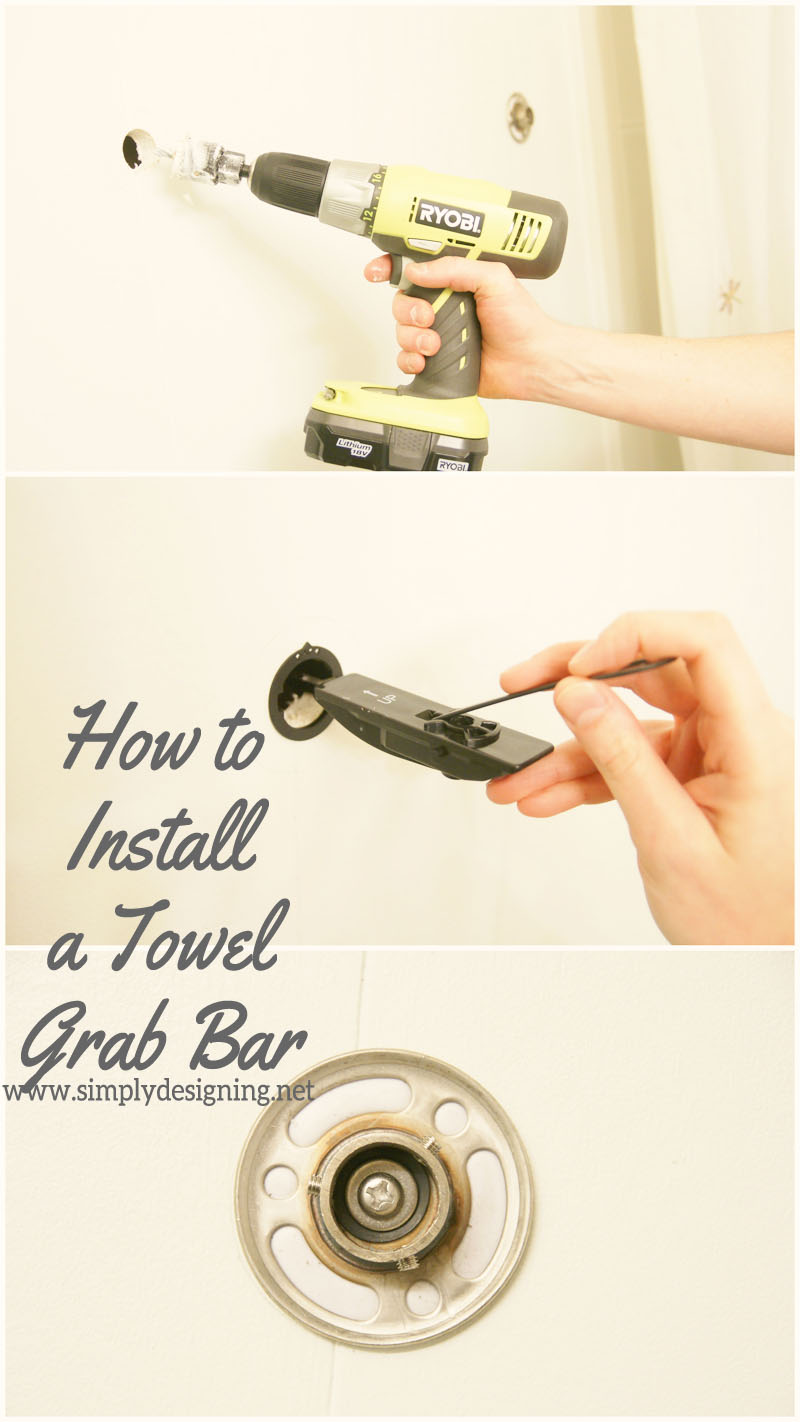
We were able to screw one side of the bar directly into a stud, but the other side we installed using their special SecureMount Anchor system. We used our drill with a large bit to actually cut a hole in the wall. Then we installed their SecureMount Anchor system, screwed the plates into the stud on one side and the SecureMount system on the other side. Put the bar in place and secured it using an allen wrench.
This was still fairly quick to install! And we both love how it looks!
These grab bars are designed to support weight while people step in and out of the shower. And I love that I don't have to worry about my children slipping and falling when they get in and out of the bathtub any more!
And, I also love it because this is our guest bathroom whenever guests are in town. So when my mom and dad come into town or other guests, I know they will be safer getting in and out of the shower since they have a bar to help support them!
Seriously, this bar gives me peace of mind! And...a cute place to hang decorative towels too!
Even though this grab bar is not in the Ashville line, the style works with what we have and the finish matches exactly! It is perfect!
And I just love walking into the kids bathroom with all of these beautiful new fixtures and accessories! Aren't they so pretty!?
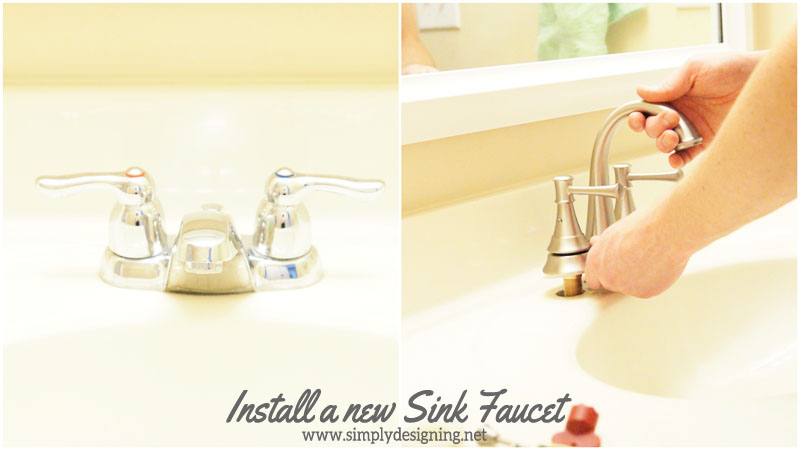
Our sink faucet was another upgrade we did. Previously we had a chrome, better-then-builder-grade faucet! It was a great brand (Moen 🙂 but the chrome always showed every little finger print and water mark. It was impossible to keep clean with little children!
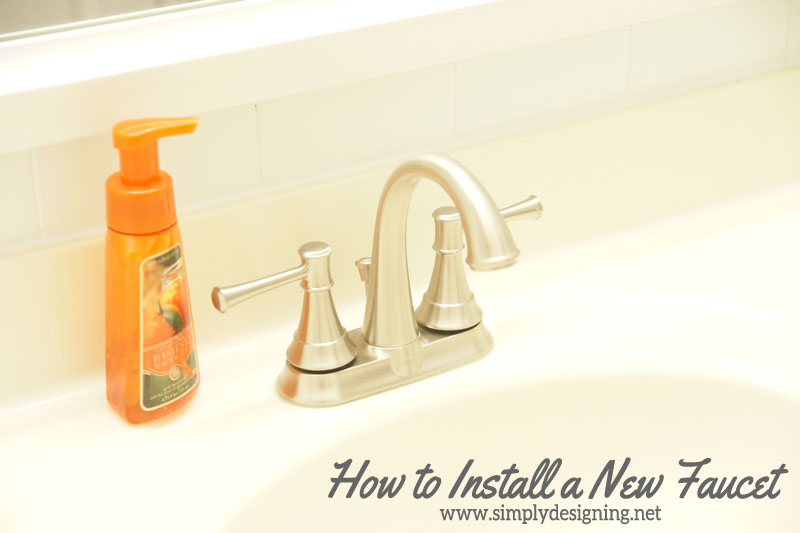
The Moen Ashville faucet was a breeze to install! You can follow the instructions, but you will basically turn off your water, unscrew the old faucet from underneath the sink, screw the new one into place. Pop out your old drain and use a little plumbers putty to install a new one. Turn your water back on and in about 10 minutes, you have a brand new sink faucet!!
And the Spot Resist Finish is A.MAZ.ING! This faucet looks fabulous no matter how many little wet fingers have touched it! It never shows fingerprints or spots and is an absolute MUST-HAVE in a kid's bathroom!
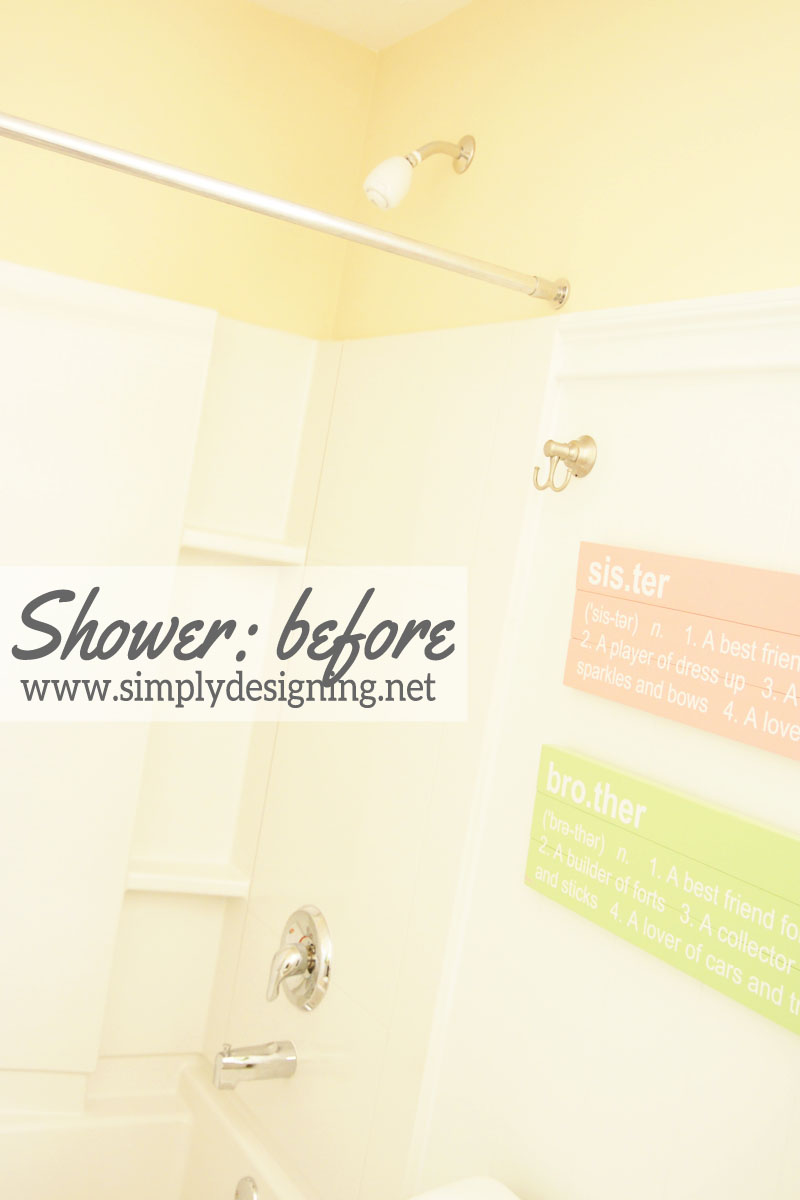
Finally we tackled our shower. I knew enough about replacing these fixtures that I knew it wouldn't be difficult...unless we ran into a problem. 🙂 Famous last words right!? Here is a before shot!
I know you are all jealous of the super cool plastic white shower head we used to have. And again, our faucet and handle are chrome and show every little spot! Boo.
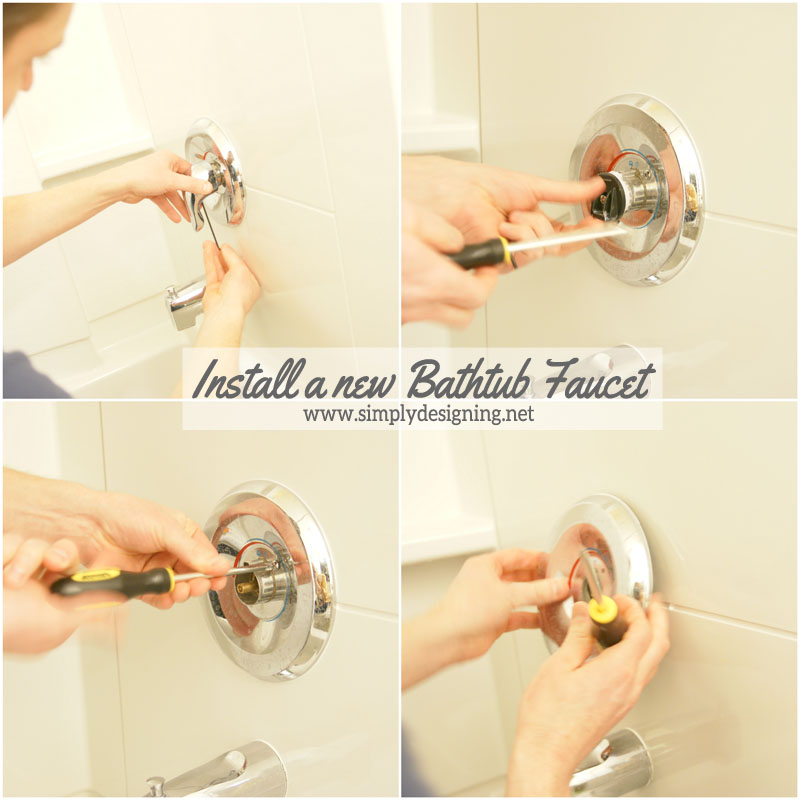
The first thing we did was take apart the shower handle.
It is a really good idea to take this apart first, and put it back together last so that no one accidentally turns the shower on while you are in there changing it! But for simplicity of this blog post, I am showing the changes together. 🙂
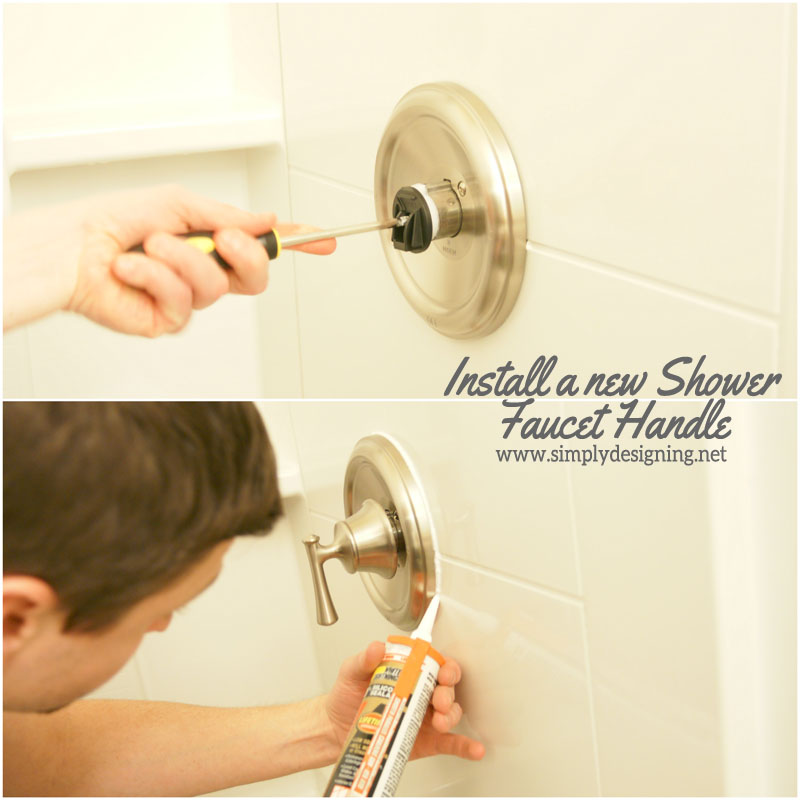
The faucet handle is a breeze to uninstall! You will use an allen wrench to loosen the handle, and then take the handle off. Unscrew and take out any connections in the middle. Use a screw driver to loosen the face plate and then just pull it off!
You will re-install your new faucet handle in the reverse manner. When you are finished, place a thin bead of silicon caulk around the face plate for a finished look.
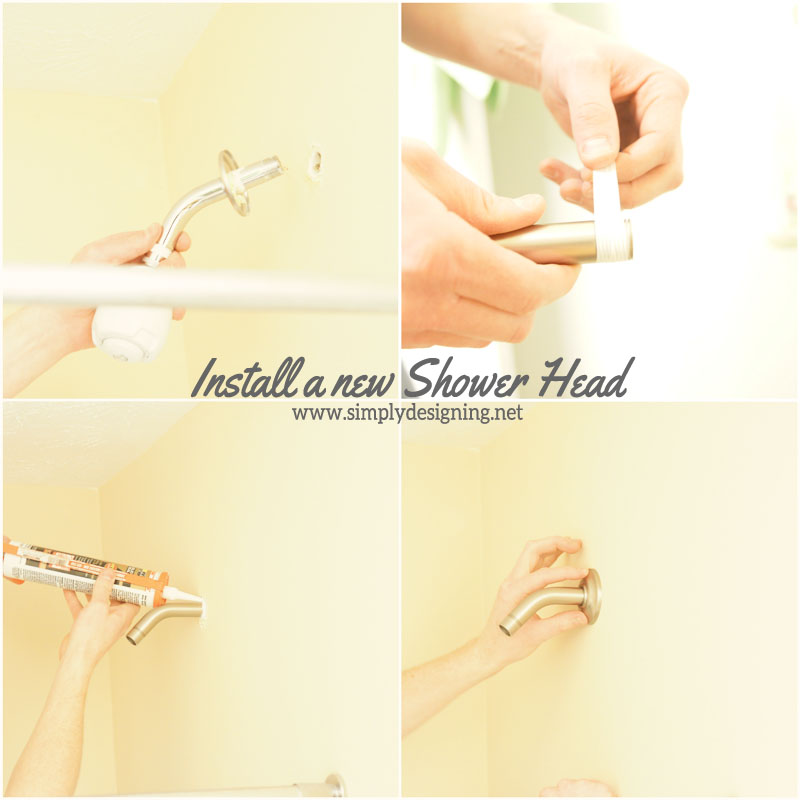
It is a new shower head that has ALL of us wanting to shower in the kids bathroom! Seriously.
The final item we replaced in the shower was the Bathtub Faucet.
As you can see above, it was chrome before and covered in water spots. So we were really excited to install a nicer, newer, spot resistant bathtub faucet in the bathtub.
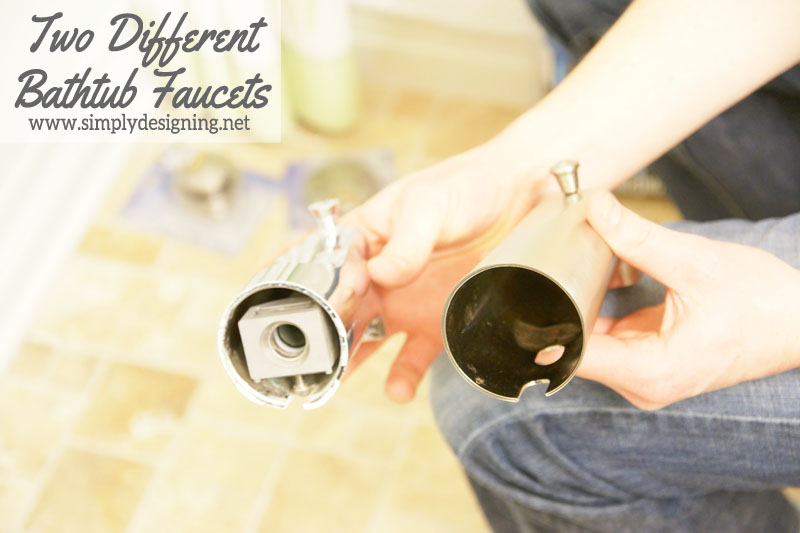
I knew there was potential for complications with this though. There are two different types of bathtub faucets, with two different methods of installation. Some are twisted in place and some are secured in place using an allen wrench. Both have different pipe-work coming out of the wall. So the problem comes in when you are trying to replace one type of faucet with the other type.
I knew this could be a potential problem. But I didn't voice it out loud...until...
We used an allen wrench to take the old bathtub faucet off (left)...and realized that we needed to screw on the new bathtub faucet (right). Doh.
This just made our project a little more complicated.
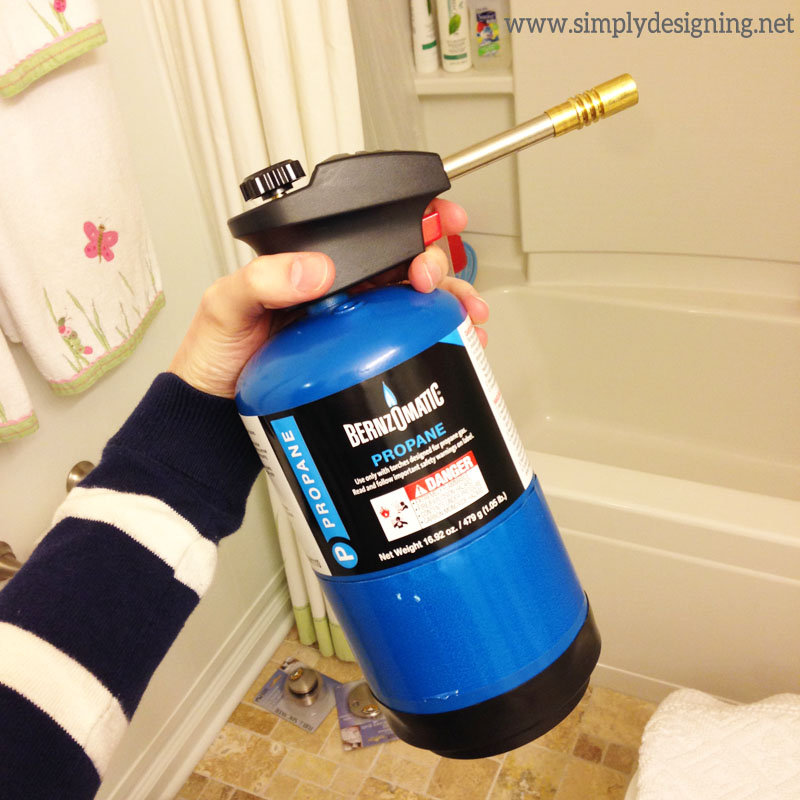
And...that's why we needed a blow torch. (Be sure to follow me on instagram so you don't miss the crazy adventures at our house like this one!)
I'm totally serious!
But this is an entirely other blog post! I will be back tomorrow to show you how to install a new bathtub faucet, when they aren't compatible! (yes yes blow torch and all!)
But for today, here is the finished bathtub faucet replacement!
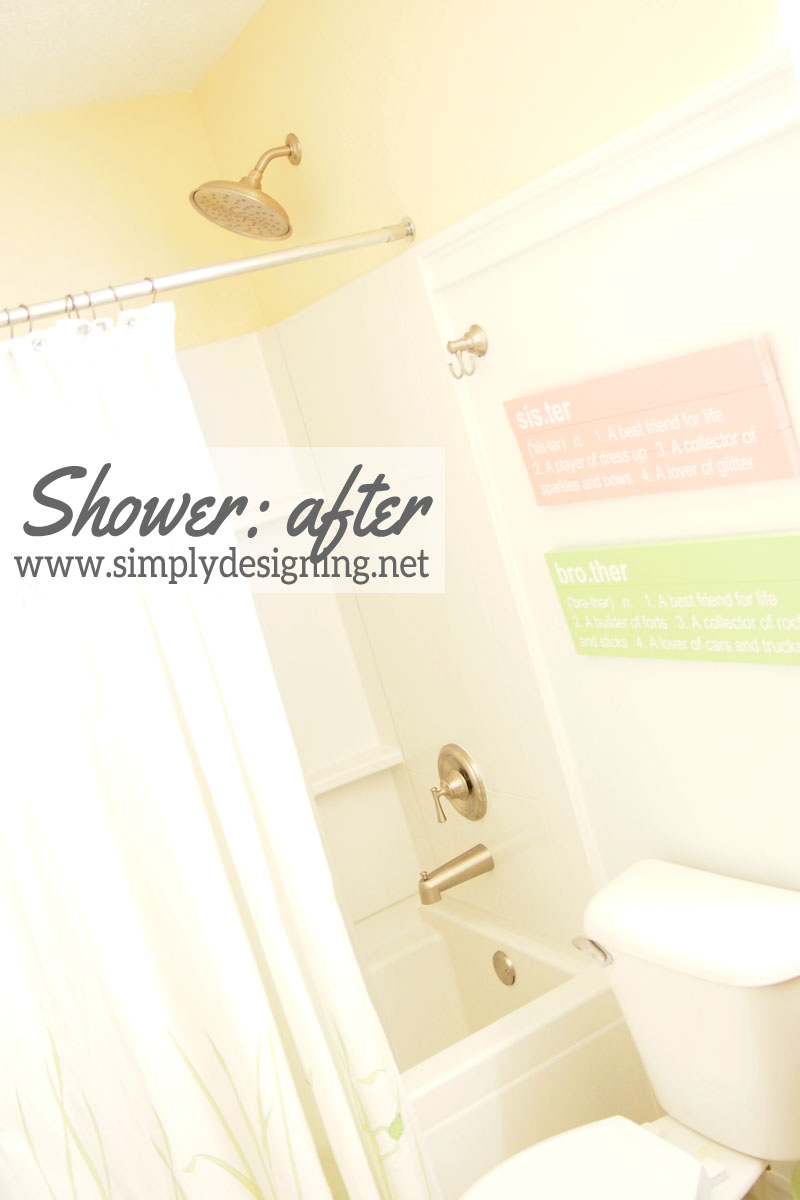
And one more final photo of how this all turned out!
We can not believe what an enormous transformation our kid's bathroom has taken over the last few weeks! We truly LOVE the changes and are so pleased with everything we have done! And being able to add these beautiful Moen Ashville Brushed Nickel Spot Resist fixtures and accessories truly was the icing on the cake! It completed the look and turned our kids bathroom into a beautiful, stylish and functional space for them!
Be sure to stop by tomorrow to see how we installed our new bath tub faucet!
You Might Also Enjoy:
How to Install a new Bathtub Faucet with it is Incompatible with your Existing Faucet
DIY Panel Walls
How to Install Tile
How to Install Herringbone Tile
*As always I am not an expert in plumbing. I am simply a person sharing what worked for us! You may need to seek the assistance of a professional plumber. And as always, please take all proper safety precautions.*







Lindsey Paris
Super cute!! Can you tell me what Model of Faucet the Moen is (I'd love to put them in my master!)
Ashley Phipps
Everything in this bathroom is Moen Ashville line. We have it in the Spot Resist Brushed Nickel finish! These would be BEAUTIFUL in a master!!
Ashley Phipps
And thank you Lindsey!!
Stephanie Chan
Nice! Love the grab bar!
Ashley Phipps
Thank you Stephanie! And thanks for stopping by!
Barbara Hiatt
I love it all Ashley! Fabulous job!
Ashley Phipps
Thank you so much
Meg
Ashley, I bought the same fixtures for my almost completed bathroom reno. It's funny how something as simple and inexpensive as a fancy toilet paper holder can make gal happy. Nice work girl!