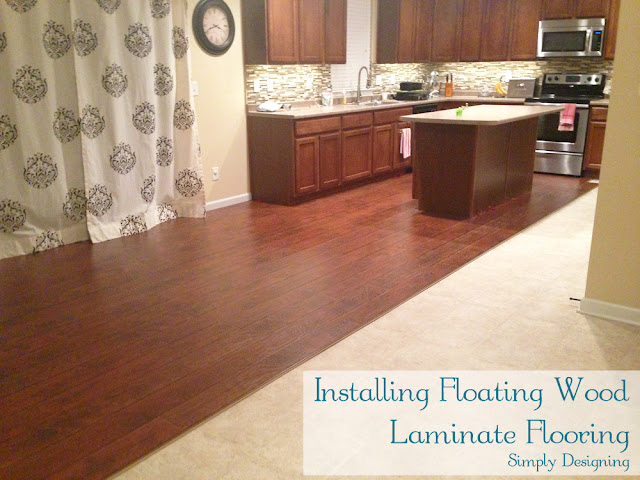
I have teased you about our new Floating Wood Laminate Flooring HERE and even HERE and if you follow me on Instagram, you have definitely seen a few teaser photos HERE as well. We absolutely love our new floors and so today I thought I would share a lot of our how-to process with you! So here is everything you need to know to install floating wood laminate flooring! (part 1)
It is a big decision to replace flooring. It is a big decision if you are paying to have someone install it due to possible high costs, and it is a big decision if you are DIY-ing it because, while it might save you money, it could potentially take quite some time to complete.
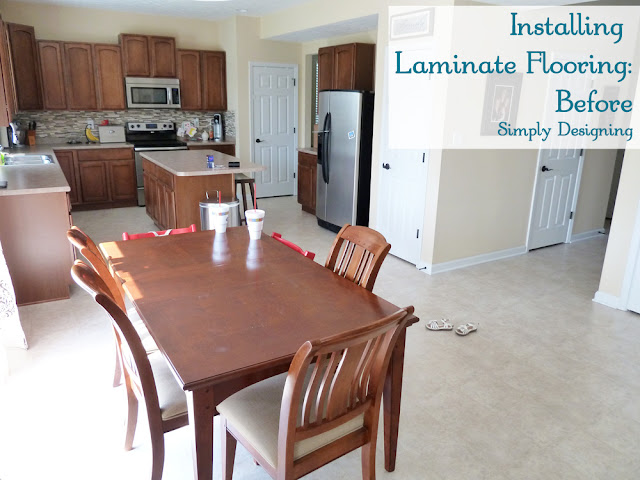
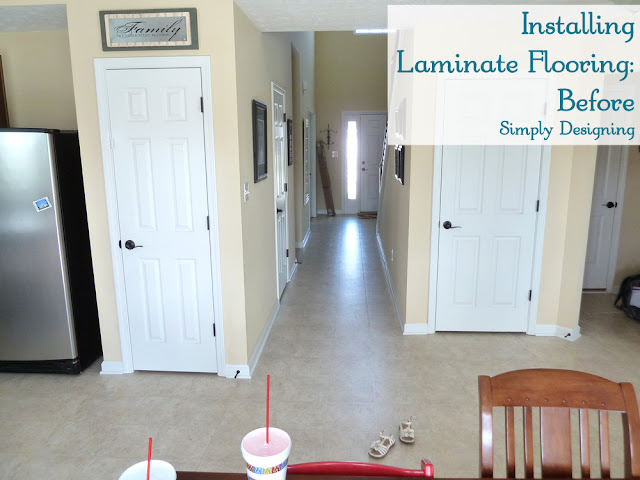
Our original flooring throughout our entry, hallway, kitchen and dining area was linoleum. It was a nice linoleum. It held up well, and it was the perfect color to hide almost any mess. But we wanted to replace it with laminate wood flooring since the day we moved in! You can read more about Laminate vs Hardwood Flooring here.
But we delayed doing it, in large part due to cost. Then one day, my dear sweet husband decided to surprise me while I was out of town! (You can read more about that here and here.) And the next thing I knew we were installing Floating Click-Lock Laminate Wood Flooring throughout most of our downstairs! Wahoo!
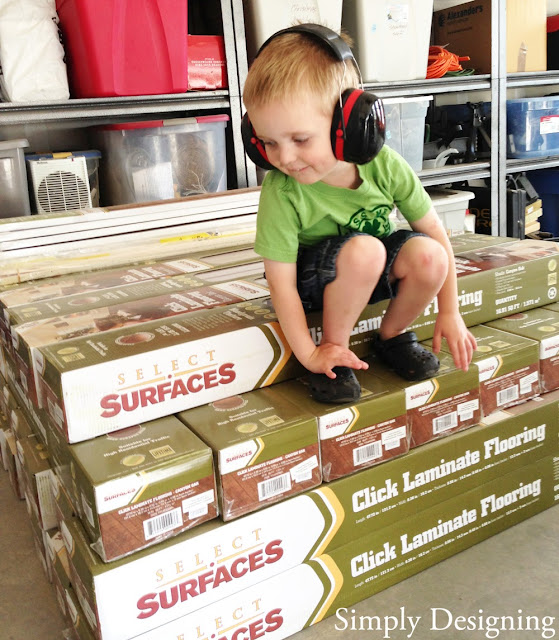
The first thing you need to determine is what laminate flooring you want to use! We wanted a wide, 6" plank, darker colored, distressed / hand-scrapped look, on the cheap, without looking cheap! And of course it needed to work with our existing kitchen cabinets. We searched high and low and we found a laminate floor option we both loved at +Sam's Club! Yup. I'm totally serious!
Acclimation
Even with laminate flooring, there is still real wood involved in the flooring. And because wood expands and contracts, it is often a good idea to let your wood flooring sit inside your home for a few days prior to installation.
Remove Existing Flooring and Prep Your Sub-Floors
We chose not to remove our existing flooring (more on why later), so we had no demolition to do prior to our installation. However, please note that most existing flooring does need to come up prior to installation. We had linoleum though and we felt that it was an exception to the rule, more on that later though.
Floating Laminate Flooring is very forgiving. So we did not need to self-level our concrete sub-flooring prior to installing our new flooring. And because we did not remove our existing flooring, we didn't need to repair our floors prior to installation either. If you have wood sub-floors, you will need to make sure that your sub-flooring is in good solid condition prior to installation. But honestly prep for floating laminate flooring is minimal all things considered.
Moisture Barrier
After you've prepared your sub-floor, you will need a moisture barrier. This can be purchased at any home improvement store where they sell laminate flooring. Because we had existing linoleum flooring, and we had lived in our home for 3 years without a single leakage problem, we decided to leave our linoleum down and install our flooring directly over top it.
This accomplished three things. One it meant we had no demolition to do! Wahoo! And we also did not need to repair concrete sub-floor that could have been damaged in the removal of the linoleum. Plus, it acted as our moisture barrier which saved us time and money! (Again, please note we are not professionals! I see no real reason why this wouldn't work, but I am not a professional 🙂 so if you have questions or concerns about this, please talk to a professional!)
Padding Layer
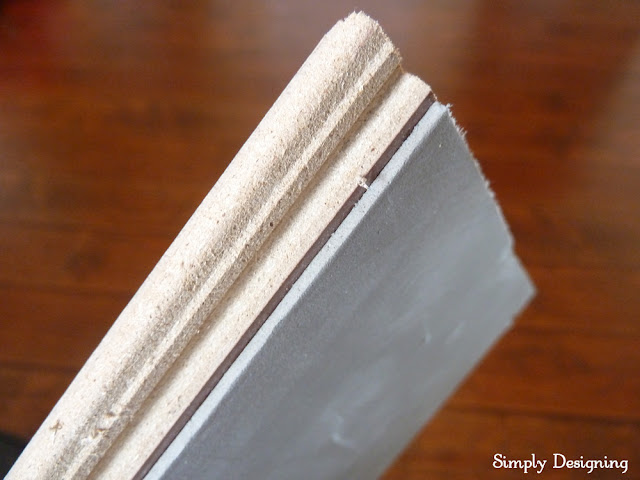
The next layer up from a moisture barrier is traditionally a layer of padding. The flooring we chose came with padding already attached to the flooring so we didn't need to purchase additional padding to put down. But depending on the type of laminate you purchase, you may need to lay down a sheet of padding prior to installation. But with ours already being attached, again, this saved us time and money! Wahoo!
If you need to add a layer of padding, don't worry, it comes in sheets and you just lay it down. It is really simple to do!
Layout
Next you need to determine where to start laying your laminate flooring from and which direction to lay it in. This is always a debate; which way to lay the flooring.
There are no right answers, and there are definitely right answers, all at the same time!
If you have a long and skinny room or hallway, and you lay the wood flooring length-wise, it will accentuate the longness of the room, and the narrowness of it as well. If you lay the flooring width-wise, it will help balance the room's proportions out, but you will have more cuts to do and installation could take longer to install.
And, of course, you will most definitely have adjoining spaces that you plan to install wood flooring in that go in different directions, and you should lay wood flooring all in one direction in adjoining spaces if at all possible.
So the right answer is? There is no right answer. You have to make your best judgment call! Each space is totally different and unique and each space will lend itself differently to the flooring layout. Again, if you don't know, call your local interior designer for a second opinion!
Once you determine the direction you plan to lay your flooring, pick a wall that goes in that same direction and begin installation!
Remove Baseboard (maybe)
Your floor will need to go underneath your existing baseboards and door frames. You have several choices as to how to accomplish this though.
The first option is to remove all your baseboards with the plan to re-install them, or replace with new baseboards.
The second option is to leave your baseboards in place and add quarter-round between the baseboard and the newly installed flooring.
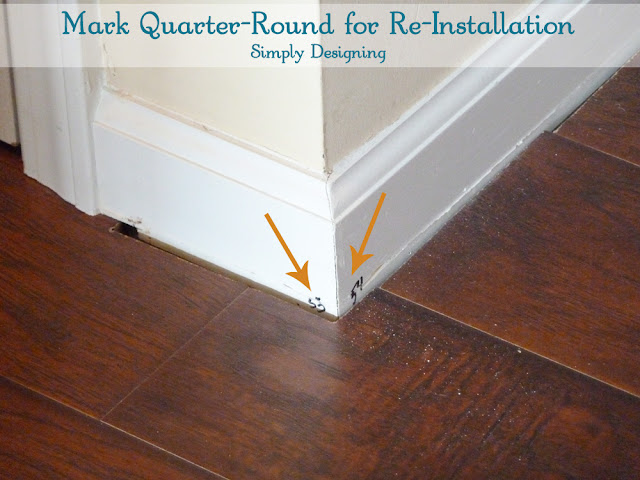
The third option is to remove your existing quarter-round, but leave the base boards. You will then just re-install your quarter-round when you are done.
Since we had baseboards and quarter-round installed in our home, we chose option three.
You can take off all of your door frames and re-install them...but I would suggest against doing that. I will show you how to trim your door-frames while still intact to get a nice, clean installation without re-installing your door frames.
{to be continued...}




Abby
This is really interesting! I have quite a few floors that need some re-doing. Looking forward to part 2!
Ashley Phipps
Part 2 is up!
Carrie from Carrie This Home
Wow! What a difference the new flooring makes! It adds such a rich tone to your home & I love it. Pinning this post in case we ever install more laminate flooring. I'm hopping by from Whimsy Wednesday (my posts are #20 Pumpkin Crock Pot Oatmeal and 22 Living Room Makeover) Have a great Wednesday!
Ashley Phipps
Oh thank you so much! And thanks for pinning!! And thanks for linking up at Whimsy Wednesday!!
The Mrs.
The finished product turned out great! I remember years and years ago when my dad installed laminate flooring in our living room. That home-improvement project actually came about because my younger sister got into my fingernail polish and decided to paint her whole body while sitting on the carpet. This was long before Pinterest AND Google, but I'm sure he would have loved this tutorial 😉
Ashley Phipps
Oh no!!!! Fingernail polish is the WORST!!! But definitely a good excuse for a home improvement project 🙂 haha
Down to Earth Style
I just found this post on pinterest. I have the same color of cabinets and installed the exact same floor in my kitchen, too. I had to do a double take to see if that was my kitchen. I love that floor. After one year - perfect! I am glad you did a tutorial - I haven't wanted to write all the details. Re-pinning.
Ashley Phipps
Oh thank is too funny!! I love my cabinet color 🙂 <br /><br />Thanks so much for re-pinning!
MarianU
I love the floors! It's on my to do list. Where did you get those wonderful red chairs?
Ashley Phipps
Thank you so much! <br /><br />Our red chairs are the best ever! They are kids chairs that work from 6 months up! They are totally fine for adults too! They are Stokkee Tripp Trapp chairs.
Petronella
Awesome, I was installining the exact same floor (replacing green industrial carpet from kitchen and family room from 60-70s?!) Now, I am in the process of painting my old quater trim (I already painted the baseboards white) and doing rest of the transition pieces between rooms. What is the paint color on the wall? It looks really nice with the flooring.
Ashley Phipps
I bet your floors are looking just lovely! <br /><br />I honestly wish I had my wall color accessible. Our home was a spec home and this is the paint color it was already painted with! If you take a photo to a paint store though I bet they could help you find a similar color. <br /><br />Good luck!
Jennifer Potter
It's been a while since you installed your laminate flooring. I just installed it in a rental and am considering installing it in my home --- how did the Select Surfaces hold up for you?