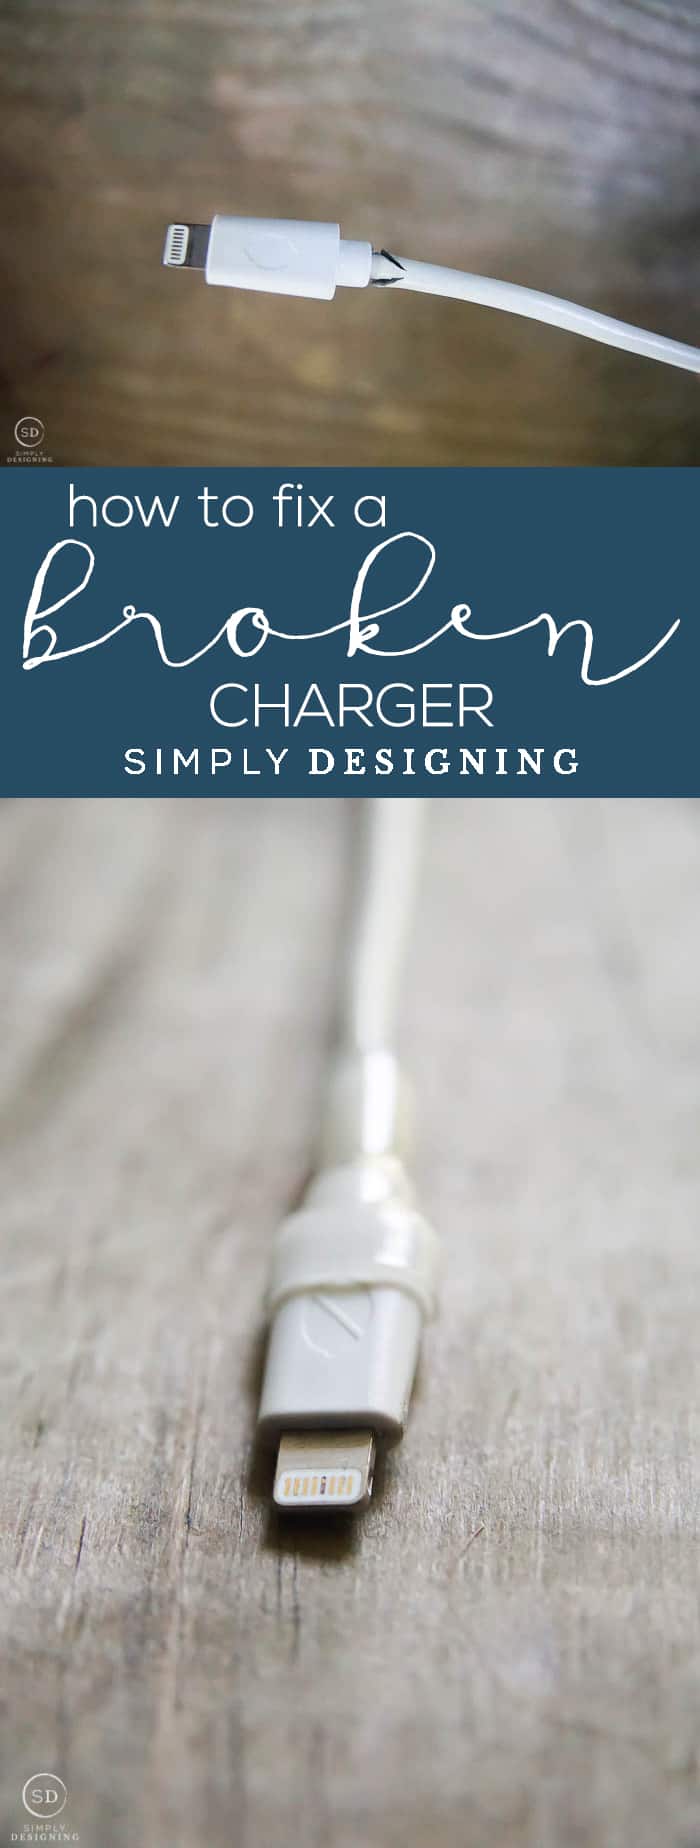
If you have ever had a phone charger break on you and wish you could easily fix it? You can! And today I am going to show you How to Fix a Broken iPhone Charger. Don't worry you can use this same trick to fix any phone charger, not just an iPhone. Keep reading for all the details and supply list! (And if you have ever cracked a device screen, check out my post about how to fix a broken iPad screen HERE.)
A big huge thank you to Wagner for making today’s post possible. All opinions are mine. This post contains affiliate links. By making a purchase through them I receive a small commission but you never pay a penny more. Thank you for supporting my site.
How to Fix a Broken iPhone Charger
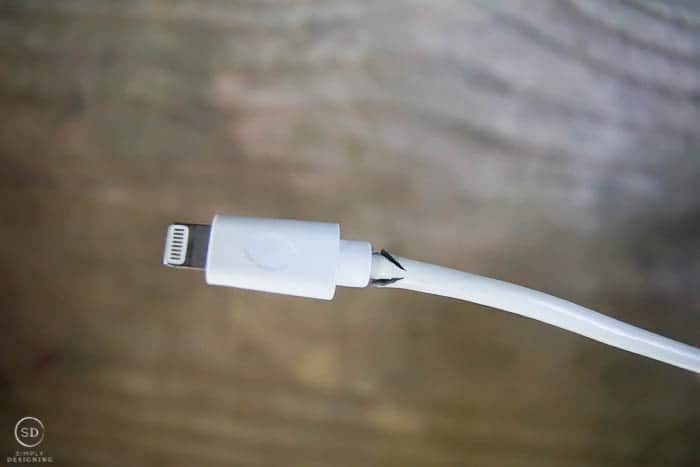
We have more devices in my home then I care to admit, and it seems like one is always breaking. Unfortunately, iPhone cords are expensive to replace, so I decided to fix my broken phone charger instead!
Fixing a broken phone charger is more environmentally friendly (we don't need more phone cords in landfills), and this method will also save you a ton of money in the end too!
Plus it is so easy to do, anyone can do it!
How do you fix a broken charger?
The easiest way to fix a broken charger is by using heat shrink tubing and a heat gun. It only takes a few minutes and anyone can get this to look really nice!
You will want to make sure you choose the right type of heat shrink tubing though. Because the charger head and the cord are so different in size, you need to purchase heat shrink tube that is large enough to fit over the head but will shrink enough to get a tight fit around the cord.
I used these HEAT SHRINK TUBES and this HEAT GUN.
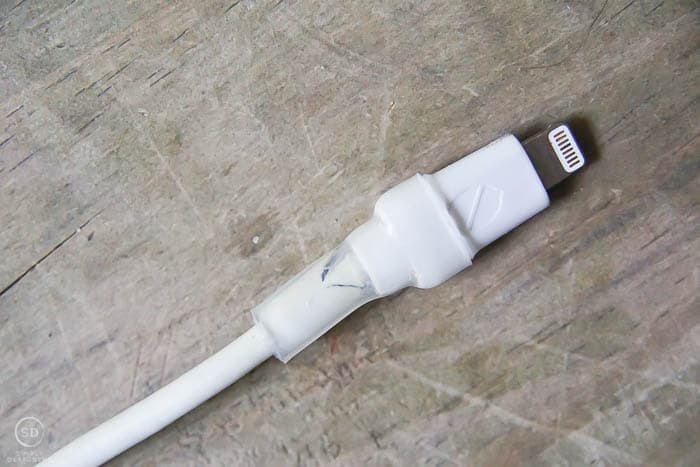
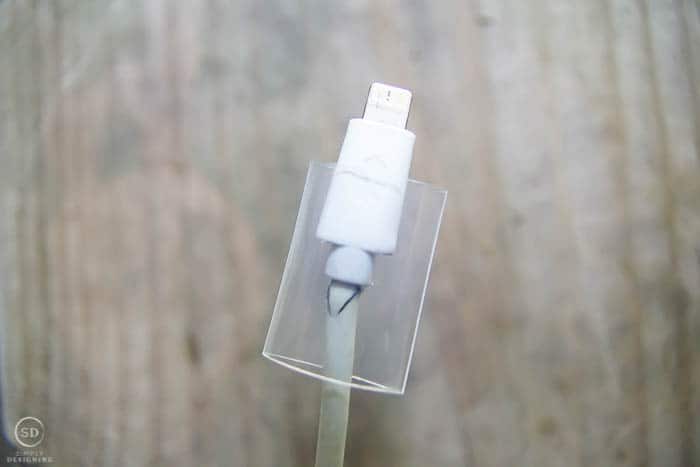
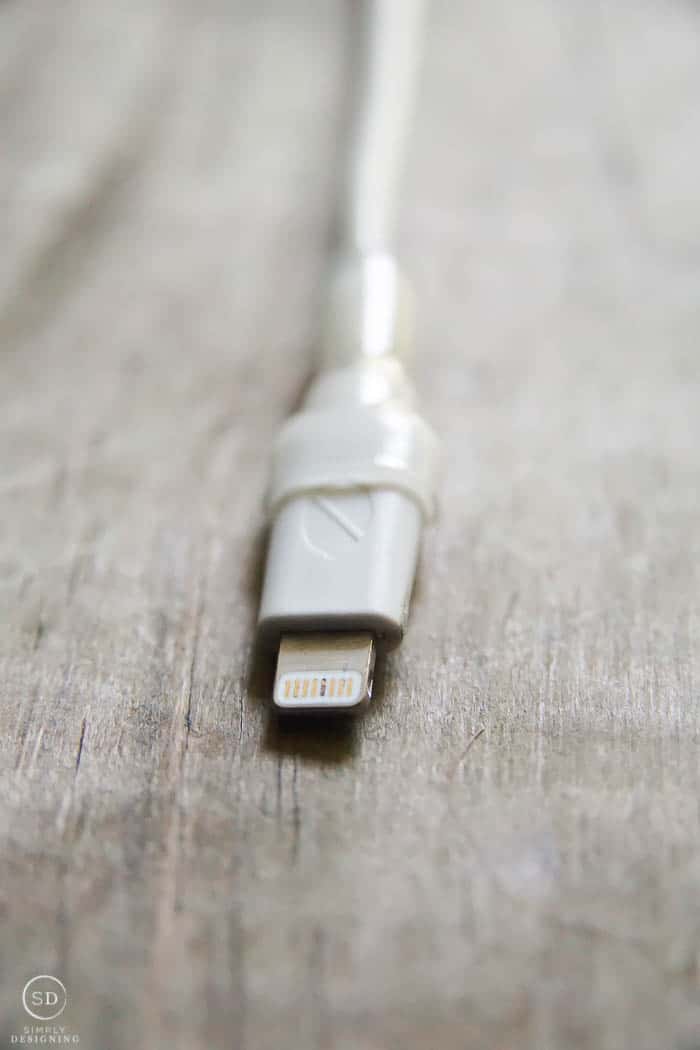
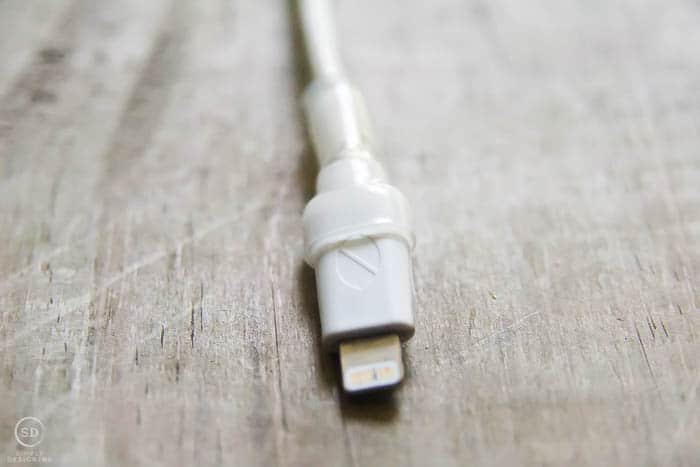
You will simply put the heat shrink tube over the phone cord ensuring it is covering part of the head and past the place where the cord is breaking, then use your heat gun to shrink the tube!
It's so simple, but keep reading because I am sharing a few more tips later in my post that you don't want to miss.
Why did my charger suddenly stop working?
Chargers can suddenly stop working for several reasons. The cord could be breaking or the charging port or USB port could be broken. If the connection ports are broken, you will need to replace your phone charging cable. (I like these ones HERE.)
But if your cable is broken, you may be able to fix it.
I will say though, that this technique to fix a broken iPhone charger works best if the cord is bent or coming apart, but still works. This is the best way to save a cord from fully breaking.
If your cord is fully broken, it may be time to replace it. (Again, I like these ones HERE.)
Why do iPhone chargers break so easily?
iPhone chargers break so easily because the connection point between the wires and the charging port can be weak. And most of us tend to pull the charger by the cord instead of the head which weakens this connection further.
Plus, if you ever charge your phone while looking at it and you happen to rest it, you may be bending the cord which will further lead this connection to weaken.
What can I do to make my phone chargers last longer?
- Only remove cords by the plug head, never the cord
- Don't let the cord bend
- Secure and strengthen the cord connection area using heat shrink tubing
How to use heat shrink tubing to fix a broken iPhone charger
The best way to preserve, strengthen and lengthen the usage from an iPhone charger, even if it is already breaking, is to use heat shrink tubing to fix it. Here is what you need to do:
Purchase Heat Shrink Tubing
Because there is a big difference in size between the cord and charging heads, you need to get heat shrink tubing that will shrink a lot.
All cords may be different in size, so it is important to measure your cord and order the heat shrink tubing that will fit your cord the best. I can not guarantee that what I used will work for you, so do your research first.
I bought these HEAT SHRINK TUBES because they have a 3:1 heat shrink ratio. A 2:1 heat shrink ratio is simply not enough for a typical iPhone charger. The 3:1 is what you want.
You can choose between so many colors, but I decided to use clear heat shrink tube so that the fix was barely noticeable.
Purchase a Heat Gun
It is important to choose a great heat gun to get this job done right.
I have had several heat guns in my life, but I just received the brand new Heat Gun HT400 from Wagner.
After using this heat gun, there are a few things I love about it:
- it is compact and easy to hold
- it fits comfortably in my small hands
- dual temperature settings perfect for a variety of jobs
- perfect for small, intricate projects and craft projects too
- can be used for craft projects like embossing and jewelry making
- can be used for removing stickers and shrink wrapping packages
- is able to be used hands-free
SEE MORE WAYS YOU CAN USE THE WAGNER HT400 HERE.
I also love that the cost is totally reasonable for this heat gun too!
PURCHASE THE WAGNER HT400 HEAT GUN HERE.
Prepare Heat Shrink Tubing
You will want to choose the right size tubing for your project. You want it to be as small as possible, while still fitting over the head of the charger.
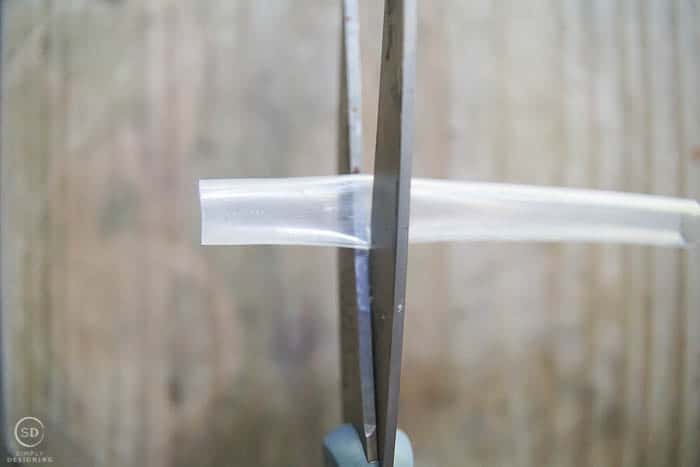
Once you have picked a size, you will cut it to length with scissors. You will want the tubing to cover part of your charging head, but not all of it. If you cover all of your charging head, it may not fit as tightly when you charge it leading to an insecure fit and a bad charge.
You also want the length of your tube to more than cover where the cord is broken or bending. Covering about an inch or so of the cord is a great place to begin.
Heat the Shrink Tubing with a Heat Gun
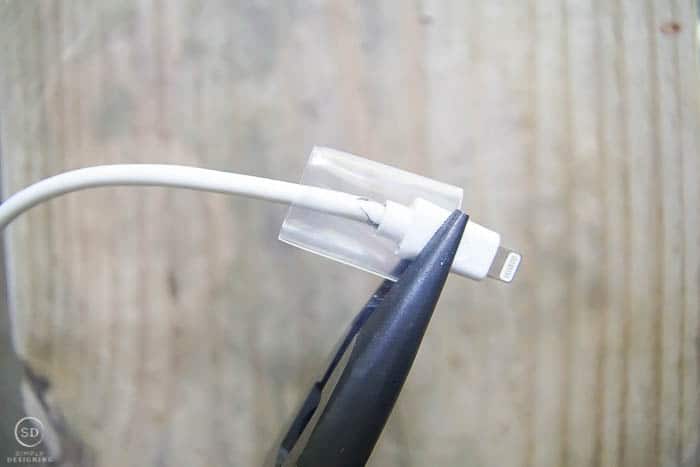
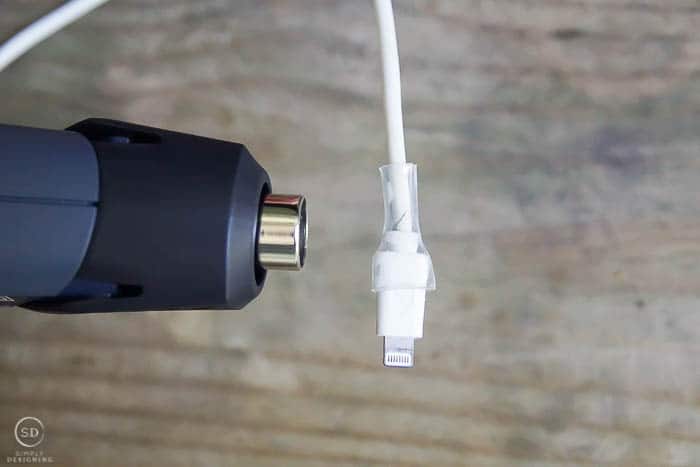
Because the tubing and cord will get warm when using a heat fun on it, I used a pair of pliers to hold my heat shrink tubing onto my iPhone charger. Then I simply turned the heat gun on the LOW setting and moved it all around the heat shrink tubing.
After a few seconds, the tubing will begin to shrink.
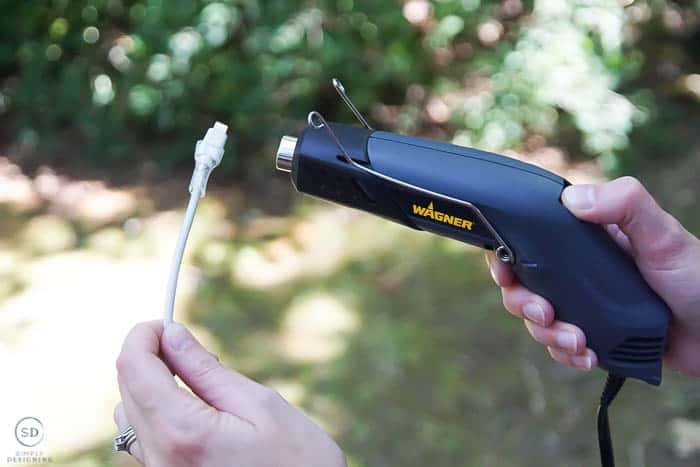
You want to shrink the tubing until you have a tight secure fit around the head and the cord.
I just absolutely LOVE how quick it is to fix a broken iPhone charger! It takes only a few minutes of time and you can easily fix and secure all of your charger cords.
When I was fixing my cord, my husband actually asked me if I could fix his too. I was so happy to be able to fix both of our cords in just a few minutes of time.
And I have a stash of heat shrink tubing now to fix any other cords that we may need to fix in our home.
Read more about the Wagner HT400, how you can use it, and tips and tricks plus more about this project HERE.
If you enjoyed this post, you might enjoy these posts too:
How to Fix a Broken iPad Screen





Paul Drake
Great post; thinking outside the box. This idea will work nicely on my favorite headset. It is cracked on the rubber part that fits around the ear. Could be poor design, but I really believe it's inferior material. Planned obsolescence so I'll have to buy another one. Not!
Thanks so much!