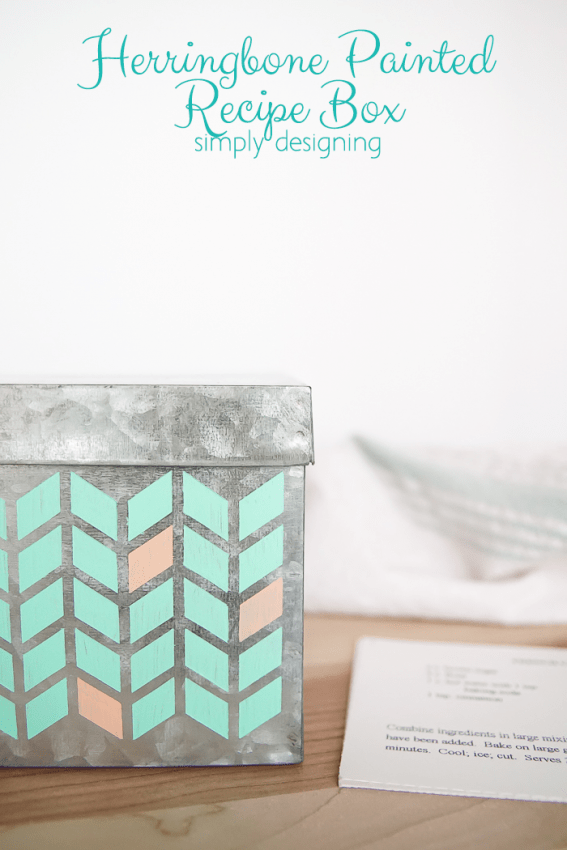
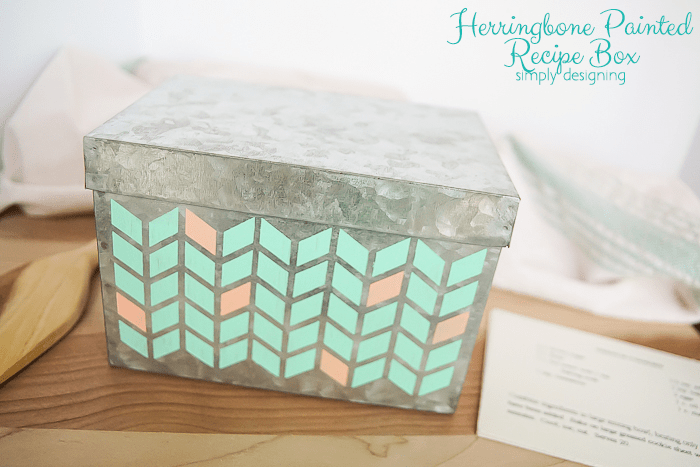
I enjoy cooking. I love baking (or at least I love eating the food that I bake!) and I have come to enjoy cooking. Over the years I have collected many yummy recipes, many amazing family recipes and a few recipes that I just can't live without! But my recipes aren't very organized! When I was young (high school) I made a fairly comprehensive recipe box for a home economics class. It has served me well for many years, but it is completely packed to its limits right now! I couldn't fit another recipe in it if I wanted to! So when I found a cute rustic metal recipe box the other day I knew that this would be perfect to personalize and make my own! So today I am sharing my herringbone painted recipe box with you!
Ah isn't she so cute!? (It feels like a she doesn't it!?) It is the perfect place to store my recipes that don't fit in my original recipe box and it is adorable enough to sit on my kitchen counter!
Also a big thank you to DecoArt for making this post possible today.
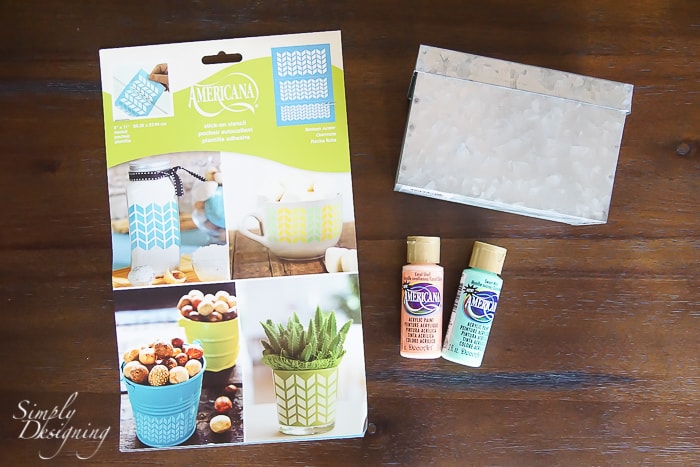
I snagged this metal recipe box at Michaels the other day and I used an Americana reusable stencil and Americana paint in Coral Shell and Sweet Mint. Two of my absolute favorite colors by the way! Oh and you will need a paint brush or two too! I love using foam brushes for projects like this.
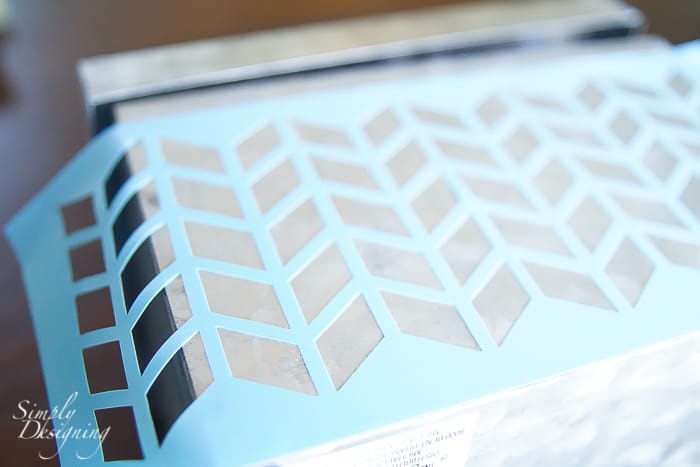
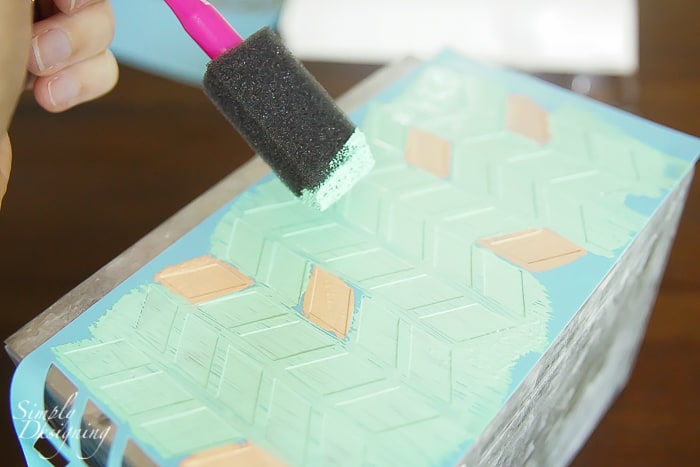
I really love the Americana reusable stencils because they are slightly sticky so they adhere to surfaces really well but are repositionable. I centered the stencil fairly easily on my metal recipe box and then I began to paint!
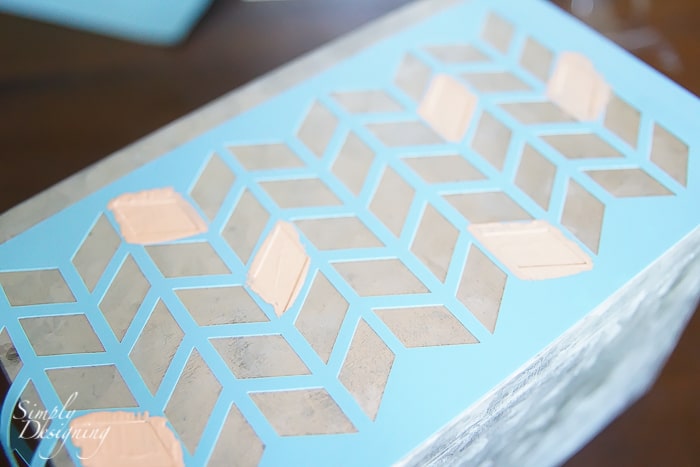
I used Coral Shell to paint a few random herringbone shapes.
And then I painted the remaining pattern with Sweet Mint.
After the paint was dry I simply removed my stencil and my new pretty herringbone painted recipe box was ready to use!
I really do love how this turned out!
And if you like this idea you might also enjoy these posts too:
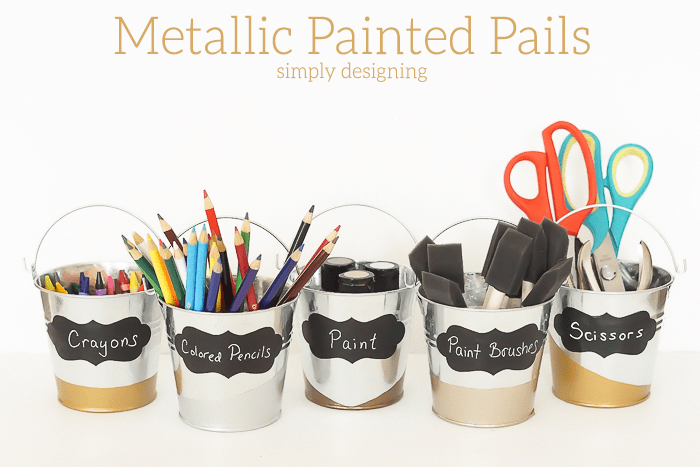
Painted Metallic Pails for Organization



Carmia
Love this project! Mint and peach is my favourite colour combination 🙂
Noa Ambar Regev
This looks so good, I love the pattern and the colors 🙂 (pinned!)
Stacey Cartwright
Such a simple update, but it makes a huge difference. The colors you used are perfect!
Falon at A Disney Mom Blog
This is so cute! Definitely going to have to check out some of those stencils!
Valerie
Such a great idea, love these colors!
[email protected]
This looks awesome, I love the stencils ( I'm a stencil addict, kind of... ) the colours are so nice!!!
Ashley
How do you get the paint to not bleed under the stencil? Every. Single. Time. I try a stencil the edges look terrible and I end up free handing something else on my project. I LOVE herringbone and want to do this - its gorgeous!
Ashley Phipps
Ashley I am so sorry to hear you have issues with paint bleeding! One of the things I love about these stencils is that they are adhesive which creates a better seal and less chance of bleeding. If you are using a stencil that is not adhesive, you can get stencil adhesive that you spray on the back of your stencil to help keep it in place. That can help a bit. Also, use very little paint and paint in layers. It is better to do several thin coats of paint then one thick coat. I like to wait until the last coat of paint is mostly dry before taking off my stencil. I find this gives me cleaner edges as well. I hope those tips help. I am so sorry you are having trouble.
Chelsea @ The Johnsons Plus Dog
Love this, so cute... for some reason I would never think of painting on metal! Thanks for sharing.