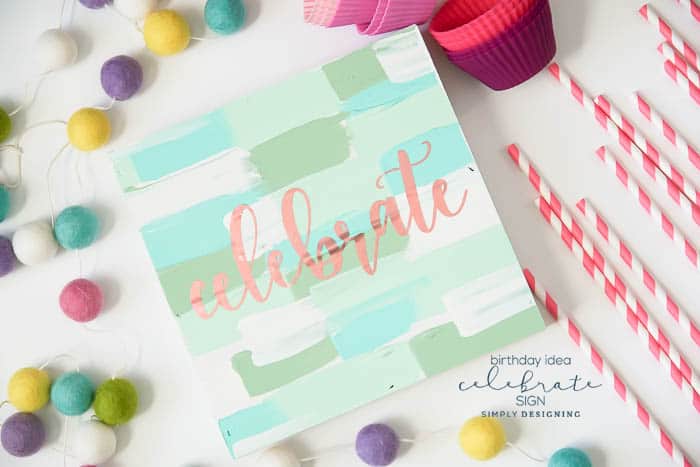
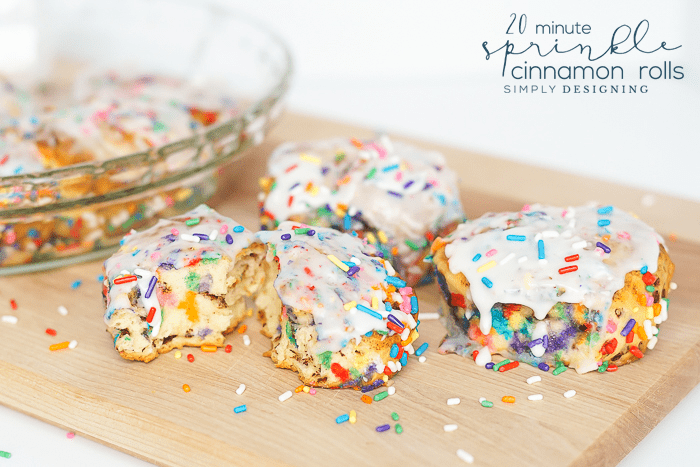
We love birthdays around our house and today I wanted to share a fun and easy to make handmade sign birthday idea with you. These birthday sprinkle cinnamon rolls are also a fun way to celebrate birthdays...but I digress. So this sign, it is easy to make, it looks super cute, and even though I made it with the idea of being for a birthday, it would also just be super cute to hang in your house anywhere because there is always a good reason to CELEBRATE!! Keep reading for the full tutorial. 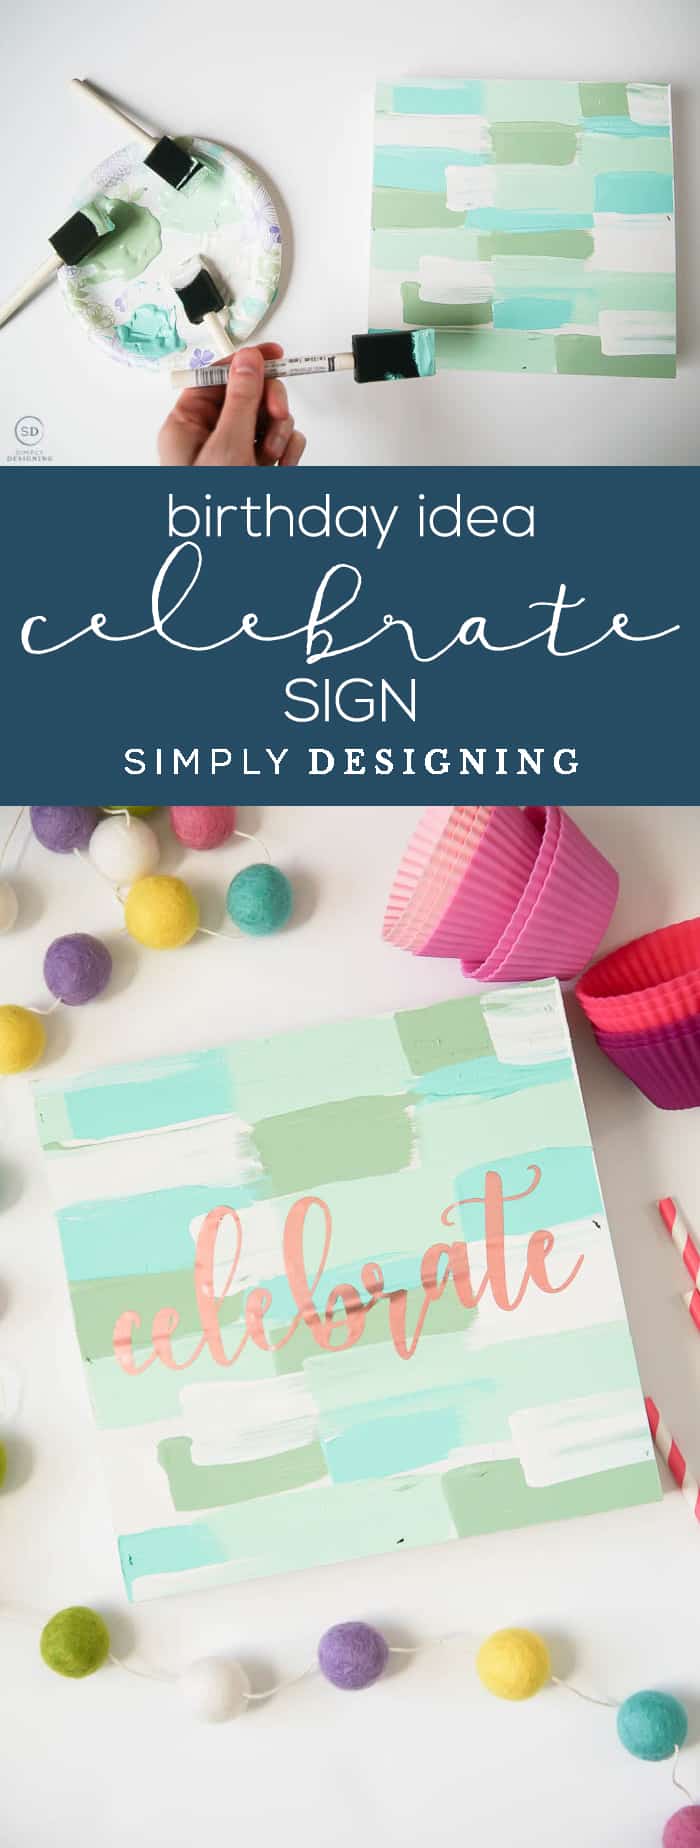 A big thanks to Expressions Vinyl for sponsoring this post today. All ideas and opinions are mine. Affiliate links may be included for your convenience. Thank you for supporting my blog.
Handmade Sign Birthday Idea
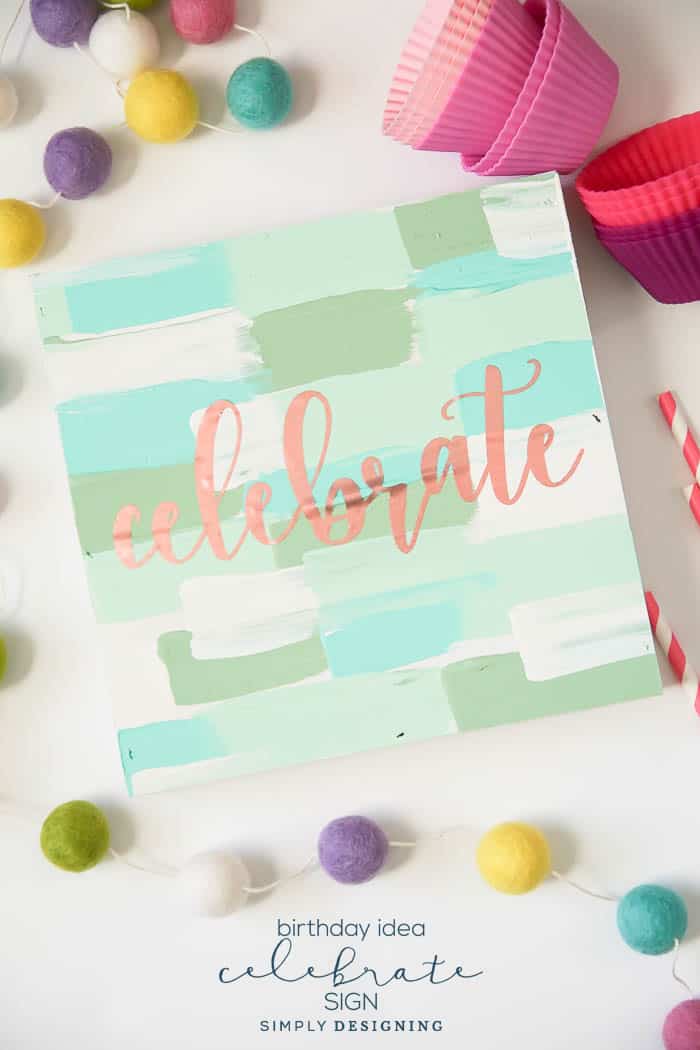
This handmade sign birthday idea is super easy and doesn't take very long to make. The hardest part is waiting for the paint to dry. Seriously. But the hands-on time is very minimal. You don't need artistic abilities or mad painting skills, you just need a board, some craft paint and a few foam brushes.
Oh and vinyl! If you don't have a vinyl cutting machine you can always cut this by hand using an exacto knife. Or if you have a steady hand you can hand paint the words on too! I do not have a steady hand, so I thought it would be best for me to make this birthday idea with vinyl! And oh-my-pretty I just love how this turned out!
And, if this isn't up your alley, grab almost any older child or tween (or teen) and they can whip this out in no time!
So easy. So fun. Sooooo special!
Handmade Celebrate Sign | Birthday Idea
Supplies:
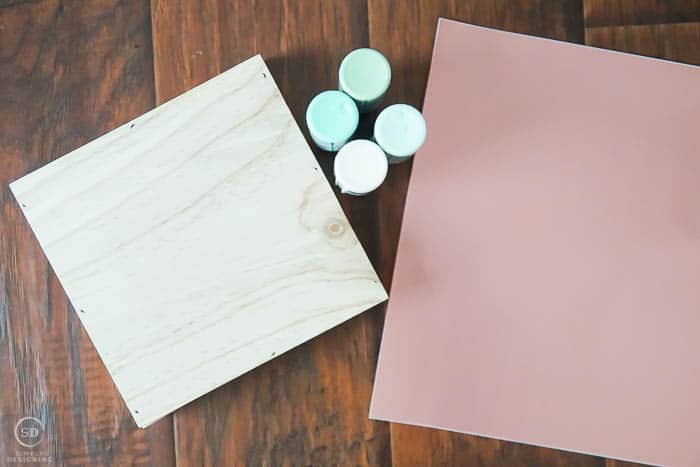
- Wood Shadow Box 8" x 8"
- (4) Foam Brushes
- Craft Paint (I used Delta Ceramcoat in Magnolia White, Americana in Soft Jade, Americana in Sea Breeze and Americana in Mint Julep Green)
- Vinyl in Rosy Polished Metal
- Clear Transfer Tape
- Silhouette CAMEO (or other vinyl cutting machine, or scissors or an exacto knife)
Instructions:
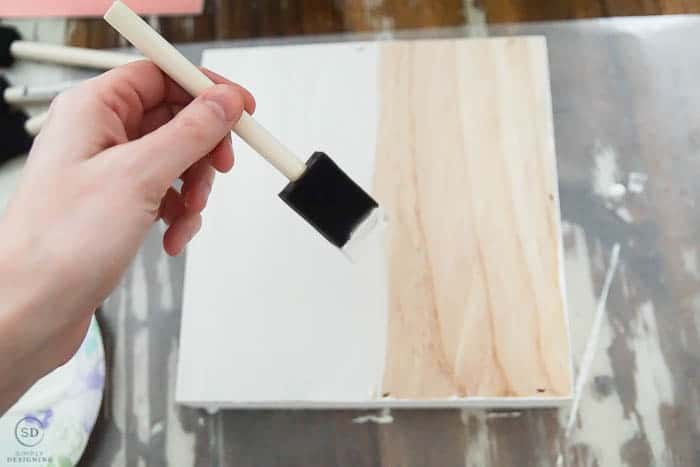
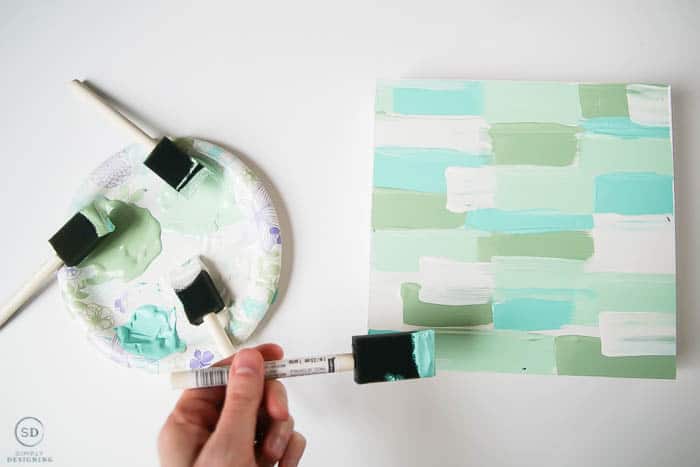
- Begin by painting a layer of white paint on the top and all sides of the wood board. Let dry completely.
- Then alternate colors and simply paint lines of different color paints on the board, allowing colors to dry in between coats and when overlapping.
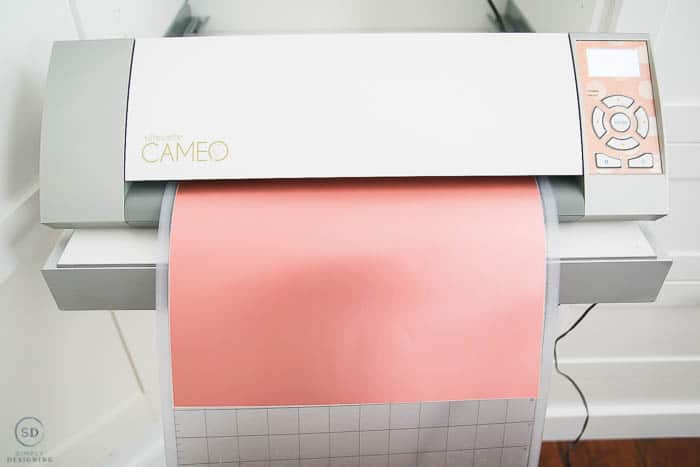
- Cut "celebrate" out of vinyl using a vinyl cutting machine.
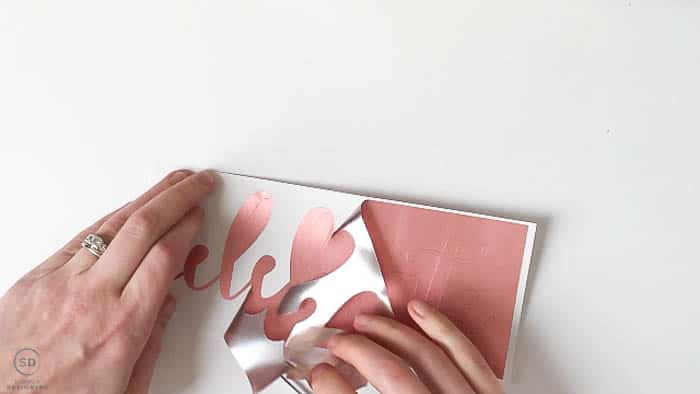
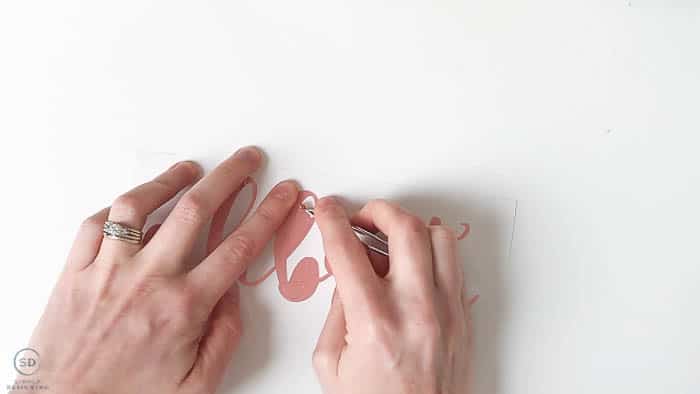
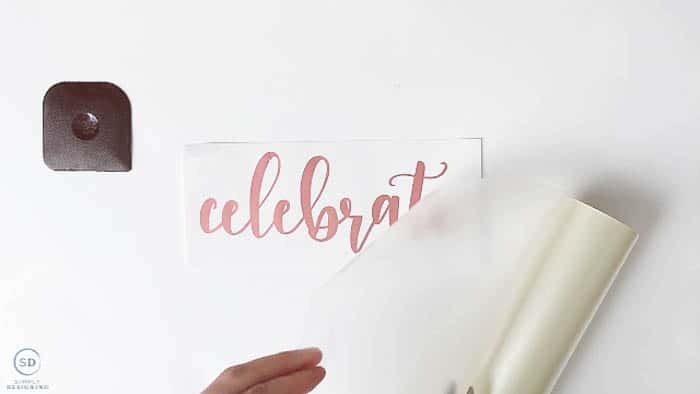
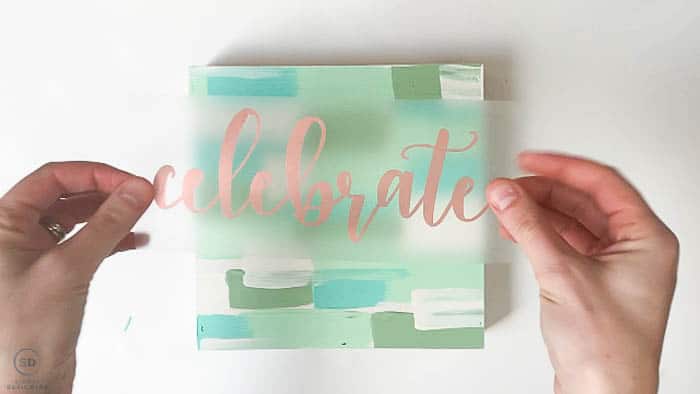
- Weed the excess vinyl off and apply vinyl to the board with transfer tape once the board is fully dry. (note: the vinyl will not adhere well if the paint is not fully dry)
When cutting the vinyl, I used my Silhouette Software program and cut out the word "celebrate" using Snuggle Font. You can use whatever font and size you prefer.
Again, you simply cut the vinyl, remove the excess vinyl from the backing sheet, place a piece of transfer tape overtop of the vinyl words and rub it down well. Then remove the transfer tape (with the words attached to it) from the backing paper, lay it on your sign, rub the vinyl onto the sign well, then remove the transfer tape!
If any of that sounds confusing, you can check out a quick tutorial on how to make this in the video below:
Stop by Expressions Vinyl to purchase your vinyl, transfer tape, and Silhouette for this birthday idea project today!
You might also enjoy:




Marie | DIY Adulation
Omgosh, I love this so much! What a fun and colorful decoration for any party and celebration. To be fair, I'd totally leave it up all the time as permanent decor. Thanks for sharing your awesome project with us at Merry Monday this week!