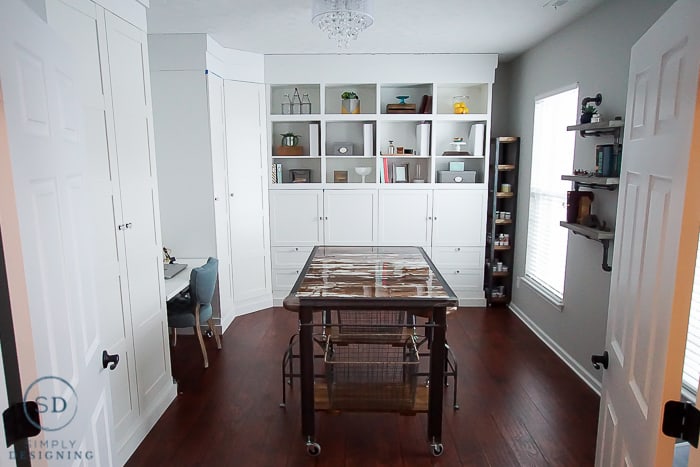
If you have been following my blog, you know that I recently, mostly, completely my Craft Room! It is a beautiful space that is light and airy and full of amazing storage for my craft hoarding tendencies. I share a full reveal of my industrial craft room HERE but I alluded to the fact that I wasn't completely done yet. That was because my craft room was missing one last thing. A work table. Yes. I needed to stop crafting on my kitchen island and craft in my beautiful craft room and the plan since the inception of this craft room was to always put an island in there. But I will admit, I was a little stumped on what I wanted it to look like and how to balance aesthetics and function. But I finally came up with a plan and executed it and oh-my-goodness I am in LOVE with how it looks and functions! Keep reading to learn more about my Industrial Work Table!
DIY Industrial Work Table with Barn Wood
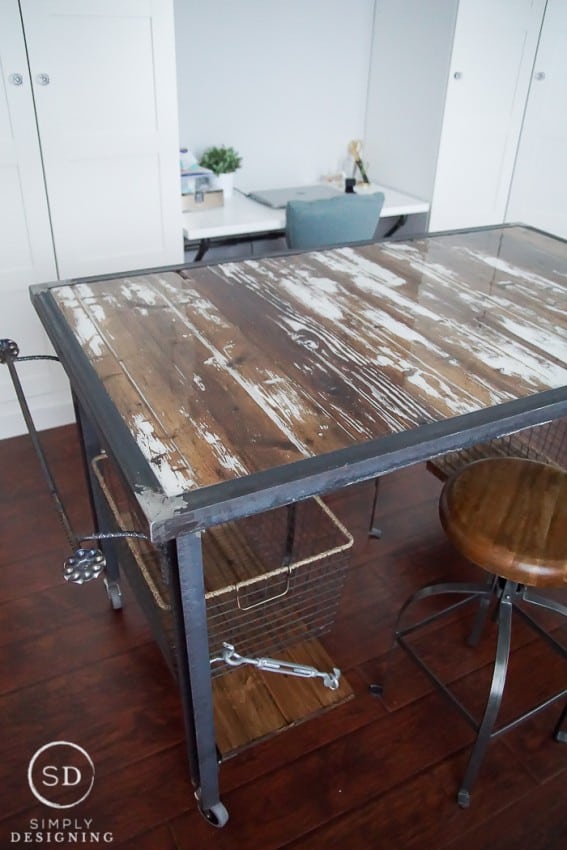
This is the absolute perfect industrial work table. It combines beautiful, reclaimed barn wood and amazing metal touches. This table was a joint project with my husband as I haven't yet attempted my hand at welding but he is awesome like that. But you could make a similar looking table with only wood if you don't want to try your hand at welding.
Also, a big huge thank you to Elmer's Glue for helping to make this post possible today too!
A few months ago as I was driving my son to preschool, I noticed that a beautiful barn near my home was being torn down. I called my friend and she rushed over and helped me see what we could salvage. Unfortunately they were not tearing the barn down to save anything, they were trashing it. However we found a beautiful barn wood door still fully intact. And my sweet friend helped me load it up into my car. And there it sat in my garage for months until the right inspiration hit.
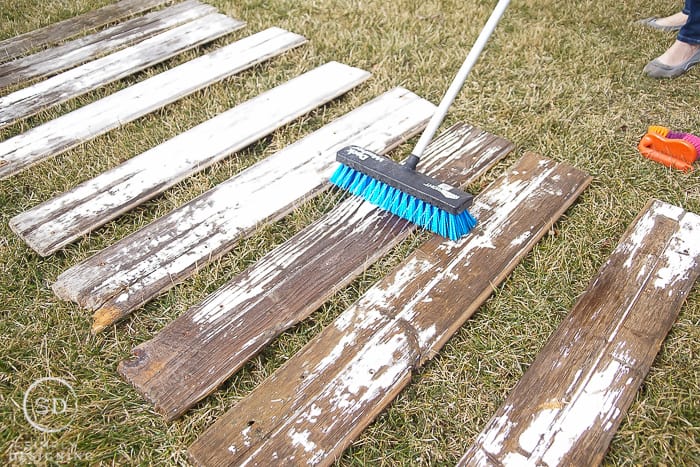
As I was pondering what I wanted my industrial work table to look like, I kept coming back to the beautiful barn wood door I had in my garage. So I spent some time cleaning up the wood and we got to work. You can read all about how I cleaned my barn wood HERE. I'll give you a hint though, I used my HomeRight Deck Washer and it sure prevented my back from aching!
Anyway, after my barn wood was clean and dry we got to work.
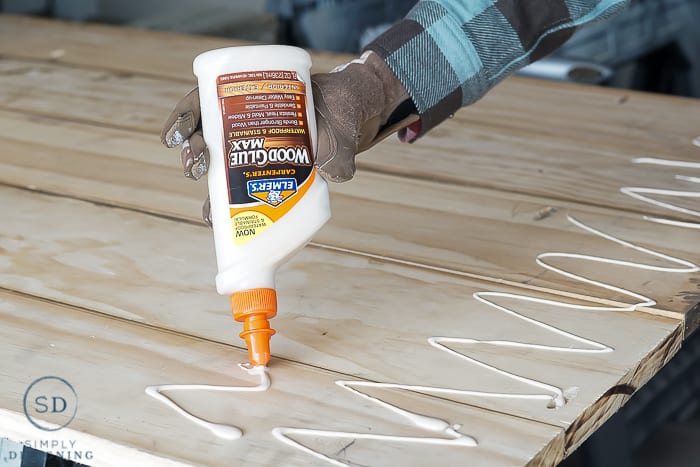
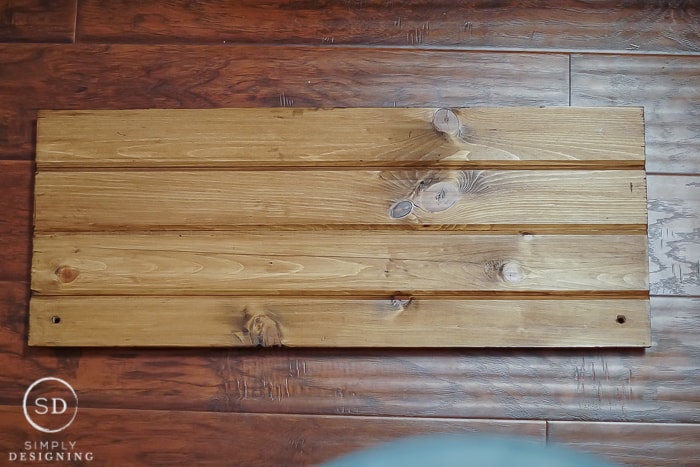
I used leftover wood I had to create a base for my work top. Because my barn wood wasn't in the best condition I knew I would need to provide a secure wood base for it to sit on. The wood I used for my base was already stained and distressed so it was perfect. I simply cut it to length. My overall table top size is close to 3'x6'. I used my Kreg Jig to secure the wood for the wood base together. Then I generously coated the wood base with Elmer's Wood Glue Max. This stuff is amazing!
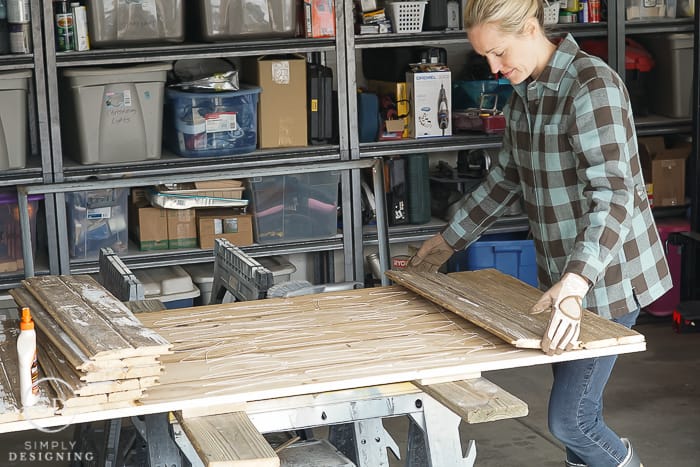
Then I laid my barnwood on top of my wood base. I really love how pretty this wood is!
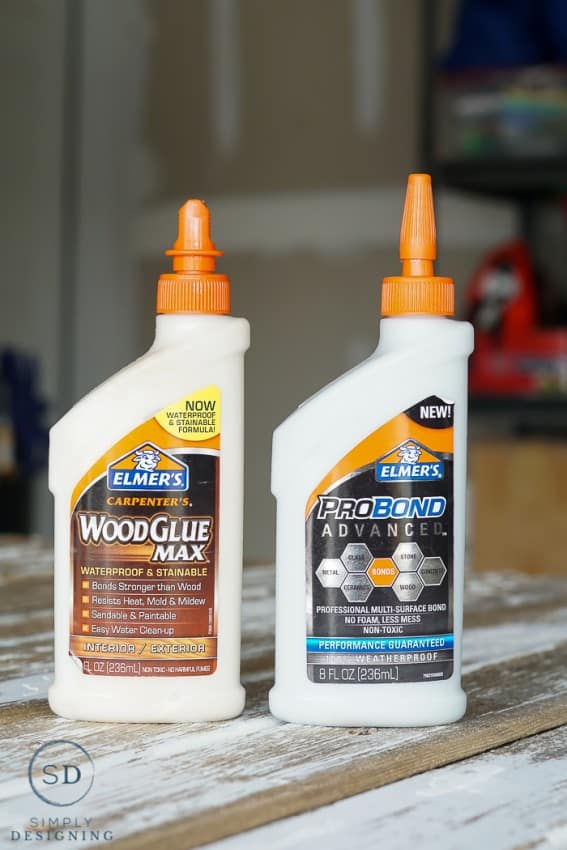
I already mentioned that I used Elmer's Wood Glue Max for this project, but I also used my all-time favorite glue ever for projects like this. Elmer's ProBond Advanced. This glue is perfect to adhere porous to nonporous surfaces. I first used this glue when I made my Mirror with Hidden Jewelry Storage. I made this a couple of years ago and guess what, it is still holding strong!! So I knew this glue would be perfect for this project.
My husband used angle iron to build a metal edge for the table.
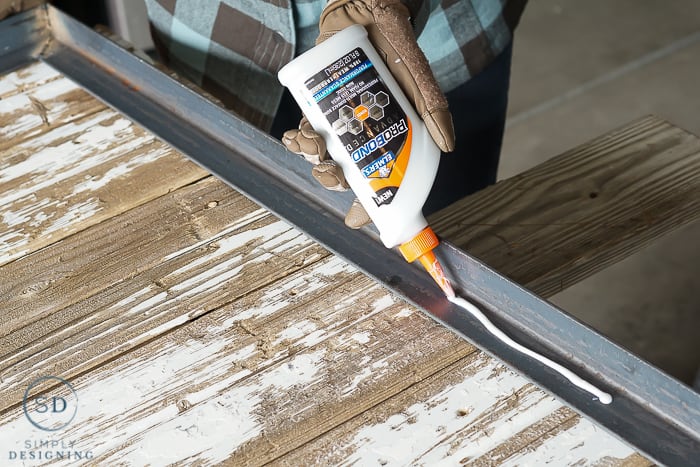
I placed a generous bead of Elmer's ProBond along the inside metal edge. Then flipped the metal over and placed it securely onto my work table.
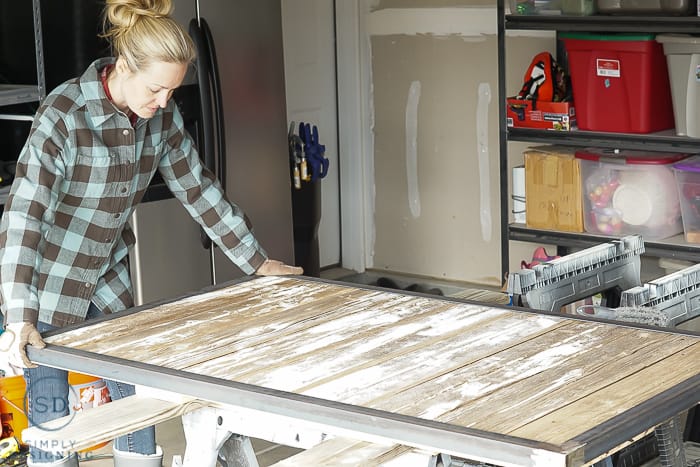
Of course my husband helped me put this in place because it was a bit heavy...he is the best!
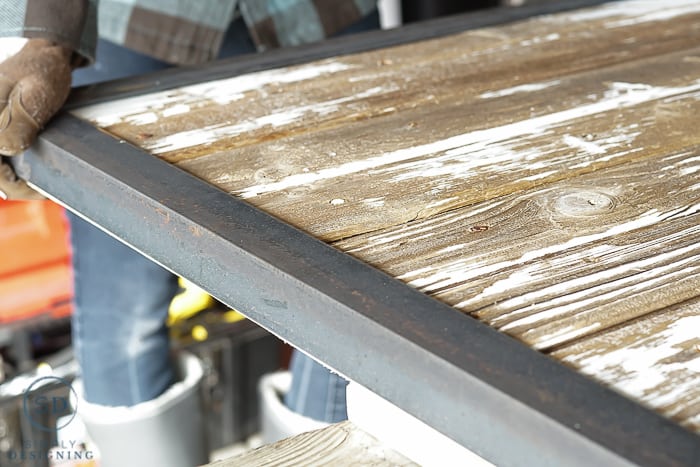
We applied pressure to ensure that it all fit together well.
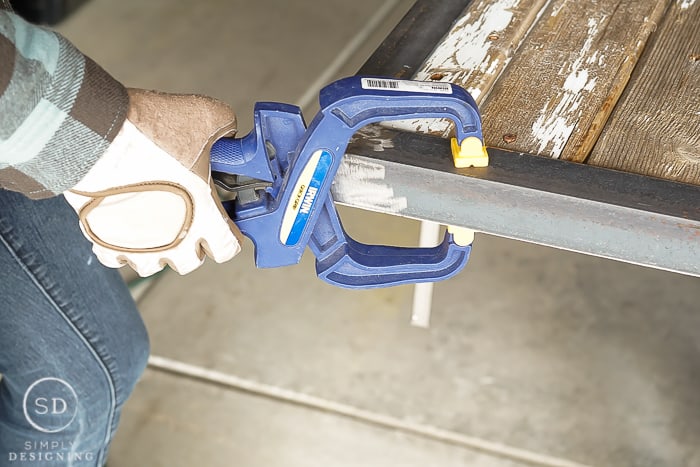
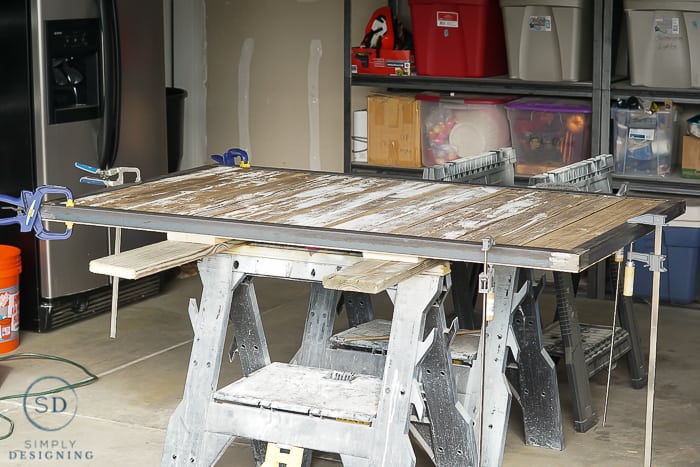
Then we used clamps to secure the entire thing together.
It is important to follow the instructions and allow your glue to dry completely before moving on to the next step.
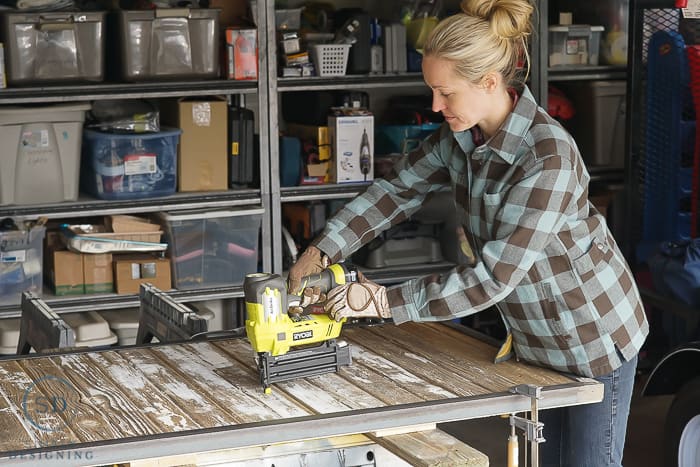
While the glue was all drying, I did use my Ryobi AirStrike to secure the barn wood down to the wood base so that the glue would be able to secure well to the wood base.
After the glue was completely set we brought the table top inside and set it on workhorses with a tarp underneath.
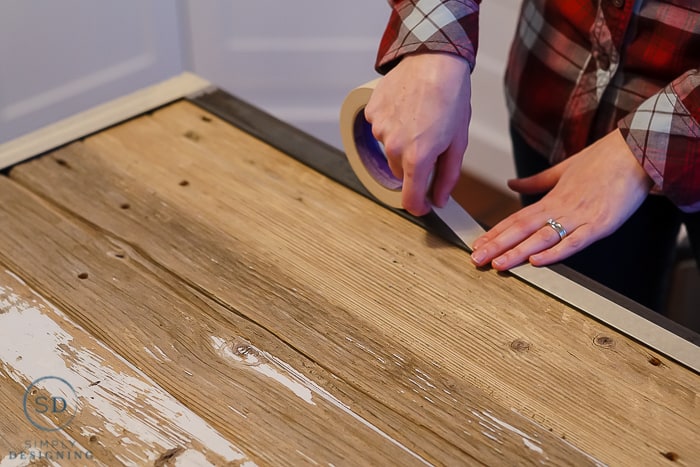
Then I taped off all of the metal edges.
The barn wood wasn't in the best condition. I wanted a smooth surface that I could paint and do projects on and wipe off, something that I could use my hot glue gun on and not worry about. I also didn't want to fret about getting splinters or ruining a beautiful finish because of my crafting projects.
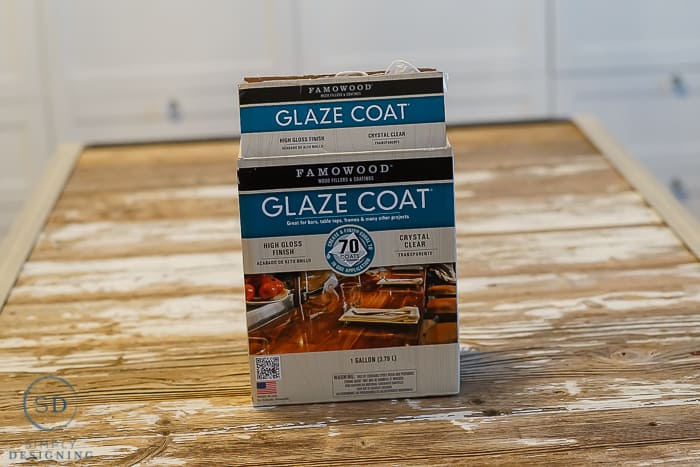
I considered all the different options for finishing my table top, but finally decided that I wanted to use an acrylic pour-on clear coat to create an ultra-smooth surface perfect for crafting and projects.
I didn't take any photos of the process because it is a bit time sensitive and required all hands. But the instructions were fairly easy to follow. We did a really thin prep coat and then did two more coats of it to get a smooth finish on the table. It is really important to follow all the instructions carefully when using a product like this. Also, for us, it took longer to dry then the instructions said it would, so it ended up taking us a few days to fully coat the worktop and then 72 hours to let it fully cure.
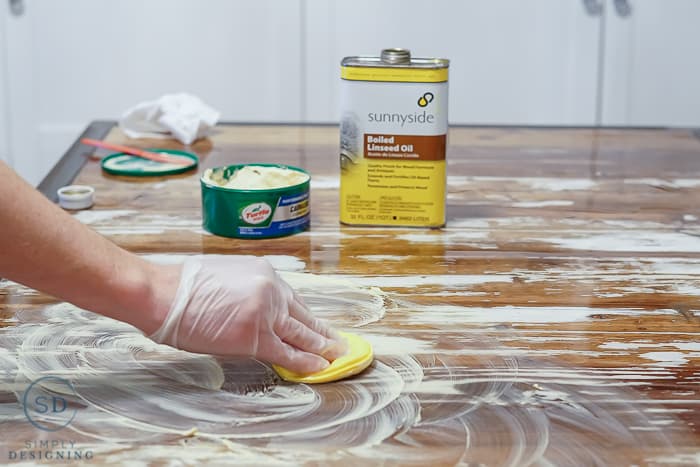
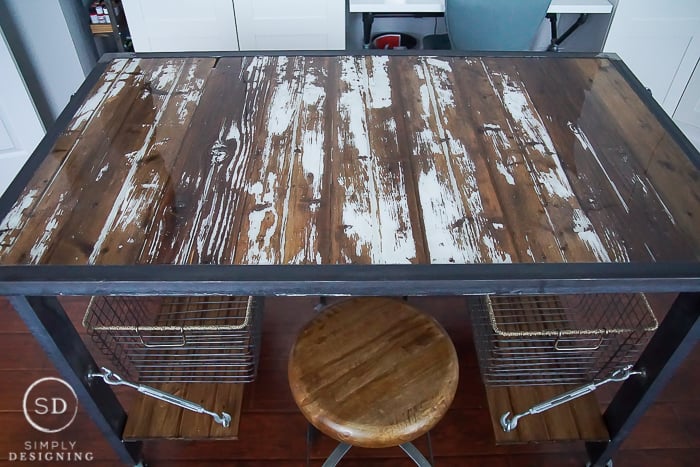
We followed the instructions for taking away the high-gloss finish and turning it into a satin finish. It involved rubbing the entire thing with 0000 Steel Wool, wiping it down, and then coating the top with a combination of linseed oil and carnauba wax. To be perfectly honest, the finish was a little more glossy than I was hoping for but it still took a little bit of the sheen off. And it is still absolutely beautiful!
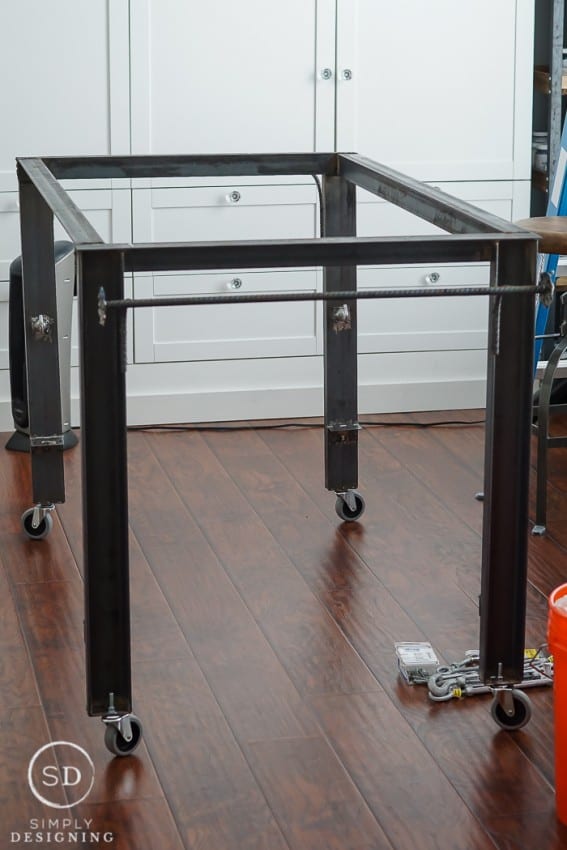
In the meantime my sweet husband built the work top metal base. We used channel iron for the legs that we found from a local iron shop, angle iron for the top and casters on the bottom.
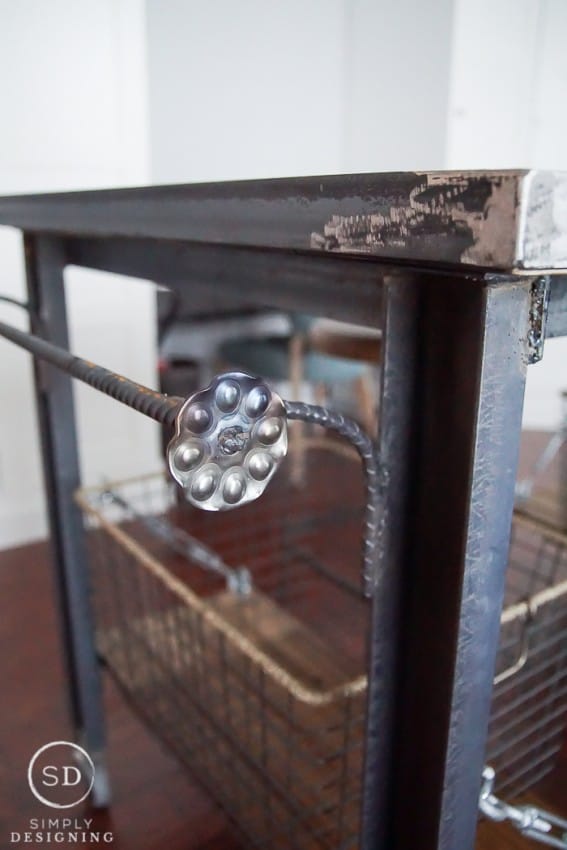
My husband also created these beautiful handles with rebar and these pretty little metal circles we found at the same iron shop.
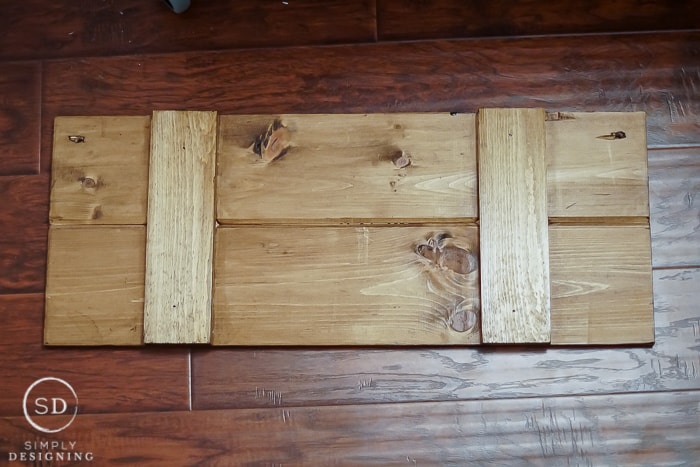
We build some wood shelves to go on the work table as well.
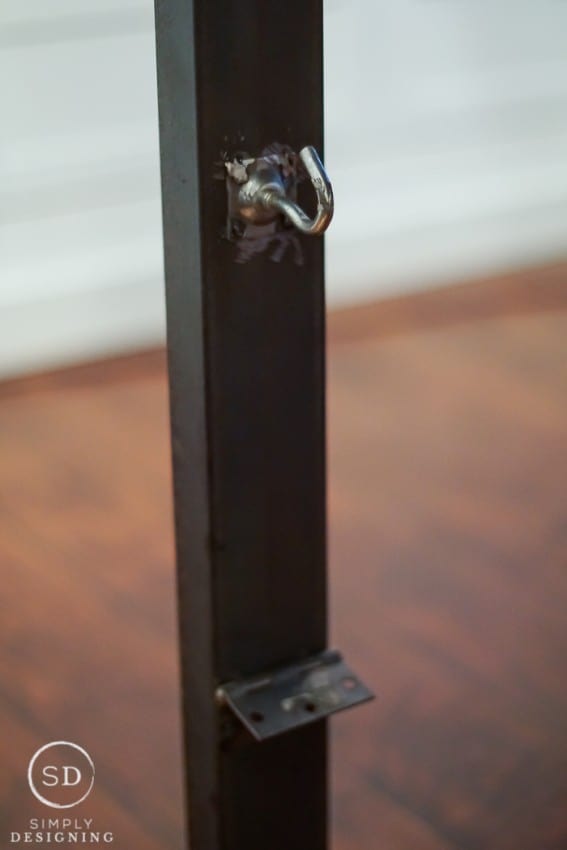
And my husband welded a hook and a hinge onto the legs of the table.
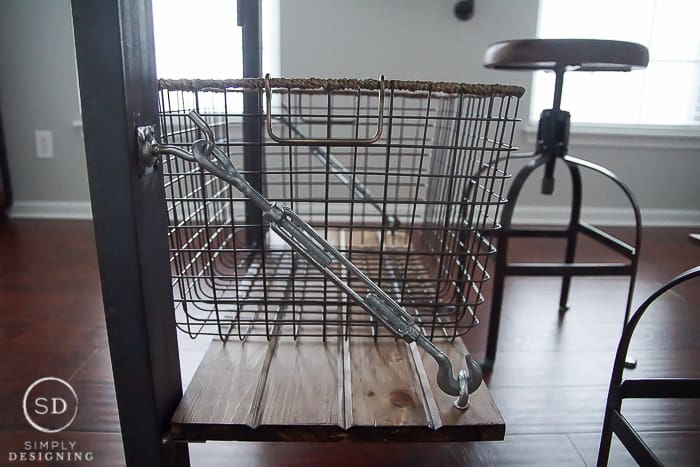
We attached the wood shelves to the industrial work table with these cool metal Turnbuckles.
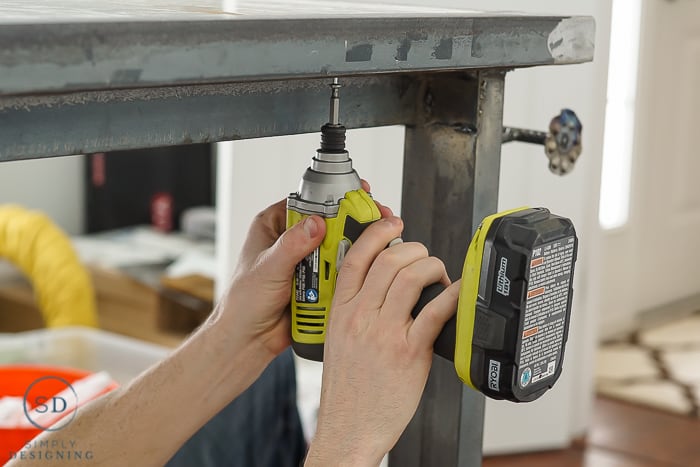
The last thing we did was to screw the table top onto the metal base.
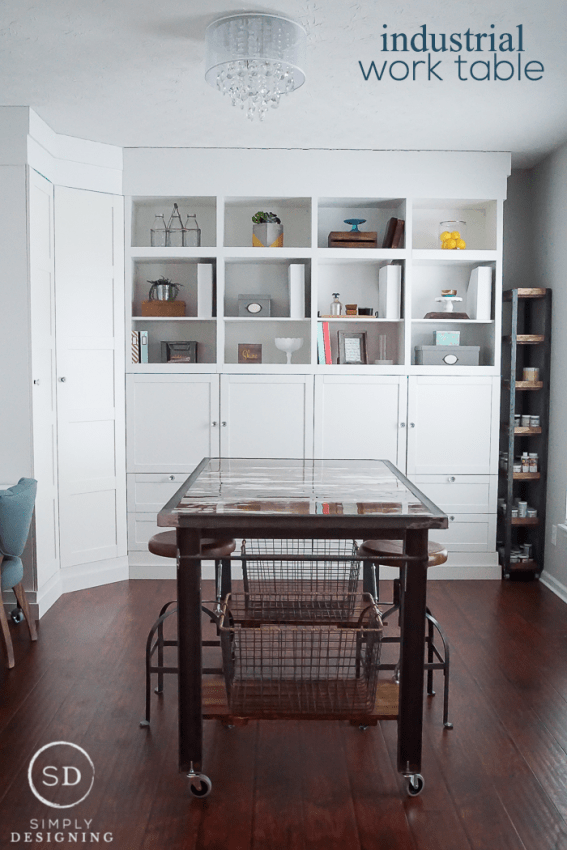
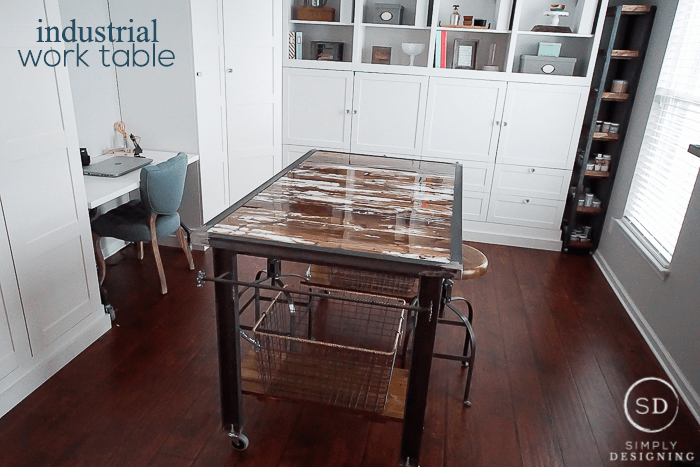
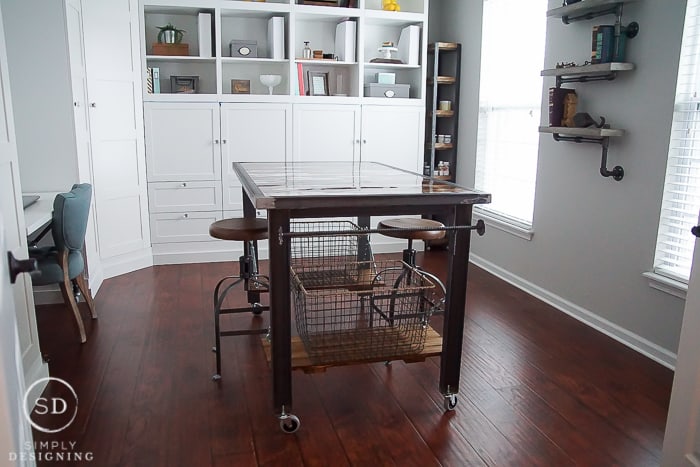
I love how perfect this industrial work table is in my craft room!
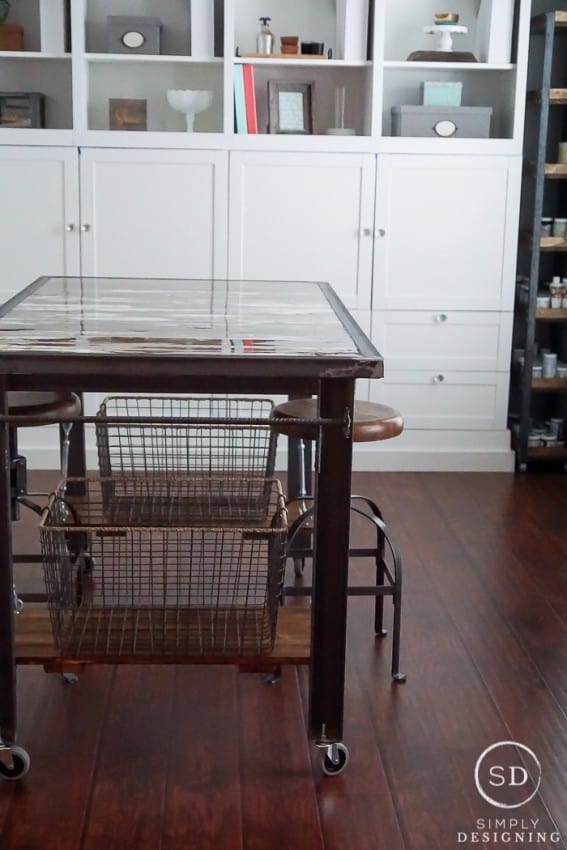
I really love how the barn wood looks on top and the beautiful metal details make this just so pretty!
And I love how everything wipes right off of this! I love how I can have a beautiful rustic look but still have a smooth top on it. So so pretty and beautiful. And functional!
And it just completes the room! It is not only functional, but it is beautiful too! And it is such a joy to work in this space! I just love it!
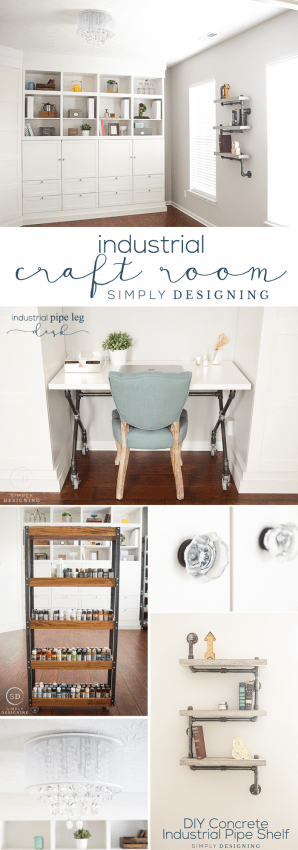
Here are a few other projects you might like:




Gina
LOVE it - any time you can create something that fits your needs perfectly just makes my heart sing. Very cool my friend!
suzan
Oh my gosh - I want that in my kitchen as an island -it's spectacular !!!
Julie Briggs
I'm crazy about this project, it looks amazing!!! What a fabulous work table.
Megan @ C'mon Get Crafty
This is a stunning addition to your beautiful room, and so much more meaningful for being made by you! Thank you for sharing your beautiful work at Merry Monday! Pinned and tweeted!
CD Loken
I'm literally drooling all over my keyboard! First you find a GORGEOUS barn door and then you re-purpose it into a GORGEOUS work table! And who wouldn't be motivated to work in such an organized work space!
Marie, The Interior Frugalista
Oh my goodness Ashley, I love your work table and am totally jealous! I'll be featuring it this weekend at the DIY Sunday Showcase Party.
Kristin @ Postbox Designs
I love it, beautiful work! It makes me want a craft room again...mine was taken over by kids! Maybe if I put one on wheels like yours...
Jenn Schleich
I am blown away by this project. This is one of the best DIYs I have seen in a long time. At first when I was browsing the pictures, before I read the post, I thought that you had placed a pane of glass or plexi-glass over the wood. I can't believe that is a pour on finish. I think the high gloss actually adds to the piece, giving a level of contrast to the rawness of the metals and woods. What a beautiful craft room, I am sure you will be able to produce all sorts of amazing projects in that inspiring space. Ah, I am super jealous over here, of the table and of your husband's willingness to put in so much effort and do the little details like the handles!
Maggie@ Louise at Home
Oh my gosh, I'm in love! Y'all did an amazing job, your craft room looks awesome!
Julie
This table is amazing! So happy you linked it up @ Inspiration Monday Party, Ashley! I pinned it to our IMP board and I am featuring you today! XO
Cat @ Pocketful of Posies
Wow! What a cool craft table! I love they way it came together! Thank you for sharing at Dream. Create. Inspire. Link! I'm sharing your project!
Cat
Lindi
I LOVE this project! Pinning!! Love your style 🙂 I'll be following along!
Debrashoppeno5
I love the table. I would be afraid to do any crafts because I would hate to mess it up. It is beautiful. I agree about the glue. I love it also.
Emily @ The Benson Street
What a fun look. Thanks for sharing at the Monday Funday Party!!
Claire Bondy
I LOVE the glossy finish of the top... it was the first thing I noticed! Wait, maybe it was those baskets I noticed first... or was it the steel/wood combo???? Ya, well, it turned out pretty sweet!
Leigh
I love it! I would love a tv stand that looked like this table! Pinned
Suzie@Suzie'sView
That is stunning and simply amazing work. I love that table! Looks very functional. SO happy to visit & see it from the blog hop today.
Colleen
LOVE.LOVE.LOVE!!
Terry
WOW! Your design and execution are absolute perfection! It's beautiful and I love the basket detail too! I would love to own a table like this ... sooooo well done! I hope you have a great day! If you would like to inspire some more, Making Broken Beautiful is starting right now over at The Curator's Collection and I would love to host you amazing talent!
Smiles!
Terry
The Curator's Collection & Making Broken Beautiful Thursday
http://thecuratorscollection.wordpress.com
stacey
I love this table!! I wonder if I can convince my husband to make something like this? #HomeMattersParty
BonBon @ Farmhouse 40
What a great project. I love this table and you will be one of my features this week at Inspire Me Monday. I hope you will stop by and see. http://www.farmhouse40.com
Lisa B.
Good Morning!! Your post has been selected as a Feature Post for the Welcome Home Wednesdays Link Party!! Stop by this morning to see your post linked-up and don't forget to grab your Featured Button too!! ~Lisa~