If you own an iPad or an iPhone (or any mobile device or tablet) chances are, at one time or another you've had a broken screen. Knock on wood, I have not. But the other day while my sweet husband was cleaning his iPad, it slipped out of his hands and fell straight onto the edge our new bathroom sinks. The screen broke in so many places. I know that "stuff" isn't really that important, but this was still a sad moment. It's that pit in your stomach that makes you wish you could go back and do things differently that's the worst. Unfortunately the damage was done but we love to DIY and not much holds us back. So instead of buying a new iPad or living with a broken screen, we decided to fix it ourselves! So today, I am crazy excited to show you How to Fix a Broken iPad Screen.

First of all a big huge thank you to HomeRight for making this post possible today!
Also, as a disclaimer we are not professional iPad fixers. Apple probably does not recommend you do this yourself and it probably voids your warranty. If you choose to do this on your own iPad, iPhone or other device, please note that we are not responsible if it does not work or if something goes wrong or breaks. If however it works, we will gladly take all the credit 🙂 But seriously, do this at your own risk. We did and the results were perfect!
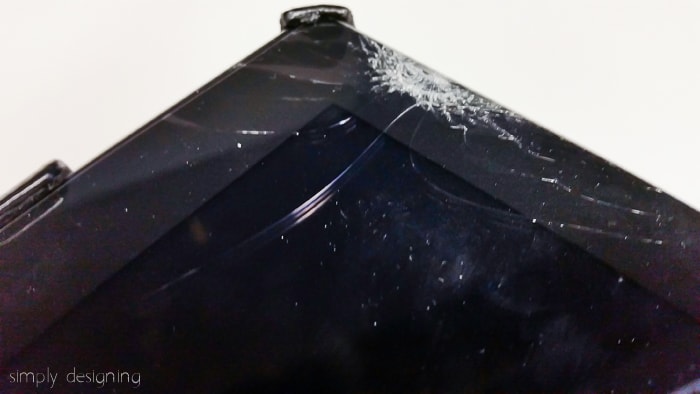
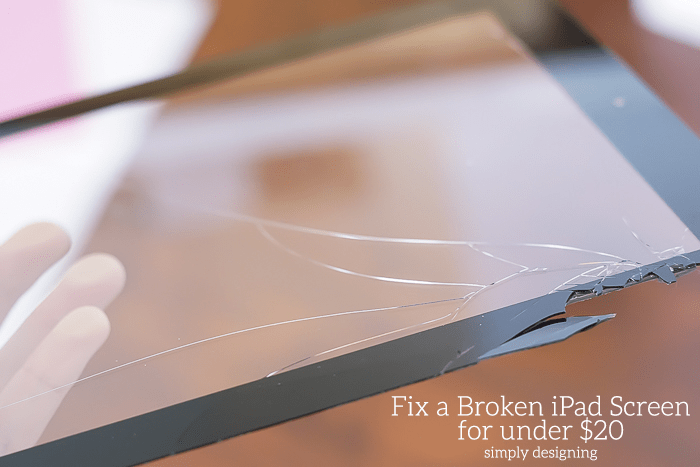
Here is what our cracked iPad looked like before...
Ugh, I still get a pit in my stomach just looking at this photo!
After we realized that my husband's iPad screen was toast, we decided to look for a replacement screen. We DIY almost everything, so my husband was convinced that we could fix this ourselves too!
Thankfully Amazon came to our rescue! We bought this iPad screen HERE. Please note that this is for an iPad 2 and so you might need to get a different one depending on what model of iPad you own.
When you are looking to purchase a new iPad screen, be sure you look for a kit that comes with new glass digitizer, home button, camera plate, pre-cut adhesive strips and tools. You will be happy you did. We only paid $15 plus shipping for this one.
How to fix a broken iPad screen
Step 1: Backup data
First, backup your iPad data to your computer. Don't question it, just do it.
Step 2: Remove Damaged Glass
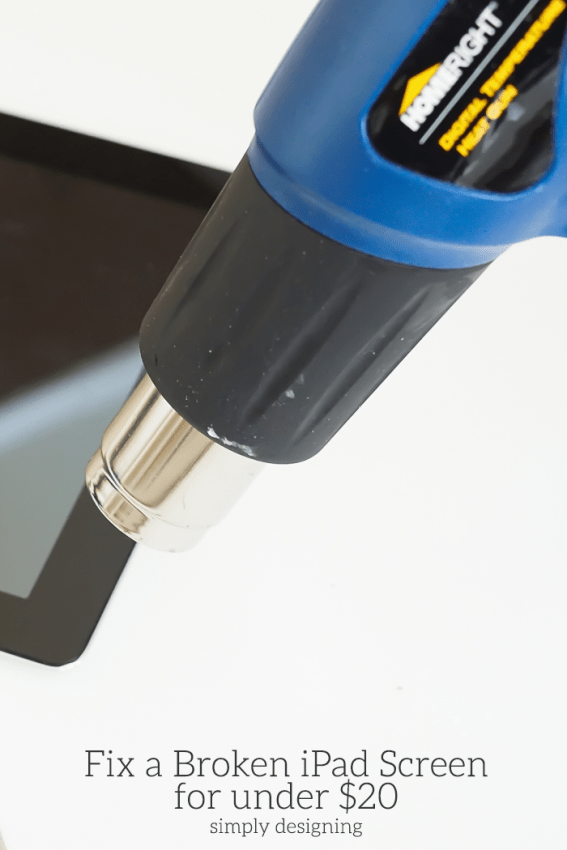
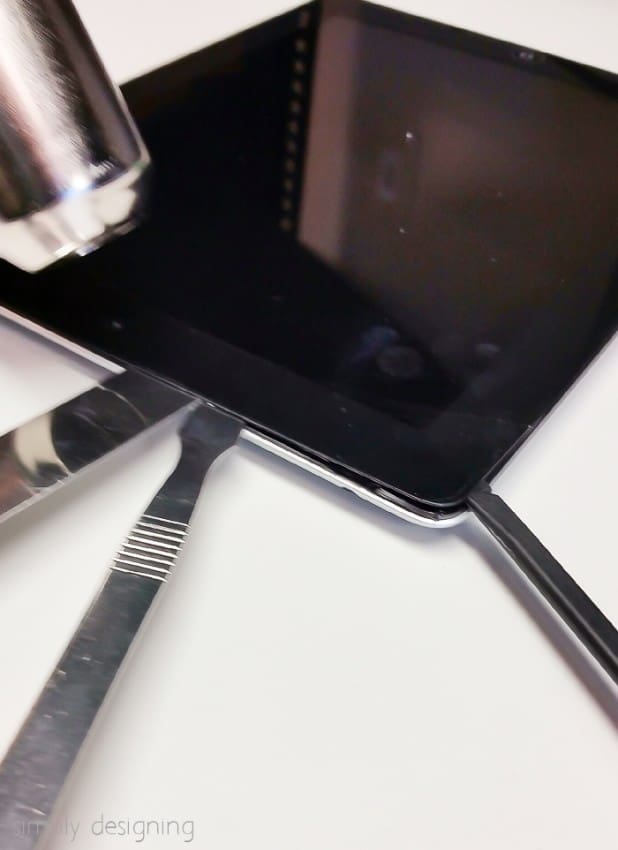
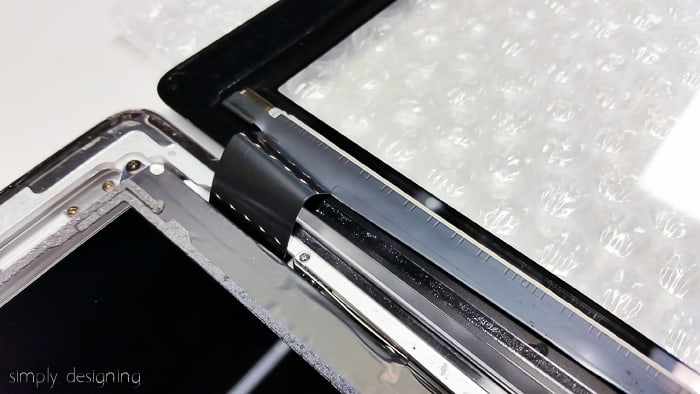
Next we removed the damaged glass. We began at one corner and used a heat gun to gently soften and loosen the seal around the iPad. Our HomeRight Digital Temperature Heat Gun was perfect for a job like this! As we heated the iPad, we used the tools the kit came to gently pry up glass.
As a note, be careful not to damage the plastic gasket that surrounds the glass. Also be careful not to overheat the iPad.
We continued to heat the seal and pry along the edges of the iPad until the entire glass was removed. We used multiple pry tools to lift the glass, and we kept them in place so that the glass didn't stick back down.
Take extra care along the bottom of your screen to the right of the home button. The wifi antenna is located there and you don’t want to damage it.
Also be careful around the volume control as there are wires there that you don’t want to damage when prying up the glass.
Once the glass was free, we set it to the side. The digitizer cable, which is connected to the glass, was still connected to the circuit board. We removed that in a later step.
Step 3: Remove LCD screen
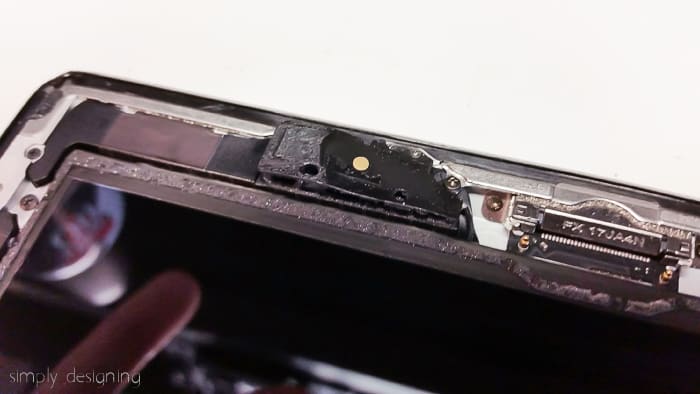
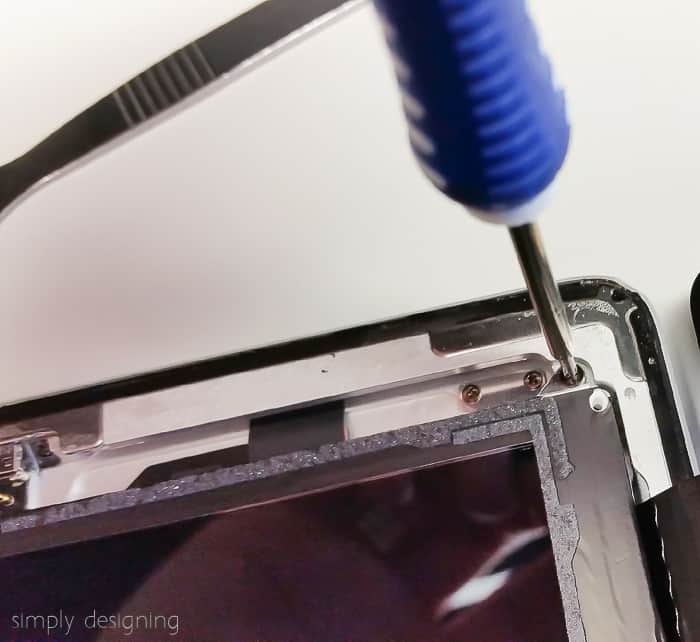
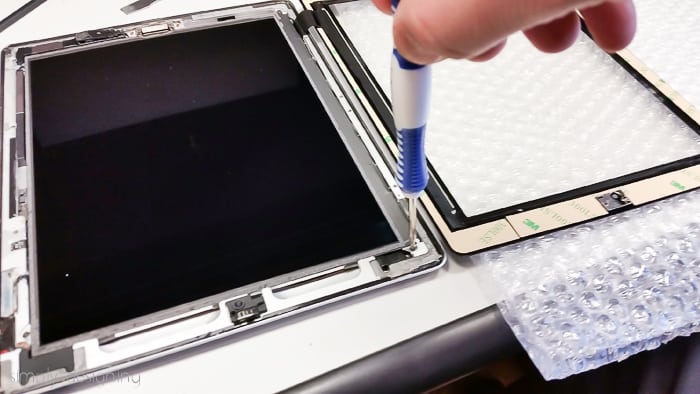
Next, we unscrewed the four LCD panel screws and we carefully remove the LCD screen. Be very careful so that you don't scratch or damage this.
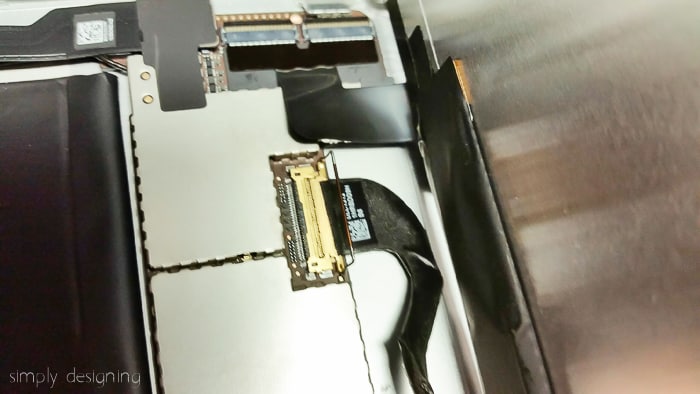
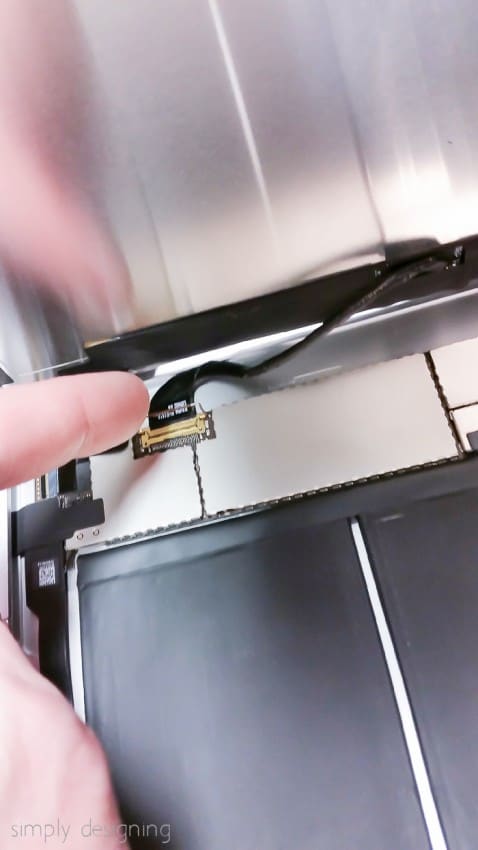
Then we disconnected the LCD cable by unlatching the connector and gently pulling the cable out.
With the LCD cable disconnected, we moved the LCD screen off to the side and set it in a safe place where it wouldn't get damaged.
Step 4: Disconnect Digitizer Cable
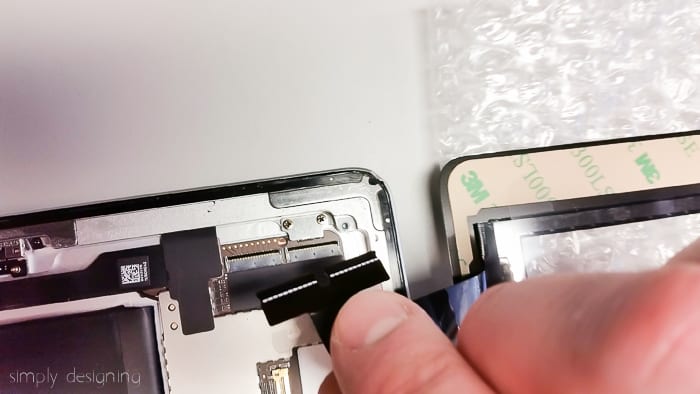
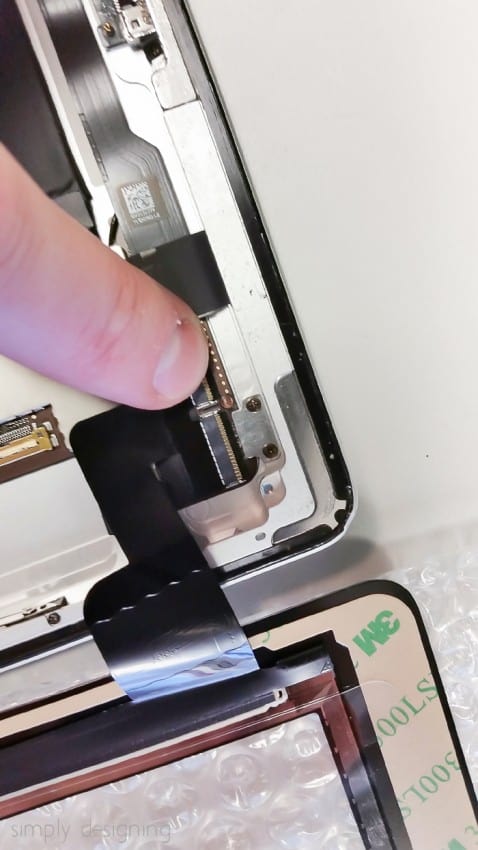
Next, we disconnected the digitizer cable by gently lifting up the black plastic clips holding the cable in place. Once we flipped both clips the cable gently pulled out.
At this point we were done removing the broken iPad screen and we could toss it out.
Step 5: Connect new digitizer cable
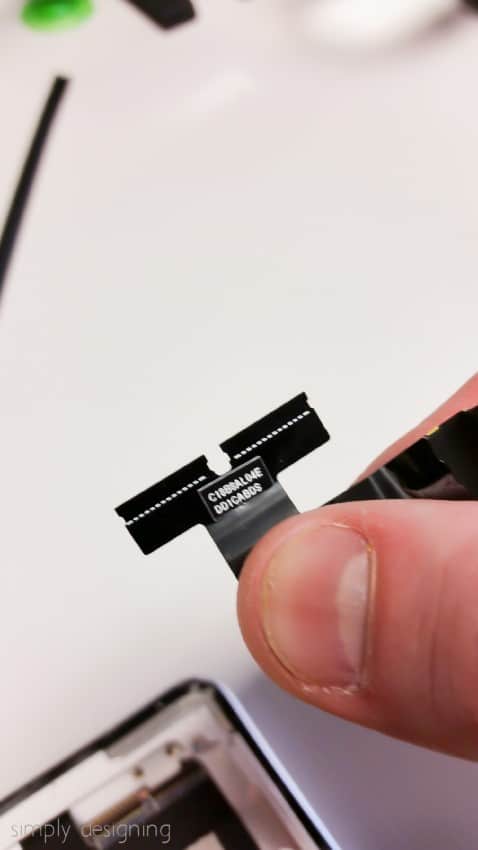
Then we set the new glass and digitizer next to the iPad in preparation to attach it. We gently connected the new digitizer cable in the reverse manner as the old one was removed, being careful not to damage or tear it.
Then we pressed down on the black clips to lock the cable in place.
Step 6: Re-connect LCD cable
Step 7: Re-insert four LCD screws
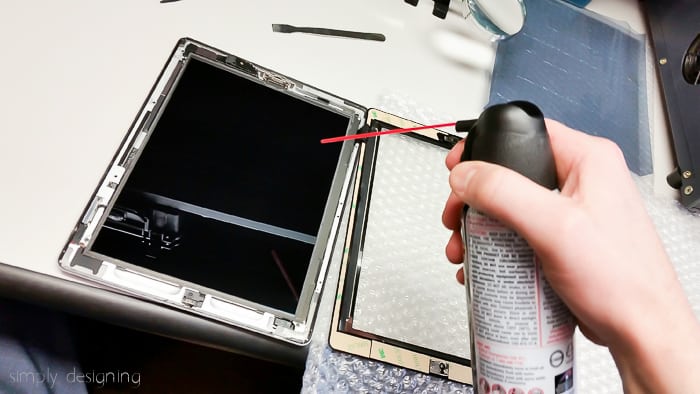
Step 8: Clean surface with compressed air
Step 9: Test
We temporarily placed the glass over the LCD screen without removing the adhesive backing. We powered on our iPad to ensure that it worked!
Step 10: Put new glass in place
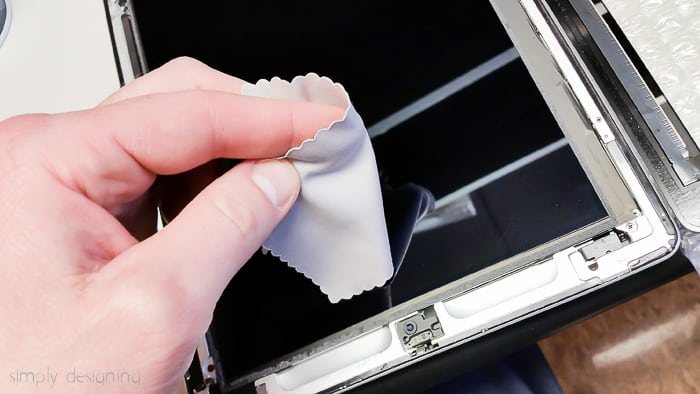
Since everything worked as it should, we gave the LCD screen one last cleaning with compressed air and a screen cloth.
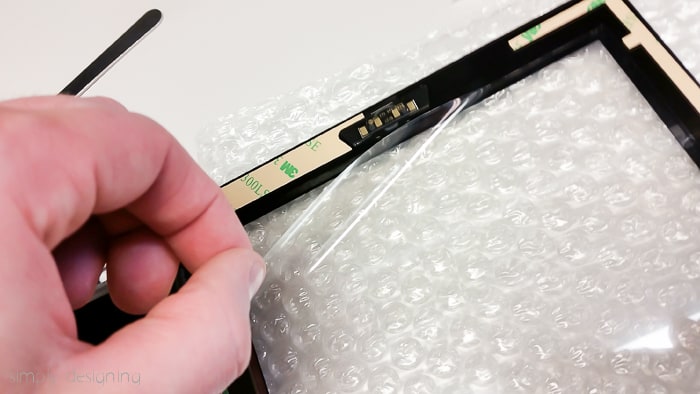
Then we removed the adhesive backing strips and the clear glass screen protector from the back of the glass. And we carefully set the screen in place and pressed down firmly around the edges to secure it in place.
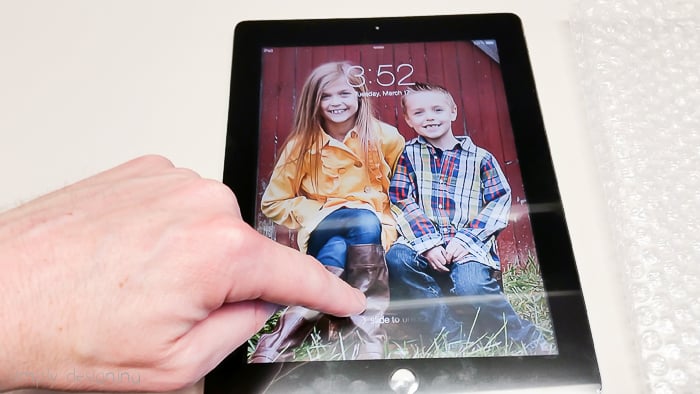
And what a difference this made! Here is what our cracked screen looked like:
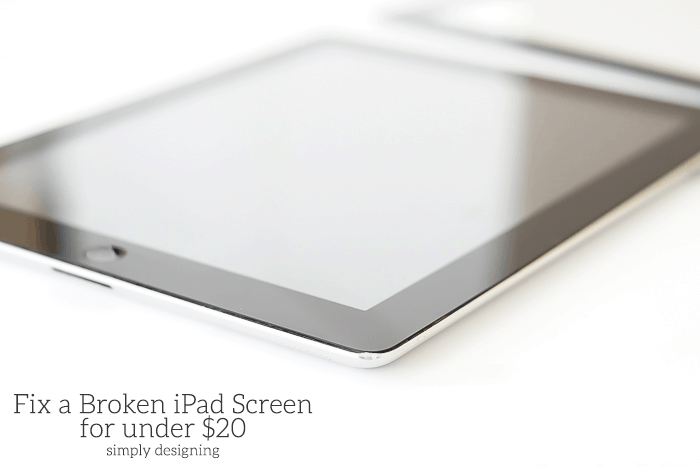
And here is our iPad totally fixed!
What a huge difference it makes! Did you know it was so easy to fix a broken iPad screen!? Now I never have to worry (too much) about a broken iPad or iPhone screen again, knowing that I can fix this on my own!
Also, if you have little ones and an iPhone or iPad, you might want to check out these awesome Tips to Kid-Proof your iPhone or iPad!
Do you have an iPad or iPhone screen that needs to be replaces? If not did you know that there are tons of other amazing uses for a HomeRight Heat Gun!? Check a few ideas out:
No-Sand Distressed Photo Holder
Aren't you so inspired!? This HeatGun is AMAZING!
HomeRight has generously offered to giveaway (1) HomeRight Heat Gun to one of my lucky readers! Woot woot!!
Please wait until the rafflecopter fully loads below and enter to win! (If you are on a mobile device, you may need to click the Rafflecopter link to be taken to the entry page.)
By entering to win, you agree to these Terms: Winning entries will be verified. This giveaway is in no way affiliated, administered or endorsed by Facebook, Pinterest, Twitter or Instagram. No information will be disclosed to Facebook, Pinterest, Twitter or Instagram by entering this giveaway. No purchase necessary to win. Odds of winning are based on number of entrants. Winner for prize package will be chosen randomly through Rafflecopter. Giveaway will run from April 21, 2015 until April 30, 2015 at 6:00am EST. Winner will be announced on April 30, 2015 in this blog post and the winner will need to respond within 48 hours of announcement via email to claim their prize or another winner will be chosen. Winner must be 18 years of age or older and a US citizen with a US mailing address in order to win. Void where prohibited. Winner is responsible for paying any necessary taxes on winnings. All prizes will be mailed / emailed / fulfilled by the sponsor and the blog owner(s) involved are not held responsible if the prize is not fulfilled. A list of winners may be requested after the giveaway has ended. Please email me with any questions or to obtain additional information at: [email protected]









Cari
The first thing I would do is take the dealership decal off of my back window.
Kimber
WHo knew this was possible!! Thank you! This is going to save me tons of money with my three crazy kiddos!
KC @ The Real Thing with the Coake Family
Wow! This totally could have saved me and I am pinning it so it will save me the next time we break a screen.
Thanks so much!
KC
beverly e
I would love to have a heat gun for stripping paint... Thanks for the chance to win!
Kaye Newman
I would fix my son's iPad with it first. This little gadget looks amazing!
Emily Smith
I would fix our iPad screen. It's been cracked for a while now.
Renee Smason
Not sure what would be first, but my daughter has broken her iPad screen once already and I would be able to DIY it myself the next time.
Holly E
I would fix my computer screen.
Krysta @ KrystaSteen.com
Well I hope I never need this, but pinning just in case! Thanks for linking up to Tips & Tricks - see you again next week? 🙂
Jenn
Wow! That's amazing!! Fingers crossed that we don't have to use this tutorial but pinned just in case! 😉
Heather Graham
Aaaah! Good stuff! I'm pinning, too!
Sondra
Hi! Great tutorial! I just feel like there needs to be a little more information. I used to work with computers (hardware/software), and it's best practice to have an anti-static wrist band and mat to prevent any static that's built up in your body from discharging to the electrical components. They can be surprisingly sensitive and just a little static shock might fry a component! If purchasing the wrist band and mat isn't possible, then definitely try working on a non-conductive surface. Stay off carpets and rugs. Hope this info helps!
Chere’ Potts
Hi, this morning I was getting ready this morning when I went and got my iPad, and I realized it was cracked!!!! Like TOTALLY cracked I was so freaked out because my iPad cost like 700 dollars, and I just got it for Christmas!!! I’m gonna try this and hope it works!
Ashley Phipps
Good luck! And I am so sorry about your iPad.