This is a sponsored post written by me on behalf of Hot Tools. All opinions are 100% mine.
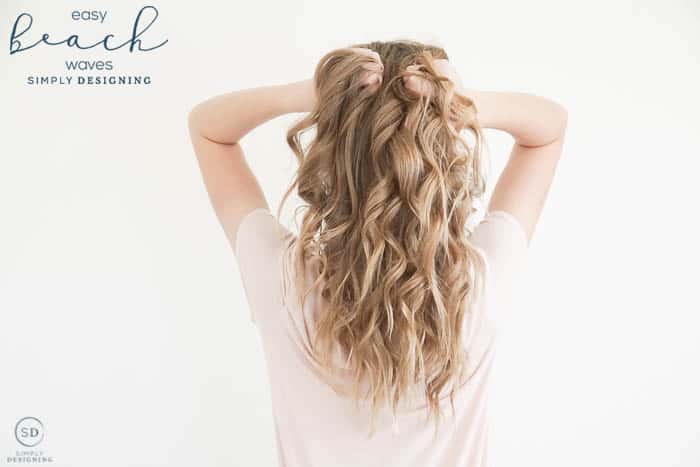
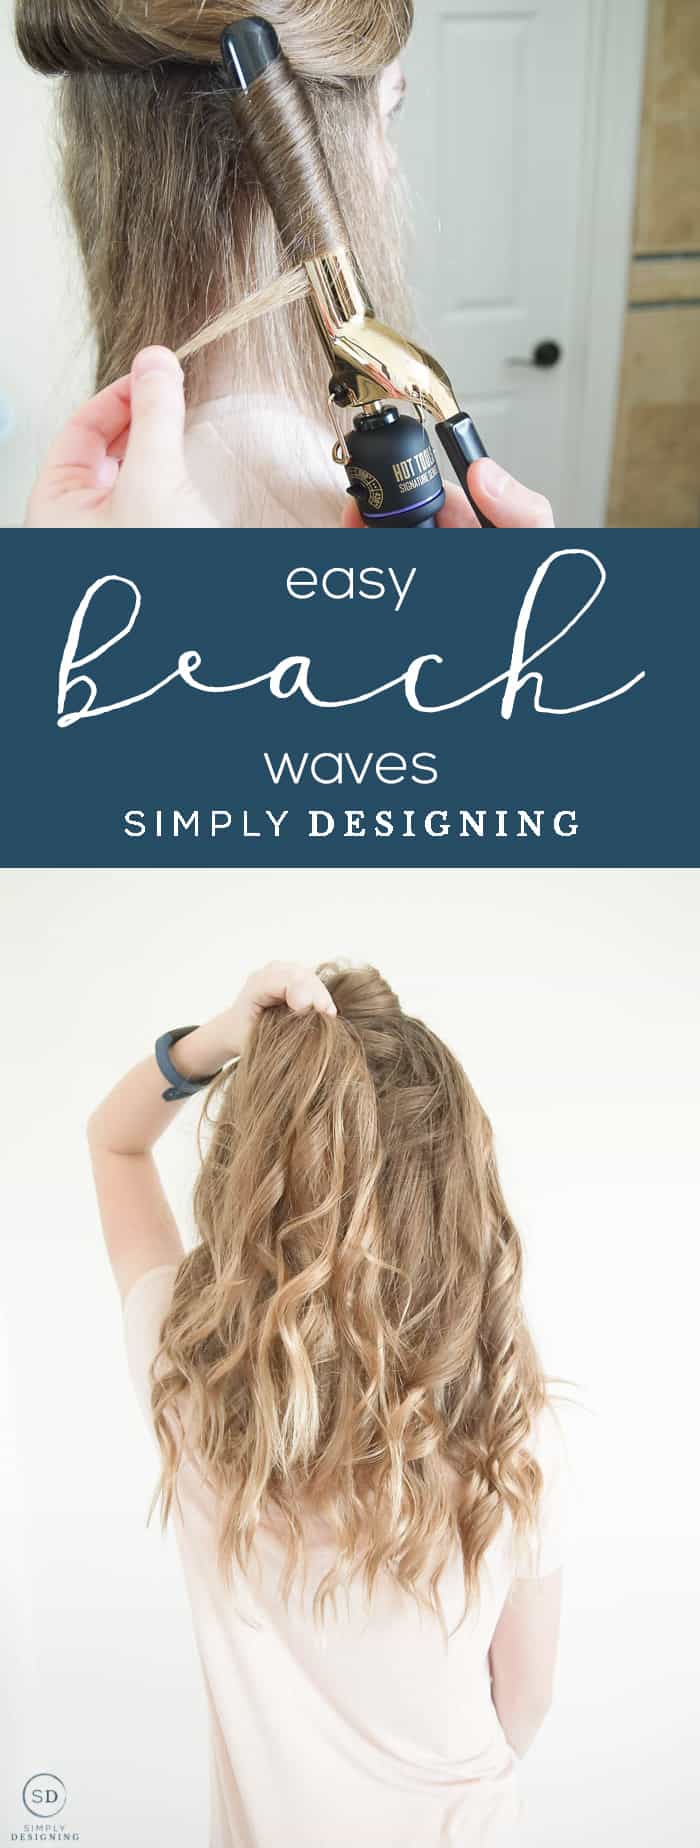
My daughter has the most beautiful, long, thick hair and we love styling it together, so today I'm excited to share how to create Easy Beach Waves for Long Hair. I know I don't share a lot of hair tutorials, but I have a ton of Beauty Ideas you should check out HERE. I know how hard it can be to know how to do your girl's hair, and also to teach them to do their own hair as they get older (I'm in both stages right now with both of my girls) and so I thought this fun and simple tutorial would be helpful to every mom or dad of a girl who wants to create beautiful beach waves in their hair. Keep reading for the full tutorial.
Easy Beach Waves for Long Hair
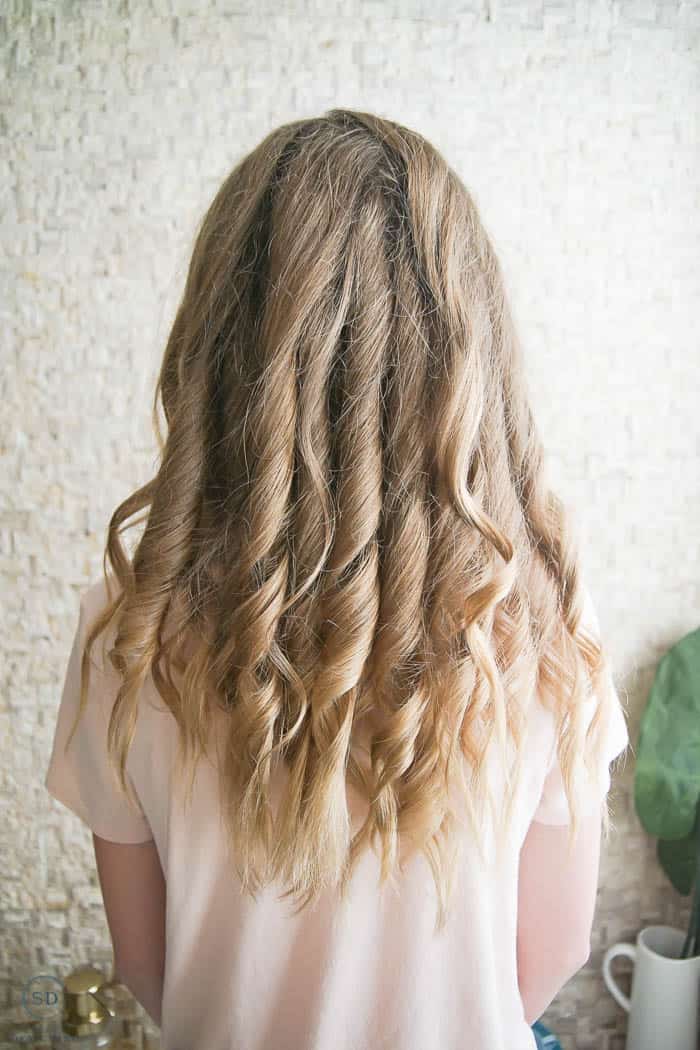
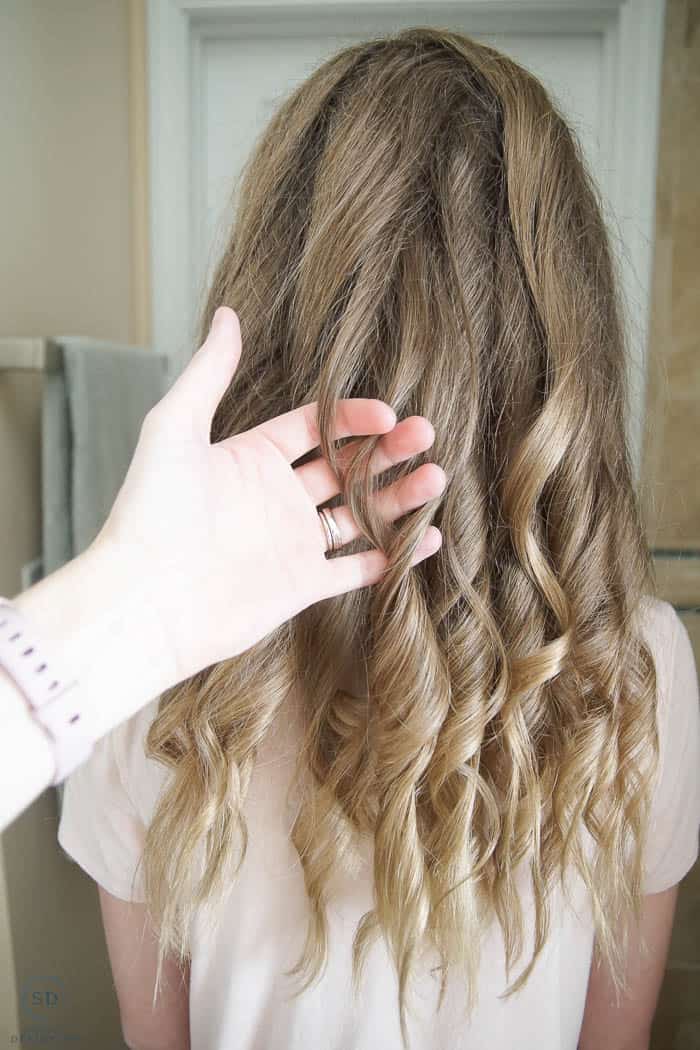
Beach waves can come in many different forms. Some people prefer beach waves a little looser, some prefer them a little more tight and together, but I find that if I create them a little tighter in the morning, by mid-day they are often the perfect combination of loose, wavy and curly. 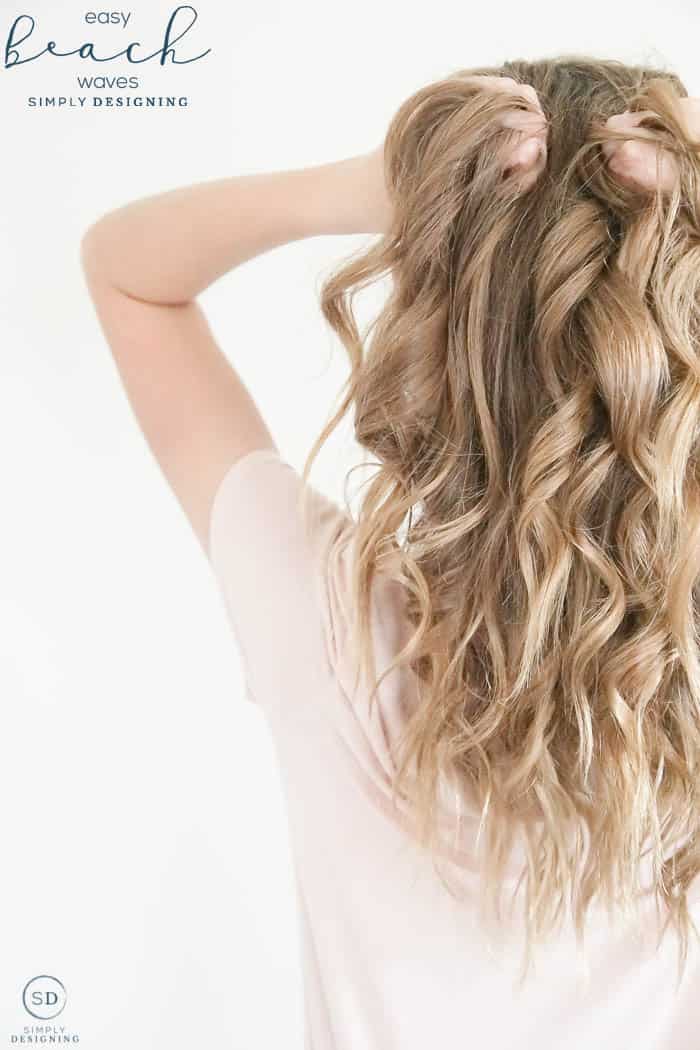
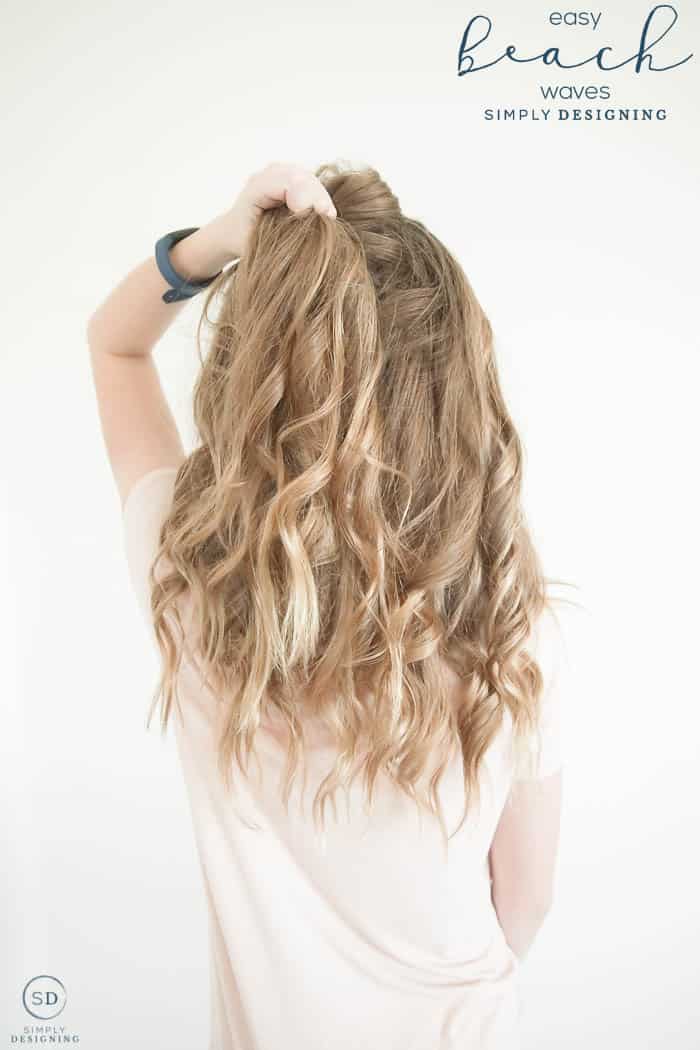
How to create easy beach waves:
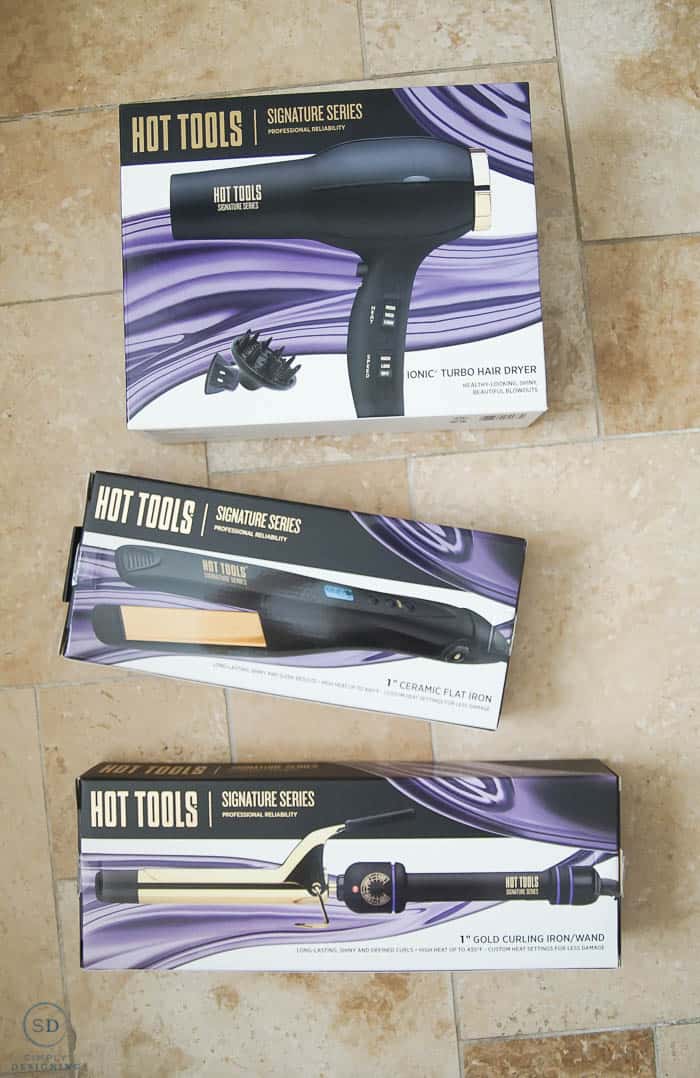
Since I wanted to create this look on my daughter, I had her shower and wash her hair first. She doesn't need to wash her hair every day (I don't either), but I love to start the week with freshly washed hair and a cute beach wave hairstyle! After she washed her hair, we put it up in a towel and let the towel soak most of the water out of her hair. Then we put Mirah Hair Oil from Young Living on the ends of her hair to help smooth out the texture, and a heat protectant to help protect her hair from the hair dryer and curling iron. 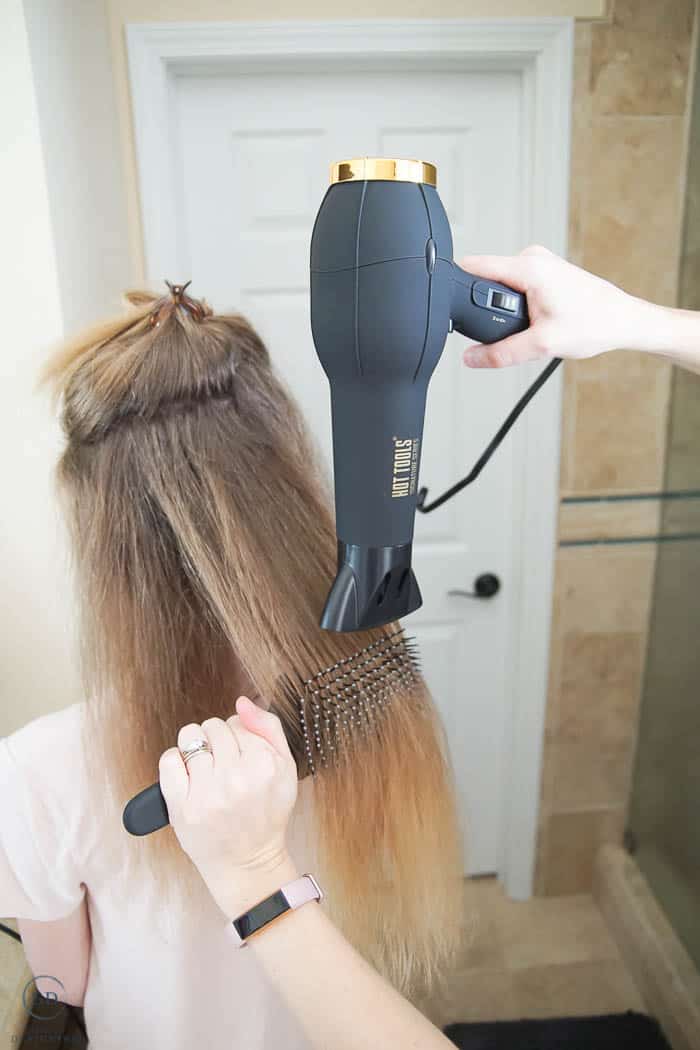
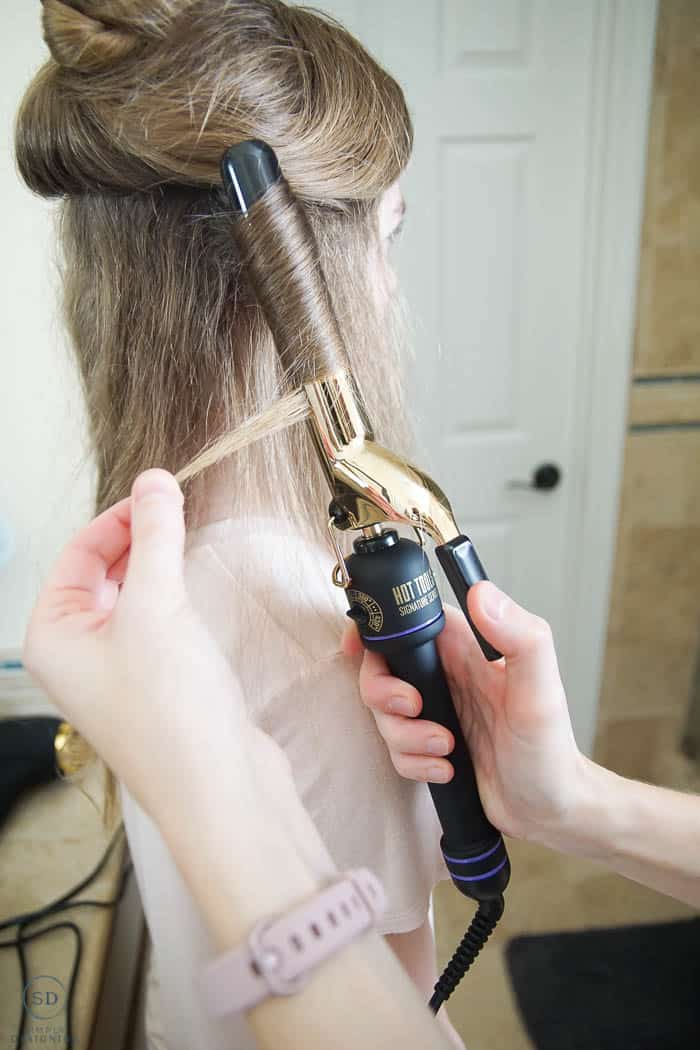
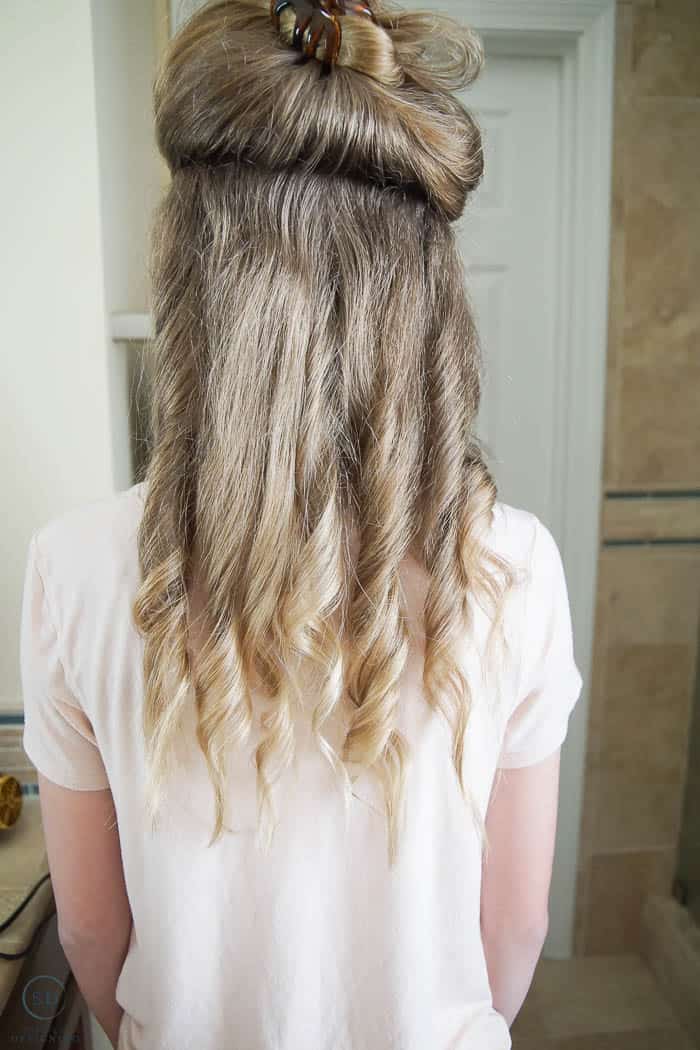
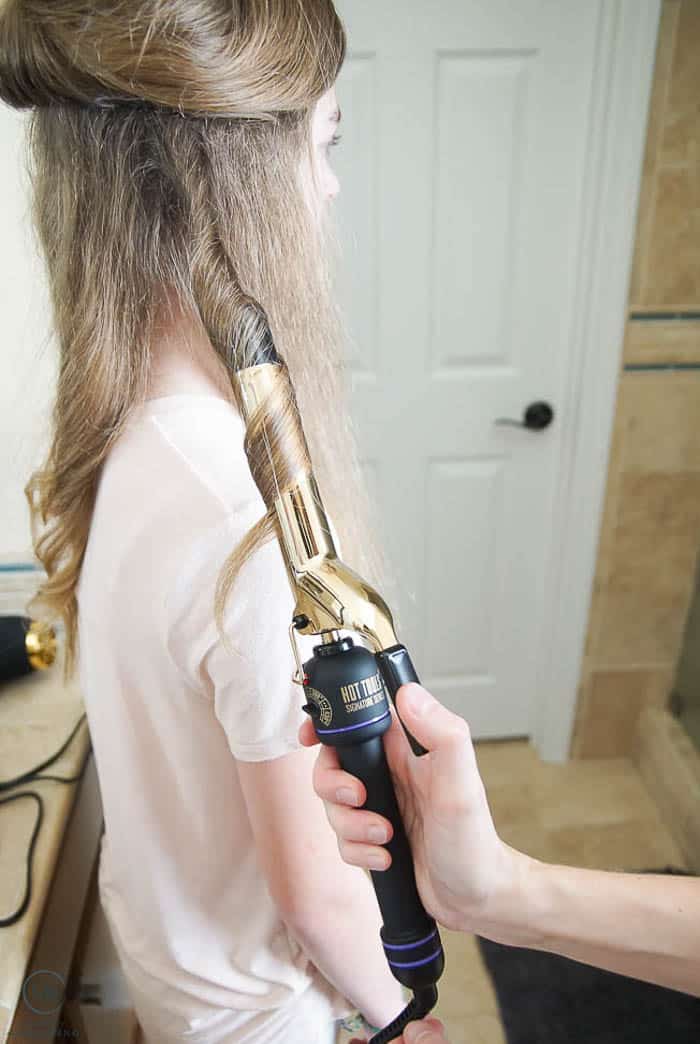
Taking a small section at a time, I wrapped the hair around the curling iron except the bottom 1 - 1 ½ inches of hair. I let the curling iron stay in her hair for a few seconds and then, keeping the clamp closed, I pulled the curling iron straight down. This will let the top portion stay curled but will straighten the bottom inch or so of hair giving the hair a softer, more beach wave look. 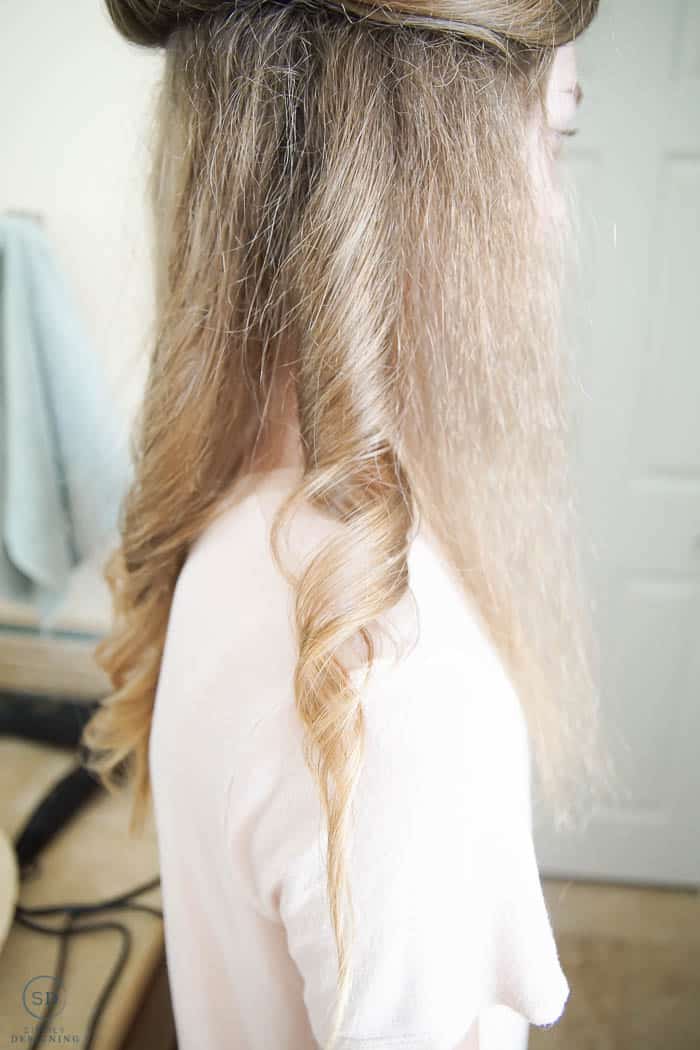



Amy Anderson
I have a friend who loves to add waves to her hair that would love this! I'm not sure what she does now but you make this look so easy.