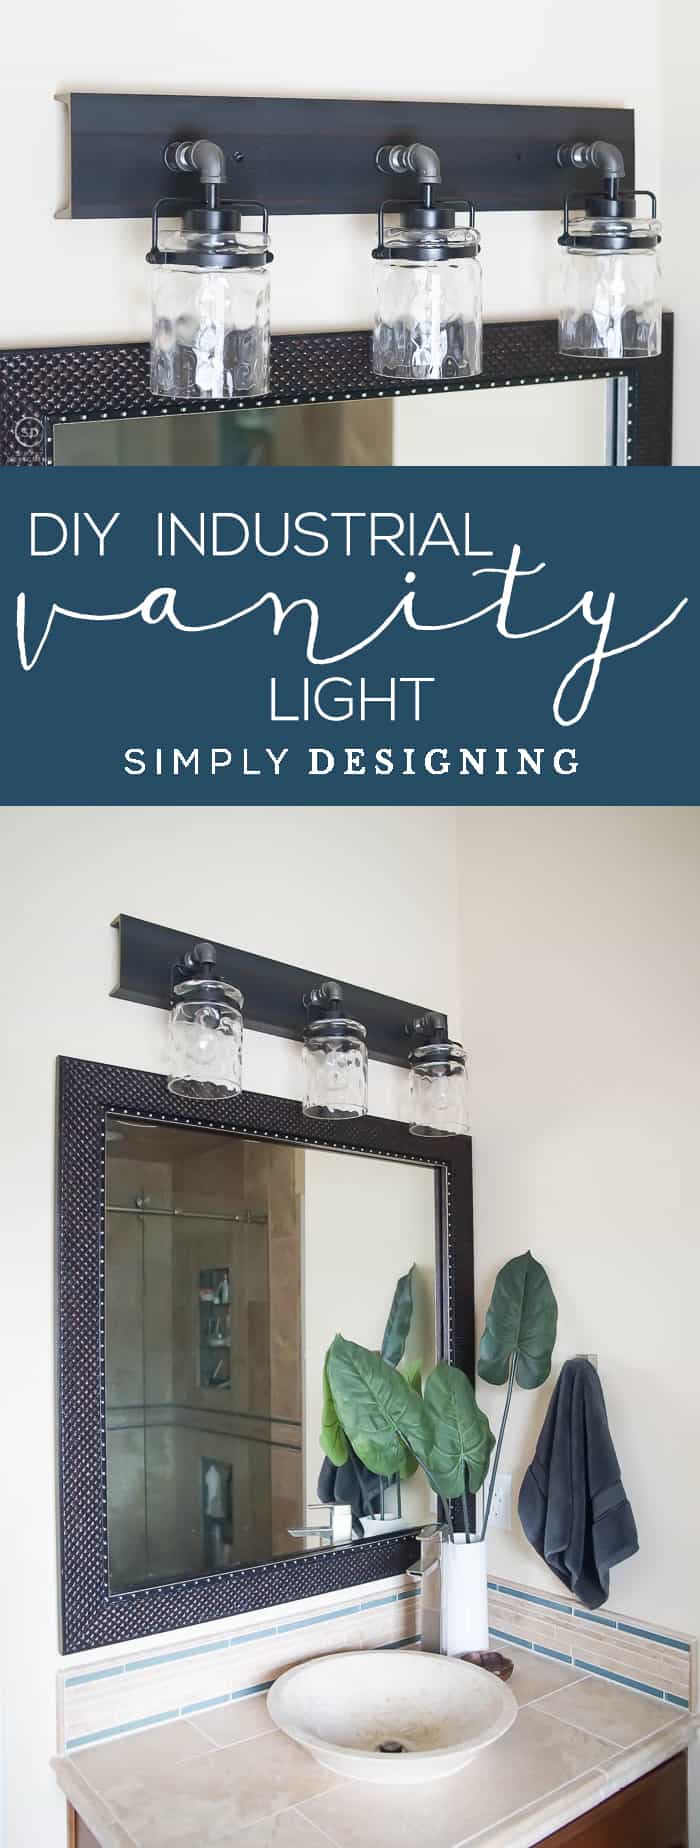
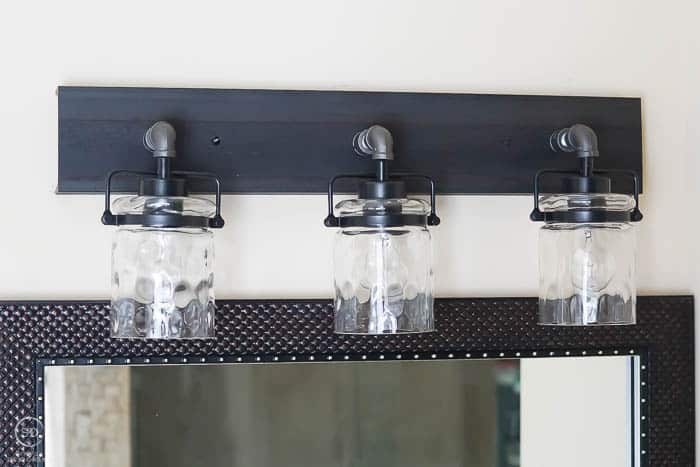
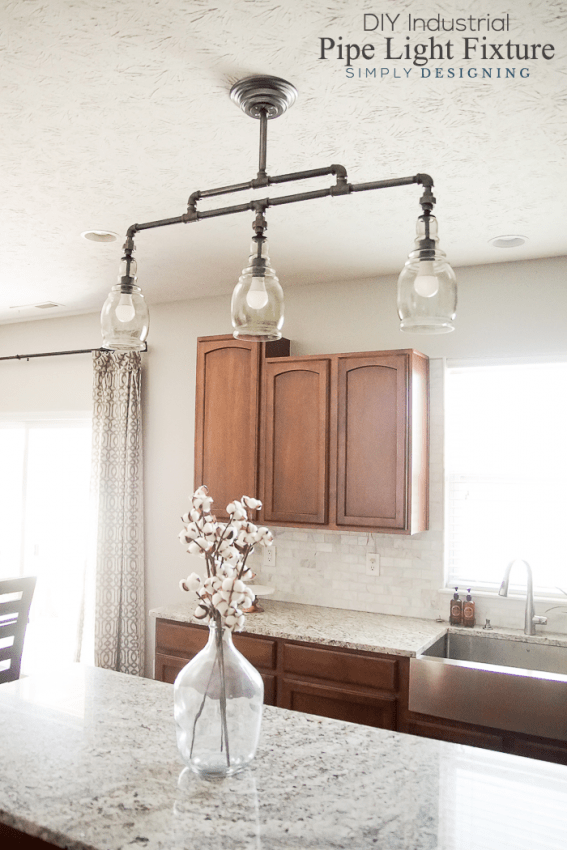
One of the few things in our home that we still needed to update was our master bathroom vanity lights, and so today I am really excited to share these beautiful and industrial DIY Vanity Lights that we built! Not too long ago we built a Pipe Light Fixture for over our kitchen island (check it out HERE) and I love how it turned out. So I knew that we could come up with a fun vanity light that was totally our style, beautiful and unique and here is the end result.
DIY Vanity Lights
Creating and building things is right up our alley. We love to come up with custom, personalized solutions to the needs in our home.
And so when we couldn't find vanity lights that we loved, we knew we needed to DIY vanity lights ourselves.
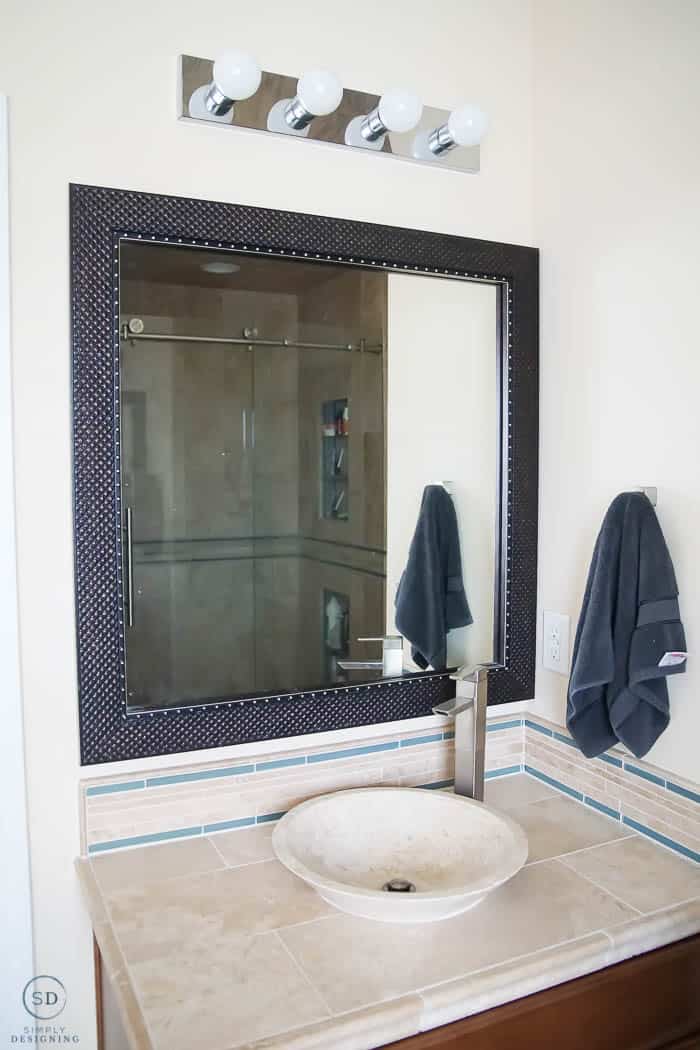
This is our before:
Ugh those lights are soooooo ugly! Hahaha I am so glad to be rid of them.
We wanted something with clean lines, with an industrial yet modern look and something that wouldn't break the bank. And our end result is all of that!
A big thank you to HomeRight for sponsoring this post about my DIY Vanity Lights. All ideas and opinions are mine. This post contains affiliate links and purchasing anything through the links in this post gives me a tiny commission, however, you never pay a penny more. Thanks so much for supporting my blog. You can read more about these DIY Vanity Lights on the HomeRight blog HERE.
A few tips for creating your own DIY Vanity Lights:
- Start with a plan in mind, know the size of the space you have for your vanity lights (hint: it needs to be proportional to your mirror)
- Decide on materials ahead of time and have a basic idea of the design you want
- Make a list of what you will need and any sizes they are important before you head to the store
- Be flexible and creative as you may have to tweak your final design depending on availability of products and product sizes
- Don’t be afraid to be bold and create something that is uniquely your own
- Ensure that you are only using products, materials, and finishes that are SAFE to use for a light fixture
- Hire a professional electrician if you are not comfortable with any of the electrical portions of creating or hanging your own light fixture. It is very important to always follow local building codes and hire professionals as needed.
We did all of the work ourselves, but when it comes to the final portion of this project, when you get into the electrical portion of it, if this is out of your comfort zone, hire it out.
DIY Vanity Lights
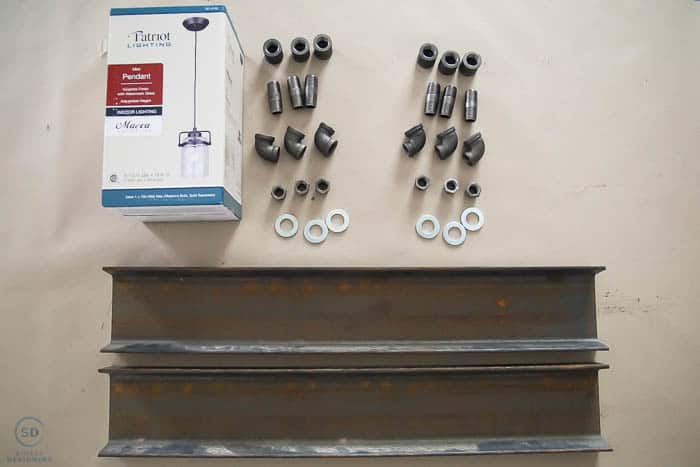
Supplies (for making 1, we made 2):
- Matte Clear Spray Paint
- HomeRight Small Spray Shelter
- 5" x 32" Steel U Channel
- (3) ½" x ⅜" Bushing
- (3) ½" x 2" Nipple
- (3) ½" x ⅜" Reducer Elbow
- (3) ½" Coupling
- (3) #10 Flat Washer
- (3) Pendant Lights of your choice
- (2) ¼" x 4" Stove Bolts
- (2) Toggle Wall Anchors
- (1) Zip Tie
Tools:
- ⅞" Titanium Drill Bit
- ¼" Titanium Drill Bit
- Ryobi Drill Press
- Drill
- Level
- Screwdriver
- Wire Cutters
Instructions:
We have a great steel shop near us where we can buy our U Channel and they will cut it to size for us! If you don't have a shop that will do that, you may need to cut your U Channel yourself.
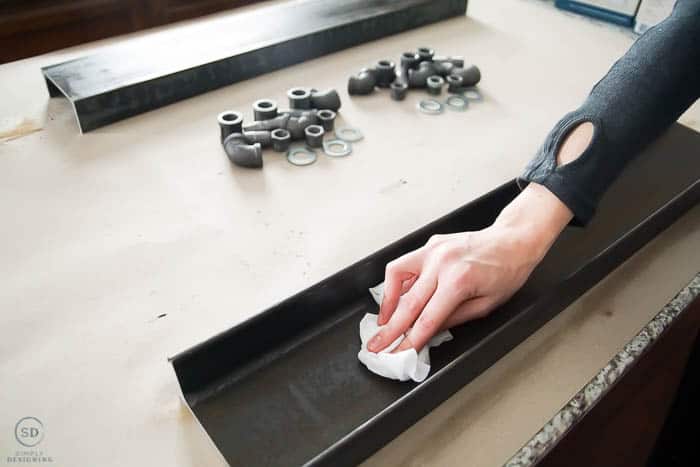
The first thing we did was to bring all of our metal and pipe pieces inside and wash them. Steel and pipe are so dirty.
I began by just using wipes to clean it but realized that putting the parts and pieces in my sink and washing them all with warm soapy water would do the job better.
After all of the parts were washed, I let them dry completely.
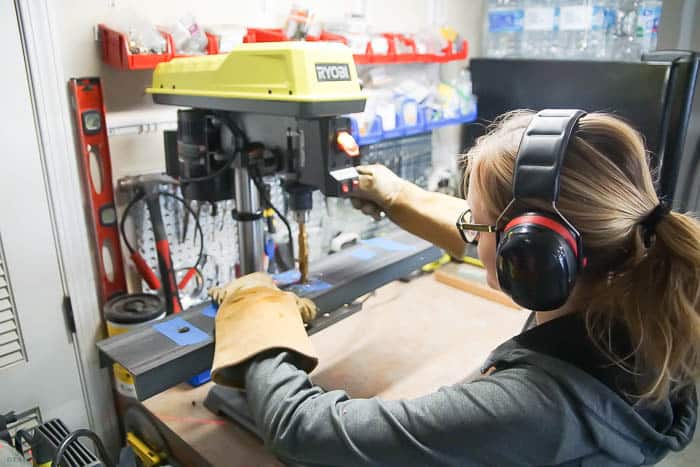
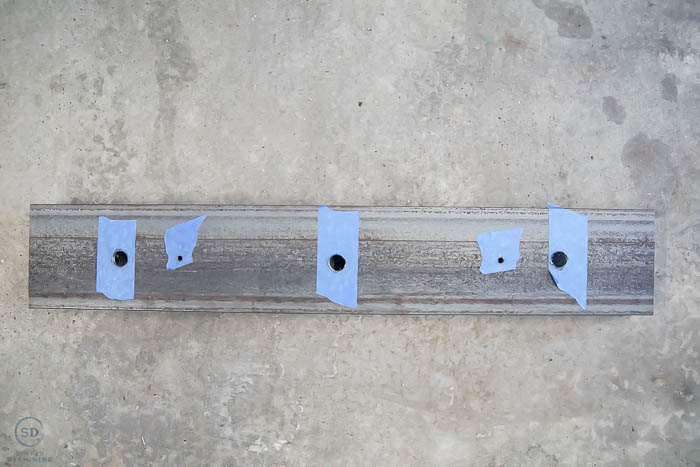
Then I used my drill press to drill (3) ⅞" holes that would be there our light fixtures hang from. I also drilled (2) ¼" holes in between the three larger holes for our screws to secure these into the wall.
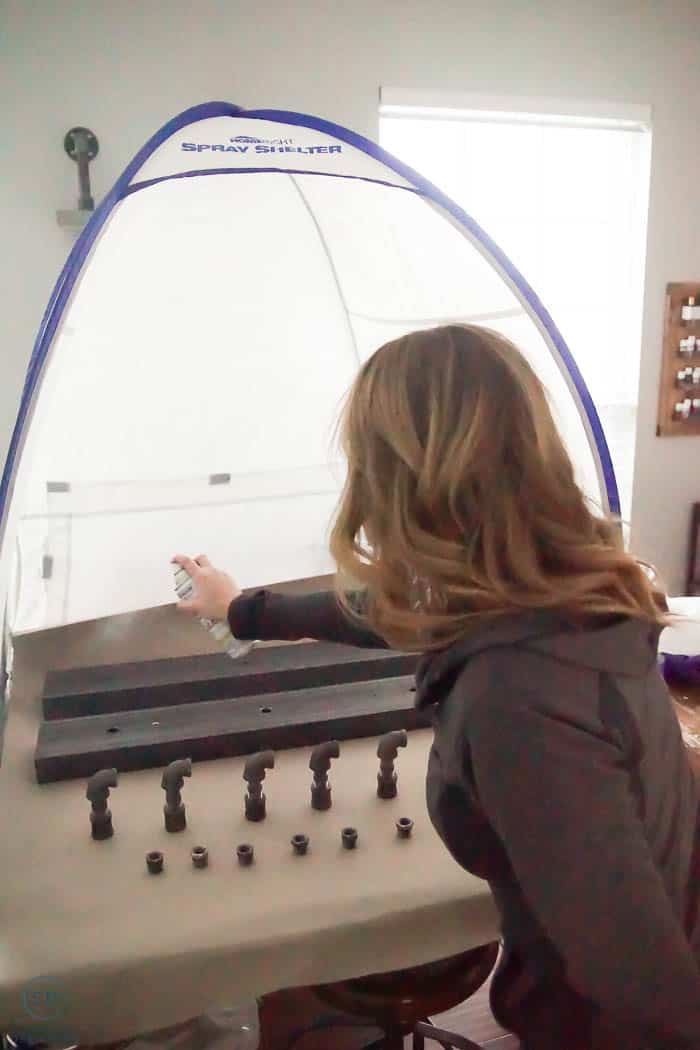
After the holes were drilled, I set my HomeRight Spray Shelter up in my office. It was 20 degrees outside which is too cold to spray paint anything, but I really wanted my steel and pipe to have a clear coat.
Using the spray shelter allows me to be able to spray inside while containing all the overspray. This is seriously a life-saver when it comes to being able to do projects indoors in the winter.
It is important to still work in a well-ventilated area because a clear coat will still have strong fumes.
After my spray shelter was set up, I put a piece of butcher paper down inside, placed my steel and pipe pieces inside and sprayed it with a clear coat. I did two coats on all sides and let it dry completely.
After the pieces were dry, I was ready to begin assembling the lights.
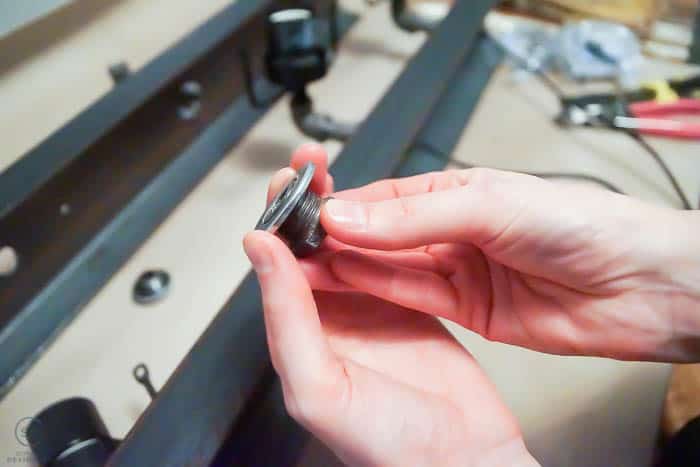
I put the washer over the bushing and placed that on the inside of my U Channel.
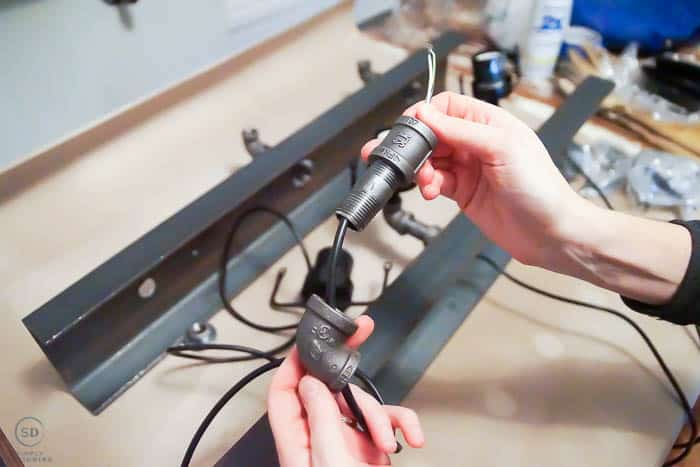
The reducer elbow, nipple and coupling went together on the outside of the U Channel. But before I screwed those to pieces together, I ran the electrical cords from my pendant light through them.
I hand tightened everything together. On the back, I used a zip tie to hold the cords together near the middle and we trimmed the cords a bit with wire cutters so there wouldn't be quite as much excess.
At this point, it was time to mark my wall.
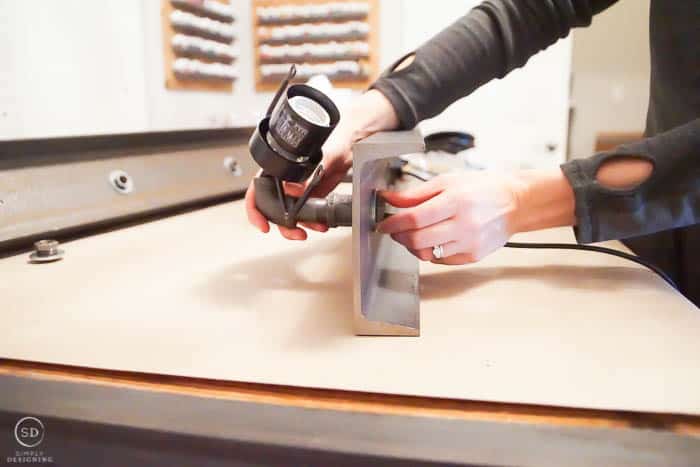
I had already removed my ugly Hollywood style vanity lights and knew that this light fixture had to go in roughly the same location. So we held the U channel up, with a level on top, and used the holes we had pre-drilled for the screws to mark the location.
We used a screwdriver to put the wall anchors in place.
It is very helpful to have a second set of hands when installing the light fixture. We screwed the fixture partially in place but left enough room to attach the electric together, then put the wires into the inside of the U Channel and finished securing it into place.
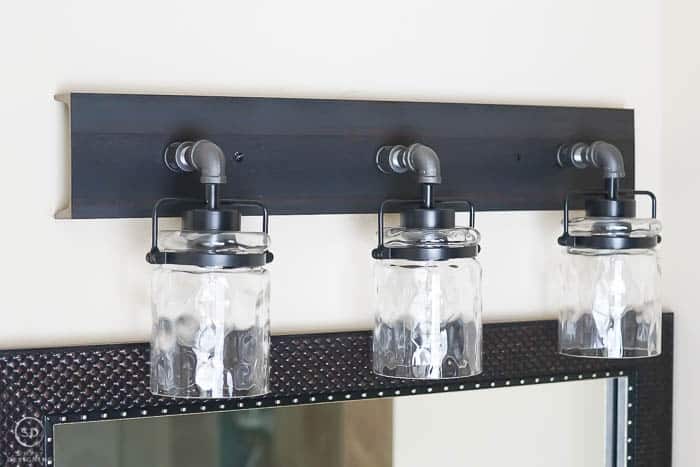
After the vanity light fixtures were in place, we attached the glass portion of the pendant light and placed light bulbs in the fixtures.
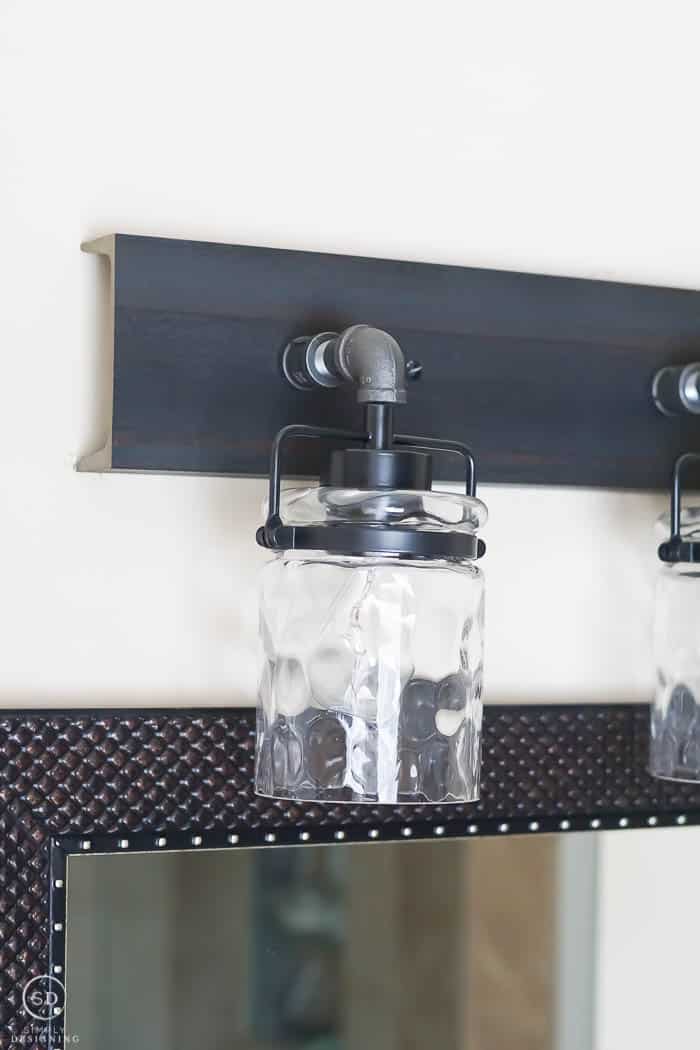
These DIY Vanity Lights are the perfect combination of industrial, rustic and modern. And they give so much light in our master bathroom!
You can learn more about these shelves and the HomeRight Small Spray Shelter at the HomeRight Blog HERE.
You might also enjoy:




Amy Anderson
These are gorgeous! I have to show these to a friend that has an industrial style and desperately wants to makeover her bathroom (including the lights!).