DIY Valentines Day Shirts
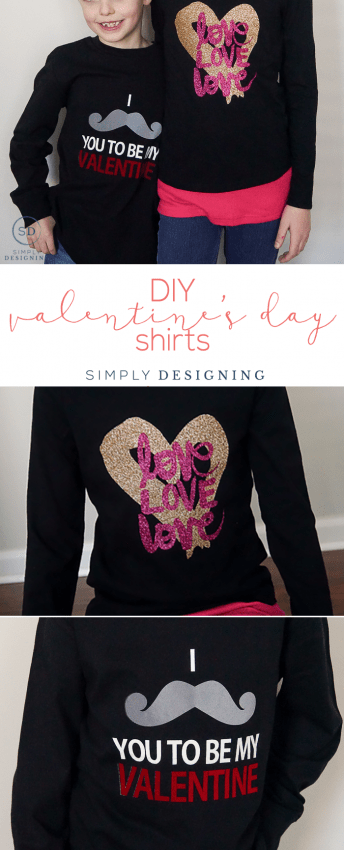
Friends, we are over halfway through January! How the heck did that happen!?!? Oh my goodness, well I am really excited to share a really fun project today. My children love ("love" it actually an understatement) having holiday shirts! They think it is so fun to have a special shirt to wear to school (or around the house) to celebrate the holidays! And I love making holiday shirts for them to wear! So this kind of project is really a win-win for the whole family! Today I have partnered with Expressions Vinyl to bring you these DIY Valentines Day Shirts! These look really impressive, but I promise, with the right tools, these are super simple to make! Read along to find out how...
To create these fun DIY Valentines Day Shirts, you will need:
- Black Shirts to fit your children (or you), prewashed and dried
- 1 Sheet Multi-Use Paper, 12" x 20
- Cameo, Cricut or other Vinyl Cutting Machine (or scissors or an xacto knife)
- Iron (set on high, no steam)
- Girls Shirt:
- Glitter Heat Transfer Sheet, 12" x 20" - Old Gold or Gold
- Glitter Heat Transfer Sheet, 12" x 20" - Hot Pink
- Boys Shirt:
- StripFlock Heat Transfer Sheet, 12" x 15" - White
- StripFlock Heat Transfer Sheet, 12" x 15" - Red
- StripFlock Heat Transfer Sheet, 12" x 15" - Grey
Here is how to create these cute DIY Valentines Day Shirts:
- Determine the overall size you want your design to be based on the size of shirt. I took a quick measurement and determined that each of my children's shirts could accommodate a 7"x7" design without looking too large or too small.
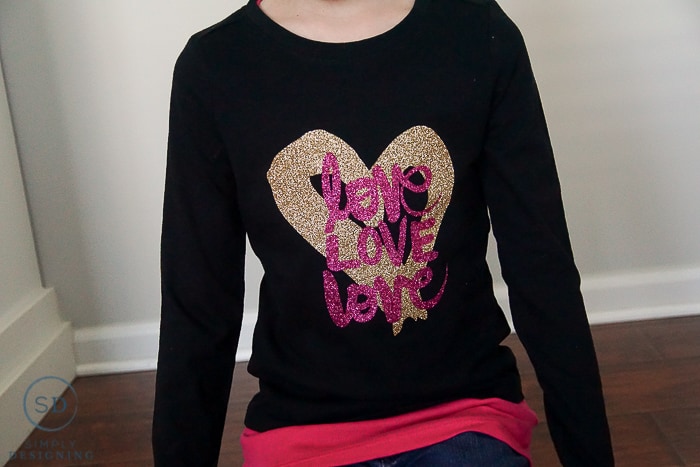
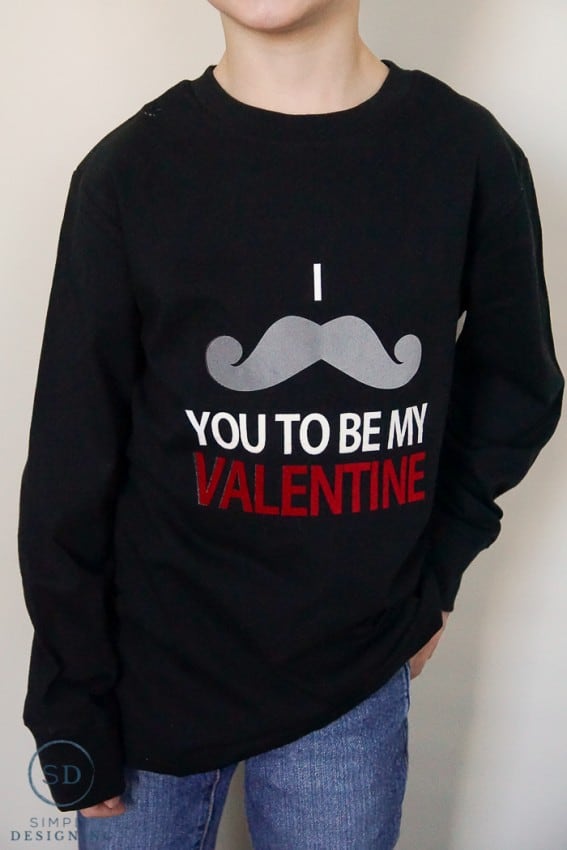
- Open your Silhouette Design Software program (or the one for Cricut if you are using a Cricut) and determine your designs. For my son's shirt, I created the text myself and paired it with a mustache shape I downloaded from the Silhouette shop. (I did slightly tweak the dimensions of the mustache to get it the exact size I wanted it to be. This can be easily done by clicking on the image and grabbing the boxes to resize the shape in any direction you want.) For my daughter's I downloaded both the heart shape and the love love love text from the online shop.
- I love to draw a box the size of my final image, so in this case I drew a 7" x 7" box in my studio program and then I sized my text and images for both the girls and boys shirt accordingly.
- Once I had the shapes in place and sized, I right-clicked on the image and select "flip horizontally". This will "mirror" your image. It is important to mirror your image prior to cutting when using heat transfer vinyl otherwise everything will be backwards, including your text.
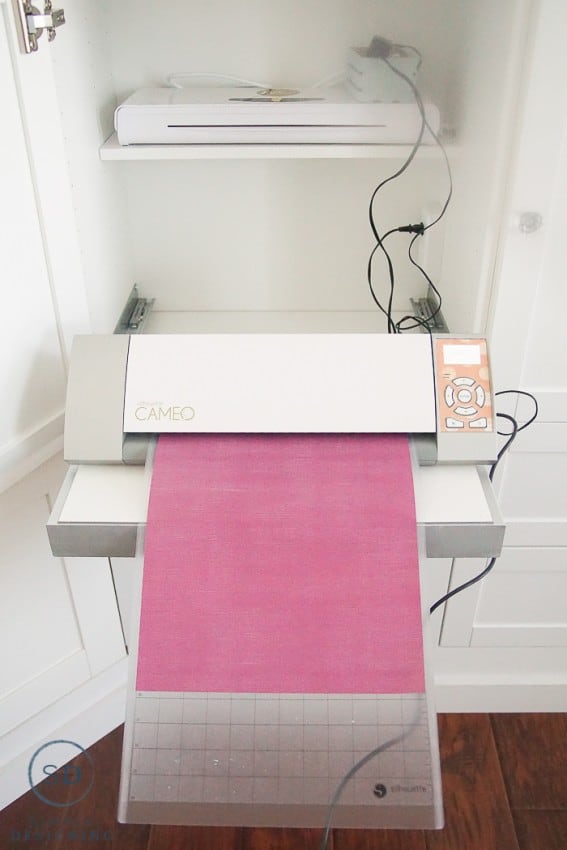
- Place the image you want to cut first onto you "cutting mat" on your screen. Select the correct size vinyl and cutting mat (you don't have to use a cutting mat but I prefer to) and then prepare your vinyl to be cut.
- You will place your heat transfer vinyl, shiney side down and then feed it into your Cameo.
- Be sure to select the appropriate cut settings for your material. For both the StripFlock and the Glitter heat transfer vinyl, the Flocked Vinyl setting worked well for me. However I always encourage you to do a test cut prior to cutting your entire design.
- Cut your designs out, according to the colors of your preference.
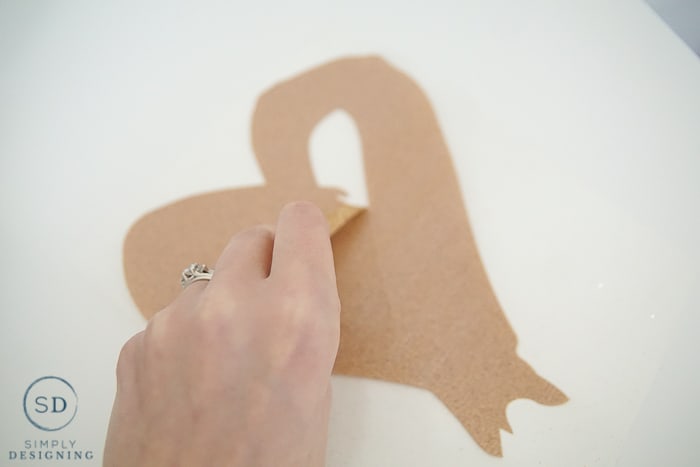
- Once your designs are cut, weed the excess vinyl off of the clear backing paper. (ie remove the vinyl that you don't want on your shirt from the backing paper)
- Lay your designs onto your shirts so that you can ensure you are happy with the final cut and design.
- Then you will want to adhere your vinyl to your shirts, one layer at a time. For the girl's shirt, I placed the gold heart down first, laid the multi-use paper on top, and ironed for about 30-60 seconds until the vinyl was warm and adhered. Then I let it cool completely before removing the backing paper. After the backing paper is removed, you can lay the love love love vinyl on top of the gold heart, place the multi-use paper on top and iron for about 30-60 seconds until the vinyl is fully adhered. Wait until it is cool before removing the backing paper.
- Repeat using the same method for applying the vinyl to the boy's shirt.
- Flip the shirt inside out and iron on the backside of the vinyl for a few seconds to allow the adhesive vinyl to adhere even better to the shirt. Let it cool completely and then the shirt is ready to be worn!
I know that is a lot of steps, but it is really easy to do once you get the hang of it!
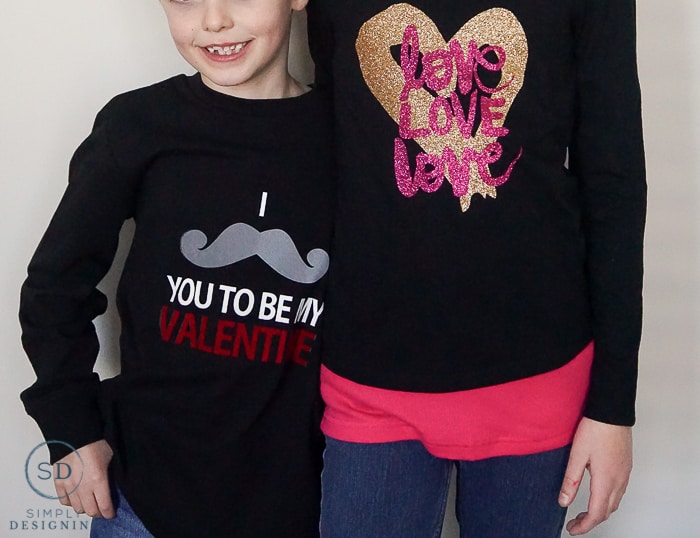
And didn't these DIY Valentines Day Shirts just turn out so super cute!? My kids can't wait to wear them in a few weeks!
As a note, you can use any heat transfer vinyl you prefer for these designs. But I will say, I am basically in love with the glitter heat transfer vinyl because it is so glittery and pretty but it doesn't shed glitter and my daughter just loves it. And I think that the flocked vinyl is perfect for a boy and I feel like it holds up better on shirts then the traditional smooth heat transfer vinyl does. So it is just my personal preference, but honestly, any of them will work!!
And I am excited to announce that Expressions Vinyl is hosting a giveaway! Woot woot!
*Please note that Expressions Vinyl is administering and hosting this giveaway. Simply Designing and its owners and affiliates are not responsible in any way.
If you liked these DIY Valentines Day Shirts, you might also enjoy:
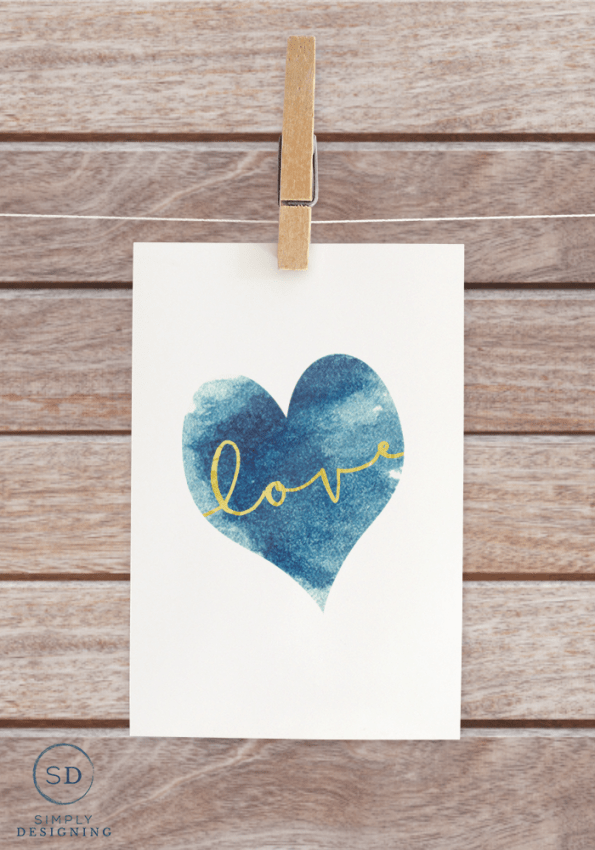
Free Gold Love Printable with Blue Watercolor Heart






Rachel
These shirts are so cute, and I'm sure the kids loved them! I love that HTV projects are so versatile, and I'm sure they're great for the holidays. Thanks for sharing!
william
great idea. I am looking to make one of these for valentine day thanks for sharing this is really helpful.