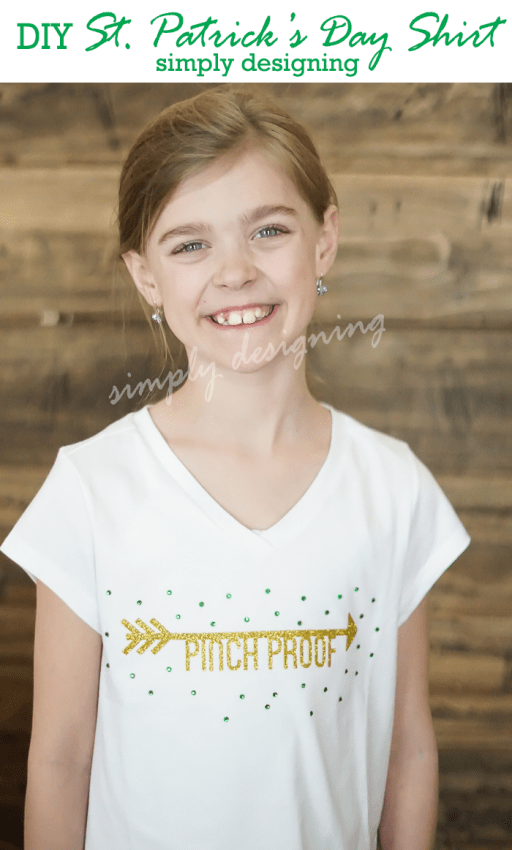
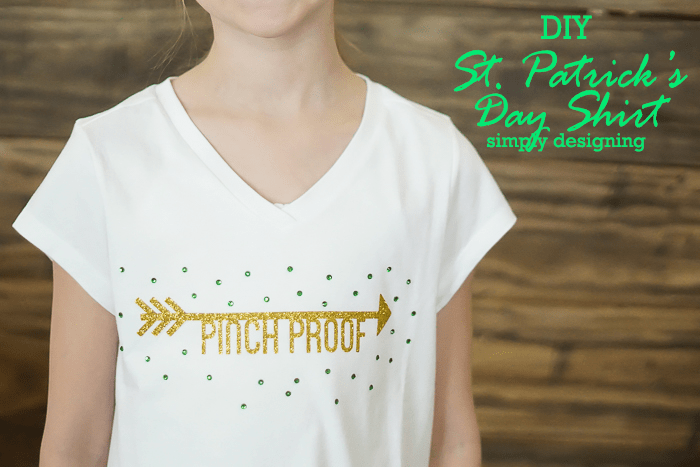
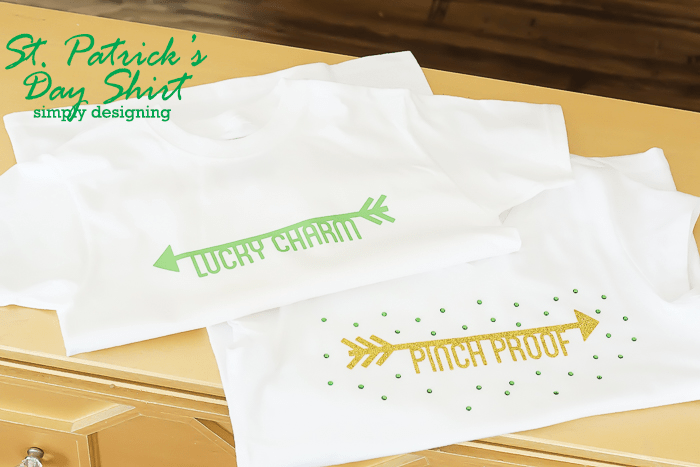
My kids love holidays, and they really love wearing fun holiday shirts! But holiday shirts from the store can get pricey. So we found a simple way to upgrade a $3 plain tee shirt into a cute holiday shirt using vinyl! Today I am really excited to share with you our DIY St Patricks Day Shirt idea that is so fun to make and so simple! I used vinyl and a little bit of bling and my kids are already begging to wear these even though St Patricks Day is still a couple of weeks away.
A big thanks to Expressions Vinyl for making this post possible today! All opinions and ideas are mine.
I know that I have mentioned it before but I am simply IN LOVE with glitter heat transfer vinyl. It is the bomb. And these rhinestones, I simply don't have words. One can never have too much glitter and bling on a shirt.
We created to versions of this shirt, one for a boy and one for a girl. I will share the supplies needed for both shirts, but the process is basically the same for both shirts. So here are all the details...
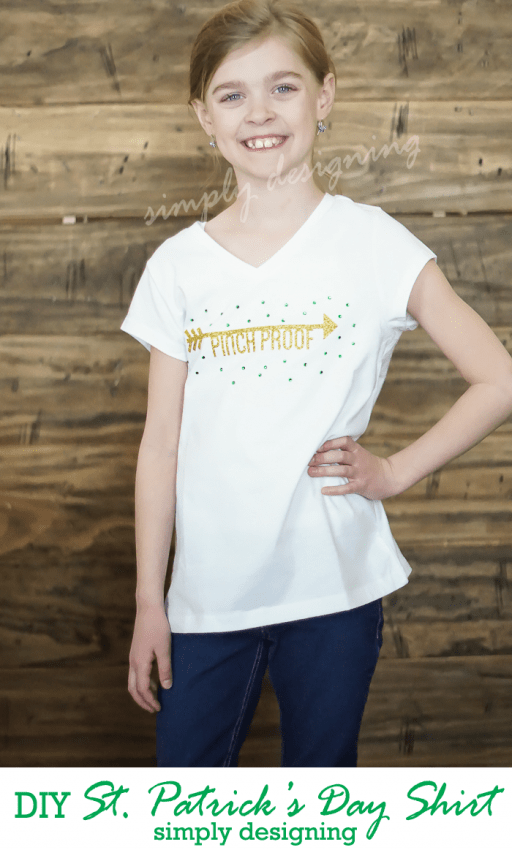
DIY St Patricks Day Shirt {Girl Version}
Supplies:
- White tee shirt
- Strike It Rich Heat Transfer Vinyl
- Emerald Green Rhinestones
- Weeding Tool
- Silhouette Cameo (or other vinyl cutting machine)
- Rhinestone Setter
- Arrow Words St Patricks Day Shape from the Silhouette Design Store (here)
DIY St Patricks Day Shirt {Boy Version}
Supplies:
- White tee shirt
- Cabin Pack Heat Transfer Vinyl
- Weeding Tool
- Silhouette Cameo (or other vinyl cutting machine)
- Arrow Words St Patricks Day Shape from the Silhouette Design Store (here)
Aonther great heat transfer vinyl options for this project would be the Mint Pack. And if you decide to layer vinyl you will want to use a sheet of Multi Use Paper to protect lower layers from the heat when adding multiple layers of vinyl to fabric.
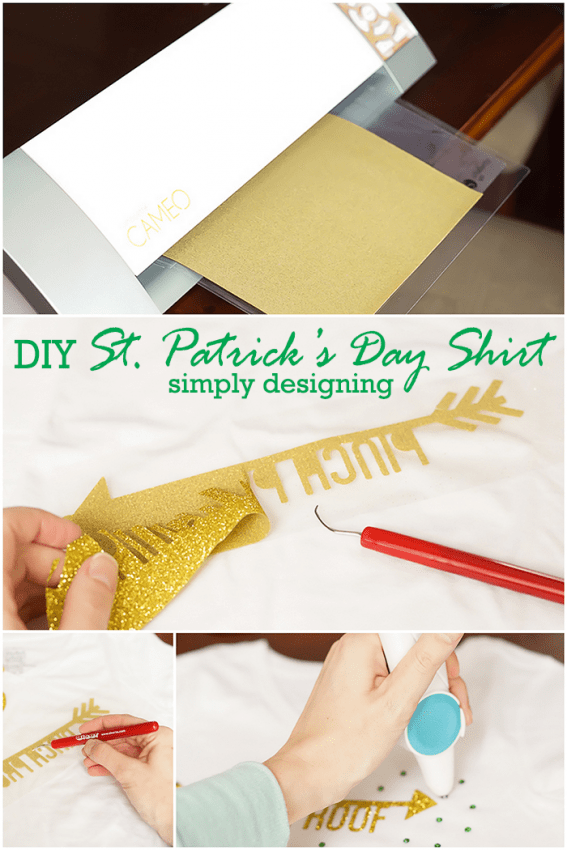
First you will want to select your shape to cut in the silhouette studio program and size it for the shirts you are using. Then you are ready to cut your image!
A few hints when cutting heat transfer vinyl:
- Shiny side of the vinyl goes down
- Remember to flip your image horizontally prior to sending it to be cut
- When using regular heat transfer vinyl, use the heat transfer vinyl cut setting
- When using flocked or glitter heat transfer vinyl, use the flocked heat transfer vinyl cut setting
After you cut your vinyl, weed it using the weeding tool. Then lay it down on your fabric, cover it with either a sheet of multi use paper or cotton fabric and iron it on.
After the vinyl is applied, you can use the rhinestone setter to add rhinestones onto the shirt if you like. You simply turn your setter on and let it heat up. Then lay your rhinestones in place and hold the setter onto the rhinestones for a few seconds until they are secure in place.
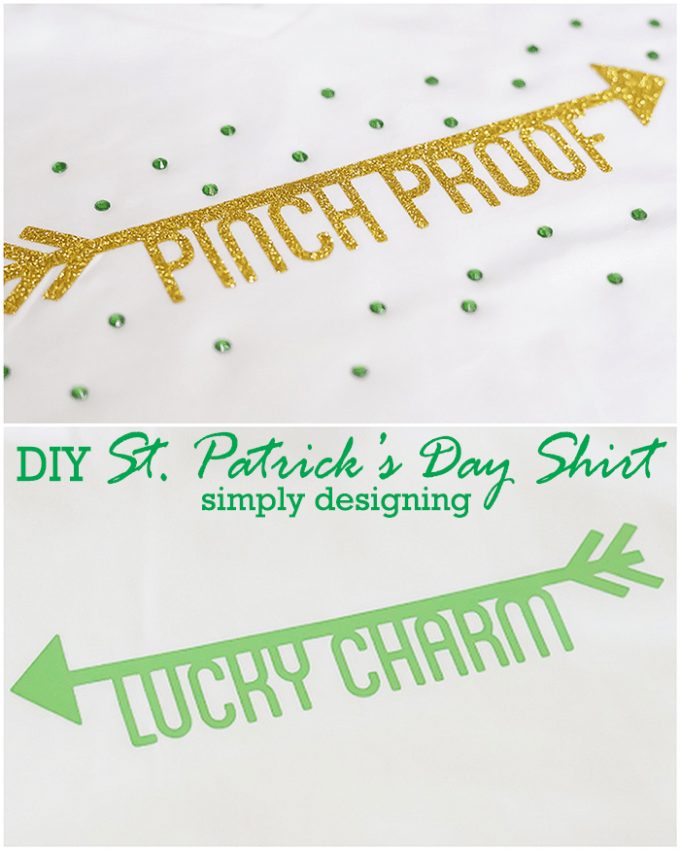
My son loves his Lucky Charm shirt! And my daughter can't get enough of her glittery, sparkly rhinestone encrusted shirt! And these are perfect for St. Patricks Day!
They can't wait to wear their fun DIY St Patricks Day Shirt! And I don't blame them...I might need to make a glittery shirt for myself too!
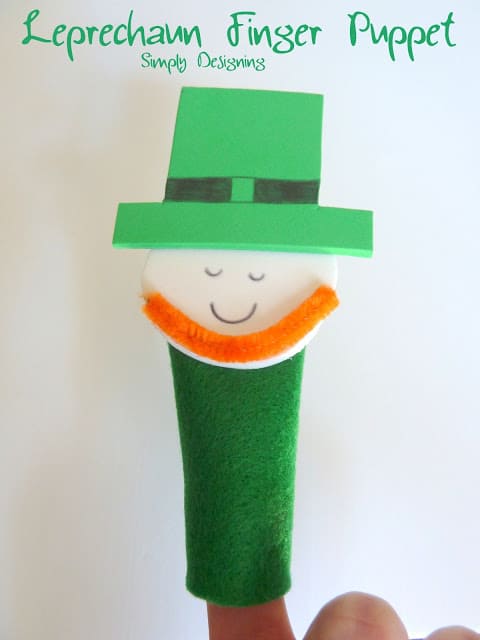
If you like this idea, you will also love these fun St Patricks Day ideas:
And check out this super cute shirt from A Prudent Life:
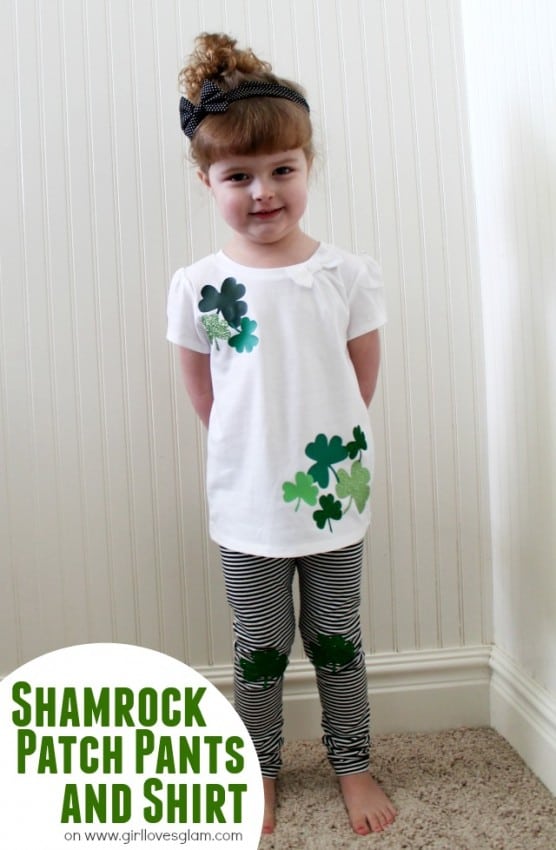
And this adorable shirt and pants from Girl Loves Glam:





BreAnna
How adorable! Love the bling 🙂
Krysta @ KrystaSteen.com
Cute!! Thanks for sharing at Tips & Tricks! Hope to see you back this week! 🙂
Deanna R. Jones
I love how you've personalized this shirt for your daughter to wear on St. Patrick's Day. The green rhinestones look really great with the lettering in gold glitter. My children don't have anything green to wear for St. Patrick's Day, so they usually come home talking about how the other kids pinched them. I should create a personalized shirt for them to wear for St. Patrick's Day. Using a stencil with glittery paint and rhinestones seems like a great way to customize a shirt for any occasion.