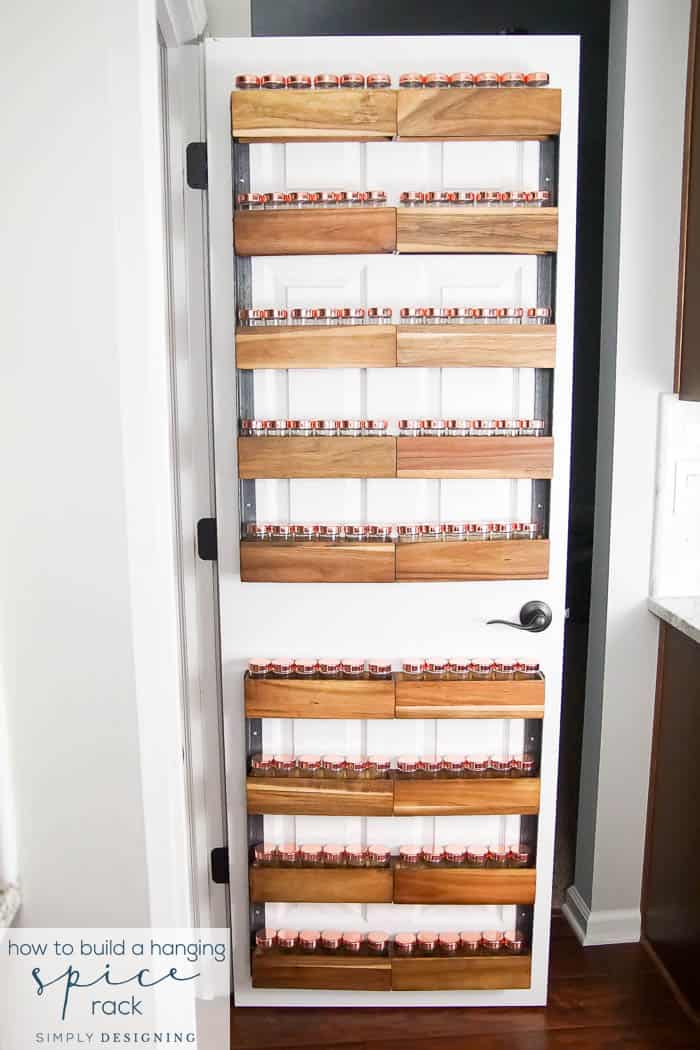
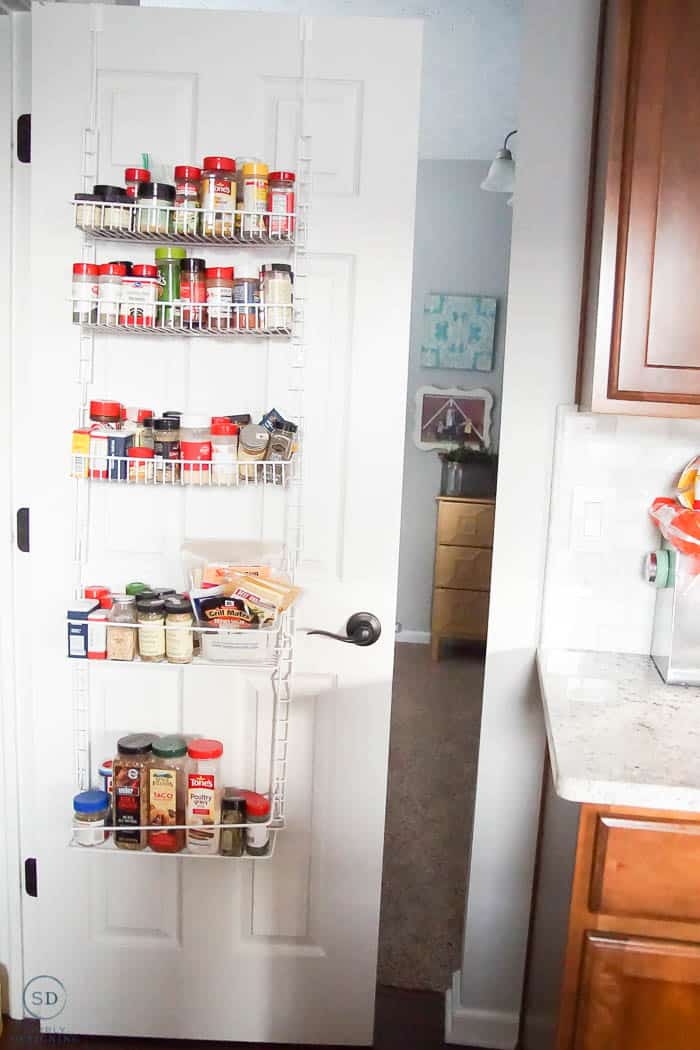
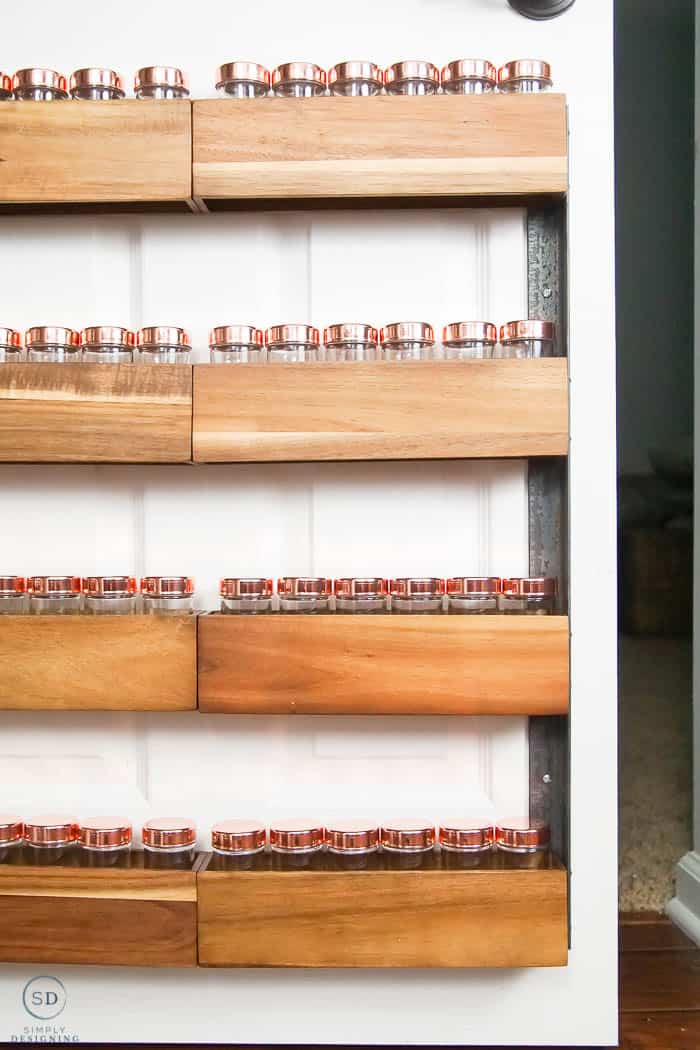
One thing that has been missing in my home since I have lived here is a functional spice rack. When we first moved in, I hung an over the door, wire spice rack and it was ok, but let's face it, it was no amazing paint storage solution. It wobbled when we closed and opened the door. Things fell out of it. And the space was really pretty limited. And at this point, it was just kind of a mess. So I decided to finally take matters into my own hands, get rid of the over-the-door hanging spice rack, and build a DIY Spice Rack that would give me way more spice storage and a look that I wasn't embarrassed to show people. I really really love how this farmhouse spice rack turned out and I couldn't be more pleased with all the storage I gained. This can hold 108 spice bottles. 108!! Insane, right!? I am still transferring all of my spices over into these pretty jars, but I am in love with it already! So keep reading for more information on how to build a DIY spice rack!
How to Build a DIY Spice Rack
A big huge thank you to Better Homes & Gardens for sponsoring this post today. All opinions are mine. Affiliate links are included for your convenience.
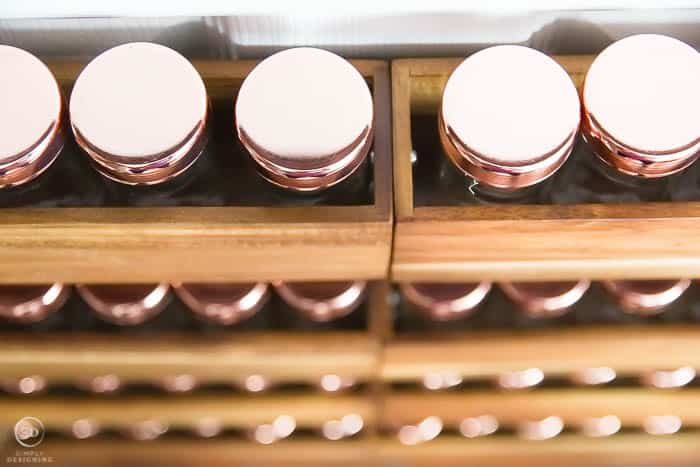
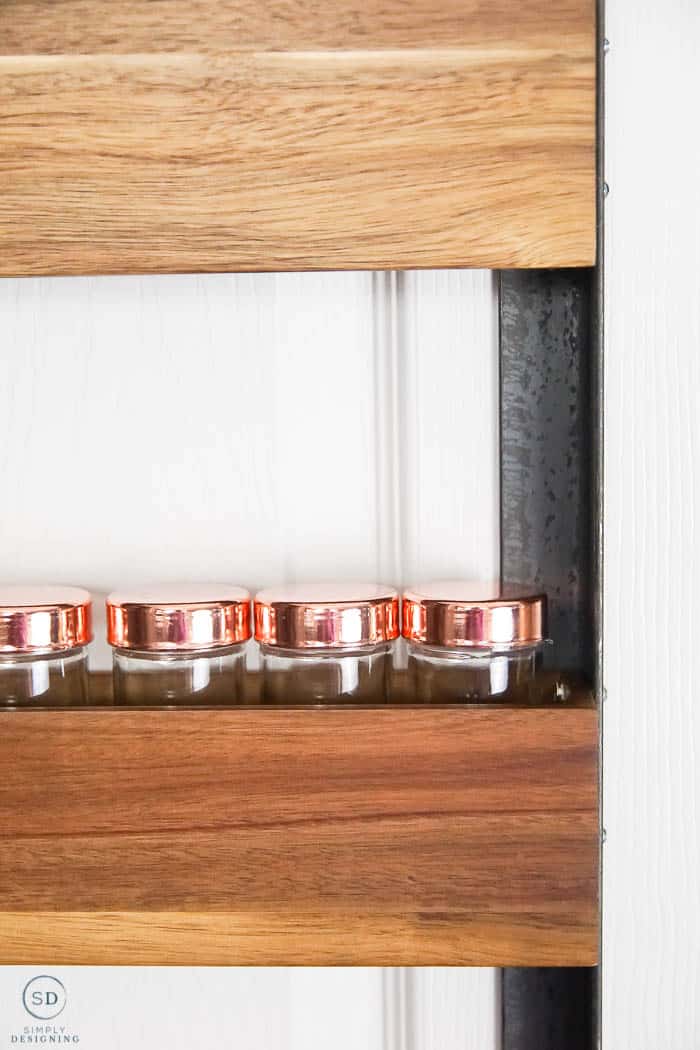
I was inspired to create my own spice rack hack when I found these really pretty spice racks from Better Homes & Gardens sold exclusively at Walmart. They were so lovely and came with the cutest spice jars ever! I just love the copper lids!
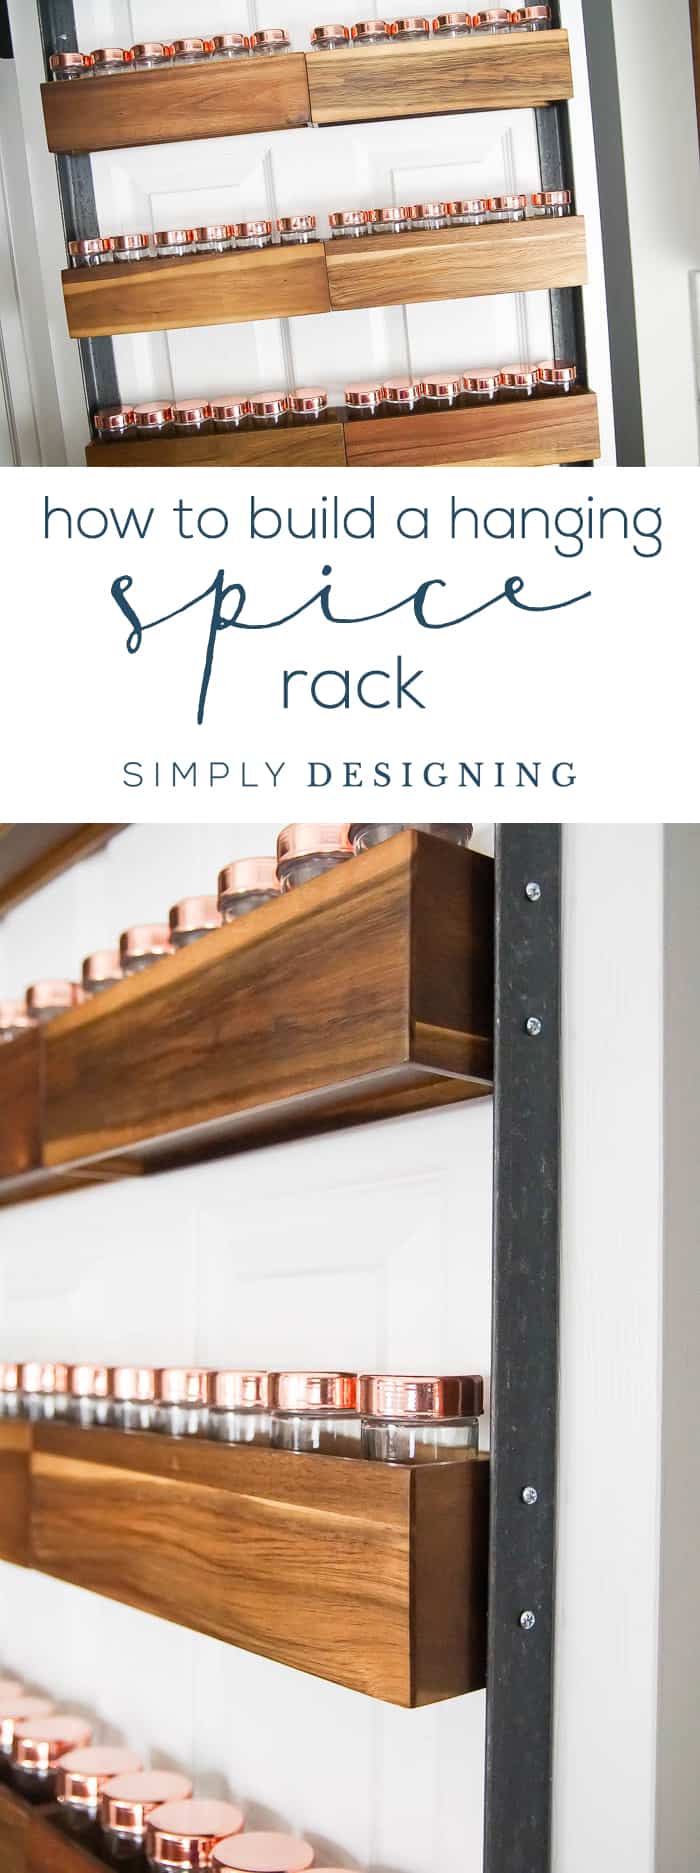
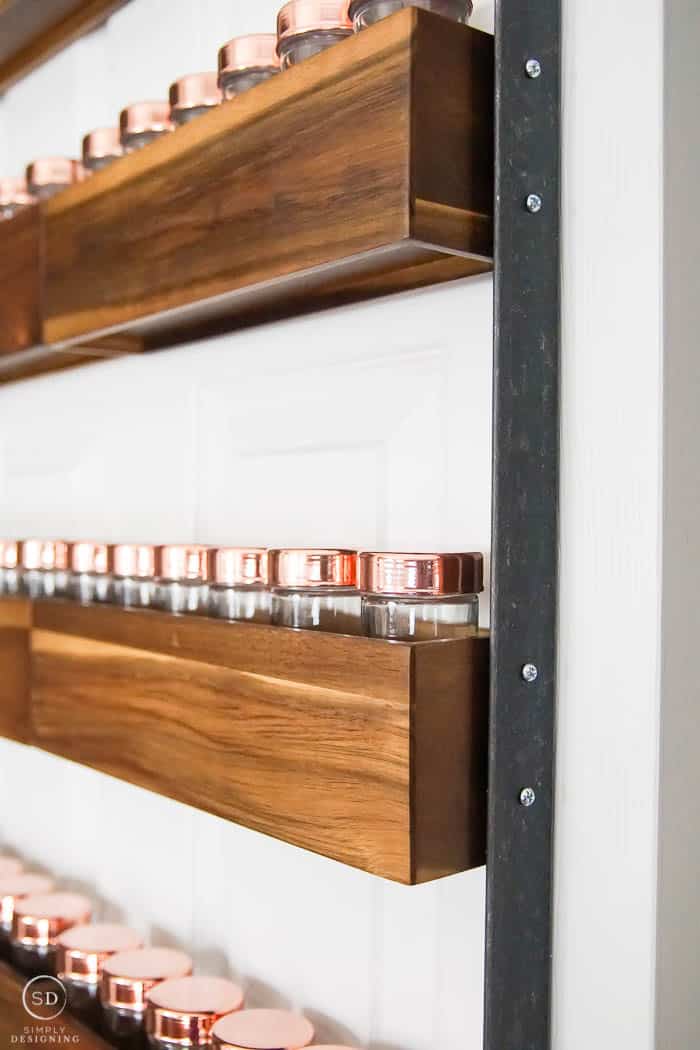
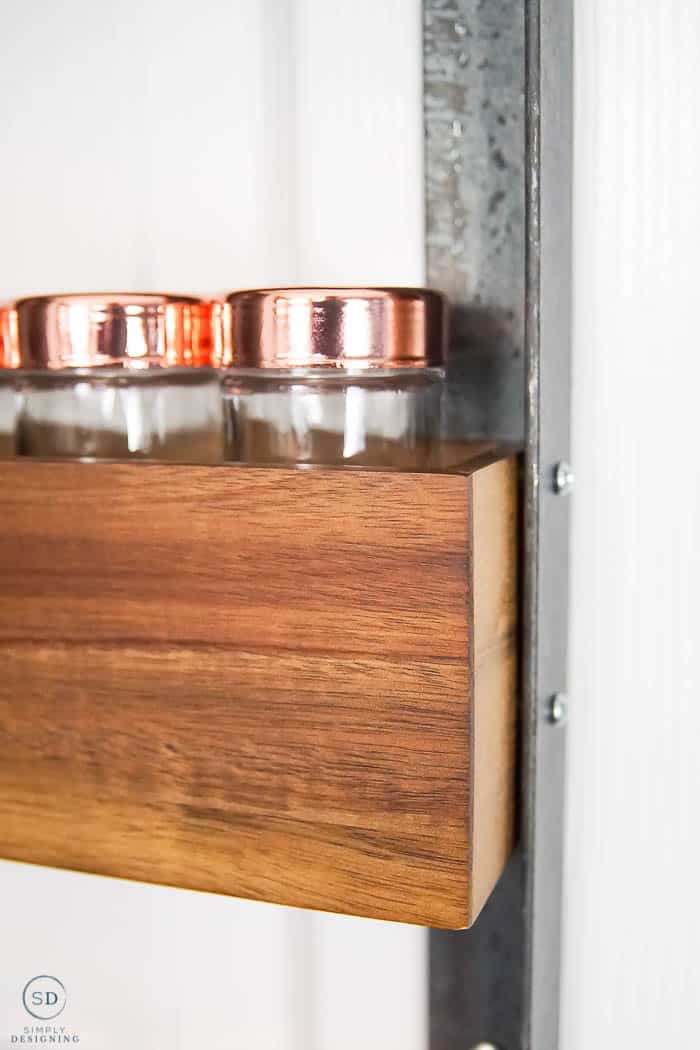
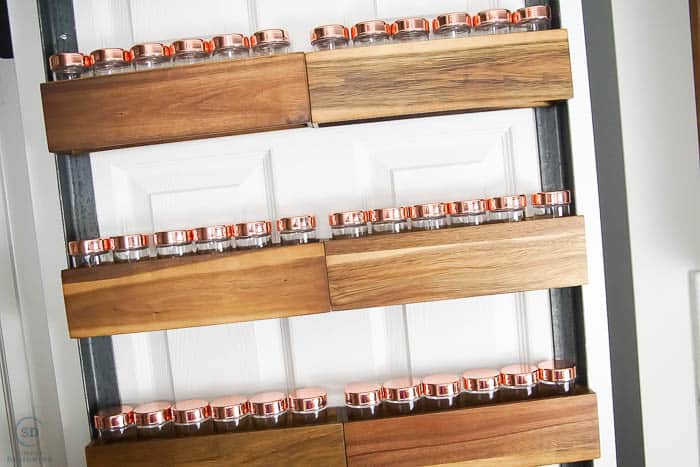
And so I decided to take these beautiful spice racks and attach them to some angle iron to create a beautiful industrial spice rack.
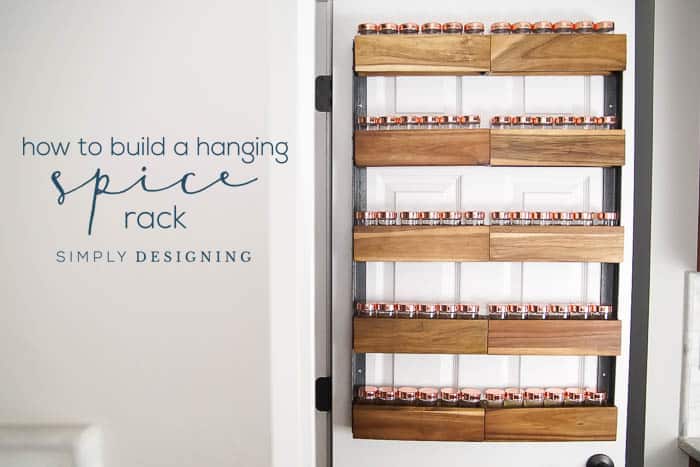
I built one spice rack for the top portion of my door and one for the bottom portion of my door. Once they were built, I attached them to my door and then I had beautiful, sturdy, non-wobbly, amazing, spice storage!
Because this is attached to the back of a door in my kitchen, my spices take up no shelf space, no cupboard space and I now have room for 108 spices. Oh my gosh...I think I need to buy some more spices! Haha
So today I will walk you through how to build a DIY Spice Rack just like this one. It really is easy to do, and you don't need many tools either!
But before we get into the tutorial, let me show you what this looked like BEFORE I tackled this project:
It's kind of embarrassing! Eek. Ok I can't look at it any longer...let's move on!
DIY Spice Rack
Supplies
- (18) Better Homes & Gardens Spice Racks
- (4) 36" ⅛" x 1 ¼" Angle Iron (you may need to modify this size depending on the size of your door, we were able to use 36" pieces on the top, but had to cut the ones on the bottom a bit to fit)
- (8) Plastic Toggle Hollow Door Anchors (ours can hold up to 124lbs, was for materials ⅛"-¼" thick, and was for a 5/16" drill size)
- Zinc Plated 6-32 x ½" Machine Screws
- 6-32 Steel Threaded Inserts
- #6 Zinc Plated Flat Washer
- Drill & Driver
- Compound Miter Saw
- Metal Cut Off Blade for Miter Saw
- Phillips Head Screwdriver
- Several Drill Bits including 5/16", 5/32"
- Drill Block (scrap piece of wood that you can use to drill pilot holes into metal angle iron)
- Level
- Tape Measure
- Pencil
- Sharpie
- Masking Tape
Directions
We began by removing all of the labels from the spice racks and setting the spice jars to the side. Then we used a compound miter saw with a metal cut off blade to trim the angle iron for the bottom spice rack.
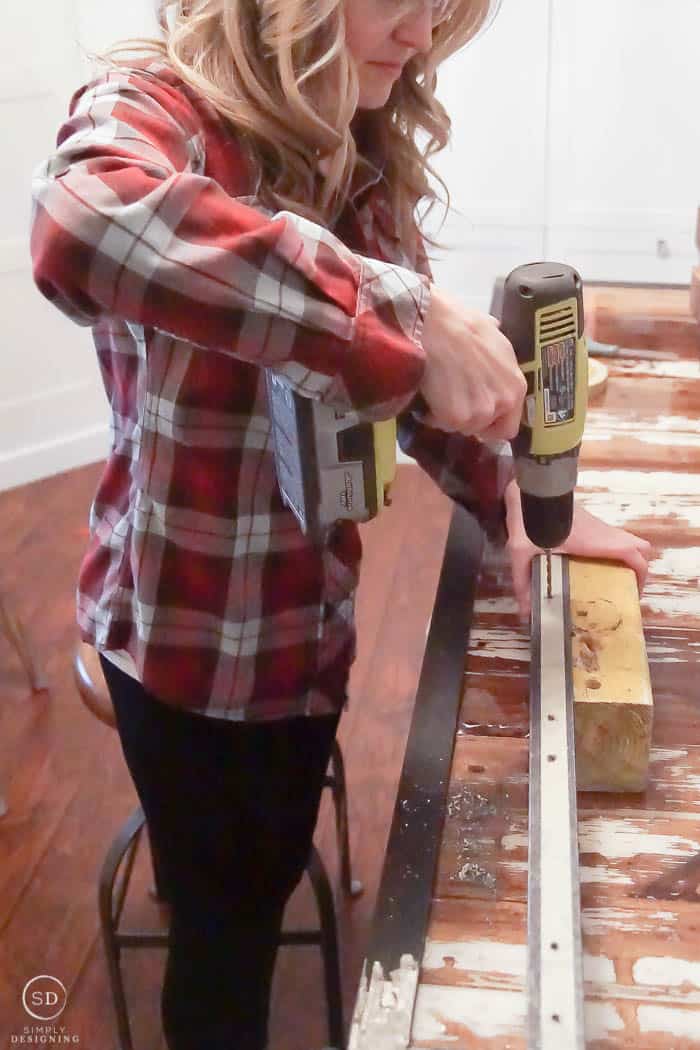
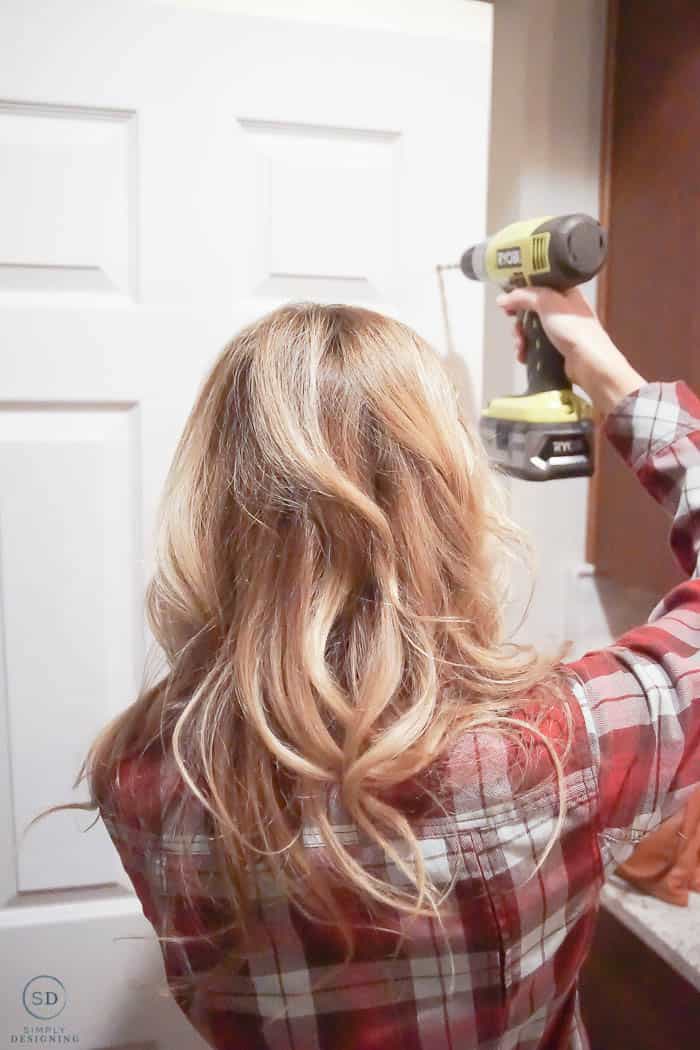
Next, we placed masking tape on the angle iron and marked out where each spice rack would go using a tape measure to space them evenly. We used a sharpie marker to indicate two spots where screws would attach the spice rack to the angle iron for each spice rack. And then we used the drill and 5/32" drill bit to drill pilot holes into the angle iron.
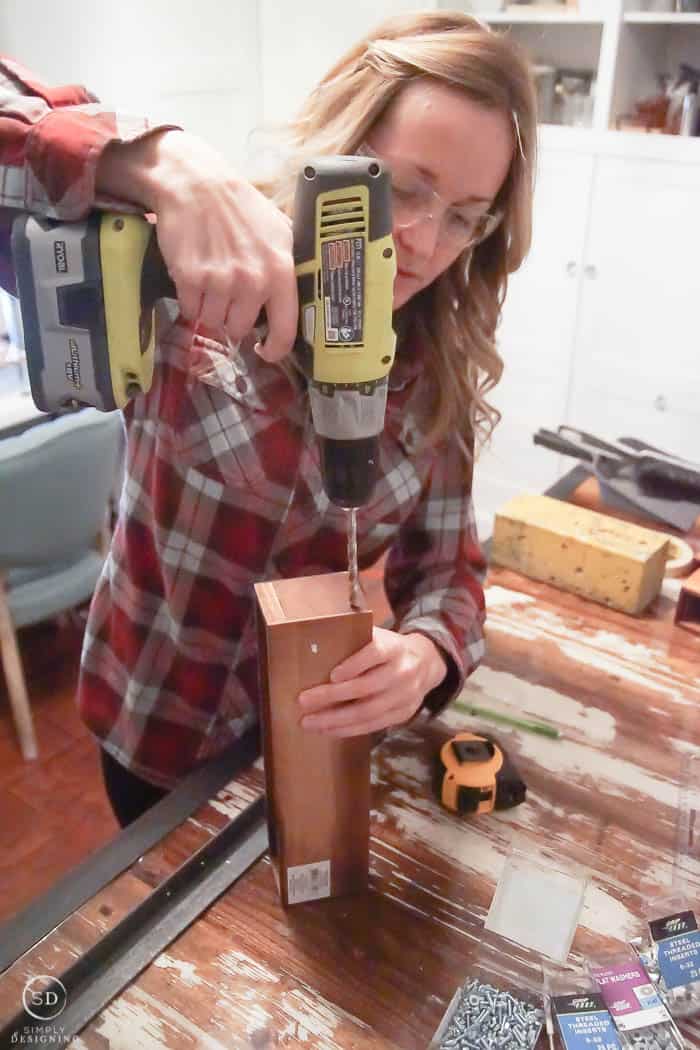
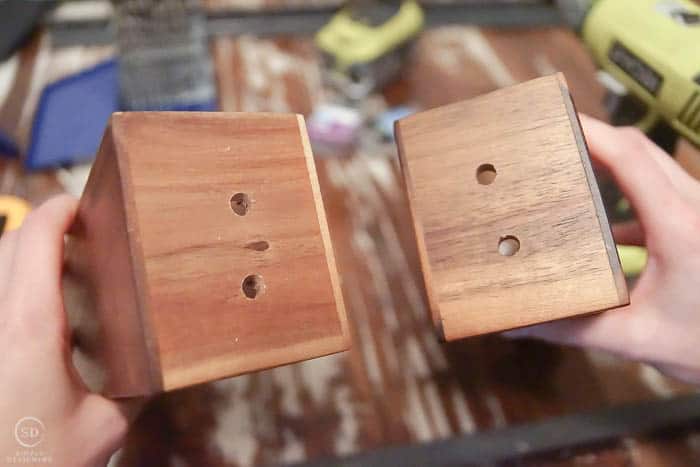
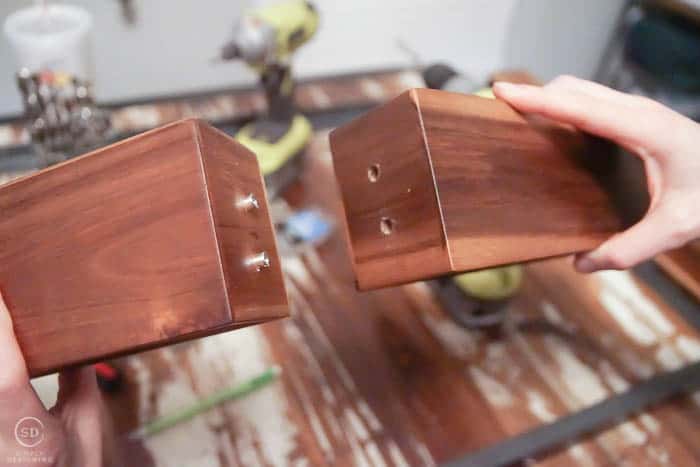
Then we drilled two holes that the threaded inserts would fit in, into the middle of the side of a spice rack.
We used a pencil to mark where those holes were on a second spice rack side and drilled those holes too.
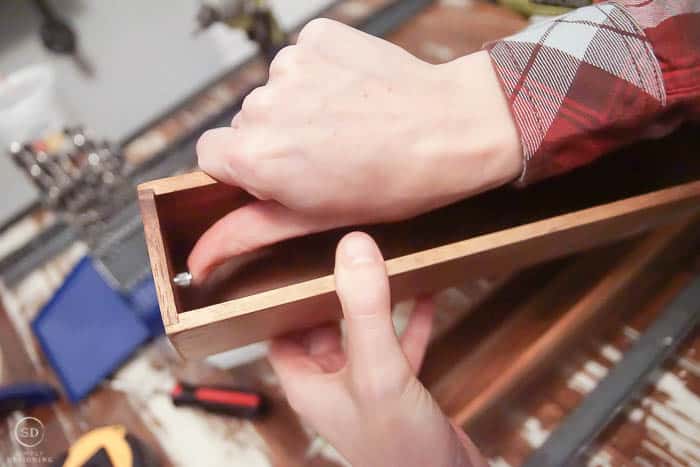
We inserted steel threaded inserts into one of the spice rack holes.
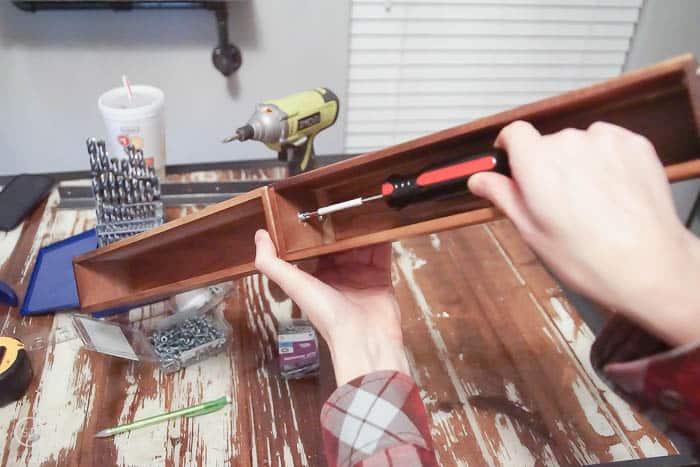
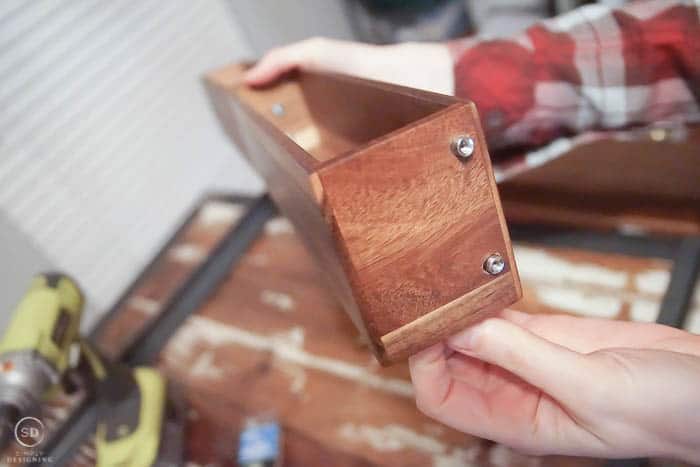
And then we used machine screws through the other holes to attach the two spice racks together tightening them by hand with a Phillips head screwdriver. We would need to repeat this process 9 times so that we had (9) sets of spice racks joined together horizontally.
We set the spice racks into the angle iron and used a pencil to mark where they would be attached together through the pilot holes. Then we used a drill bit to drill a hole large enough to fit the threaded inserts into them on the spice racks where we just marked.
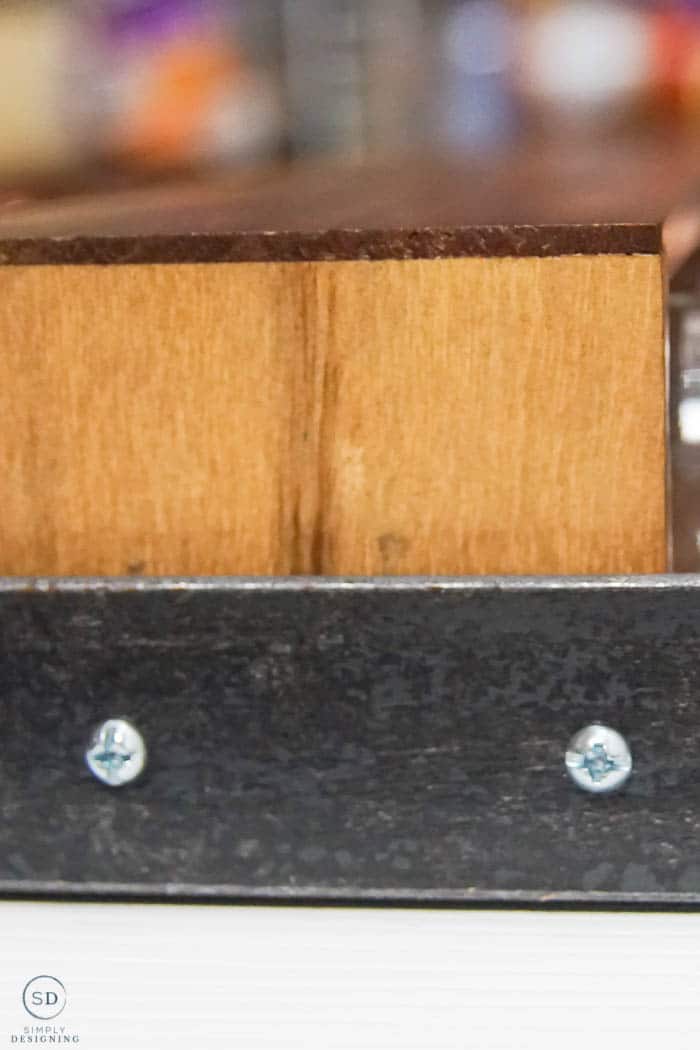
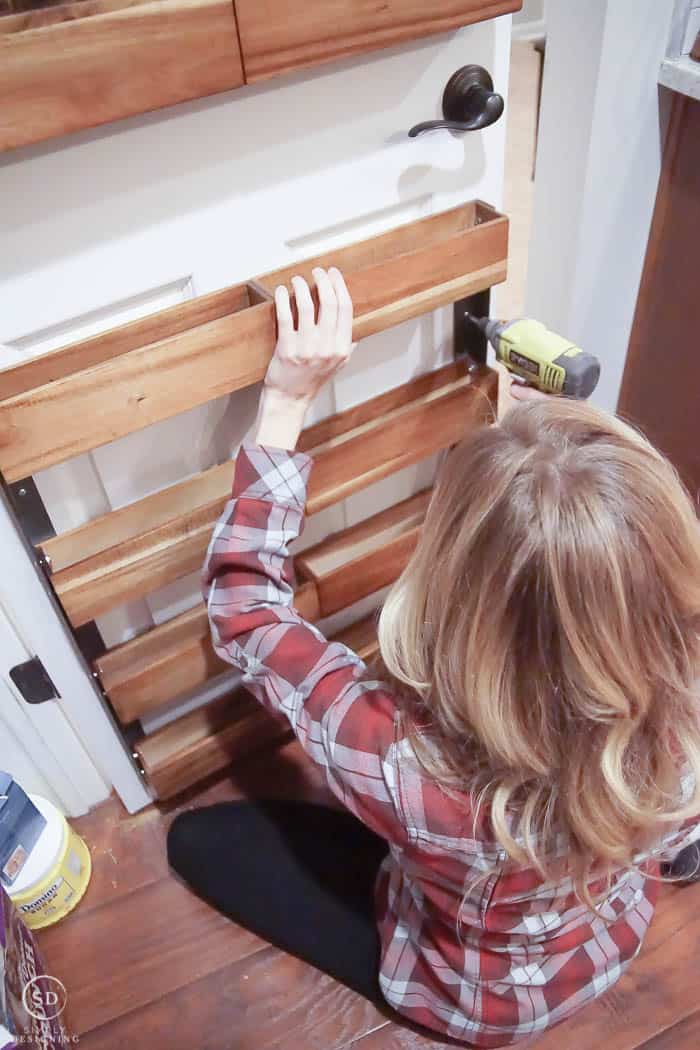
Then we used machine screws, a washer, and a driver to screw the spice racks to the angle iron.
We repeated that until all of the spice racks were attached to the angle iron.
Note that because the top of our door above the door handle is bigger than the bottom of our door, the top rack holds 5 rows of spice racks and the bottom rack holds 4 rows of spice racks. They are all evenly spaced, but that is why there is a difference. You will want to measure your door before doing this project yourself as all doors do vary in size.
We used hollow door anchors, screws and a driver to attach the hanging spice racks to our pantry door. And then the spice racks were ready to fill!
Because each of these spice racks comes with 6 spice jars, and I have 18 spice racks used in this project...that means I have storage for 108 spice jars!!! #SpicesForDays This is like a dream come true! Amazing right!? Ok...maybe excessive...but still pretty amazing in my opinion!
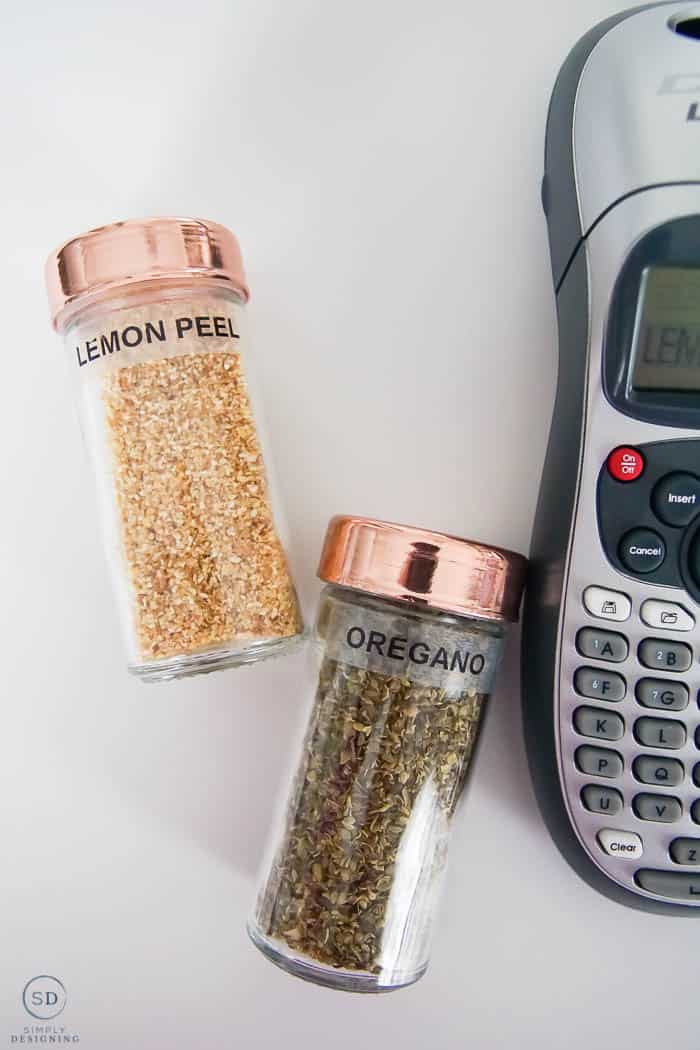
I am using a Dymo Label Maker with clear plastic tape inserts to add labels to all of these jars and transferring my spices from their ugly plastic containers into these beautiful ones! Oh wow, they are just so pretty!
I am so in love with my new DIY Spice Rack!
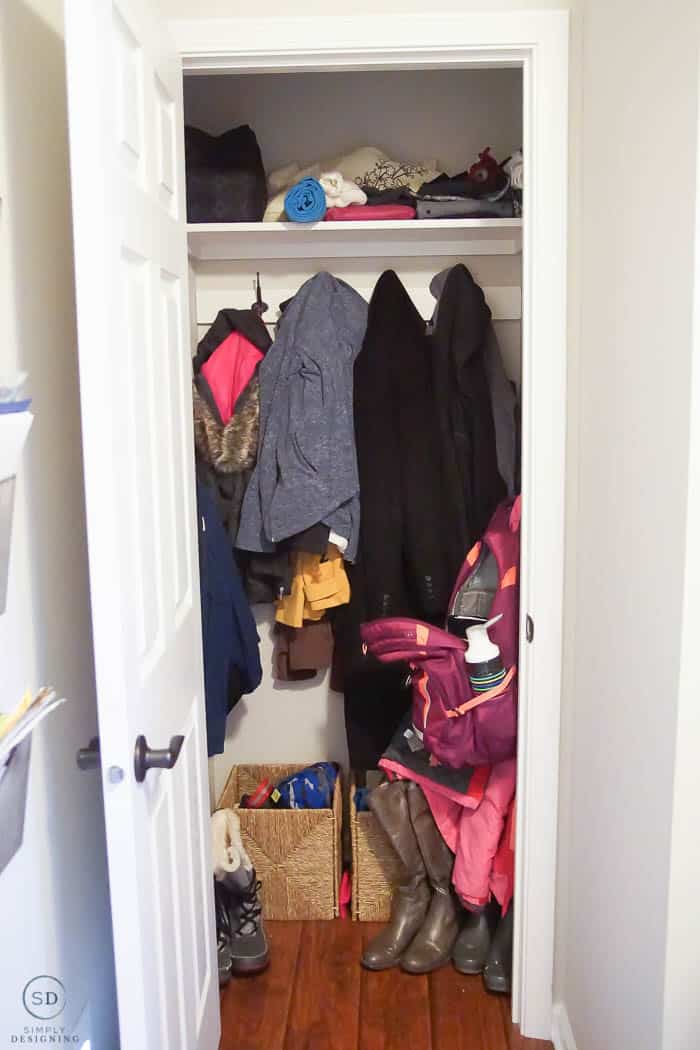
And while I was organizing my spices, there was another closet that was really bugging me. My coat closet. A couple of years ago we added hangers to this space which I still just LOVE. But with the winter weather upon us, this closet has gotten out of control with hats, coats, gloves, scarves, shoes, sweatshirts, you name it, it is in this closet! So I decided to do a little purging and organizing. I took things out that really weren't supposed to be in there (stuffed animals anyone!?), and I pared down the coat collection to ones we were currently using. Put most of the shoes in the shoe bin we have for that exact purpose, removed exercise equipment that was just collecting dust, and then got to work.
This is what my closet looked like before:
I took a poll on Instagram Stories yesterday to get your opinion on which baskets you liked better for hat/ glove/scarf storage. And man - oh -man the race is tight! At this moment in time, it is a 50/50 split! Hahaha The poll is still up so you can head over there and vote still because I would love your opinion.
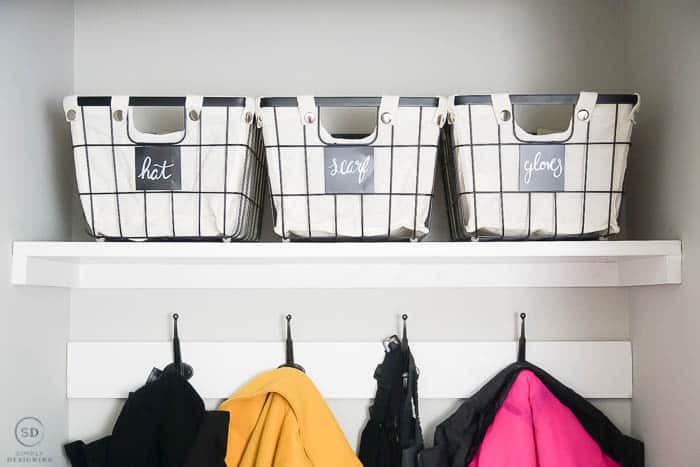
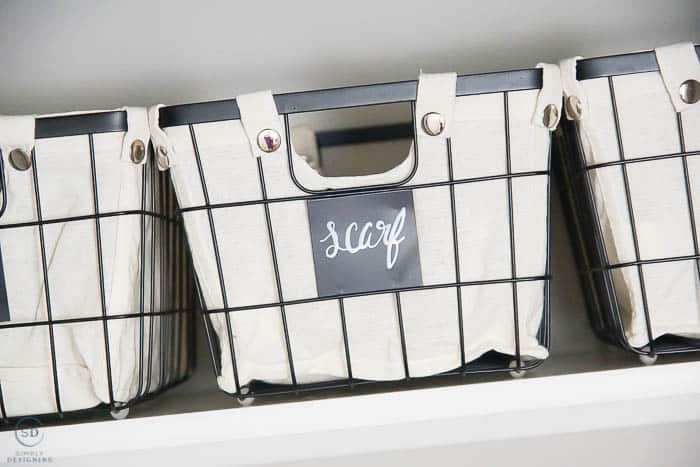
I had two baskets to choose from. One was a small Wire Basket with a Fabric Liner and Chalkboard Tag, the other was a Large Stacking Wire Basket. I loved them both!
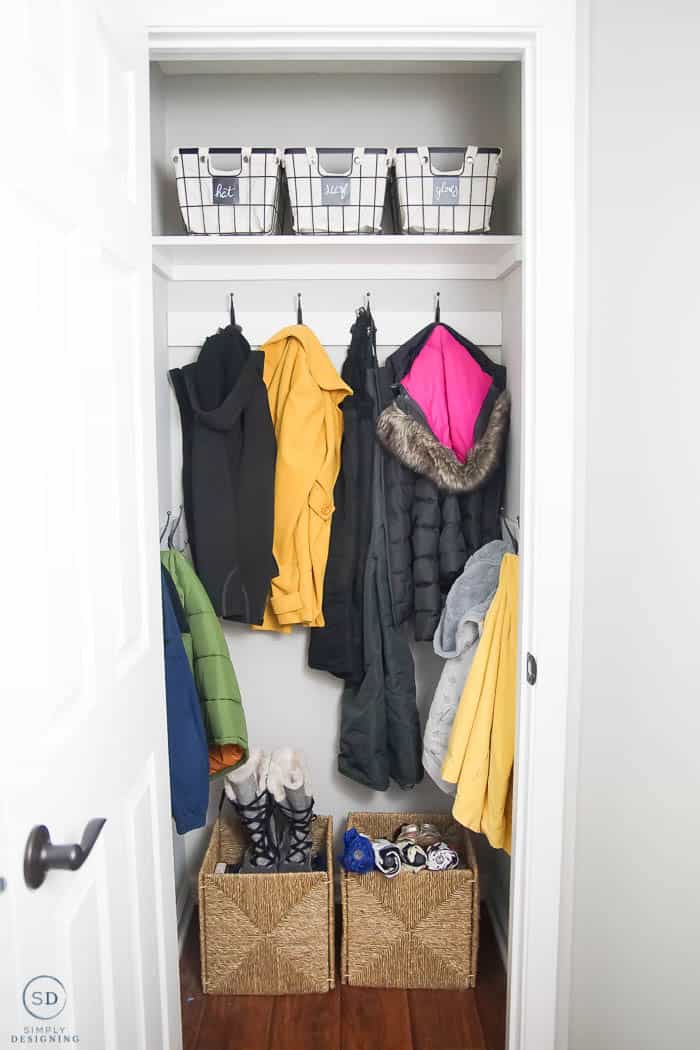
But after trying both of the baskets out, I found that the wire basket with the fabric liner fit on my shelf better, it hid the mess of hats/ gloves/scarves better and I really loved that I could take my chalk marker and write what is in each of the baskets on the front of the bins!
So I put three bins on my top shelf in my coat closet, did a little purging and organizing and I just love what difference it makes! My coat closet is finally under control again!
You can shop this look for this DIY Spice Rack project here:
- Better Homes & Gardens Spice Rack
- Better Homes & Gardens Small Wire Basket with Chalkboard
- Better Homes & Gardens Large Stacking Wire Basket (not shown in post but shared on IG Stories Poll)
If you enjoyed this DIY Spice Rack, you might also enjoy:
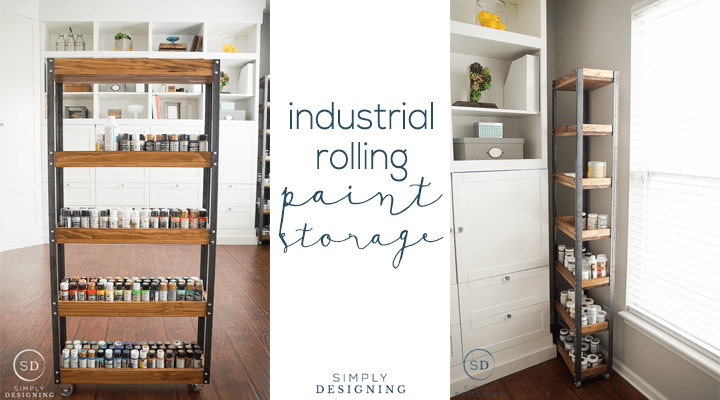
Industrial Rolling Paint Storage





Shirley Wood
This is a great solution to a genuine problem. We tossed most of our old spices when we moved recently and have to start over collecting them. A storage solution is in our near future. Thanks for sharing at Merry Monday.
cooknwoman
Yum sounds delicious!! I love that it's so simple! I'm also going to check out how to roast broccoli - we always put in in the microwave for 2 1/2 minutes with just a bit of water - it's perfect, still a bit crisp - but roasted sounds deliciously intriguing along with the corn!!
Thanks so much!!!