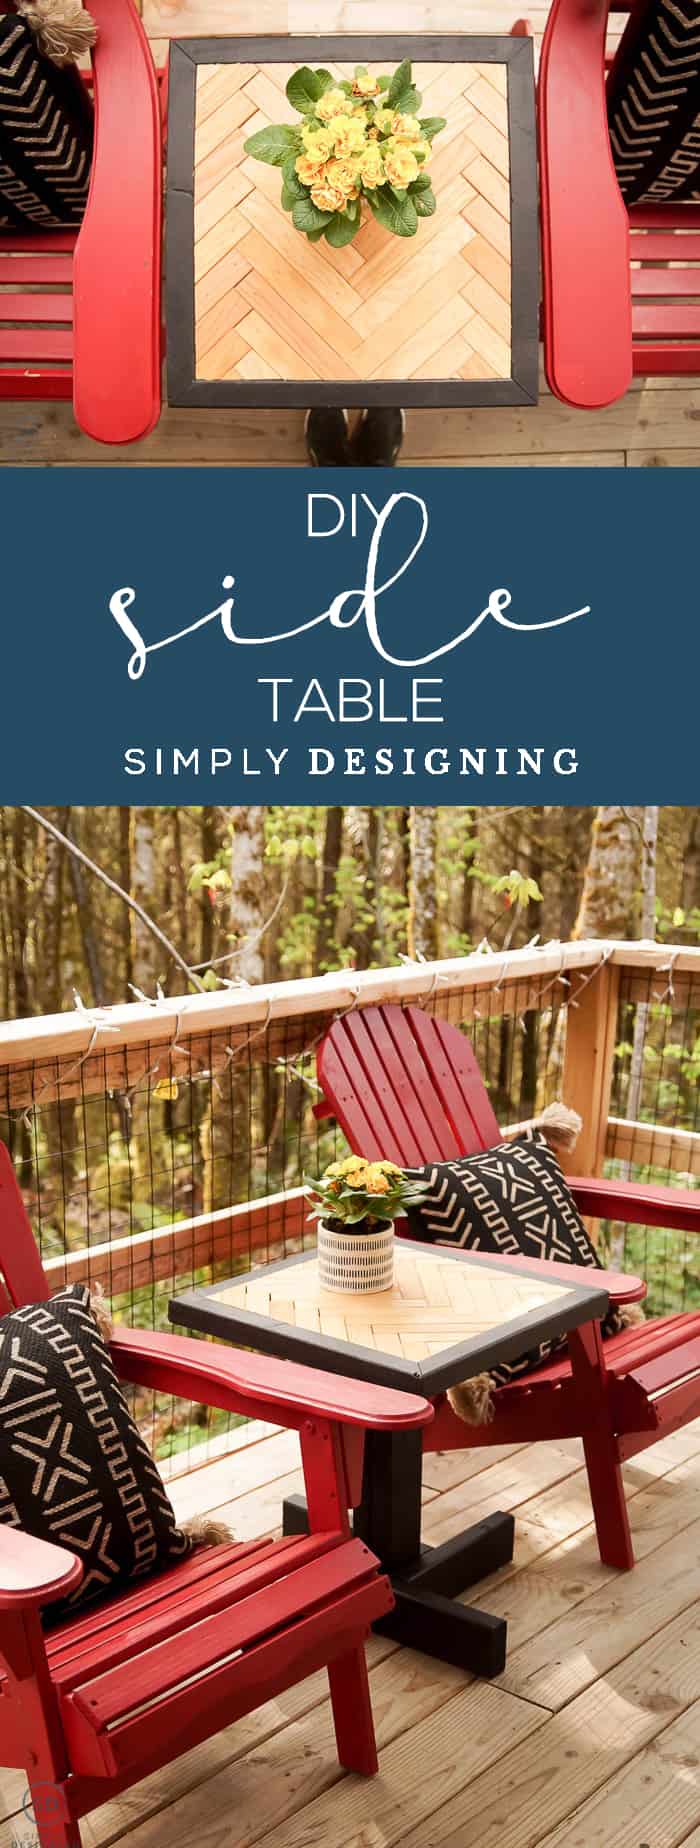
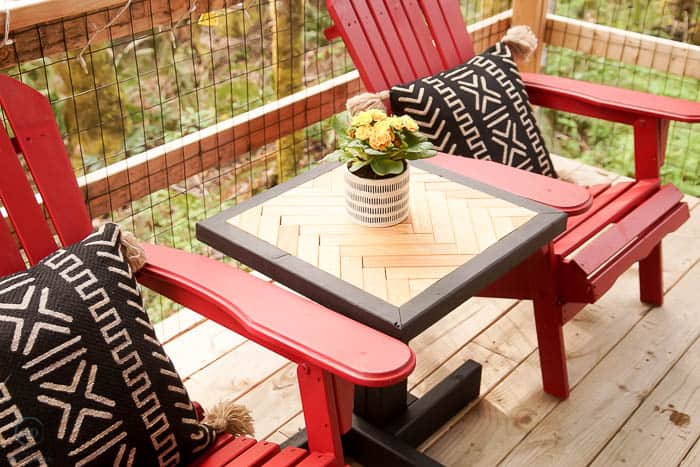
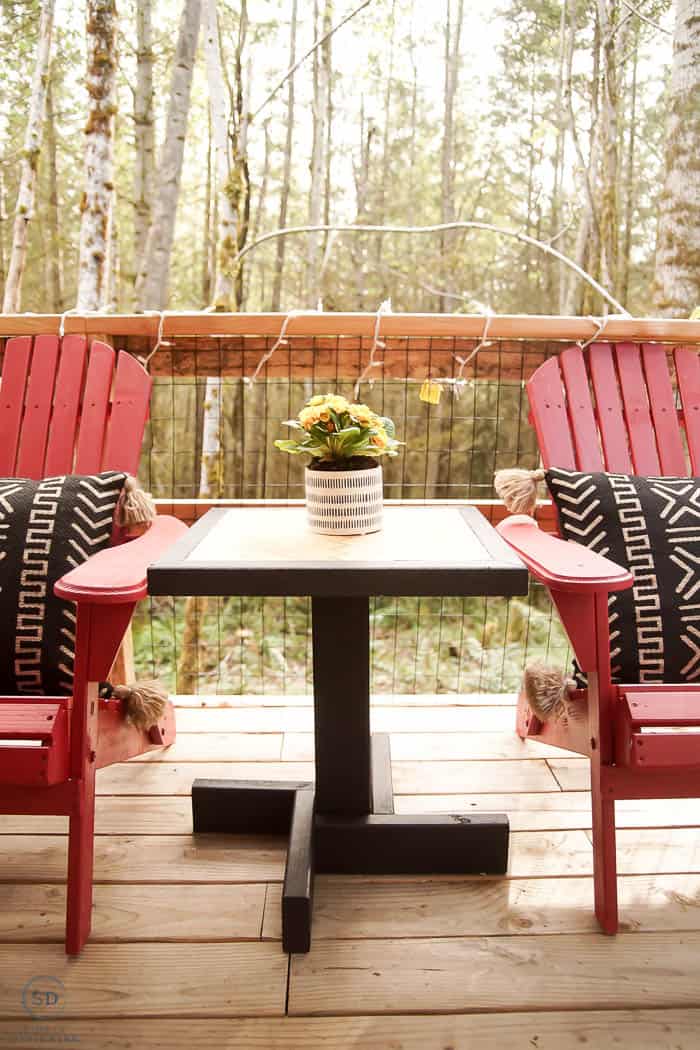
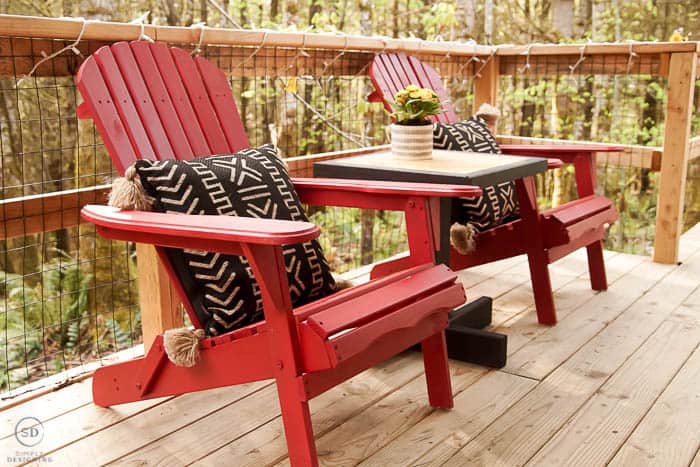
This beautiful DIY Side Table is a great way to create a stunning end table for inside or outside with scrap wood you may already have. Keep reading for the full details and tutorial so you can recreate this yourself.
Thank you to Wagner for sponsoring this post. All opinions are mine. Affiliate links are included for your convenience. Thank you for supporting my blog.
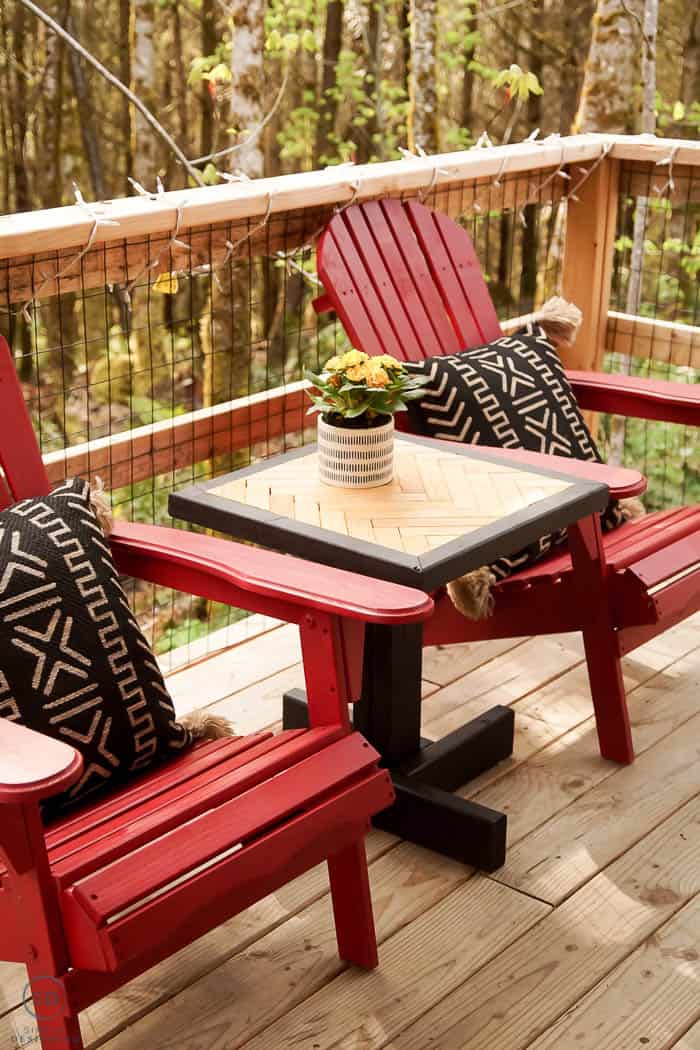
DIY Side Table with Herringbone Accent
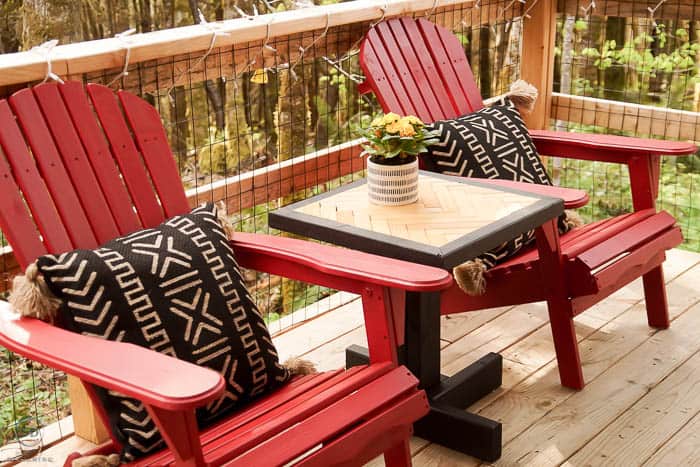
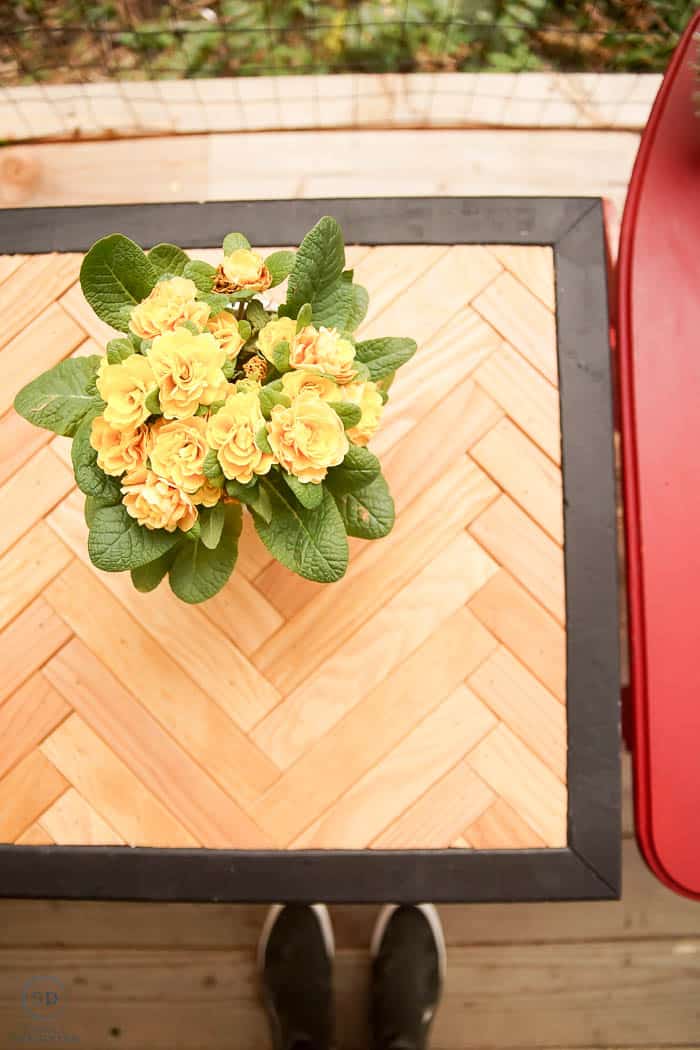
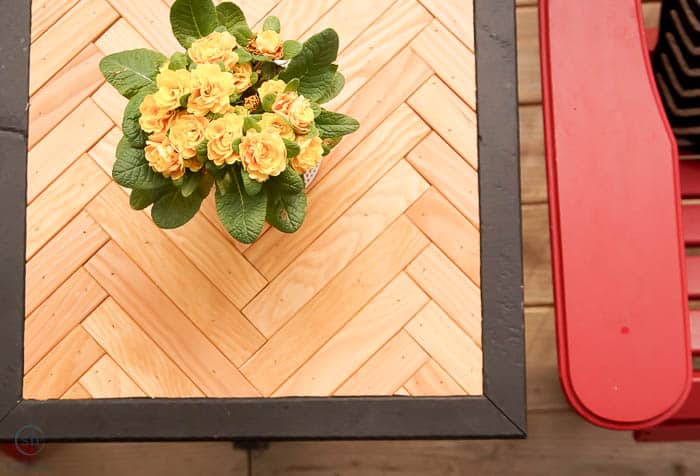
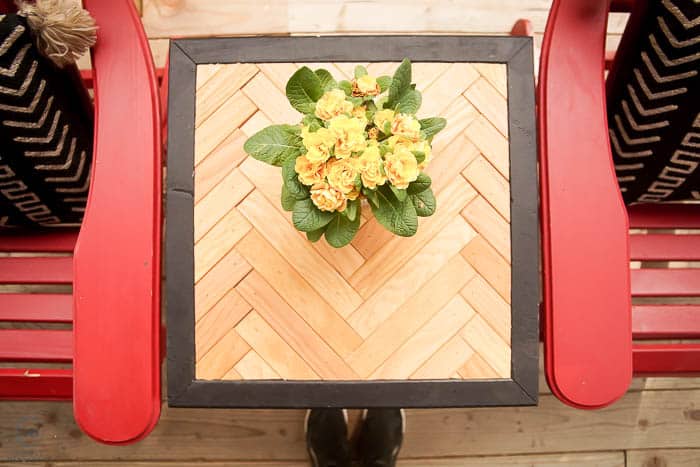
Making a side table is fun and can be easy too. But I wanted to make sure that this end table was something special so I added a fun herringbone inlay accent on top to make this table unique, beautiful, and special.
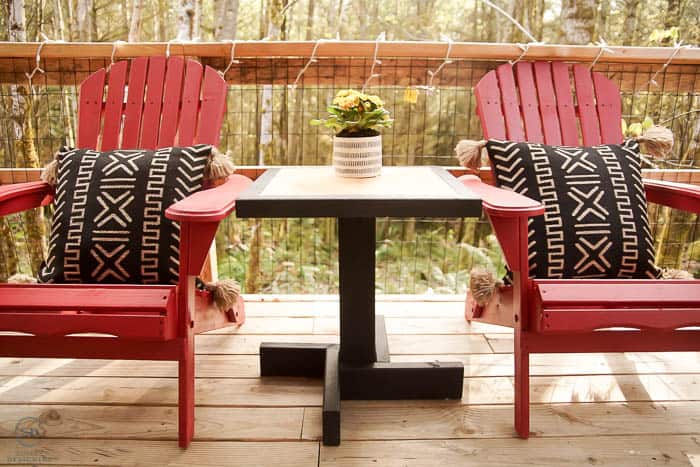
I created this table to go in between my cute, recently painted Adirondack chairs. Check out those chairs HERE.
Is it hard to make a side table?
It isn't too hard to make this DIY end table, but some may be easier and some may be harder. You will want to choose a plan to make a side table that fits your skill level. But I will share enough details about how to make this side table that I think anyone can recreate it with a little time and effort.
What supplies will I need to make an end table?
- Wood
- Screws
- Paint
- Stain
- Spray Shelter
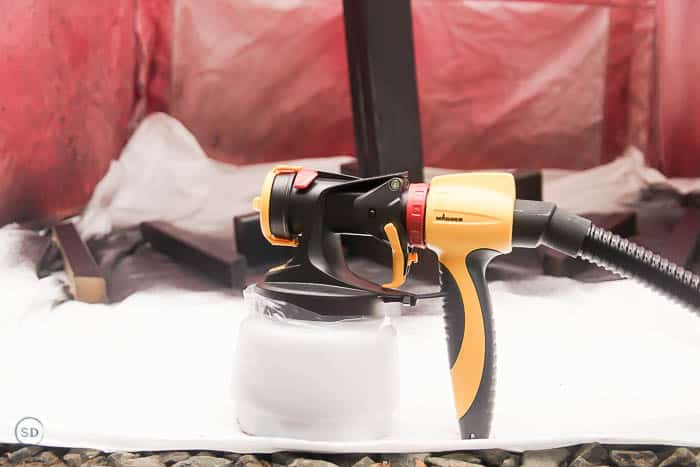
- Wagner Flexio 4000 Paint Sprayer
- Wagner Paint Spray Cup Liner
- Compound Miter Saw
- Electric Sander
- Drill
- Nail Gun
- Kreg Jig
- Table Saw
- Cut off tool
- Stain brush
- Rag
- Drop cloth
- Strainer
How much time will it take to make this end table?
You will need to allow a few hours to build this end table, and then you will also need to allow additional dry time for the paint and stain. We built most of the table on one day and painted and stained it. Then we let it dry overnight and finished assembling it the next day. It did not take two full days to create but we needed to allow time for it to dry so this was a great way for us to do it.
Is herringbone still in style?
Herringbone is a timeless pattern. It has been around and popular for centuries and I don't see it going anywhere anytime soon. Chevron, which is a variation on a herringbone pattern does tend to be more trendy and go in and out of style a bit more. But herringbone is here to stay.
What if I don't want to do a herringbone pattern on top?
That's totally fine. You can just use a solid piece of wood as I used for the base of the tabletop, or you can create your own design. I love to see people make projects their own.
Is this an indoor table or an outdoor table?
I made this table to be used outdoors. So I used woods like cedar and pine. I also used finishes that would hold up outdoors like an outside stain. You can definitely make this for use inside though. You can use the same finishes or you can change it up to use interior finishes.
If you use interior finishes, you may want to add a sealing topcoat to the entire table when you are done to help the finish stay longer.
If you are using this outside, you can also add an additional topcoat if desired. I would spray that on using my paint sprayer at the very end after it is completely assembled.
Why did you use the Wagner Flexio 4000 for this project?
This was my first time using the Wagner Flexio 4000 and I wanted to take a minute to share somethings I really liked about this paint sprayer!
- It is lightweight and easy to hold! The motor is housed in a base so it makes the handheld portion lighter than other paint sprayers that have the motor and spray portion together.
- It comes with two different spray cans, one for thicker materials like latex paint, and one for thinner materials like stain or for a fine finish.
- It has variable power options to accommodate different products.
- It has variable speeds to make spraying any area quick.
- You can use it indoors or outdoors.
- Cleaning was pretty simple and not too messy.
- Wagner also makes plastic bags to put in the paint sprayer to make cleaning even easier. This may be my favorite thing ever!! Seriously. I need to buy a stash of these asap!
- Zippered bag to store it all in!
- This works well for projects both big and small.
- It works for a large variety of paints and stains including exterior paint, interior paint, latex paint, wood sealers, water-based stain, oil-based stain, outdoor stain, milk paint, chalk paint, primer, lacquer, urethane etc. Basically, if it can be sprayed, it can probably be used in this sprayer.
- Super simple directions to follow.
- Can probably meet all of your painting needs and could easily be your only paint sprayer
What can I use as a side table?
Here are a few alternatives for using as a side table if for some reason you don't want to build this super awesome amazing end table!
- Floating Shelves
- Small dresser
- Industrial Pipe Shelves
- PB Knock Off Shelves
- Farmhouse Shelves
- Crate turned upside down (use one big one or stack three)
- Chair
- Stool
- Trash can turned upside down
- Old suitcase
- Trunk
- Big stack of books
- Filing Cabinet
But really...just make this table! You'll be glad you did!
Supplies to make this DIY side table
- 2" x 4" Wood
- 2" x 2" Wood
- 1" x 2" Fir or Cedar Wood
- 16" Wood
- Screws
- Black Outdoor Paint
- Outdoor Stain (we choose a cedar color)
- Spray Shelter
- Wagner Flexio 4000 Paint Sprayer
- Wagner Paint Spray Cup Liner
- Compound Miter Saw
- Electric Sander
- Drill
- Nail Gun
- Kreg Jig
- Table Saw
- Cut off tool
- Stain brush
- Rag
- Drop cloth
- Strainer
How to make a DIY side table
STEP 1:
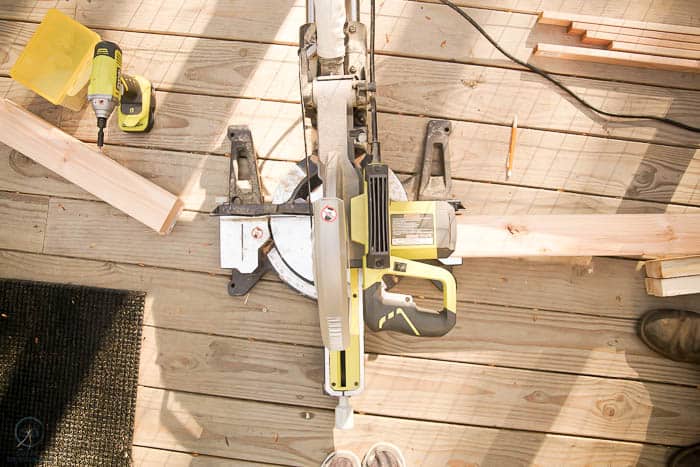
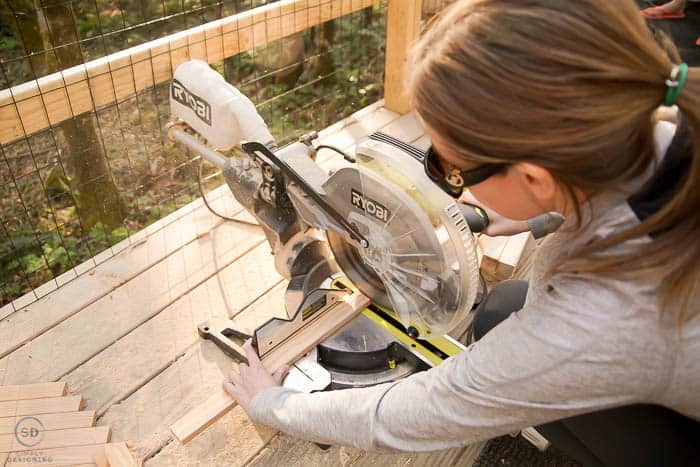
Cut (2) pieces of 2" x 4" wood to 19" in lengths. Screw these together, with screws coming from both side, to make an inexpensive 4" x 4" center post.
Cut (4) pieces of 2" x 4" wood to 12" lengths.
STEP 2:
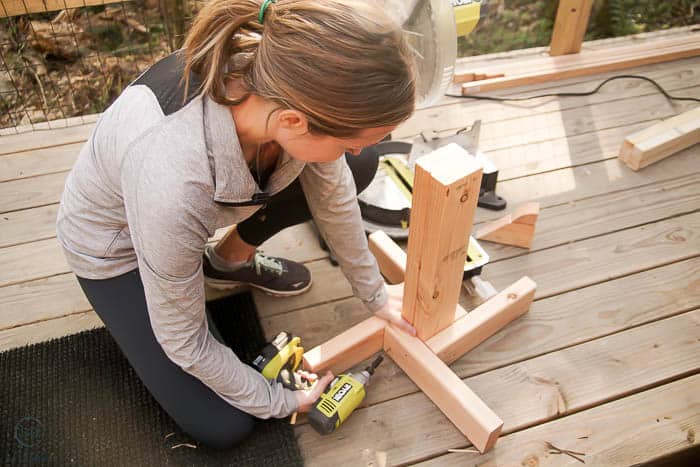
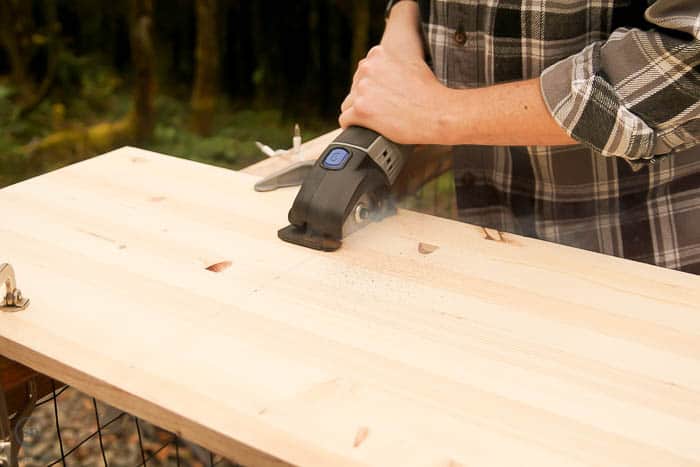
Screw the 2" x 4" 12" board into the base of the 4" x 4" center post as shown in the photo above. Give it a quick sanding.
This is your table base! Set it aside, as you will paint this black later.
STEP 3:
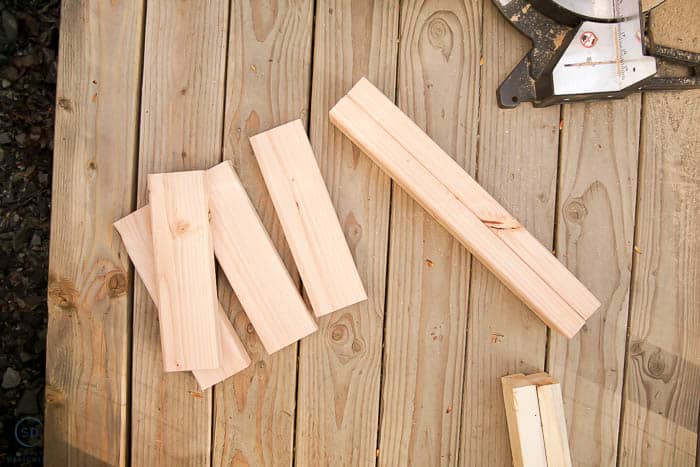
Cut your 1" x 2" boards into 8" lengths. You will need about 40 of these.
STEP 4:
Cut your 16" board into a square so you have a 16"x16" board.
Cut 4 lengths of the 2" x 2" at 45-degree angles to fit around the tabletop as a border.
Cut 4 additional 1" x 2" lengths to fit around the 4" x 4" base like molding (but they will actually be used to hold the tabletop and table base together.)
STEP 5:
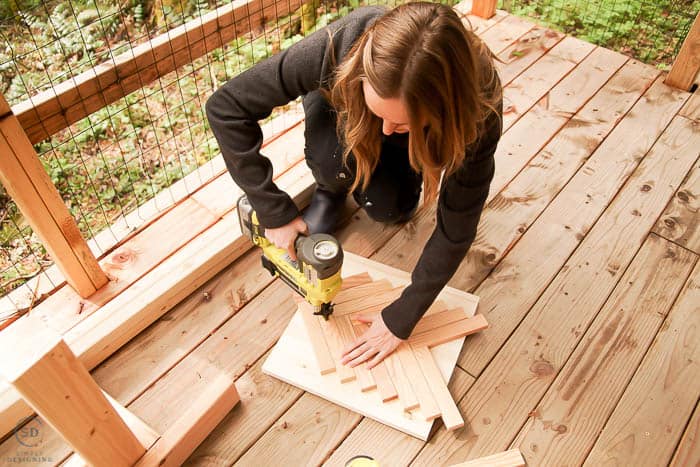
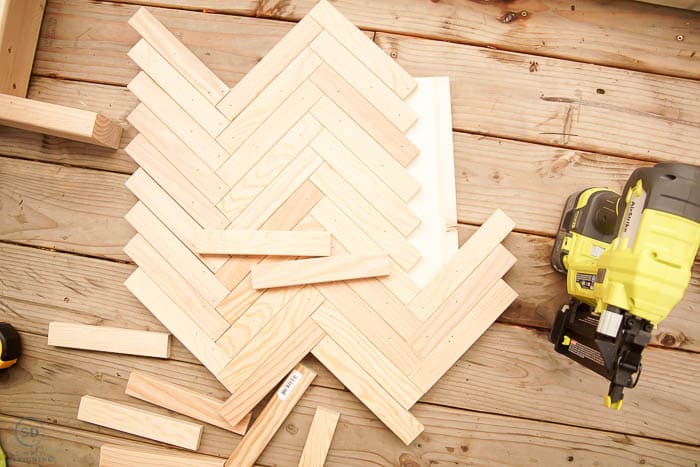
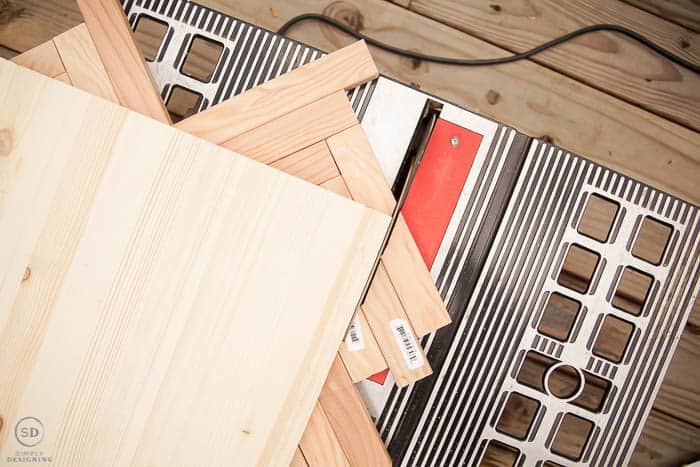
Beginning in the middle, lay your 1" x 2" x 8" boards in a herringbone pattern on top of your 16" x 16" board. Use a nail gun to secure the boards in place. These will extend beyond the 16" x 16" board. It is ok, we will trim them off in the next step. Just be sure to secure every single board to the baseboard underneath with at least 2 nails from your nail gun.
STEP 6:
Flip the tabletop upside down and use a table saw to trim off the excess herringbone boards.
STEP 7:
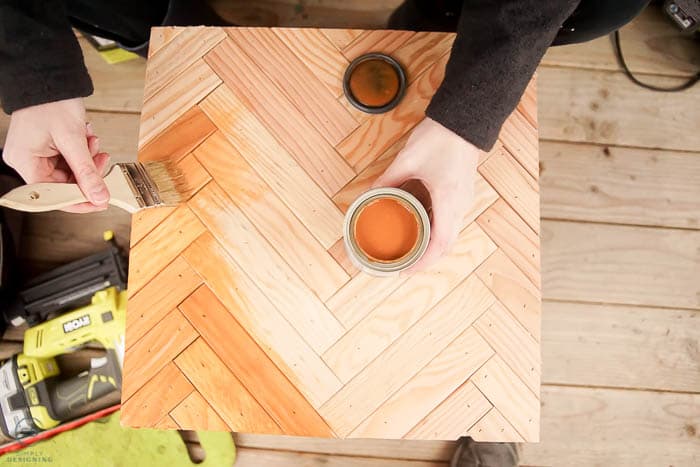
Use your favorite stain and a brush to apply stain to the herringbone portion of your table. Use a rag to wipe off the excess.
You can also use your paint sprayer to spray the stain on. But since it was such a small area, I decided to do this one by hand.
STEP 8:
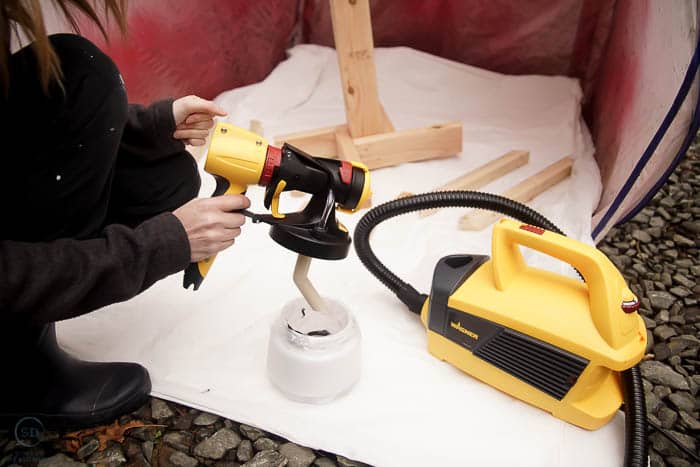
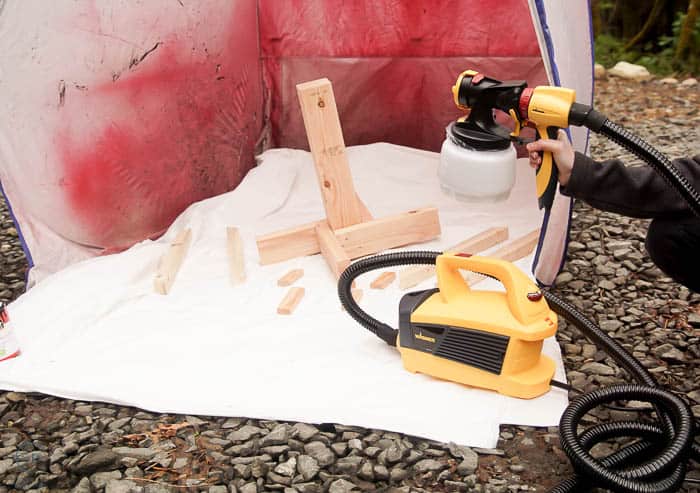
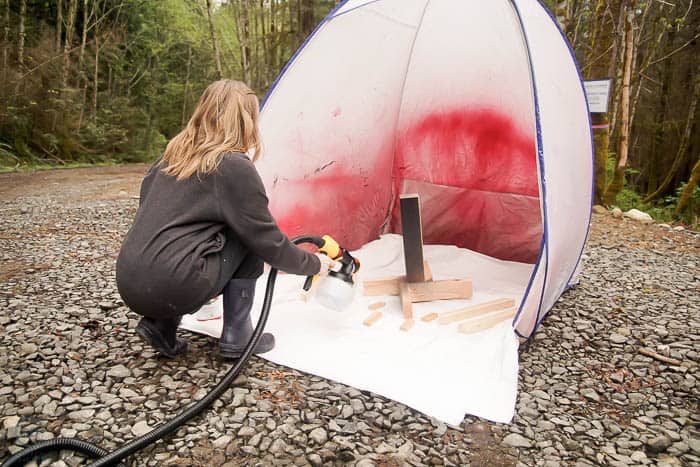
Set up a spray shelter and place a drop cloth in the bottom of it.
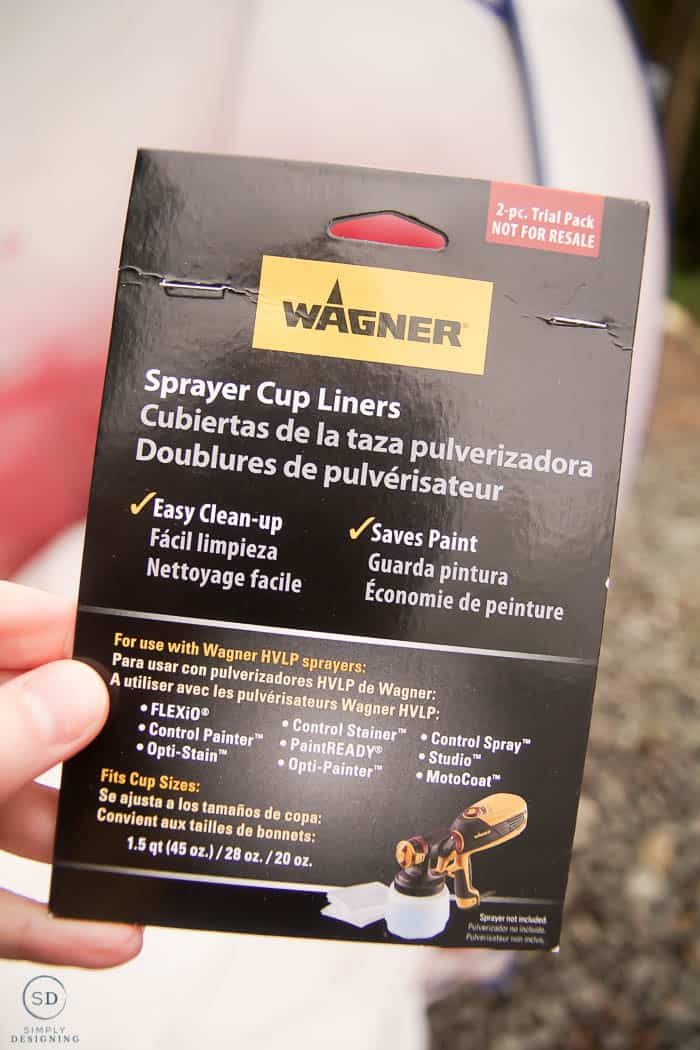
Prepare your paint by stirring it, then using a strainer to put it in the paint holder of your paint sprayer. I used one of the plastic bags from Wagner designed to go in the paint container to help with clean-up. I will admit, this is probably the best thing I have seen in a long time! It worked great and made clean up even easier!
STEP 9:
Spray the table base, tabletop border pieces, and the molding pieces to connect the two with two coats of black paint. Make sure to spray all sides and let it dry completely.
STEP 10:
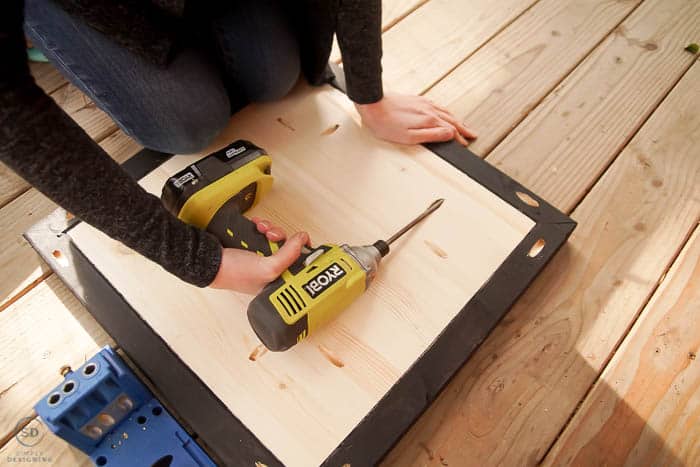
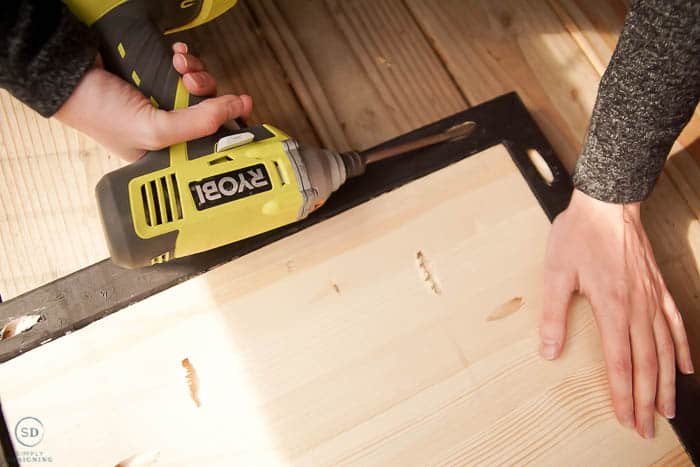
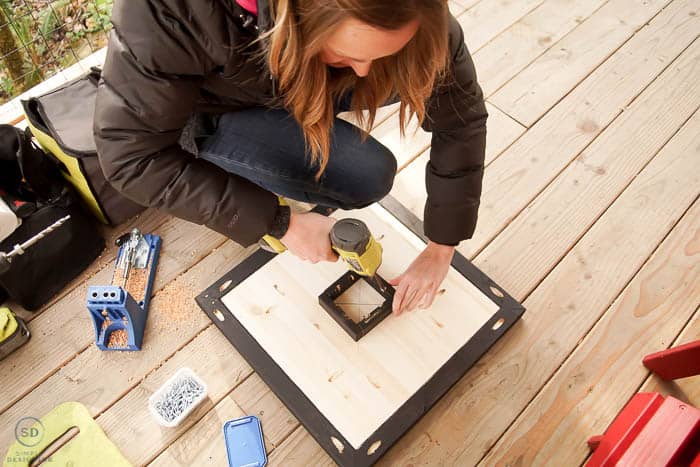
Once everything is dry, use a Kreg Jig to attach the tabletop borders to the tabletop and to each other to create a strong join.
STEP 11:
Use a Kreg Jig to attach the molding pieces onto the bottom of the tabletop as shown in the photo above.
STEP 12:
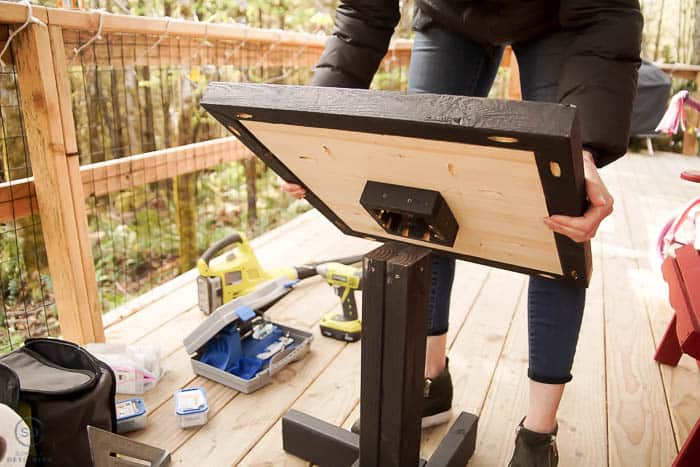
Place the tabletop onto the table base with the molding surrounding all sides of the table base.
STEP 13:
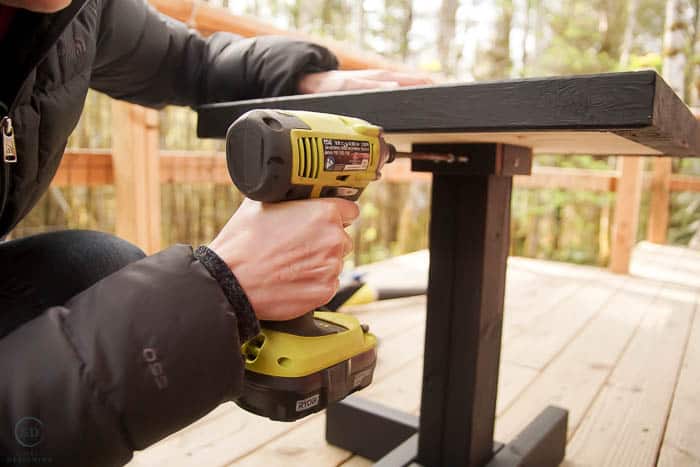
Use screws to screw the molding into the tabletop base. This will secure the top and bottom of the table to each other.
STEP 14:
Add flowers or decorate it as you like! Congratulations, you made your own side table!!
Didn't this DIY side table turn out so well!? I really love this and am so excited to have a spot to put my drink when I go and sit in my cute red Adirondack chairs on my deck that I painted not long ago!
You can also check out more details on the Wagner Blog HERE.
You might also enjoy these posts:
How to Paint Shutters & a Front Door
How to Waterproof Leather Boots








Michelle
This is such a beautiful table! I love the design. And it looks like it's in such a cozy spot!