This post is sponsored by Home Depot. All ideas and opinions are 100% my own. #DIHWorkshop
Last week I shared about the upcoming Do It Herself Workshop at The Home Depot for this cute Holiday Ornament Display. (There is still time to sign up to participate in your local workshop HERE.) I love how it is so simple to customize this holiday ornament display and turn it into something that is truly your own and that fits your decor. So today I am excited to share my Rustic Holiday Ornament Decor with you and show you how I made it my own, and then hopefully you will be encouraged to sign up and participate in the next DIH Workshop to create your own fun holiday decor!
DIH Workshops at The Home Depot are great because they offer fantastic workshop where you learn how to create something fun no matter what your experience level is. There are people there to help you and answer any questions you may have as well. This would make a great Girls Night Out with your besties too! Or a wonderful place to meet new friends. You really should sign up for the Holiday Ornament Display Workshop, it will be so much fun!
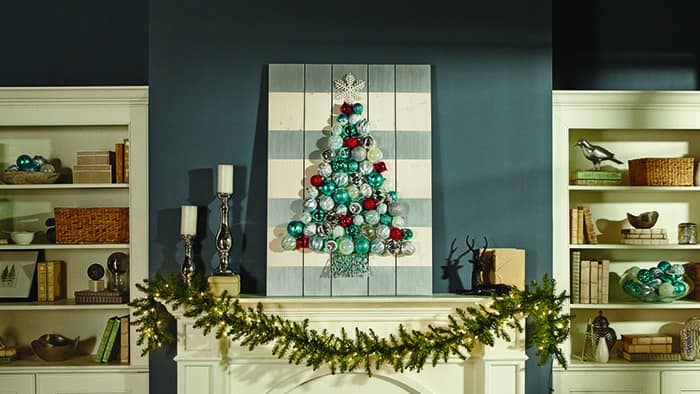
Now, if you remember, this is The Home Depot's version of the Holiday Ornament Display:
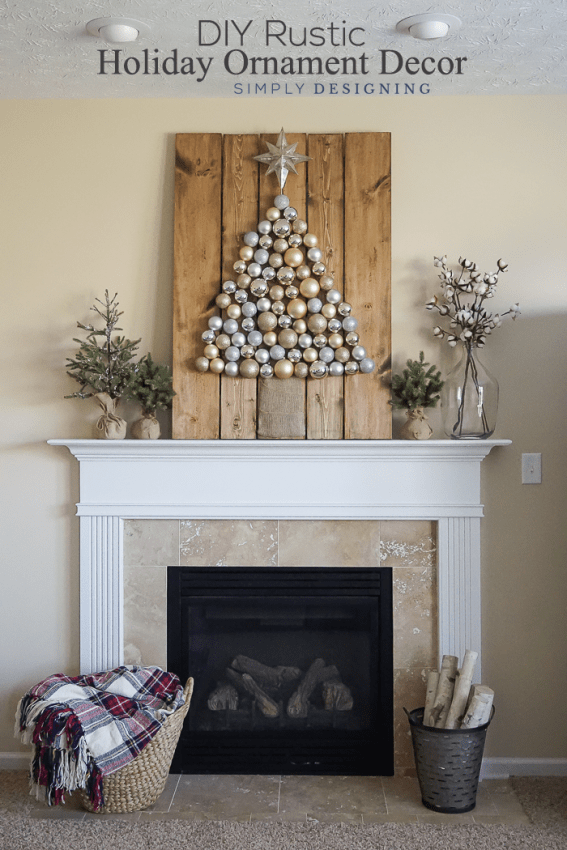
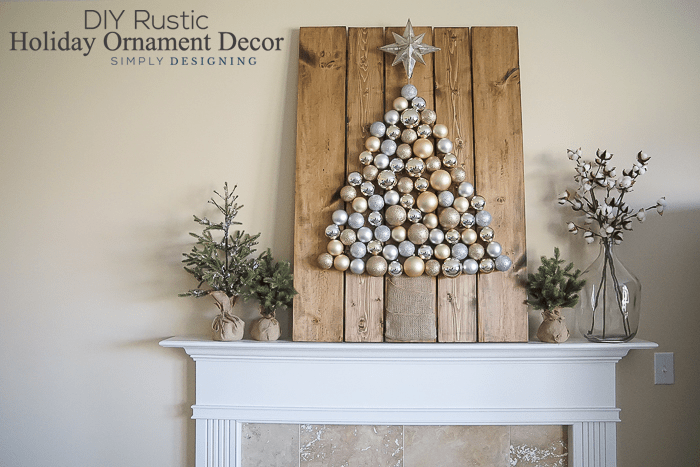
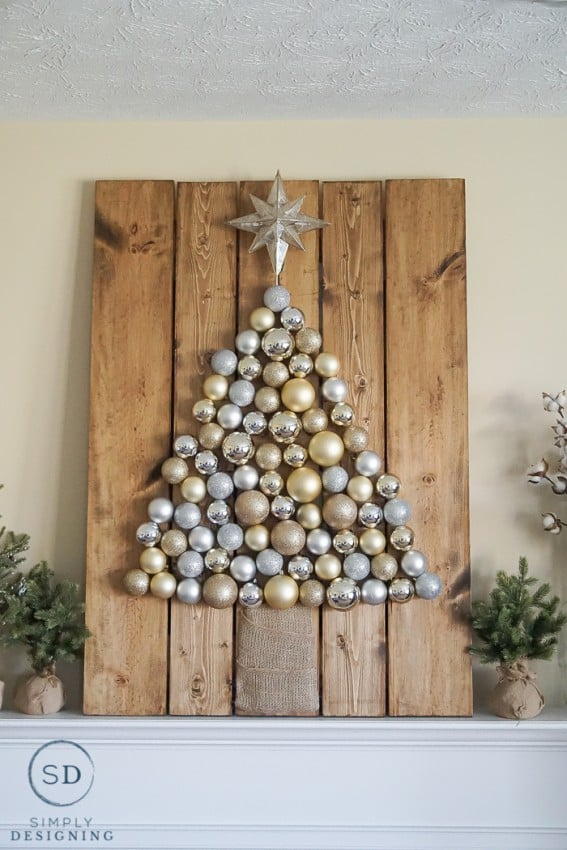
And this is my version of this Rustic Holiday Ornament Decor:
And here is how to create it:
DIY Rustic Holiday Ornament Decor
Supplies:
- (1) 1" x 8" x 12' Common Board (I couldn't fit a 12' board in my car so I bought (1) 8' board and (1) 6' board instead)
- (1) 1" x 6" x 8' Common Board
- (1) 1" x 4" x 6' Common Board
- (1) Box #8 1 ¼" Flat Head Screws
- (1) 27 count Ornaments (I couldn't find a 27 pack of ornaments at my local Home Depot so I snagged (1) 9 pack of large gold ornaments, (2) 12 packs of medium sized gold ornaments and (2) 12 packs of medium sized silver ornaments.)
- Star or other item for top of tree
- Burlap, ribbon or other item for bottom of tree (I had this on hand already.)
- (2) Paint Sticks
- Paint or Stain (I used stain that I had on hand already for my project.)
- Paint Brush or Rag for Stain (and small foam brush too)
- Circular Saw (I used my compound miter saw instead for this project but either would work.)
- Drill
- Sanding Block
- Hot Glue Gun and Glue Sticks
- Measuring Tape
- Safety Glasses
- Pencil
Instructions:
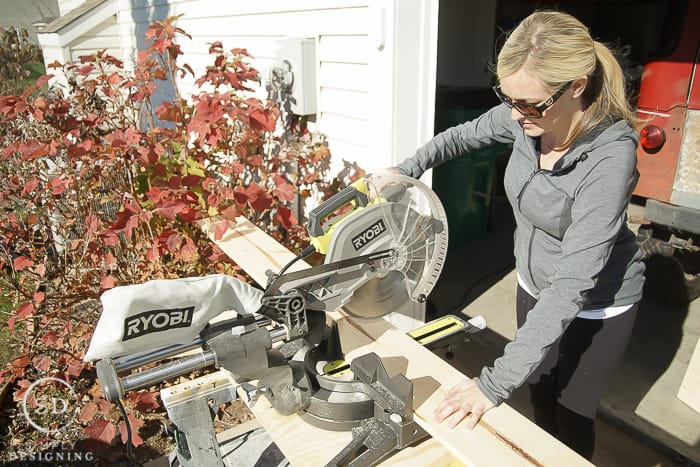
Measure, mark and cut the 1" x 8" boards into (3) 48" long sections. Measure, mark and cut the 1" x 6" board into (2) 48" long sections. Measure, mark and cut the 1" x 4" board into (2) 30" long sections.
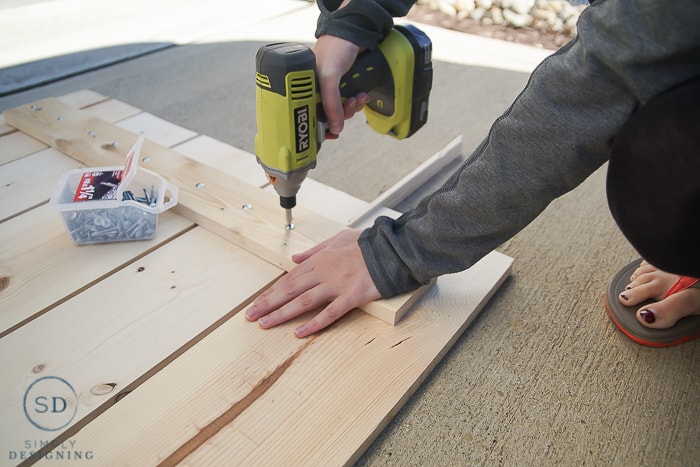
Lay the 8" and the 6" boards down, alternating sizes and using (2) paint sticks together to create a uniform gap between the boards. Place the 30" long boards on top of the 48" long boards, perpendicular to the boards and approximately 3 ½" in from the bottom and top. Secure the 30" long boards into the 48" long boards using (2) screws per board.
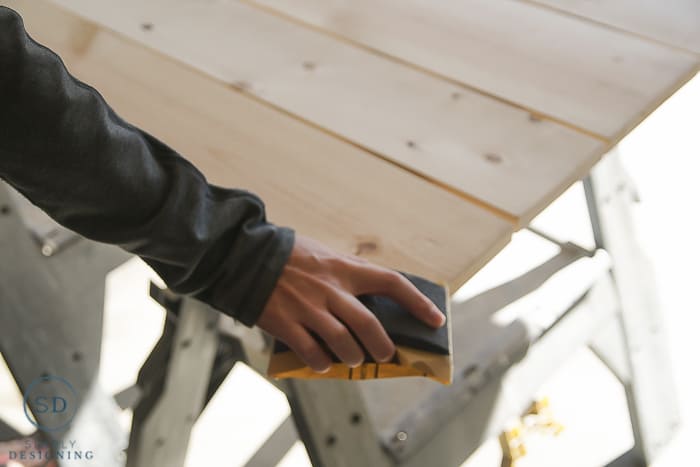
Sand the boards using a sanding block.
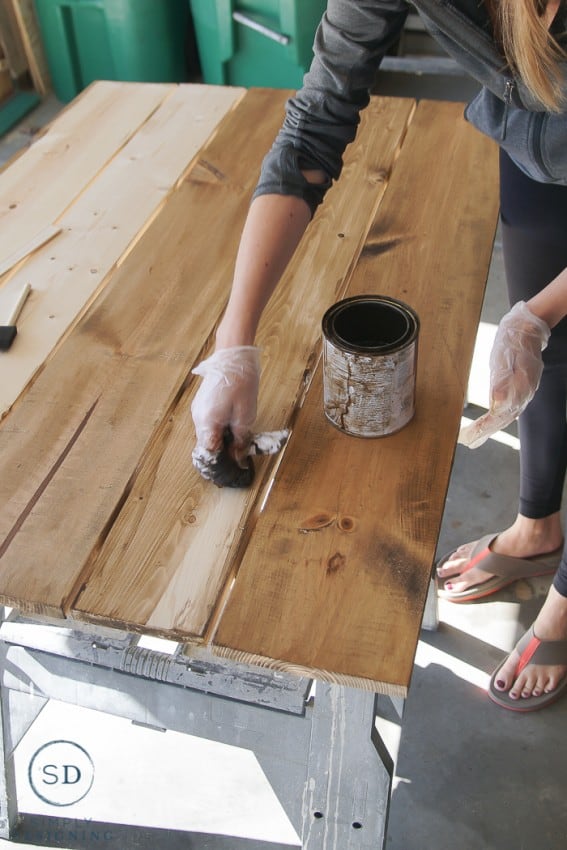
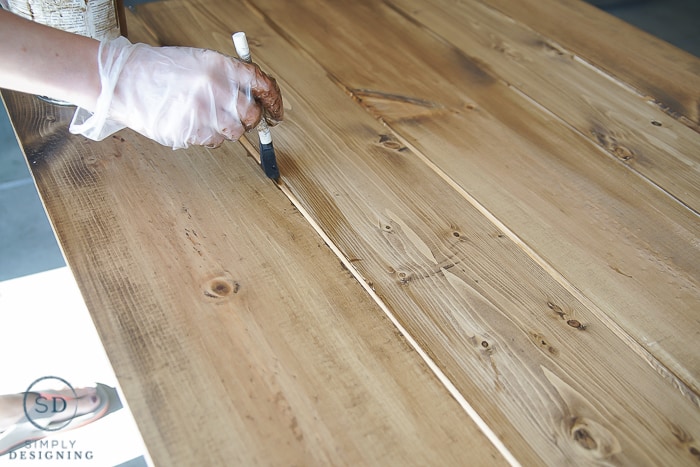
Paint or stain your boards as desired. I used a rag to stain my boards and a small foam brush to add stain in between my boards.
Let this dry completely.
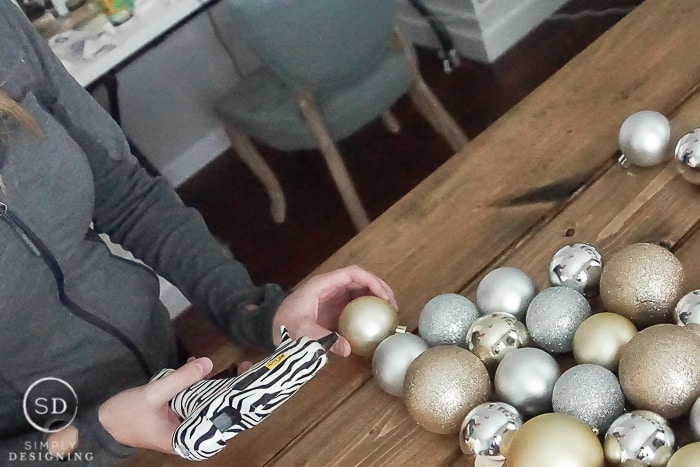
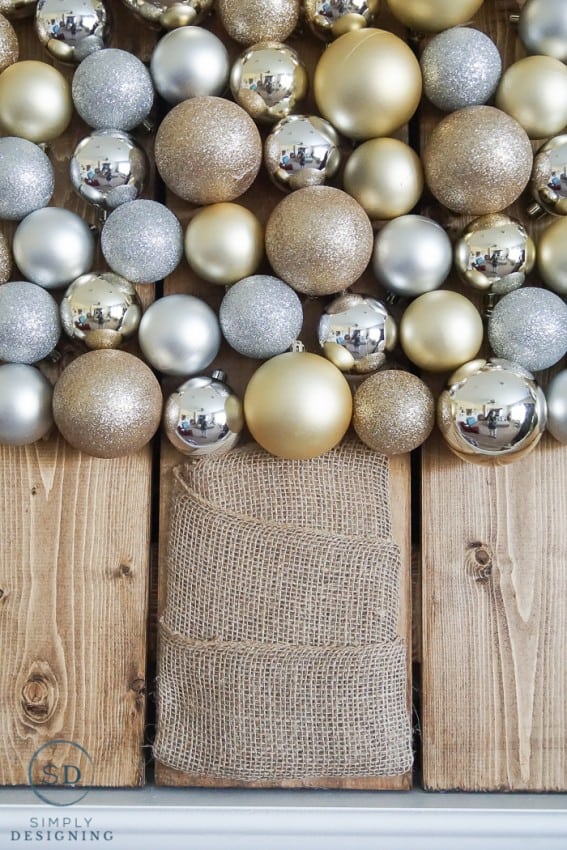
Use a glue gun to add ornaments to the wood pallet board in a tree shape.
Add a star on top and some burlap on the bottom for the tree stump.
This project creates a really large and quite pretty holiday decoration and is perfect to sit on your mantel this holiday season.
Remember to sign up to complete this project at The Home Depot HERE.
Did you know that there are 24 other awesome bloggers sharing their take on this project today too?? Click on over to visit all of these lovely blogs and their pretty projects too:
Domestically Speaking | Find It Make It Love It | My Sister’s Suitcase | Thistlewood Farms | 2 Bees In A Pod | My Uncommon Slice of Suburbia | Unskinny Boppy | Virginia Sweet Pea | Designed Decor | The Creative Mom | A House and A Dog | Little Vintage Nest | All Things Thrifty | A Pumpkin and A Princess | The Crafting Chicks | Finding Silver Pennies | Live Laugh Rowe | Blooming Homestead | Refresh Restyle | Infarrantly Creative | Simply Designing | Girl Loves Glam | The Rustic Life | The Glam Farmhouse | She Leaves A Little Sparkle




Valerie
Question- do you know if at the workshop, you will actually build something? Or just learn how to do it? Because I could just follow your tutorial at home if I'm not going to actually be making something at the Home Depot workshop. I'm excited to make one either way!
Sam @ A Happy Home In Holland
I absolutely love this idea - I've been looking for ideas for my mantel for this year - this could be the one -pinned for later!
Liz
love it! so pretty, I'm pinning.
Charlene Asay
I have seen these all over social media. I love it. I need one 🙂
JaneEllen
Would love to make one of these for our daughter/family mantel Maybe one for our shutter shelf/a.k.a. mantel also for something bit different up there. Every year I strive to make something little different to decorate our living room. Love simplicity of this tree and how handsome looking it is. Yours is so ptetty with ornaments you used.
One part of town has new $tree will get my ornaments at and few other supplies for gifts am making.
Have wonderful rest of week