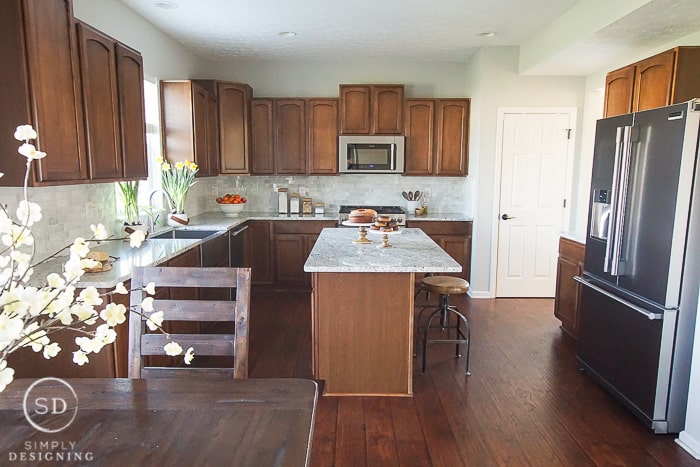
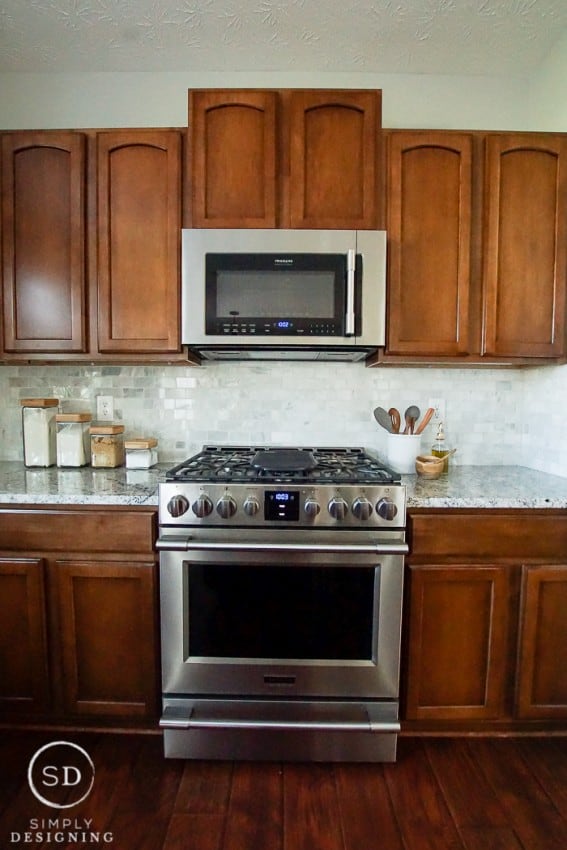
Today is a really big day at Simply Designing...the Kitchen Makeover! A day that has been several months in the making. Today I get to share our full kitchen remodel before and after! Woot woot! Plus I am sharing two amazing DIY projects that we completed: how to install a kitchen cabinet and apron front sink, the backsplash demo, and how to tile a backsplash. Today is a big huge day! I am so excited! So I want to start it off with a bang and show you our final kitchen makeover reveal:
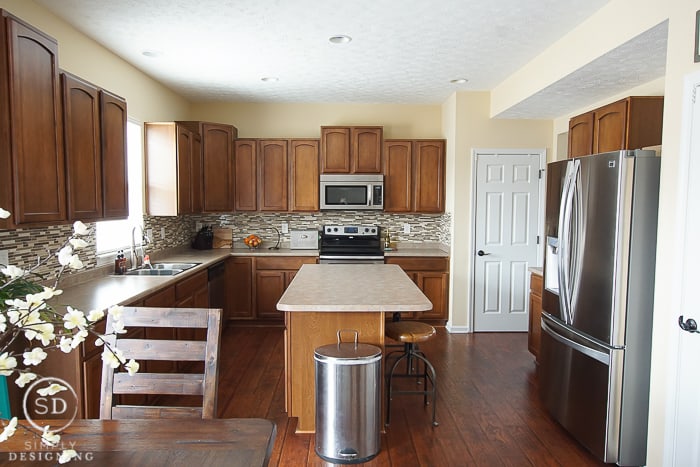
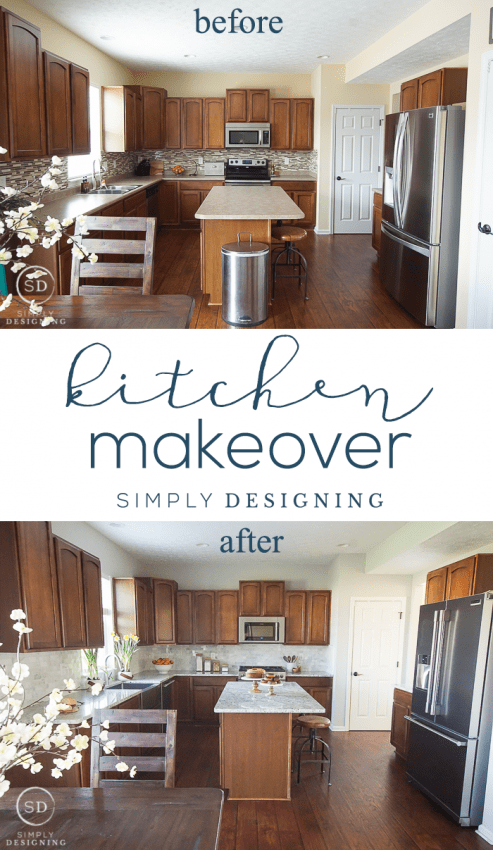
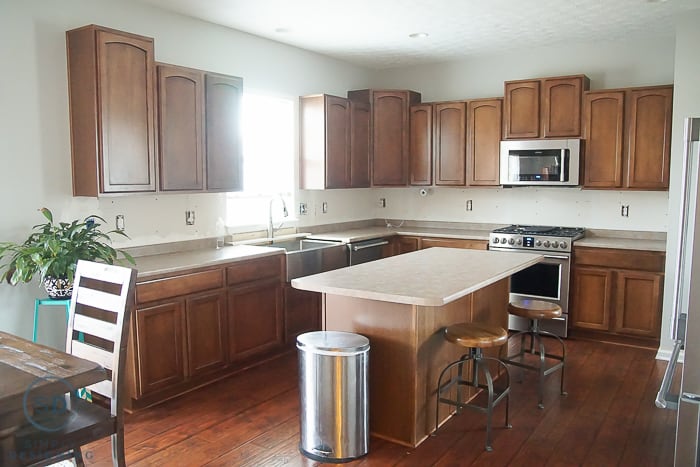
And in case you forget, here is a before the Kitchen Makeover photo:
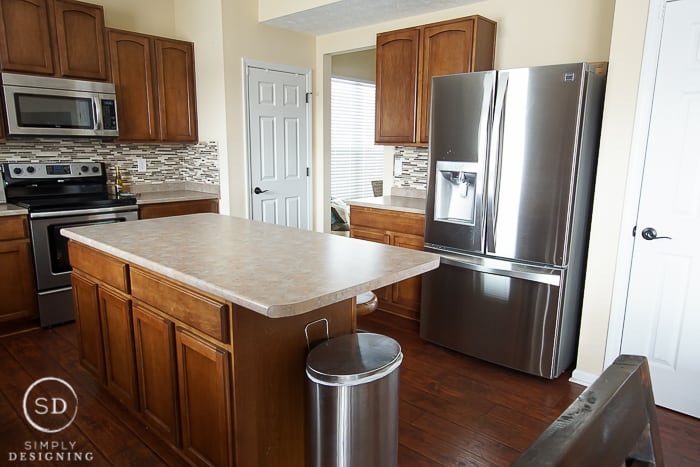
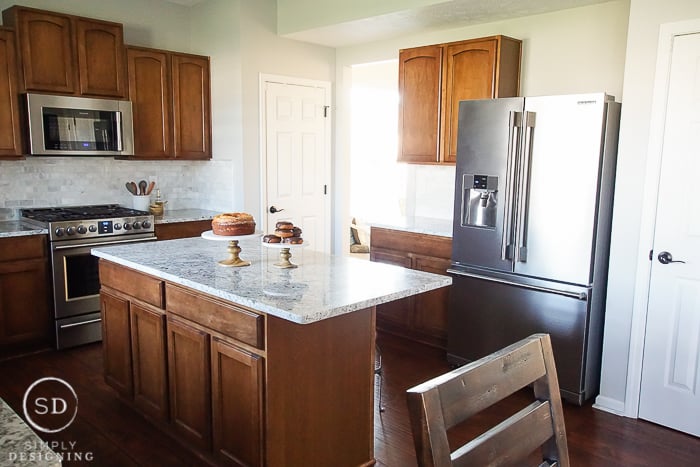
And a couple kitchen remodel before and after photos just for fun:
Before kitchen makeover:
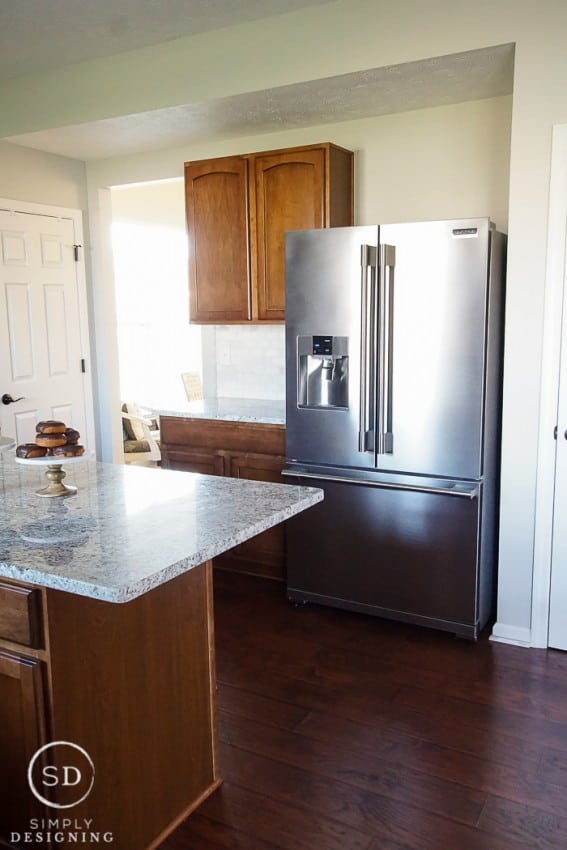
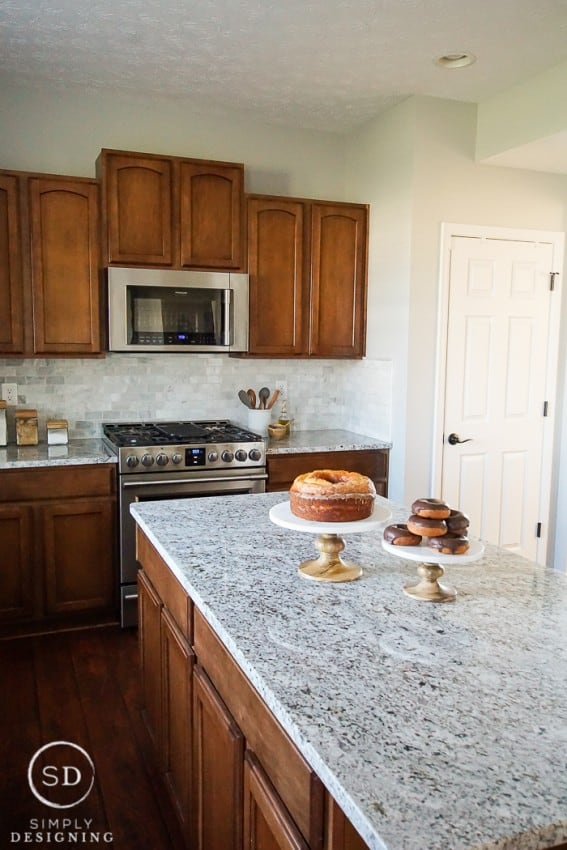
After kitchen makeover:
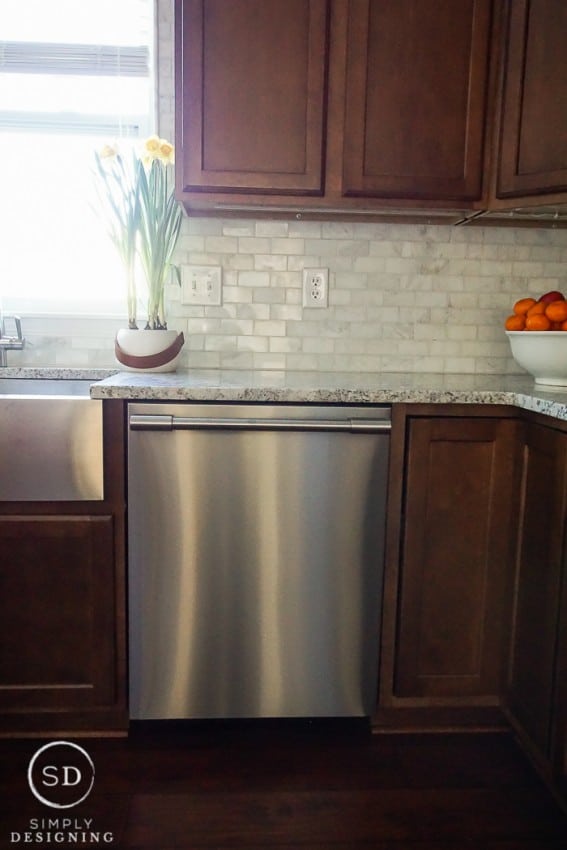
Can you believe the difference!?!? It is subtle but oh-s0-beautiful! Our kitchen has taken on a total transformation! From pretty, but a bit dark and boring, to stunning, light, bright and beautiful! I love spending time in my beautiful kitchen now! It makes me so happy!
Before I get too far, I wanted to thank Frigidaire for making this post possible today. This is a sponsored post written by me on behalf of Frigidaire Professional. All opinions expressed are 100% mine.
I shared our plans for our kitchen makeover HERE, so if you haven't read it, head over and check it out because today I am delving directly into how we made all of this happen and our timeline to help plan your kitchen makeover.
With this kitchen makeover, everything had to be done on a delicate timeline and here is how our time kitchen renovation timeline played out.
- We needed to order and install our new sink cabinet
- Once the cabinet came in we installed our new sink, only after that our counters could be measured and ordered.
- While we were waiting on our counters to be manufactured and installed, we were able to work on demo-ing our backsplash and re-painting the kitchen.
- We also had a new gas line run and our appliances installed.
- After our counters were in place, we installed our new backsplash and touched up the paint as needed.
There were many moving parts and pieces and each one depended on the previous one being completed on time. It was a little stressful at times, but overall the project went without a hitch and we could not be more happy with how it turned out. As I mentioned, the first thing we needed to do was to order and install a new cabinet.
Kitchen Makeover Step 1: Kitchen Cabinet Installation
We purchased a new cabinet for under our sink because we needed a cabinet specifically built to accommodate an apron front sink. We went directly to our cabinet manufacturer to order a matching cabinet. After it arrived, we removed the old cabinet and installed the new one.
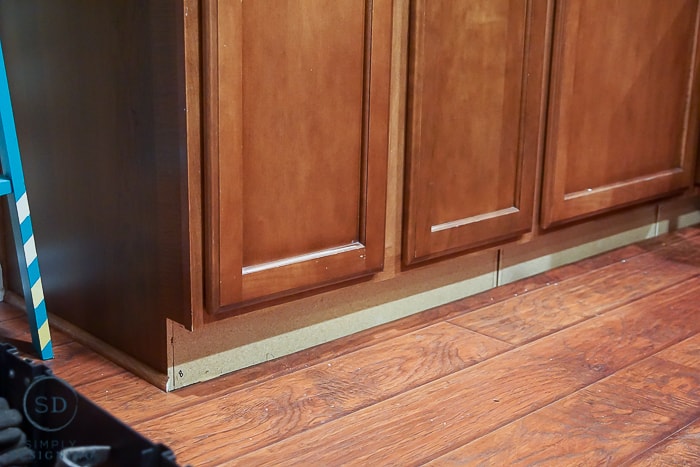
Before we could remove the old cabinet we needed to remove our base molding along the cabinets. If done carefully, you will be able to reuse this molding!
We began by shutting off the water supply to the sink and dishwasher by using the shut-off valves under our sink. We then disconnected the plumbing to the sink including the garbage disposer, drain and hot and cold water lines to the faucet. Next, we removed our old sink from our counter. For our sink, there were clips under the counter that we needed to unscrew before the sink would lift out. (Please note that all sink removals will be slightly different.)
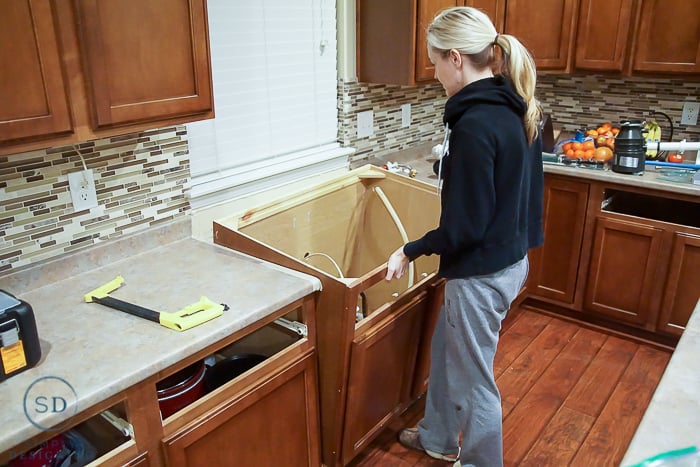
After our sink was removed we unscrewed our countertop from our cabinets and cut them down. Because we have counters on both sides of our sink, and we knew it would take a while before this kitchen makeover was done, we wanted to keep the kitchen as usable as possible. So we cut our laminate counters, removing the portion where our new sink would go so that we could keep countertops on either side of the sink until the new ones arrived.
Then we loosened the cabinet we needed to remove by removing the screws that went from that cabinet into the surrounding cabinets and into the wall behind the cabinet. We saved the cabinet screws and used them to install our new cabinet as they were still in good condition.
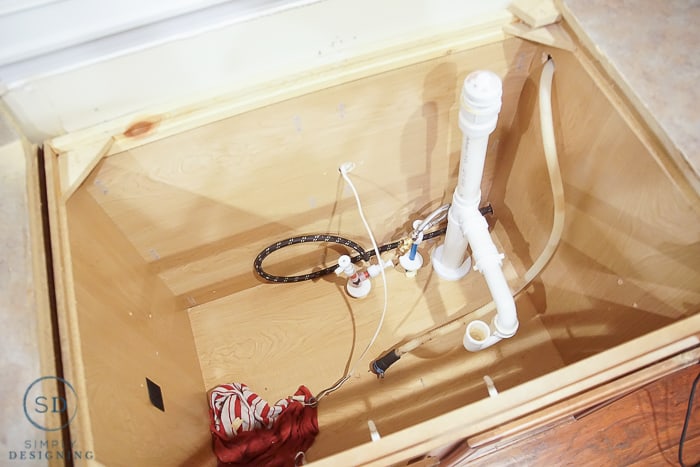
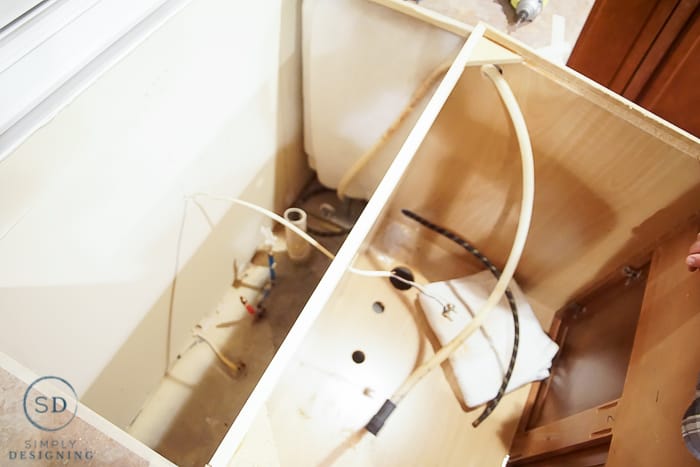
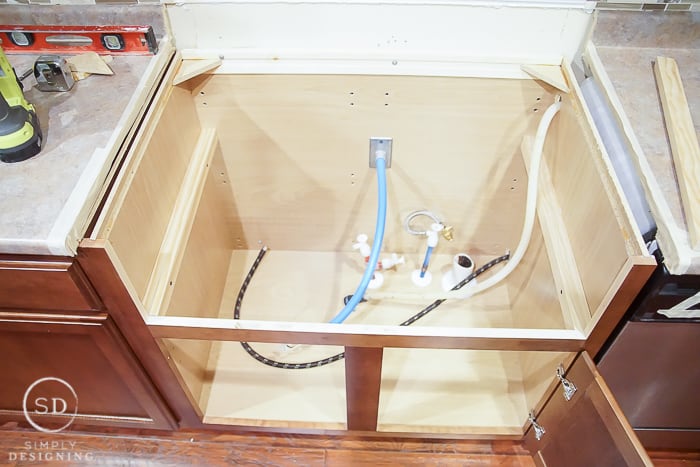
Before we could remove the cabinet we needed to disconnect the electrical from the garbage disposer, shut off the main water supply to the entire house and cut the PEX hot and cold water supply lines so they only extended a couple of inches above the cabinet floor (we saved these to re-attach later). We also cut the PVC pipe for the garbage disposer and vent and saved it because we reused that later as well. We disconnected the dishwasher hoses that connected to the water supply and the garbage disposal.
At this point, we were able to lift the cabinet out of place.
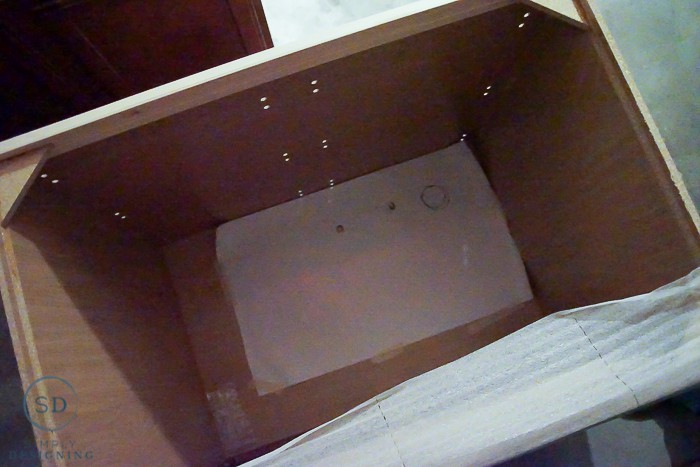
Because we would need to re-create the holes for the plumbing in the new cabinet, we used a piece of paper and created a template from our old cabinet showing where our holes would need to be drilled. We used that template to cut new holes in the new cabinet using a large hole saw bit in the sizes matching the various pipes that needed to be placed in the cabinet.
With the holes cut in the new cabinet to accommodate our plumbing, we carefully set the new cabinet in place.
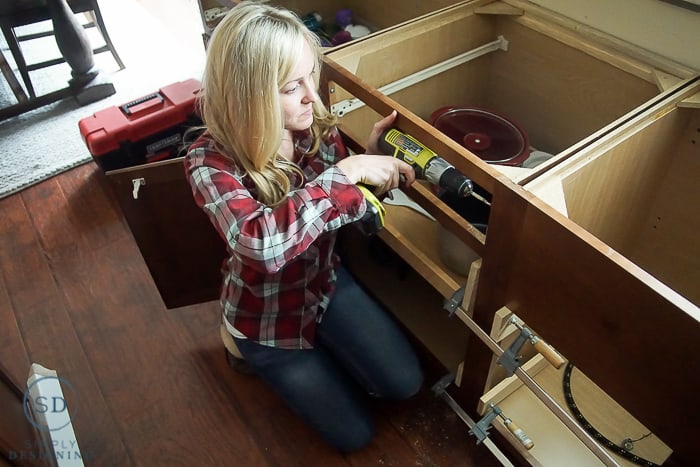
We removed the screws from the adjoining cabinets that went into the wall which gave us three movable cabinets. We connected all three cabinets together so that the face of the cabinets were flush with each other. We used a few shims in order to level the cabinets against the wall. We made sure the cabinets were level and then we screwed the three cabinets back into the studs of the wall.
To attach the new cabinet to the old cabinets it is important to follow any instructions provided. Ours came with specific instructions on what size bit to use for a pilot hole to drill prior to connecting the cabinets with the cabinet screws. It is important to follow any manufacturer instructions here or else you may damage your new cabinet.
Now that might sound like a lot of work and wonder why we did this ourselves instead of paying someone to do it. I will be quite frank with you here. First, we love doing things ourselves. Secondly, we saved $200. Seriously. I know cost can vary by location, but I was quoted $200 to have a single cabinet installed. This project is definitely one that is worth it to DIY and is a great way to save money on a project.
Kitchen Makeover Step 2: How to Install an Apron Front Sink
After the new cabinet was installed we removed the top front face by unscrewing the pocket hole screws that held it in place. We cut this piece of wood to the proper depth in order to accommodate our apron front sink so that the top of the sink would be flush with the top of the cabinet. Our cabinet was a 36" wide cabinet and our sink is approximately 33" wide and so we were lucky and our sink fit perfectly from side to side in the cabinet, so we only needed to trim the front face down in height. We did this using a fine tooth blade on our table saw. We reattached the trimmed face board using the screws and pocket holes already in place.
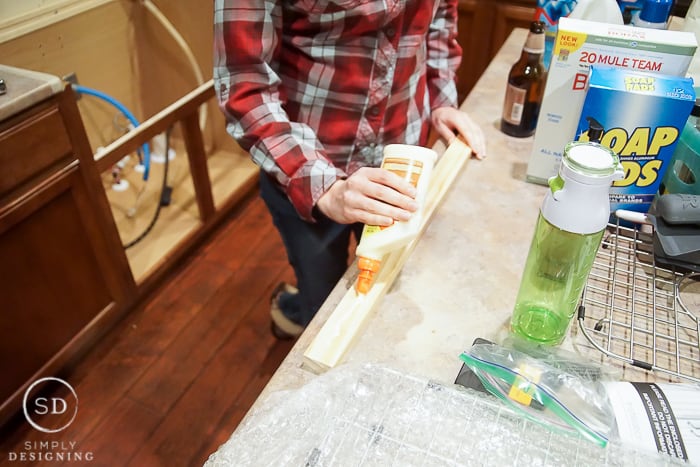
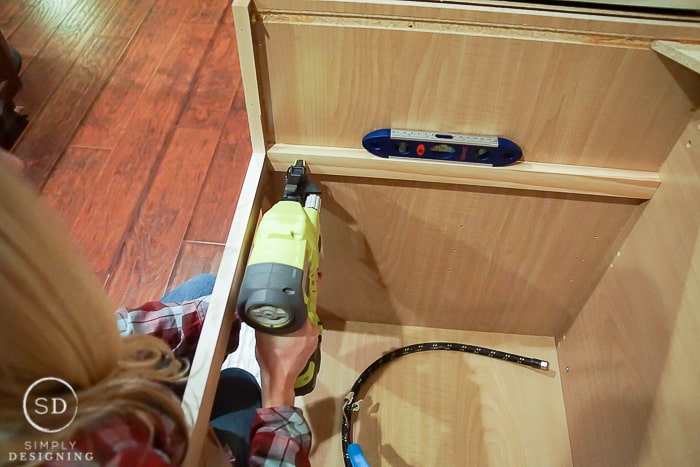
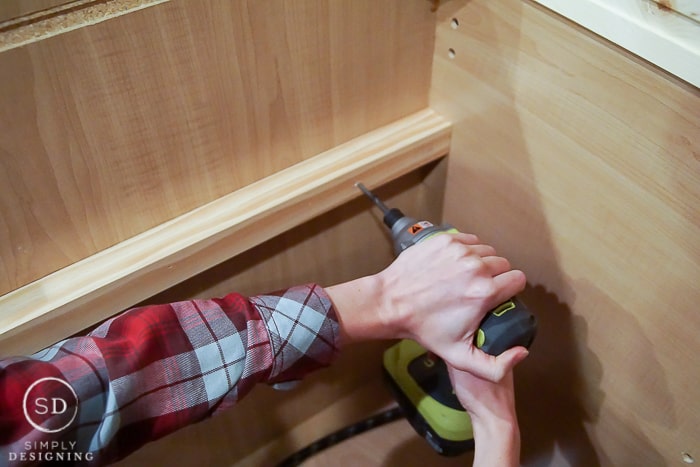
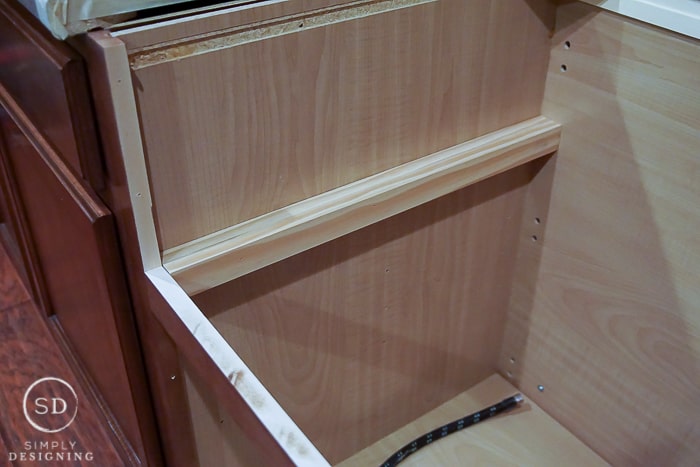
After the cabinet was prepared to accommodate our sink, we created a ledge on each side of the inside of the cabinet for the sink to sit on. We used 1" x 2" pieces of wood and stacked it two deep on either side of the cabinet. We attached the wood at the height the sink would need to sit on using wood glue, a nail gun to temporarily help it stay in place and then screws to ensure a tight hold and a secure ledge.
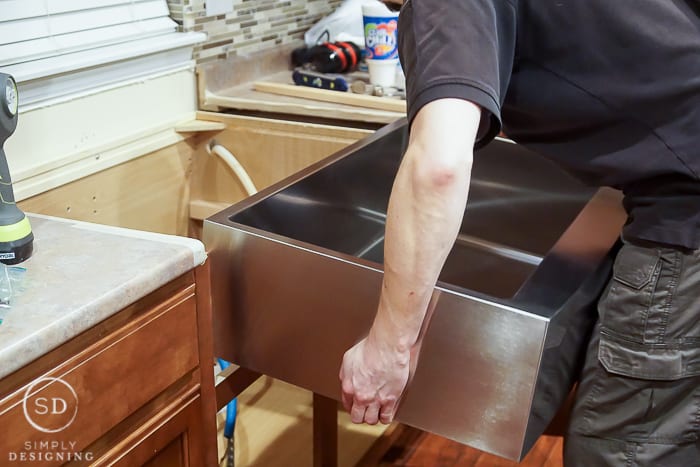
We put our sink in place to ensure it fit well. We followed the manufacture instructions to put it at the right location in order to accommodate plumbing in the back and so that it didn't stick out too far in the front. We attached the sink to the wood ledges using silicone adhesive.
After the sink was secured in place, we began reconnecting everything. Because our previous sink had two drains and our new sink only has one, we needed to modify the existing PVC pipe to work for the single drain sink. We used a coupling and PVC primer and glue to reattach the PVC pipe together where we had cut it and reattached that to the garbage disposer as well.
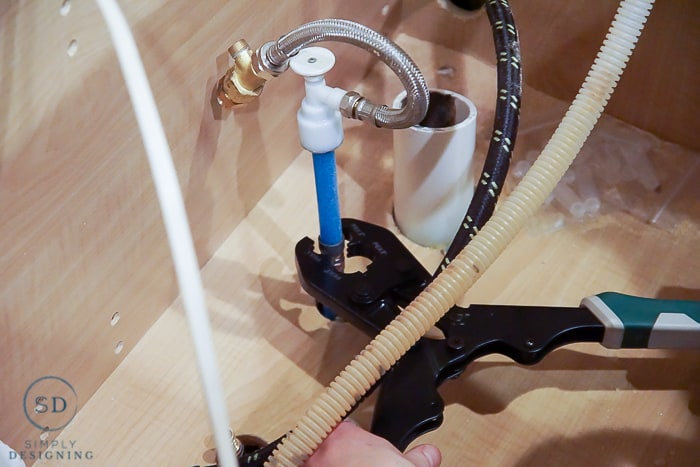
We used a PEX crimper tool and a PEX coupling to reconnect the hot and cold water supply lines. Then we reattached the dishwasher water supply and garbage disposer drain and vent. We reconnected the power to the garbage disposer.
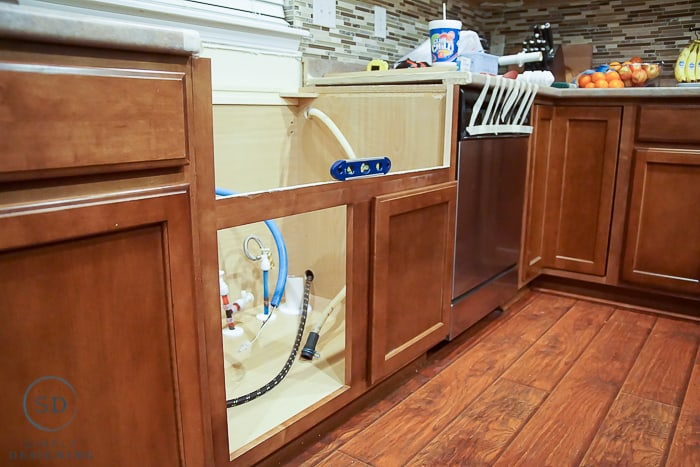
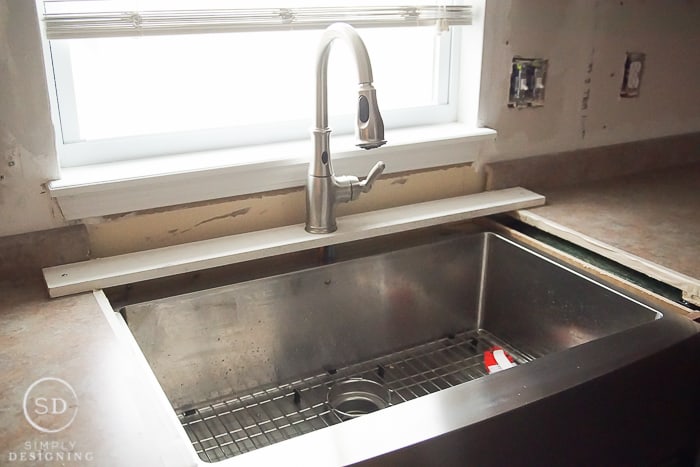
At that point in our kitchen makeover, we realized that we didn't have running water in our kitchen and wouldn't for weeks! So we made a temporary fix by screwing a 1"x4" scrap of wood into either side of our old counters, behind the sink and used it to temporarily mount our faucet. It wasn't pretty but it allowed us to have running water and a usable sink for the next few weeks!
The next day, we had someone come out to measure our kitchen for new granite counters. Our sink needed to be in place prior to measuring for new counters so even though it meant our kitchen was under construction for a long time, it was the only way to ensure the granite was cut properly. After the counters were measured, we had to wait about 3 weeks until the granite was manufactured and installed.
Even though we had already picked out our granite, I wanted to choose the exact slabs used for our kitchen. The granite we choose has a lot of variation so we went to the granite supplier and tagged the granite slabs we wanted.
While we waited for the counters to be completed, I also contracted with a local plumber to run a gas line to our stove area.
And then we began to work on demo-ing our backsplash!
Kitchen Makeover Step 3: How to remove a tile backsplash
We installed a backsplash in our kitchen a few years ago. We picked something that went with our existing counters and it really did look nice. This kitchen makeover was a chance to lighten and brighten our kitchen and I knew I wanted to change our backsplash up! We found a beautiful marble subway tile we fell in love with and decided that it would look perfect with the granite we chose.
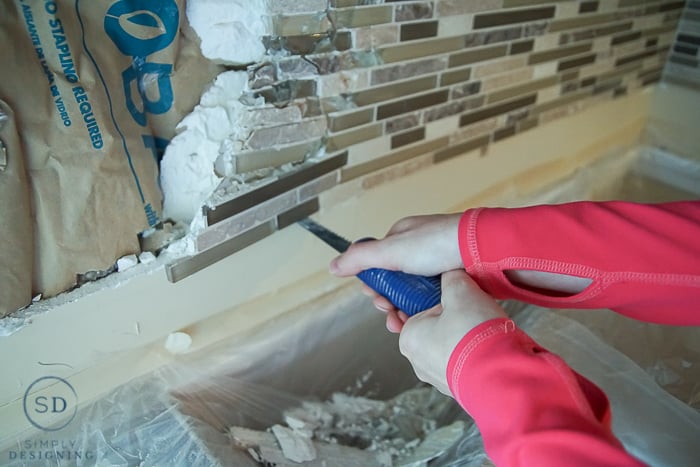
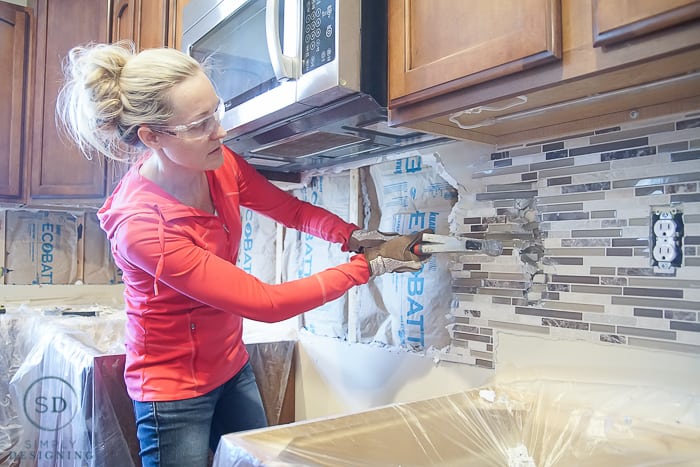
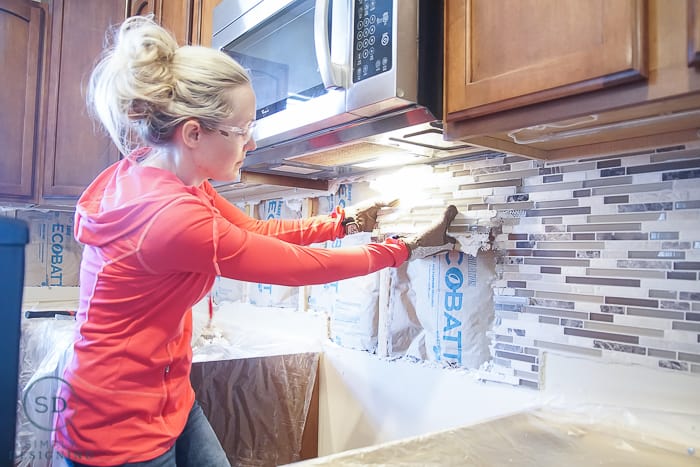
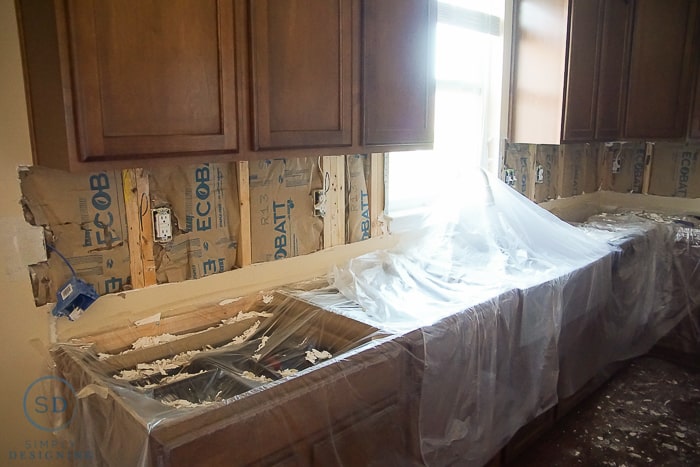
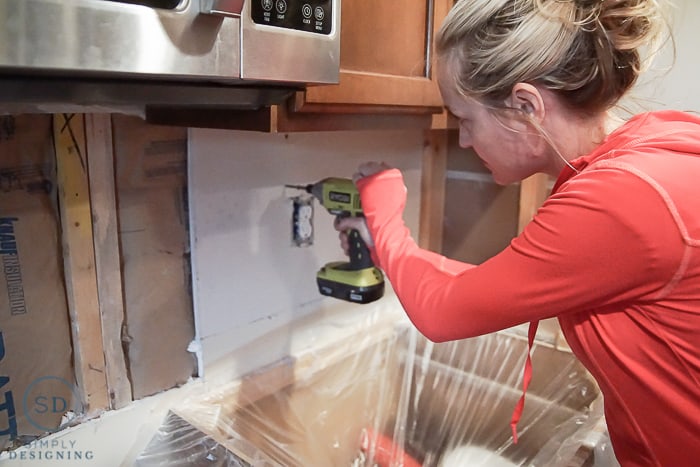
Before we could tile the new backsplash, we needed to remove our existing tile backsplash. You may want to try to remove the tile and thinset from the drywall instead of replacing drywall, however, it may not be possible. In our case, it was easier to remove the drywall and replace it. The easiest way to remove a tile backsplash if you are replacing drywall is to:
- Be sure to wear proper safety gear for this - Googles and Gloves
- Use a drywall hand saw to cut around the tile (skip this step if you are trying to save the drywall)
- Take a hammer and smash the tile up a bit and then remove it carefully with gloves. Be careful though as tile (especially glass tile) can shatter and create sharp pieces.
After you remove a tile backsplash cut and install new drywall using drywall screws into the studs.
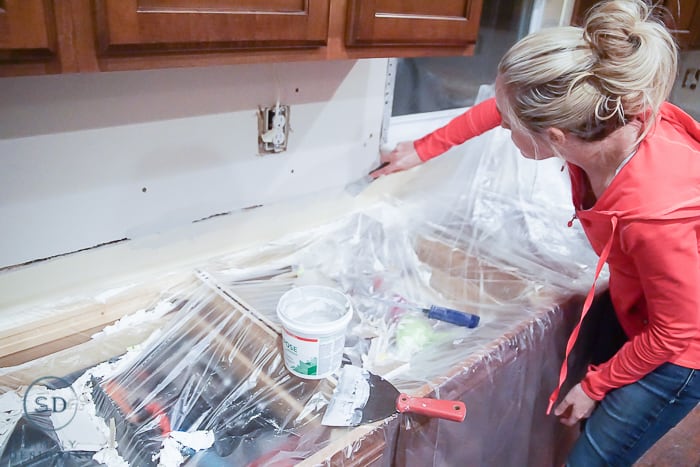
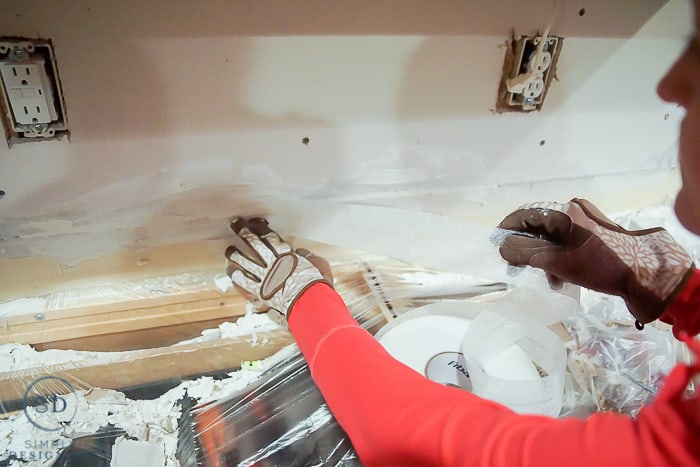
Then we taped and used drywall joint compound around all the seams. And after it was dry we sanded the seams down. This kitchen makeover was well on its way! We then had to wait for the countertops to be installed before we could tile the backsplash.
Once that was done, we had to wait until our new counters were installed to continue any of the DIY aspects of this project.
Kitchen Makeover Step 4: Selecting and Installing New Appliances
While we waited, our new Frigidaire Professional appliances were installed! The appliances that we received were: a Front Control Freestanding Gas Range, a Built-In Dishwasher, a 2-in-1 Convection Oven or Microwave and a French Door Refrigerator. The Frigidaire Professional line of appliances combines powerful performance with beautiful styling perfect for a home kitchen. And I really love how they look and function!
I have been impressed with the even baking and cooking I have gotten using my oven with the PowerPlus™ Convection Bake and Roast. And I really love cooking on a gas stove! The PowerPlus™ 2-in-1 Burner and Griddle provide so much flexibility when cooking. I spend a lot of time cooking on my stove and love how quickly things heat up and cool down. I also love the built-in thermometer! There is a thermometer that I can use in meat or whatever I am cooking in my oven and the temperature of the item displays on the outside of my oven! No more opening and shutting my oven to get the temperature of my roast anymore! I have had so much fun cooking on this and it has truly inspired me to take my every day cooking to the next level because cooking has become so much fun!
The refrigerator is amazing too. Is it weird to say we love the ice shape? I know it is silly, but the ice cubes fit perfectly in my water bottles that I use constantly! It is the little things right? The fridge also has a PureAir Ultra® Filtration System that helps to remove up to 7 times more odor than baking soda. The shelves are fully configurable and I love how easy it is to fit everything in my fridge. And the PureSource Ultra® II Water Filtration system provides us with great tasting filtered water.
Our new dishwasher is the most amazing thing ever. It is so quiet I can't believe it! And I love the PowerPlus™ 30-Minute Wash that gets our dishes really clean really fast! I also love that I can adjust the top shelf in order to accommodate different height items.
And the microwave is another gem of an appliance. You can bake and cook with PowerPlus™ Convection or use it as a traditional microwave. It also includes a really bright LED light for my range underneath when I need it. There are several PowerSense™ Cooking options that automatically sense ideal time and power levels too.
And all of these appliances are made with Smudge-Proof™ Stainless Steel that resists fingerprints and cleans easily. I have noticed a difference in how clean my appliances stay! I am quite impressed!
Even after just a few days, I began to fall in love with my new appliances. They are not only beautiful and stylish for our kitchen makeover, but they provide such inspiration to cook, entertain and enjoy life in my kitchen again! I will be sharing a few new recipes with you shortly on my site so stay tuned!
We left the installation of our granite counters to the professionals!
After the counters were in place, we were ready to install our new backsplash!
Kitchen Makeover Step 5: How to Install a Backsplash
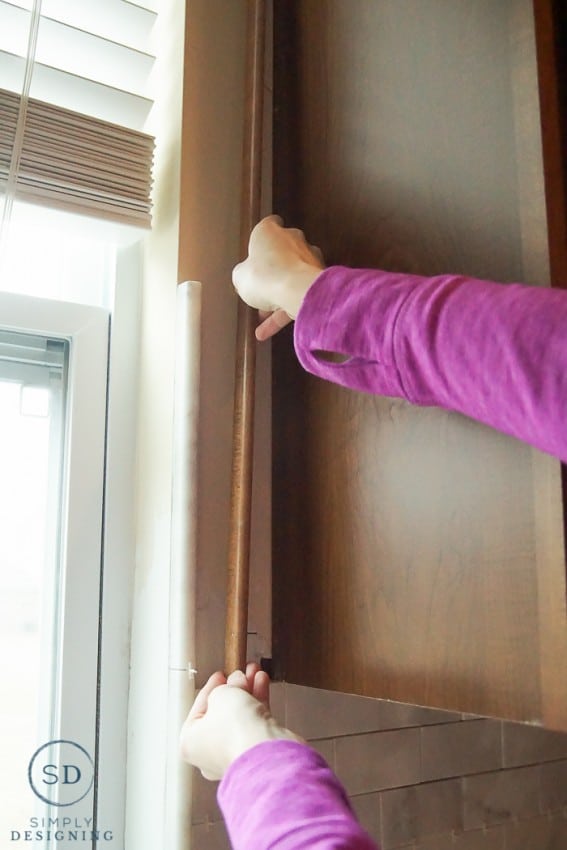
We began by setting everything up for installing a backsplash. We prepped our space and removed cabinet trim, which we saved and reapplied after we were done tiling.
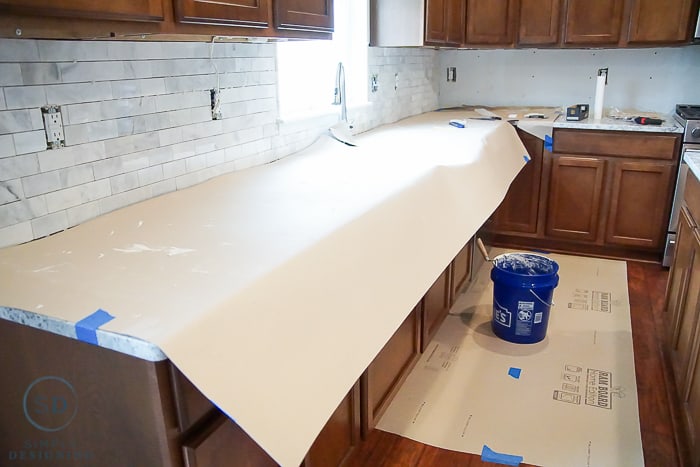
We also covered our counters to protect them. We set our tile saw up and determined a plan for tile placement. When you're installing a backsplash, it always looks best to begin at the bottom so that there is a full tile against the countertop.
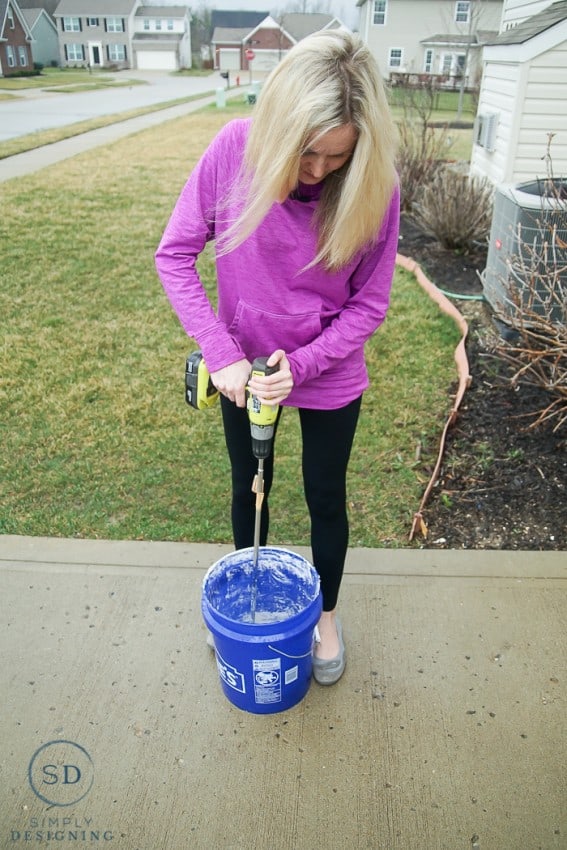
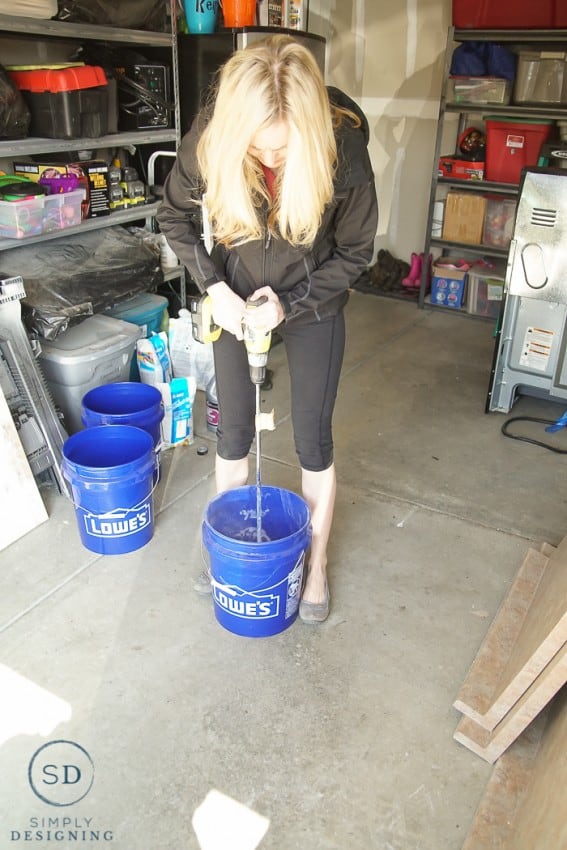
In our kitchen makeover, we were installing a backsplash made of natural stone which can be slightly translucent, we picked a thinset that dries white. We mixed our thinset with water according to manufacturer instructions using a mortar mixer paddle and a drill until it was a toothpaste consistency. Be sure to only mix a small portion of thinset at a time because you want to be able to use it all before it begins to set.
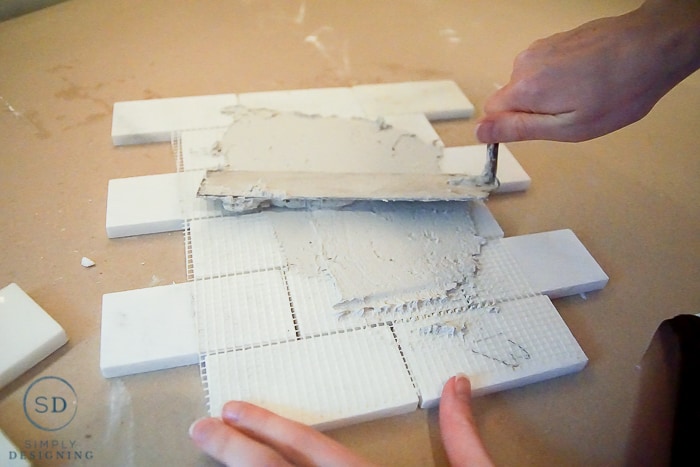
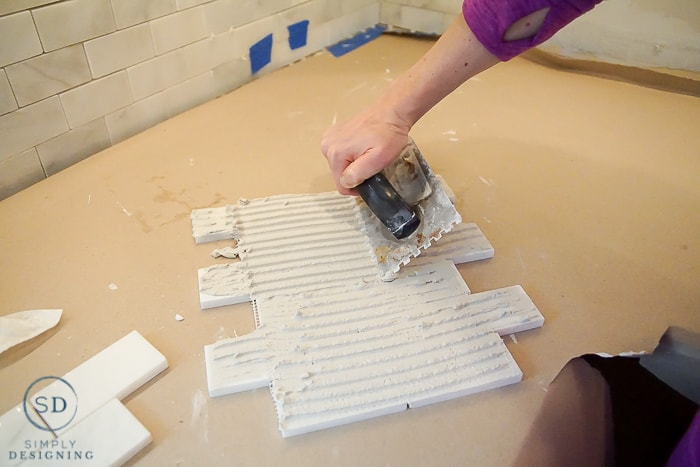
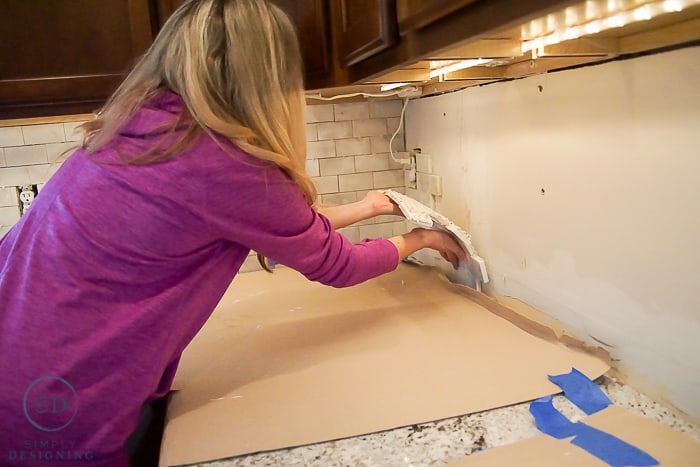
During our master bathroom remodel I talked about different ways to tile. Some prefer to spread thinset on the surface and then apply the tiles to the wall. However, we have a lot of outlets and corners and we didn't want to worry about thinset drying too fast. So we chose to apply the thinset to the back of each tile, using a notched trowel and then placed the tiles on the wall. We used spacers as we went along to maintain even grout lines from one sheet of tile to the next. We also used spacers to clean out any excess thinset that might seep into the grout lines.
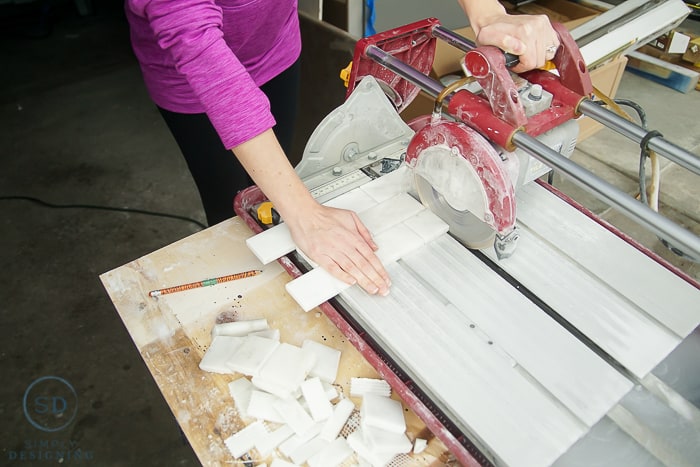
We used our tile saw to cut and trim our tiles as needed. If you don't know how to install a backsplash and this is your first time I love using a 12"x12" sheet of tile for projects like this it makes the job go faster!
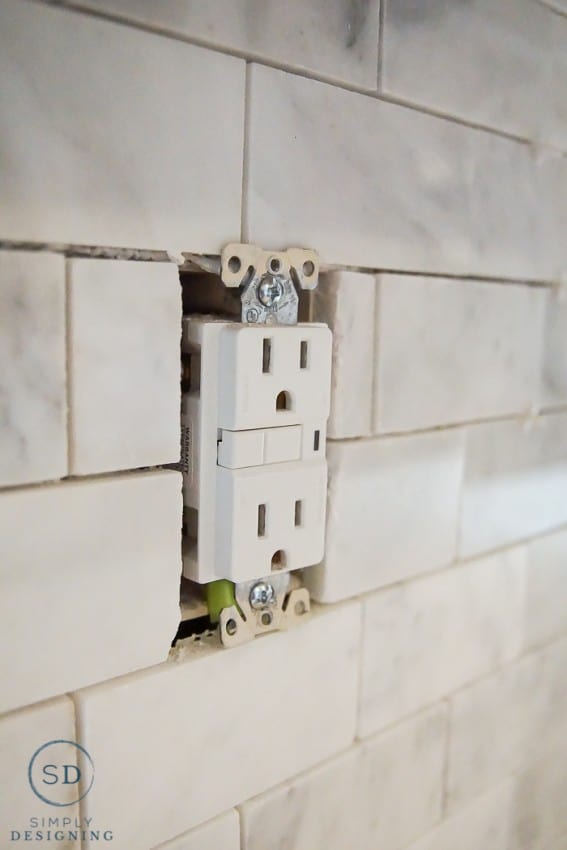
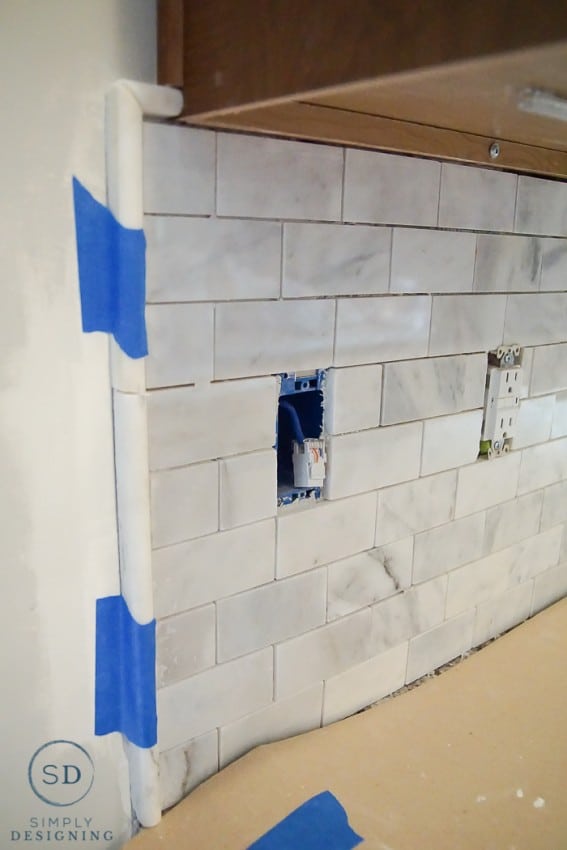
In the areas where we had outlets, we replaced the existing screws with longer outlet screws in order to accommodate the thickness of the tile. You might also need outlet spacers to help with this as well. Be sure you tile close enough to the outlet that there won't be any gaps when you put the faceplate back on.
How to tile a backsplash additional tips and tricks:
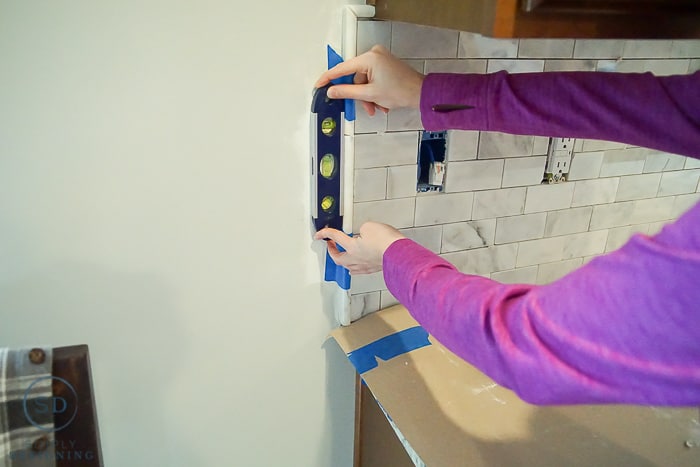
We added a matching pencil tile to create a clean edge around all of our edges and borders. I love how using pencil tile gives a finished look to tile work.
Every once in awhile it is important to take a step back and look at what you have done to ensure everything is looking correct and straight.
In areas like behind our stove, we pulled the stove out and tiled a bit below the counter level. We temporarily tacked up a piece of trim on our wall to support the tile until it dried.
After all the tile was in place we waited for the thinset to fully set before moving on.
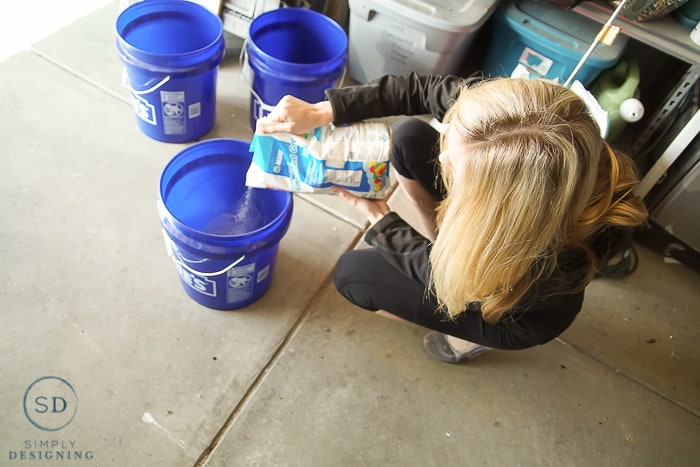
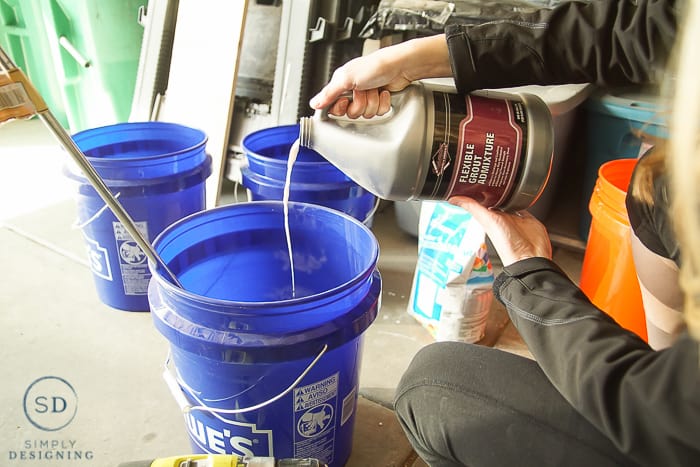
Next, we mixed up the grout. We choose an unsanded Mapei grout in Smoke. It was a beautiful color to match our marble tile! We used the same mixing paddle and drill to mix the grout with a grout admixture until it was a toothpaste-like consistency. You can mix grout with water, but we like using an admixture because it helps prevent the grout from fading and cracking.
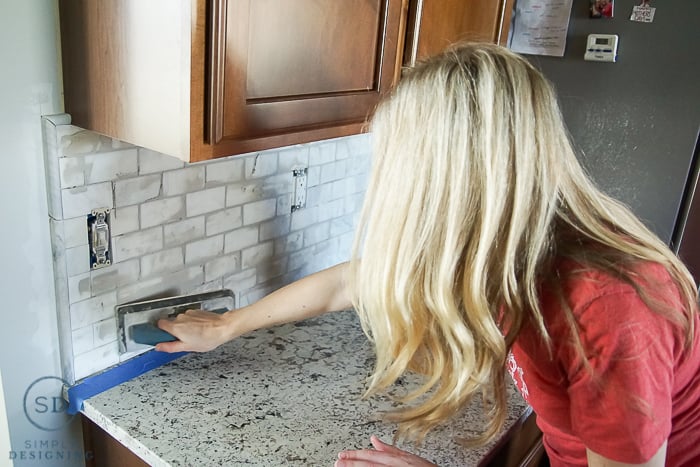
After the grout was mixed, we applied it using a grout float. Spread it over a small area and then use the grout float at a 45-degree angle to scrape excess grout off.
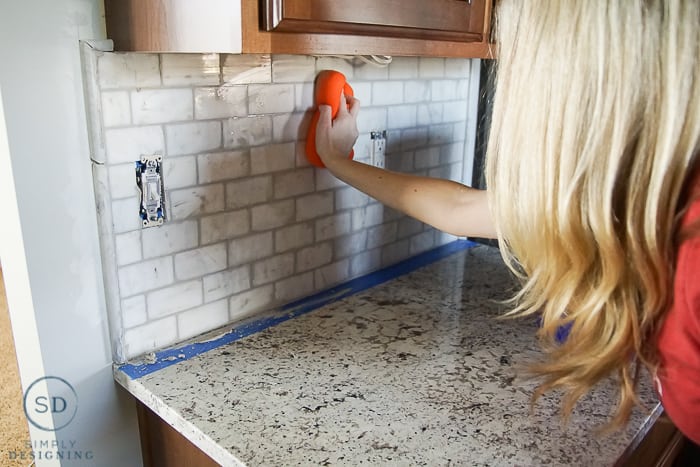
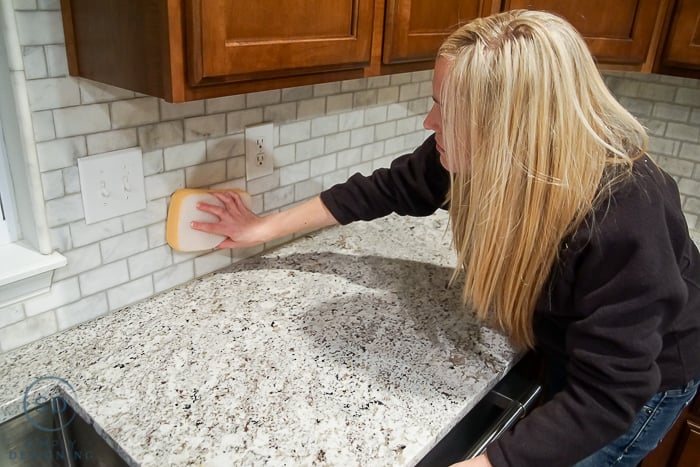
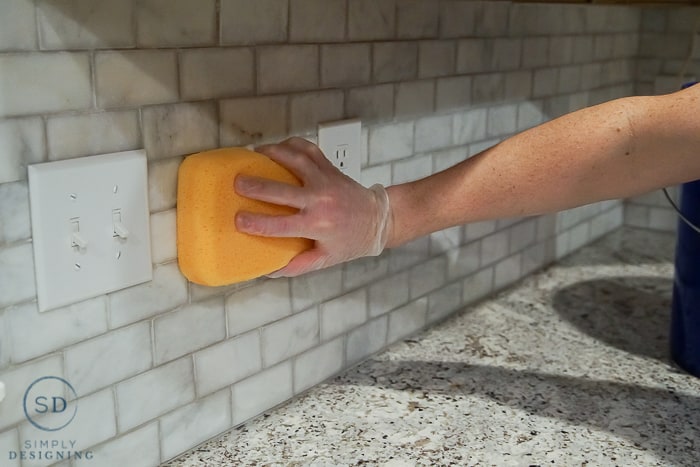
Then we used a sponge and bucket of water to wipe the area down and remove excess grout. Go back and spot check to ensure the grout lines are all filled in. We worked in small areas at a time until the entire backsplash was grouted. And then we let the grout set according to manufacturer instructions.
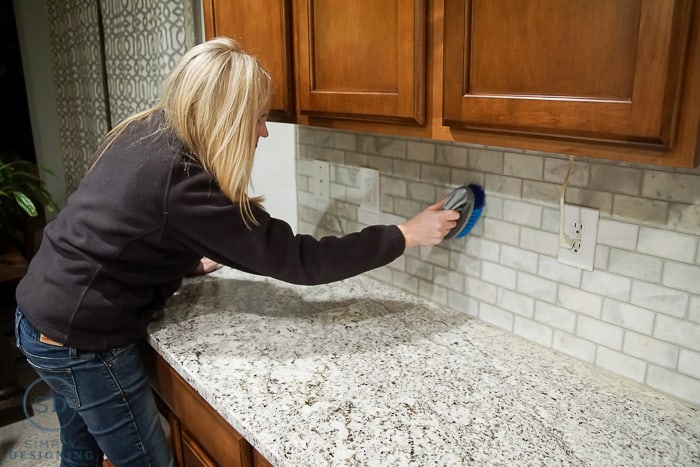
After the grout had set, we used a de-hazer meant for natural stone to help clear away the haze that is left on your tiles after grouting. This was a powder so we used a bit of water to create a slurry and then wiped it on the backsplash with a sponge. We used a bristle brush to scrub the tiles down, and then used a sponge and bucket of water to clean it off, twice.
We let that dry and then used a sealer meant for natural stone. It is important to use gloves when applying a sealer. We poured some sealer into a bucket and used a sponge to apply it onto the tile. We let it sit according to the instructions and then wiped it down with a cloth.
After the sealer was set the tile looked amazing! It really turned out great!
And that was it and you thought to learn how to tile a backsplash was hard! That was the last step in our kitchen makeover!
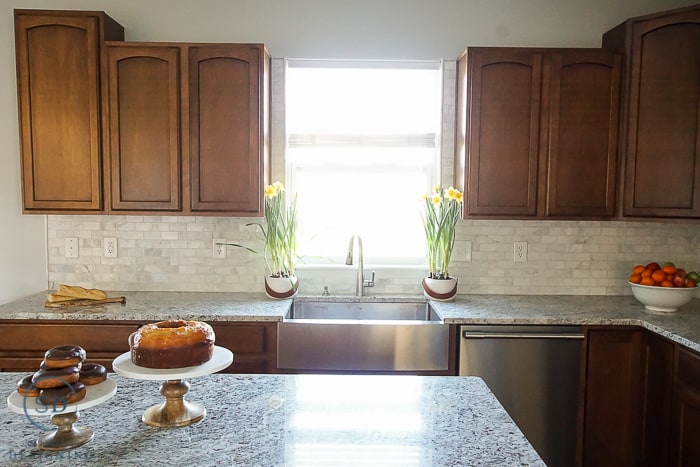
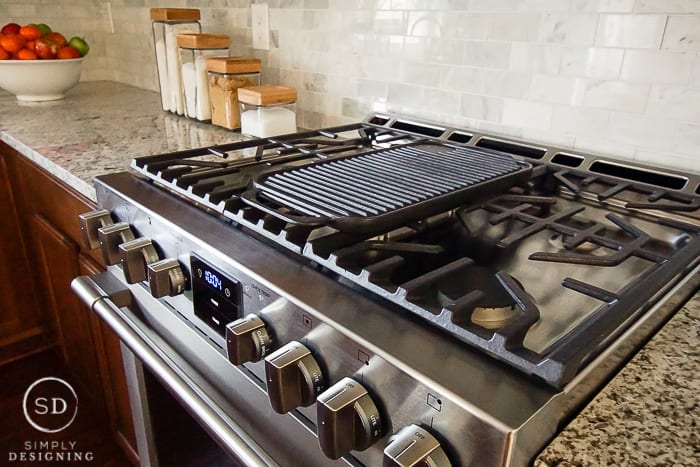
Here are a couple more after pictures of the kitchen makeover just for fun!
As I mentioned before, I will be back soon to share two new recipes with you that I created with my new Frigidaire Professional appliances! These are so yummy...you won't want to miss them!
In the meantime, you might also enjoy:




Amy
Hello! Everything looks very nice! Will you be sharing your backsplash and granite sources? I'm remodeling our kitchen, and I'm especially curious about your backsplash.
Ashley Phipps
Hi Amy! I found the backsplash and granite at Lowe's!
Gina
I love it!!!!!!!!!!!!! I have been wanting to wrap up our backsplash but can't decide on what I want to use - Iike the whitewashed brick we put behind the stove, just need to put something that compliments it around the rest. We will see how it goes. You have inspired me as always. Great seeing you last weekend.
Amy Anderson
AMAZING! It looks so beautiful. Love!
Laura
Everything looks beautiful Ashley!
Leanne
Ashley , the whole kitchen is beautiful! You did such a great job! I really love the backsplash and counters!
Erin Spain
Your kitchen looks amazing! Great job!
the cape on the corner
can i just say how glad i am that this after didn't include freshly painted white cabinets? please don't tell me if you plan on doing that, either. i loooove the backsplash. this is giving me the nudge i need to post our kitchen reno, which is very similar to yours. everything was new except the cabinets. enjoy your fresh new kitchen!
b
Dee
I love your kitchen! I also like dark cabinets, so I love the colors you chose. Thanks for sharing at Merry Monday!'
Calypso in the Country
Amazing job! Your backsplash is so pretty and I am impressed that you did it yourself!
Shelley
Sarah Anderson
I love your counter top, the granite is really beautiful. It's also awesome that you stuck with actual wood patterned cabinets, they are my favorite and I'm glad someone else seems to like them too! Not only that, but their darker color gives a nice contrast from the new backsplash and counter tops too.
John Stephen
Ashley, I am really impressed with your work. Kitchen Makeover is never easy but after reading your post it is quite comfortable for me to go for it. I really like the way you replace the backsplash but i think as Sarah also mentioned that dark color would be the better choice here.
Beth
Beautiful Can you please share more details. The name/color of tile, counters, sink. You shared so much about how you did it all, but no sources. thanks so much.