Every once in a while I find something I love and know I will do something with....later. I have a few things like that hanging around to be honest, do you?? Today I am really excited that I had the opportunity to turn one of my fun finds into a beautiful piece of industrial decor! I am so thrilled to partner with Elmer's today as part of their creative team to share how fun and easy it is to create this beautiful DIY Industrial Ampersand Decor!
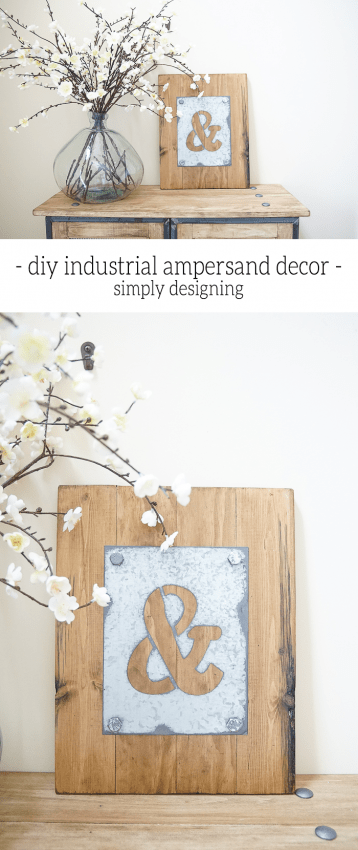
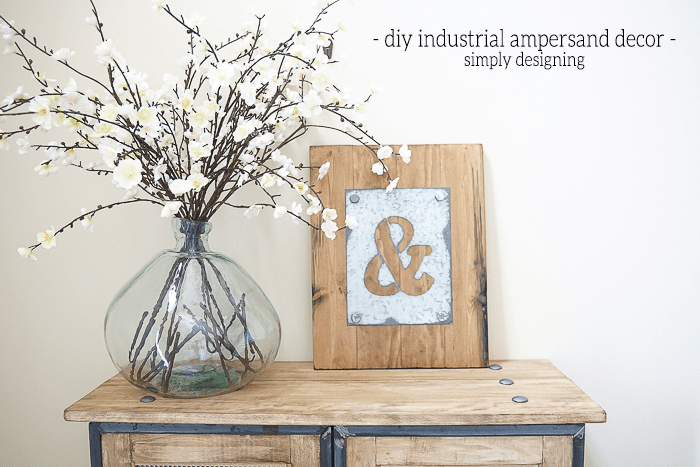
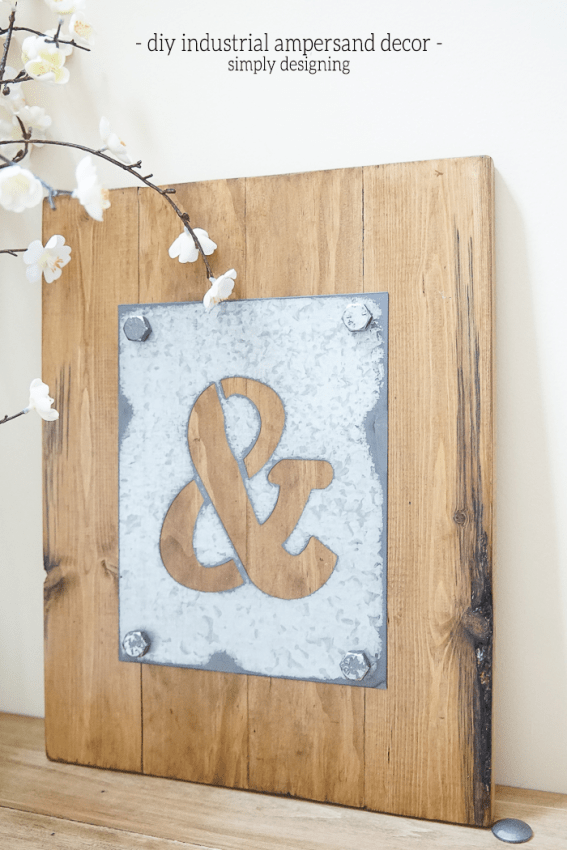
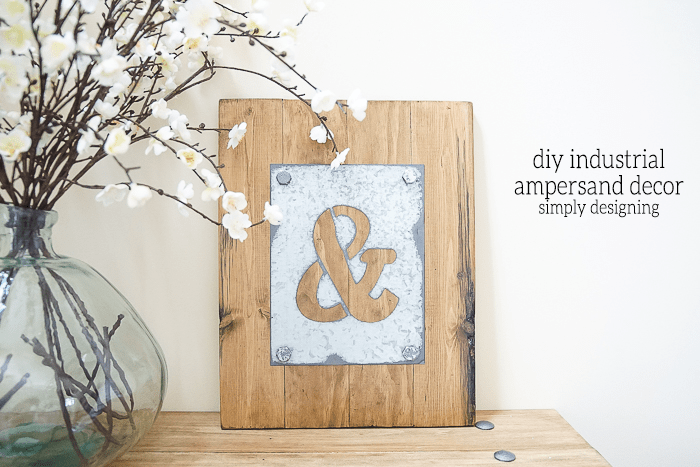
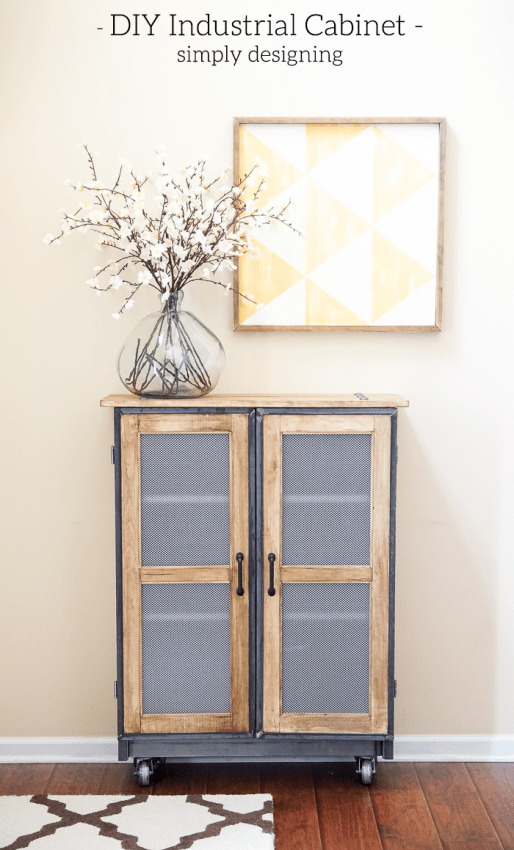
Isn't that so cool!? I really am in love with how it turned out! And it looks really pretty on my Industrial Cabinet that I built recently too! I don't think it will stay there forever, but for now it is pretty!
With a little bit of work and just a few supplies, I was able to turn a craft store find into something stunning! I really truly love how this turned out!
DIY Industrial Ampersand Decor
To create this you will need:
- Metal Ampersand (I found this at a local craft store)
- (1) 2" x 4" x 6' Construction Lumber (the more rustic the better)
- (4) Bolts
- Elmer's Wood Glue Max
- Elmer's ProBond Advance
- Cabot Wood Stain, Aged Leather (or your preference of stain)
- Rustoleum Grey Hammered Paint
- Rag for staining
- Gloves for staining
- Foam Brush
- Painters Tape
- Way to Cut Bolts and possible a vice
- Compound Miter Saw
- Electric Sander and sand paper
- Kreg Jig and 1 ¼" screws
- Drill and Driver
- Painters Tape
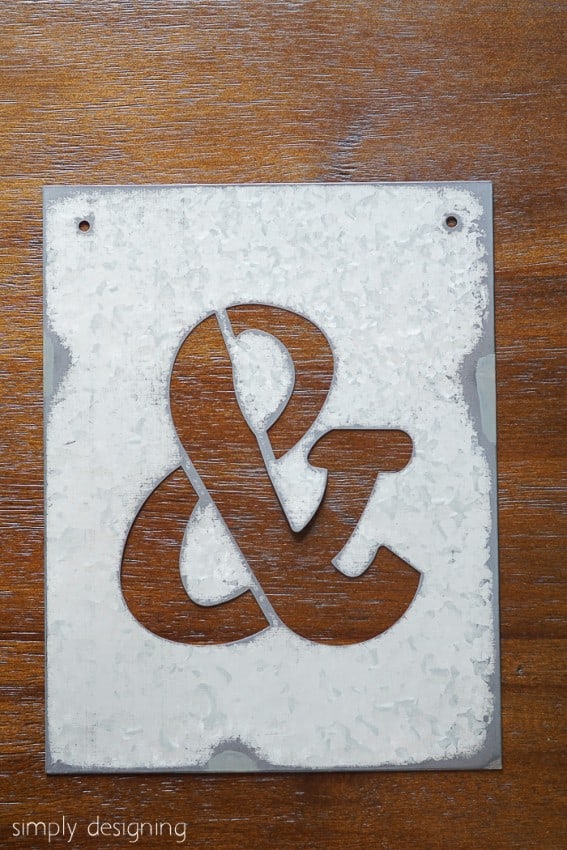
Here is a close up of what the metal ampersand looked like when I bought it.
It's cute, but I was excited to make it into something special!
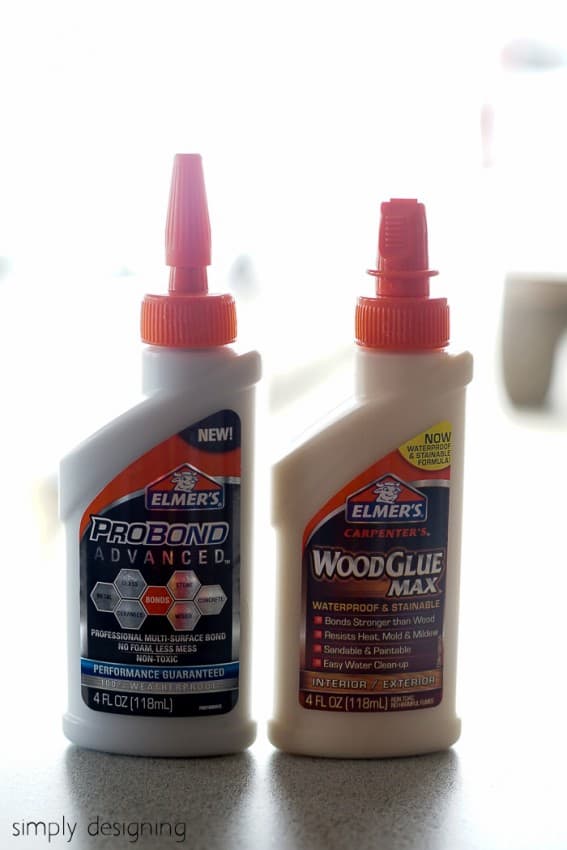
And these are the two glues I used for this project from Elmer's: Wood Glue Max and ProBond Advanced.
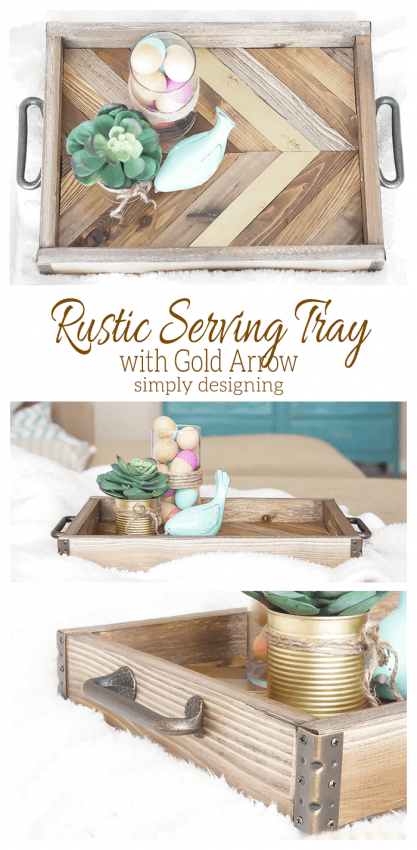
I think Elmer's Wood Glue Max is my new favorite wood glue. I always use wood glue whenever I am working on any project with wood. It does a great job of bonding and is paintable and stainable. I used Elmer's Wood Glue to make my Rustic Serving Tray with a Gold Metal Arrow Accent HERE.
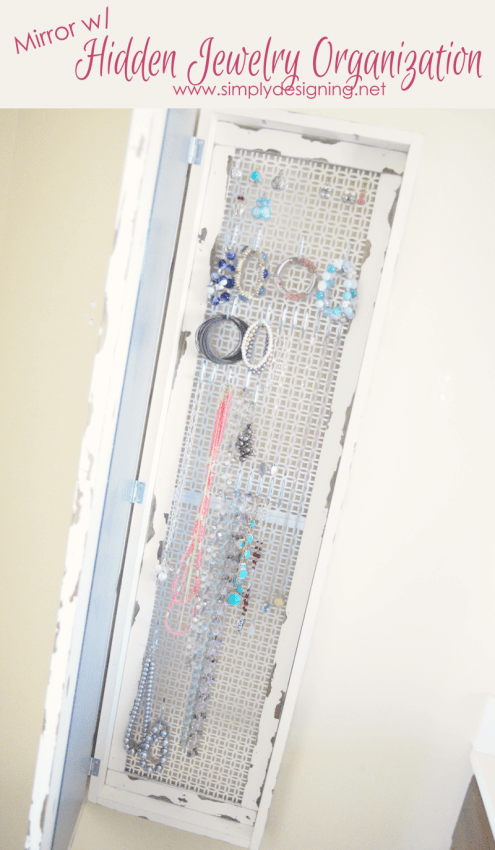
Elmer's ProBond Advanced does an amazing job at bonding porous to non-porous surfaces together! Like metal to wood. This stuff is seriously so cool! You can see how I used it to attach a mirror to a wood frame in my Hidden Jewelry Holder HERE.
I used both the Wood Glue Max and the ProBond Advanced for my Industrial Cabinet IKEA Hack HERE.
I began by using my miter saw to cut my boards into four 18" lengths.
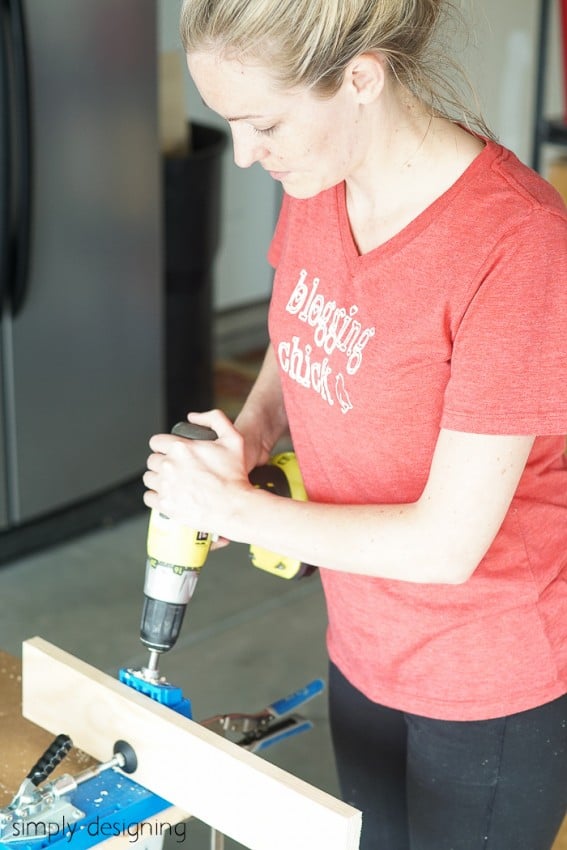
Then I used my Kreg Jig and a drill to create pocket holes in my wood boards.
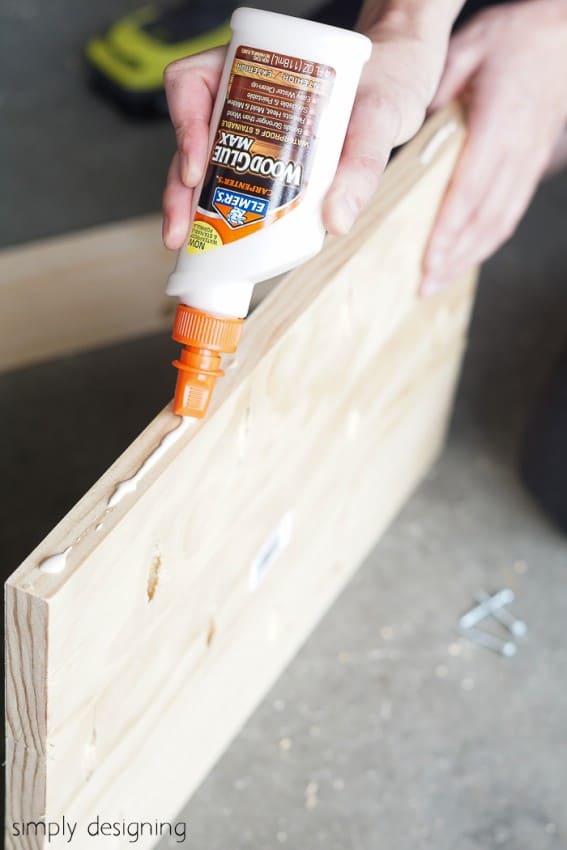
I added Elmer's Wood Glue Max in between every set of boards.
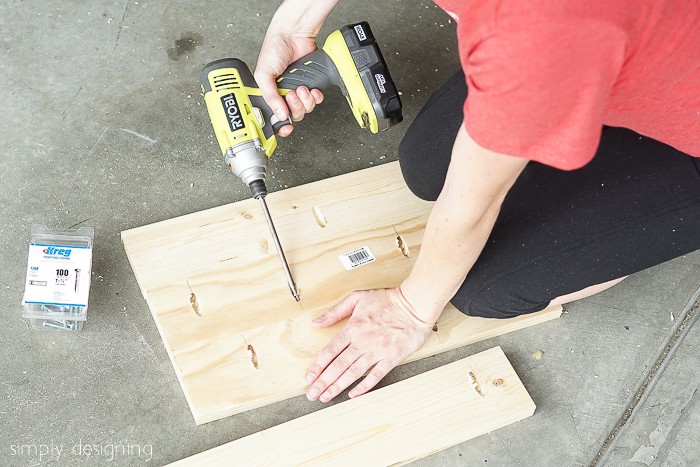
And then I secured the boards together to create a pallet board!
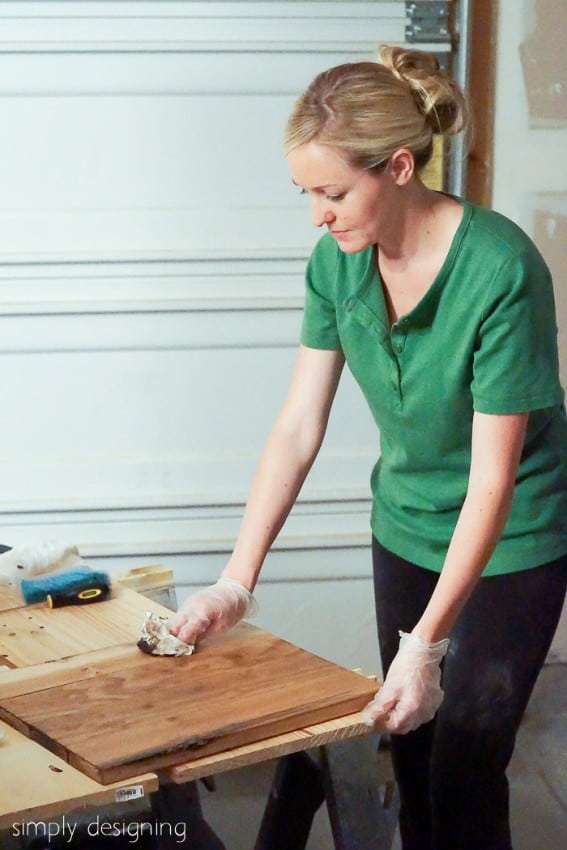
After my pallet board was created, I gave the board a good sanding and then I stained it with two coats of stain.
Then I used my paint brush to paint a bit of the Rustoleum Hammered Metal paint on the heads of the bolts and I let it dry completely.
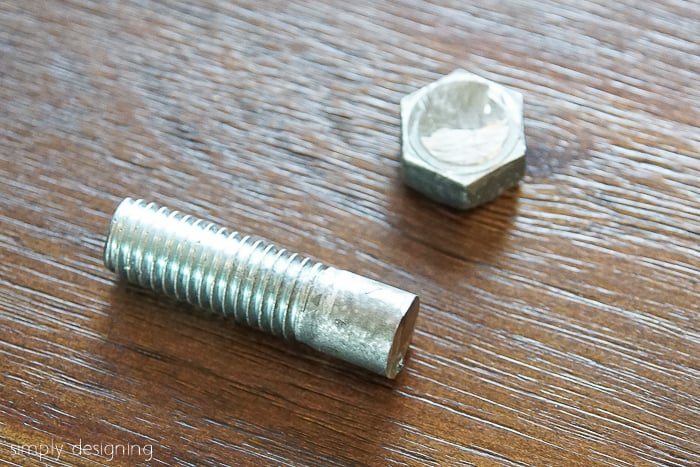
For the next part it is helpful to have a vice and some sort of metal cut off tool. I enlisted my husband's help to cut the head off of the bolts for me.
Why!? Because I really wanted this board to look like it was bolted together without actually dealing with bolting it together! If I put the bolts through the wood, it would not allow the board to sit flush against the wall. So this is my solution to get an industrial look while still keeping this decor functional.
Some of the paint may come off of the bolts while they are in the vice, that is ok! It actually just adds to the industrial, well-worn look I was going for! They ended up matching the metal ampersand perfectly!!
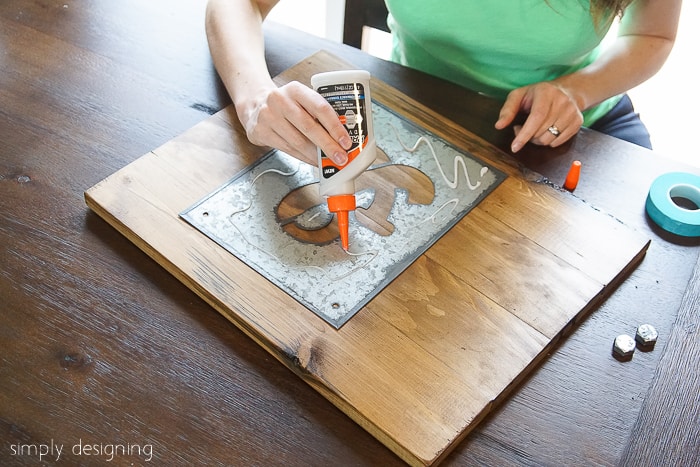
Then I use Elmer's ProBond Advanced to glue my metal ampersand to the wood pallet board!
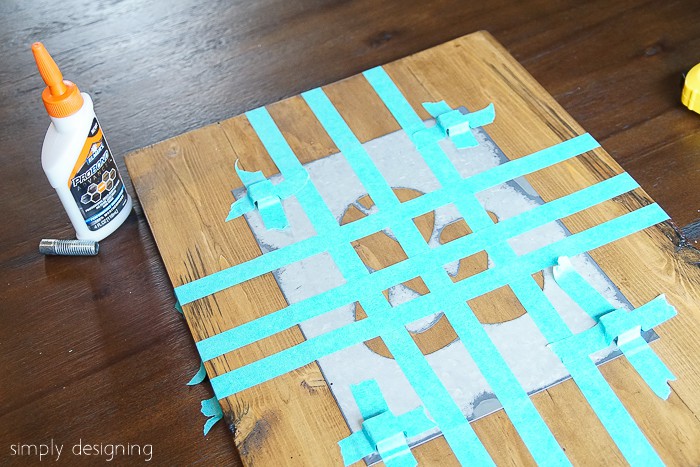
I held the metal ampersand and the bolt heads in place with painter's tape and then stacked a few heavy items on it until it dried completely.
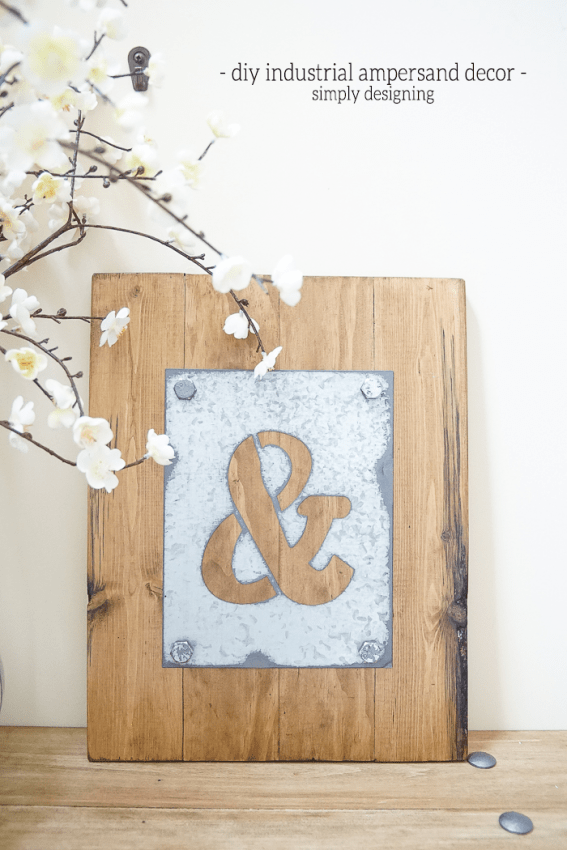
After it dried according to the glue's instructed length of time, I removed my painters tape and set my cute diy industrial ampersand decor up in my home to admire!
This approximately 15" x 18" decor only ended up costing about $14 to create!!! (I had the paint, stain, all tools, screws on hand already and Elmer's kindly sent me the glue for the project.) But it still ended up being a really inexpensive project! Wahoo!
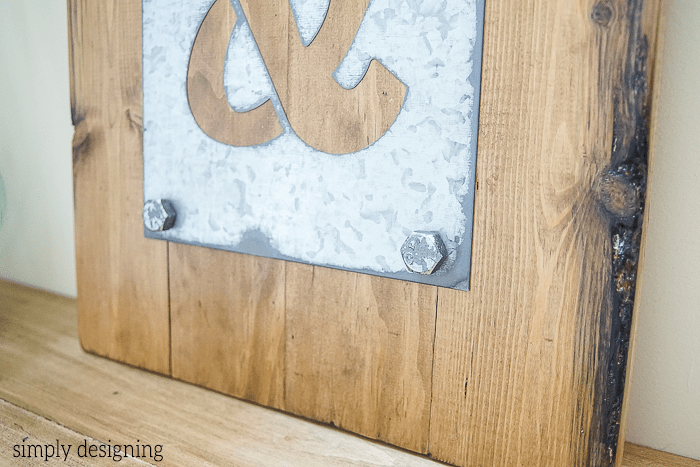
Creating a really nice looking project is always about the details. These bolt heads make this look industrial and rustic! And the knotted wood helps this board look worn and old even though we just bought it at the store!
This truly is one of my favorite decor items I have created recently!! And I would really love for you to pin it!
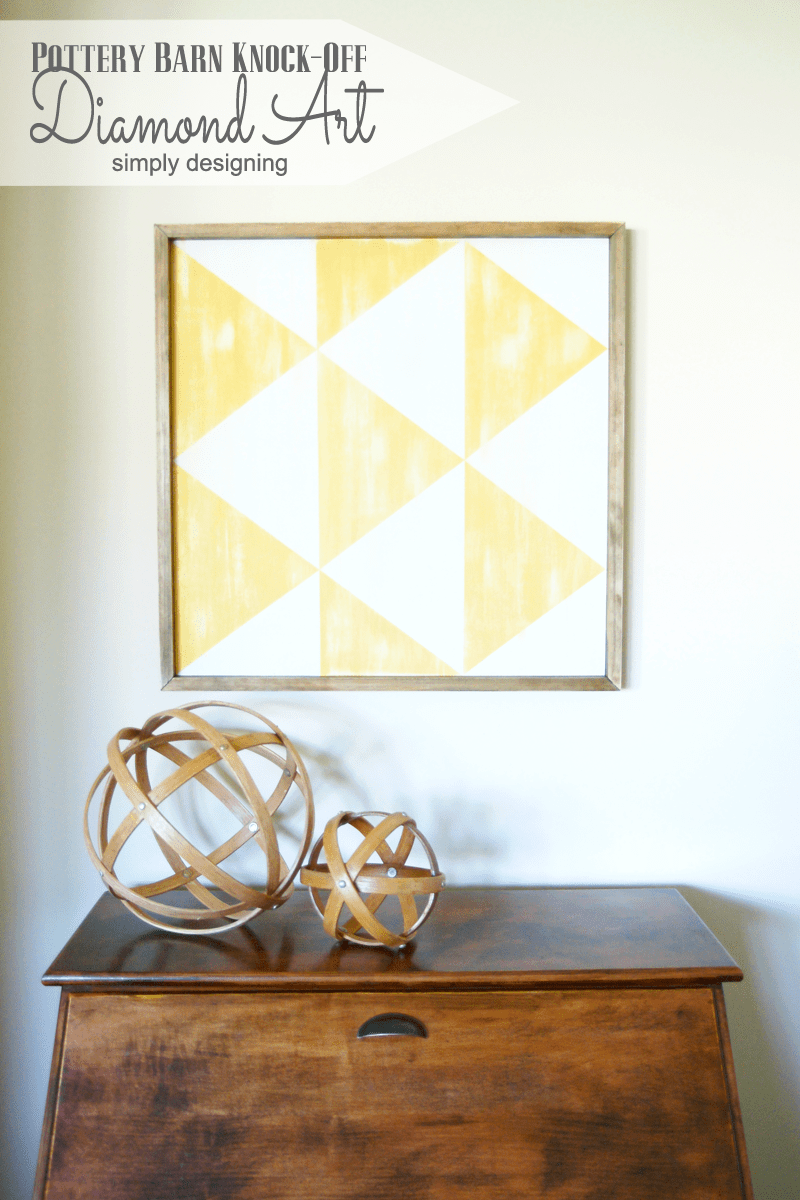
If you like this project, you might want to check out these cool posts too:
DIY Framed Mirror with Hidden Jewelry Storage




Alicia
This is adorable! love that you can use it all around the house in all decor 🙂 Super cute!
Claire @ A Little Claireification
This is gorgeous!
Britni
I haven't ever used the probond glue before. It looks awesome!
Vidya @ Whats Ur Home Story
Love this idea. Simple and rustic art. Adding to my TO DO List.
Jenna
Love the rustic look of this!
Nikki Frank-Hamilton
This turned out fantastic. I love it. I am so on the current ampersand trend, I have one on my desk and have seen many projects that I would like to create! Great job, and I am really impressed with your tool skills, envious actually!
Vanessa
Definitely love the ampersand sign! It turned out really cute! Maybe I could win one!! hint hint 😉
Claire
Really like how you managed to achieve the rustic look with the new wood. thanks for sharing
Amy Anderson
I LOVE how it turned out!
Lolly Jane
LOVE this, Ash! It's perfect for my boys industrial room, thanks for the idea!
Gilly @ Colour Saturated. Life
Well I simply love this! I always love the look of wood and metal together.
Vanessa
Oh man, I'm all over the industrial look of this! Pinning for future use!
Creatively Homespun
I love this!!!! I'll have to remember this when I start decorating the new living room! Thanks for sharing at the Show and Tell Link Party! Pinned!
maxine Brady
Hello from the UK. Love this idea. You're so handy! Wish I could get on crafting like this a bit more . I'm all about the cushions!
McKenzie
Cute &!!