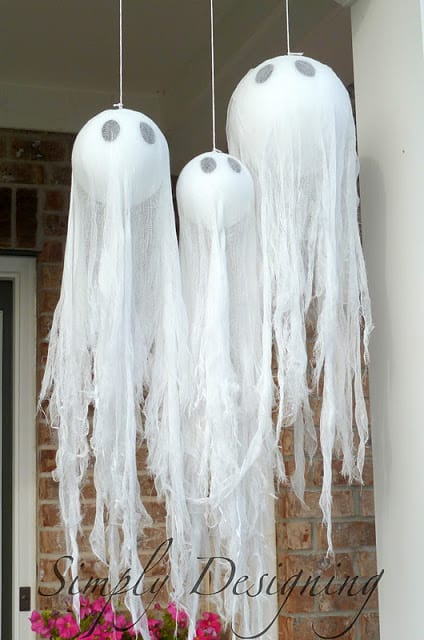
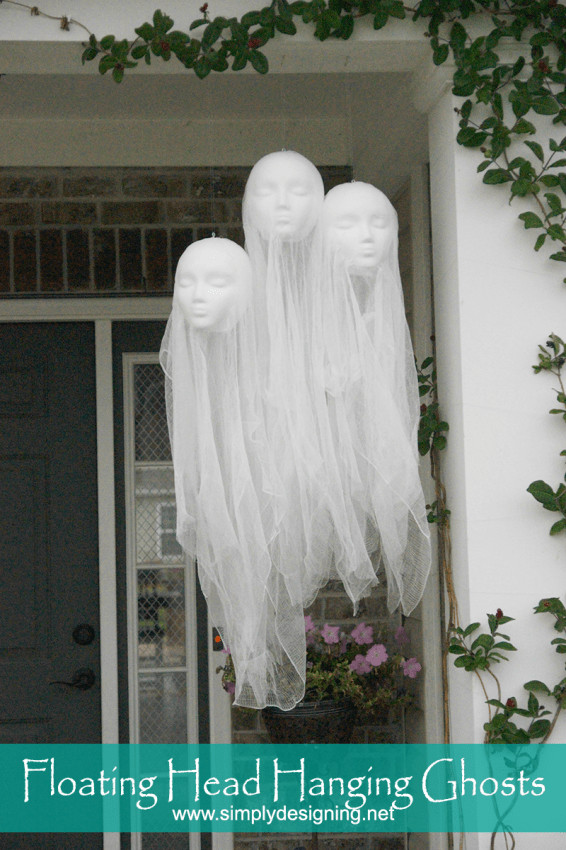
This simple and fun DIY Hanging Ghost Lantern is the perfect Halloween project that will light up your yard with cute spookiness. You may also want to check out my Hanging Ghosts HERE and my Floating Head Hanging Ghosts HERE for more Halloween fun!
(This post is sponsored by Wagner. Affiliate links included for your convenience. Thank you for supporting my blog.)
DIY Hanging Ghost Lantern
If your family loves Halloween as much as mine does, this easy Halloween craft project is right up your alley.
I know I am calling it a Halloween craft, but because I actually used a power tool to make these...it feels like a Halloween DIY project to me. But no matter what you want to call it, it is EASY, SIMPLE and anyone can do it!
What is a hanging ghost lantern?
A hanging ghost lantern is simple a hanging ghost, that lights up! You can hang these outside (as long as you get wiring that is safe for outdoor use), or hang them inside for some spooky fun. Either way, these ghost lanterns are super cute and so fun for Halloween.
How to make a ghost
There are so many ways that you can make a ghost. I have already shared two easy hanging ghost projects on my blog HERE and HERE. But these DIY ghosts are unique because they are made with plastic! You will simply use a heat gun to shape a piece of thin plastic into a ghost shape, spray it with white spray paint, add eyes and a mouth, and you have a super cute, friendly ghost for your Halloween decor.
How to make outdoor Halloween ghosts
If you want to make outdoor Halloween ghosts, you have a few options. Again, check out my hanging ghosts projects HERE and HERE to make hanging ghosts with cheesecloth. But the project I am sharing today for an outdoor Halloween ghost is actually made with plastic! Yes, plastic. And you can totally DIY this yourself with just a few items and tools.
To create this DIY Hanging Ghost Lantern, you will need the following items:
- 16” x 20” Thin Plastic Sheet
- Wagner HT400 Heat Gun
- White Spray Paint, Flat
- Black Vinyl (use permanent vinyl if you plan to hang this outside)
- Scissors
- LED Candelabra Light Bulb, 40w (make sure this is rated for outdoor use if you plan to hang this outside)
- Lamp Cord (if you choose to hang this outdoor, you need to get a cord rated for outdoor use)
- Candelabra Keyless Socket (make sure this is rated for outdoor use if you plan to use this outside)
- Leather Work Gloves
- Drill & Bit (choose one just big enough to fit the lamp cord through)
- Shovel (or broom)
- Old Towel
- Masking Tape
For the plastic, it is important that you find THIN plastic. The thick acrylic sheets at hardware stores are too thick for this project.
I ended up finding what I used at Hobby Lobby. It didn't say what thickness it is, but it was 16" x 20". There were several different size options. I found this in the same aisle as the mosaic tiles, but it may be different in your store.
As far as the heat gun goes, I use the Wagner HT400 for this project. It is smaller in size and fits really easily in my hands and it is great for details and small projects like this one.
Grab your Wagner HT400 Heat Gun HERE.
How do you make a hanging ghost lantern?
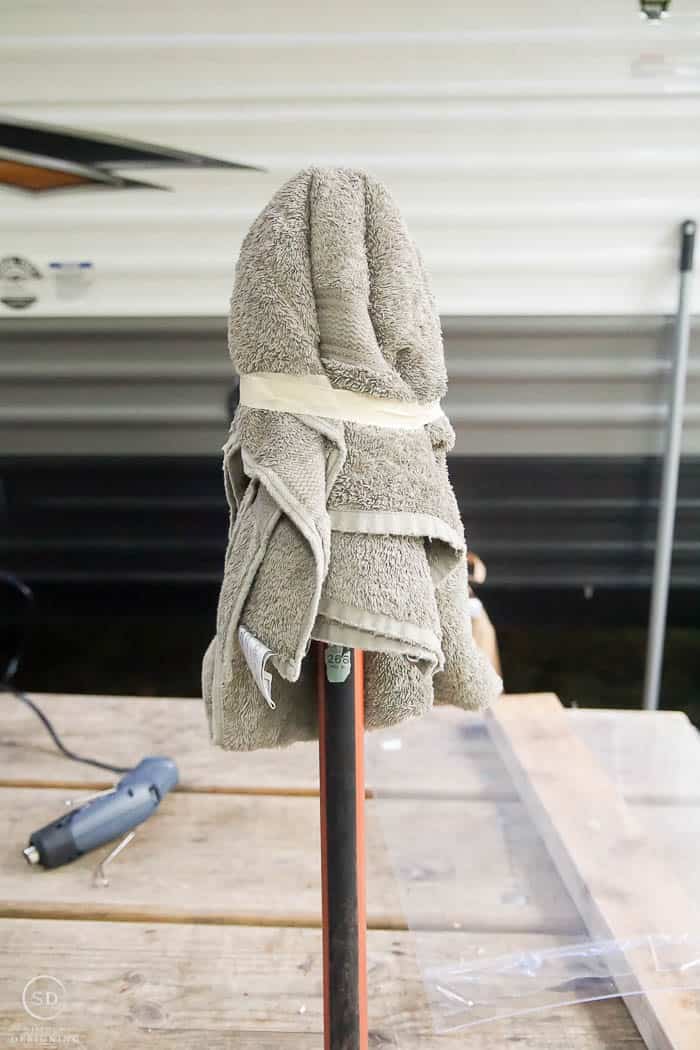
We began by creating a "mold" for our ghost. We needed something tall, and that wouldn't burn or get damaged with the hot heat of a heat gun. We decided to put an old towel around a shovel handle and secure it with masking tape.
Is this pretty and fancy? Nope.
Was it easy and free? Yes!
If you decide to duplicate this craft, feel free to get creative here.
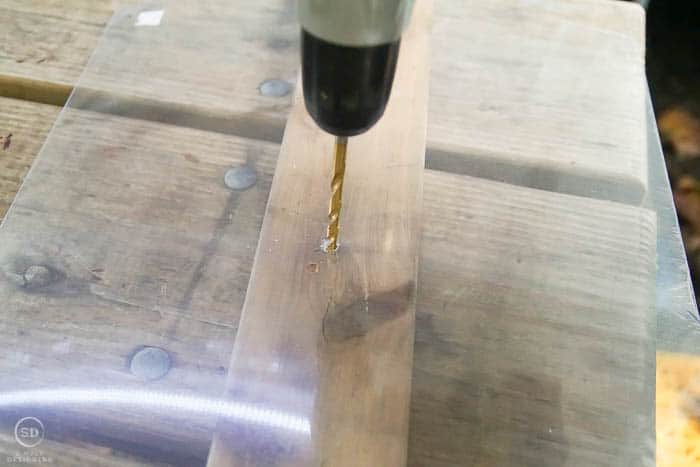
Then we measured and drilled a hole in the center of the sheet of plastic. You will want to use a drill bit just barely big enough to fit the lamp cord through.
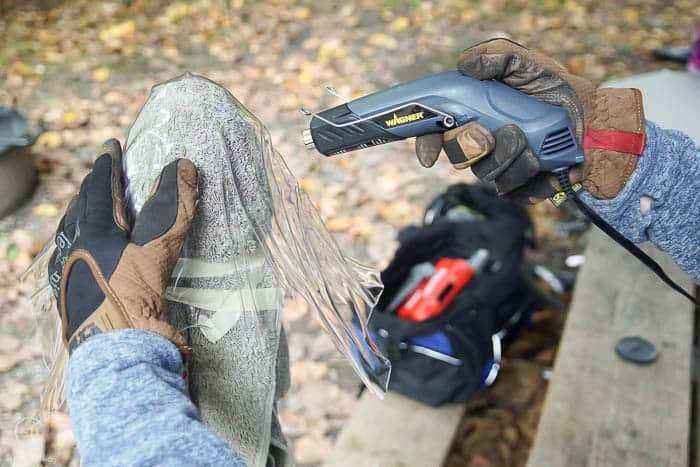
Next, we simply used the HT400 Heat Gun to heat the plastic up in sections. As the plastic became soft and pliable it naturally began to fall and fold into itself around the towel shape.
This will take some time so be patient with it.
Remember to keep the hole you drilled near the top of the handle.
We found it best to work in lines, we heated an area straight across and let it fold in half. Then we heated it in half the other direction like a plus sign.
Then we heated areas from the top to the corners on a diagonal and continued on and on until the plastic folded into itself and began to look like a ghost.
We kept going until we ended up with the final ghost shape that we wanted.
Be sure to wear your gloves too because this heat gun gets HOT!
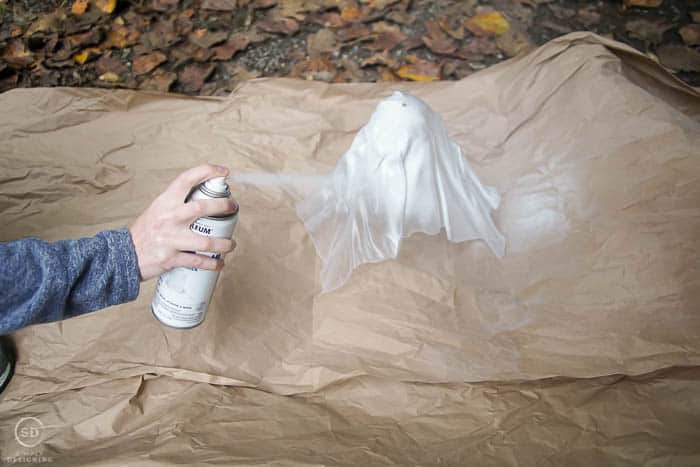
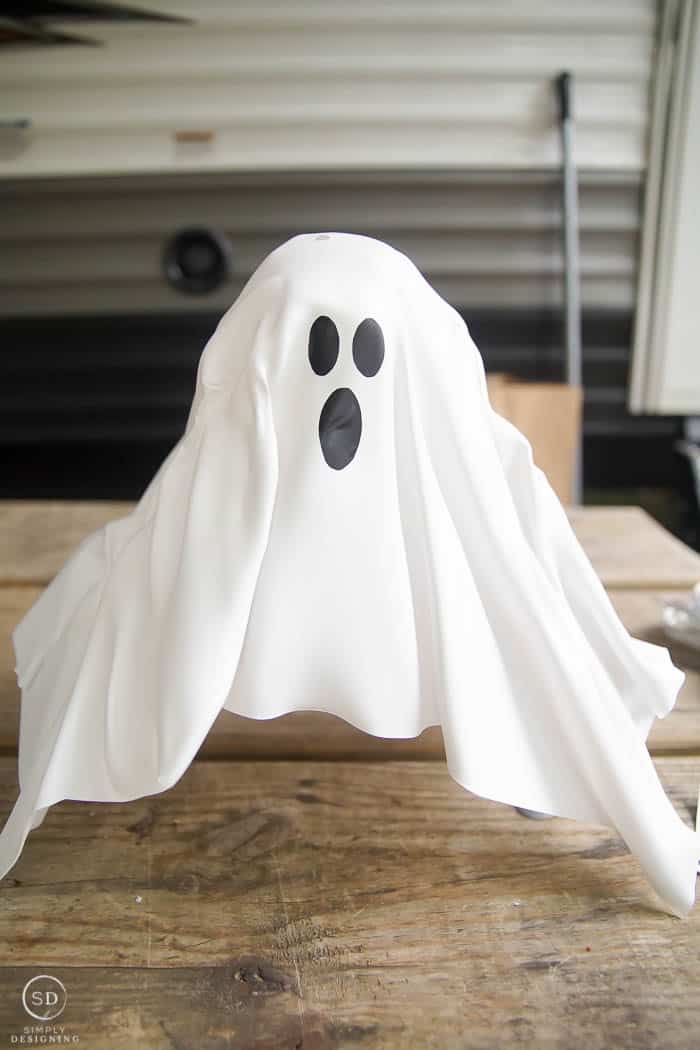
After the ghost shape was complete and cooled, I used flat white spray paint to paint my ghost white.
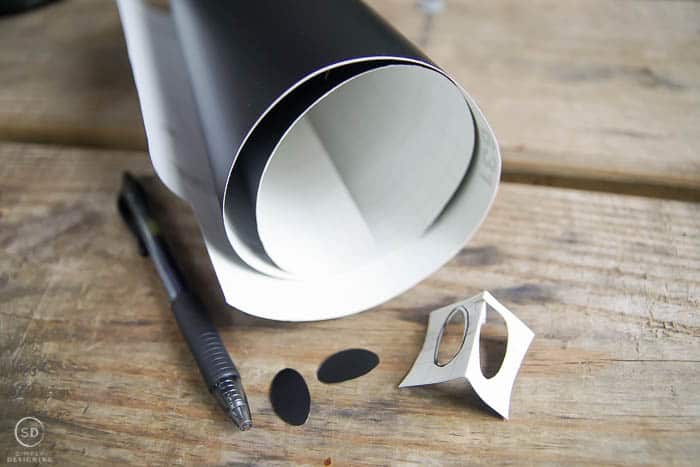
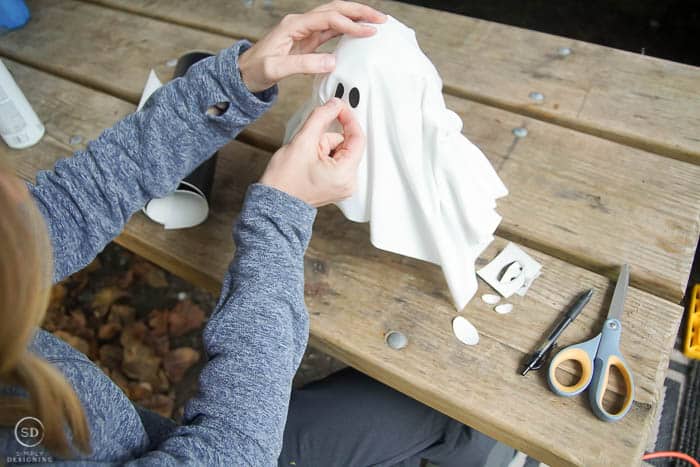
Then I cut ghost-shaped eyes and a mouth out of black vinyl with a pair of scissors - no fancy machine needed.
Then I simply placed the vinyl eyes and mouth onto the ghost.
Super easy!
Then it was time to add my lighting to turn this hanging ghost into a hanging ghost lantern.
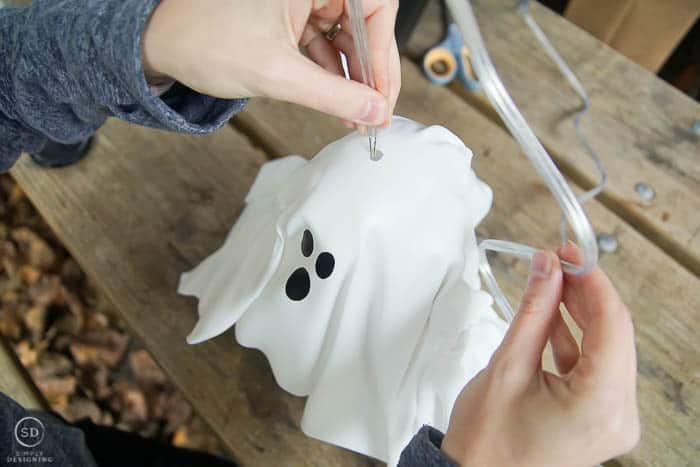
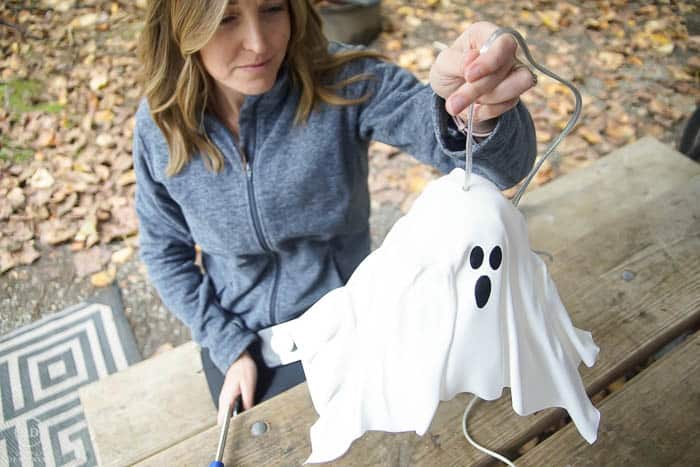
First I fed the lamp cord through the hole in the top of the ghost lantern.
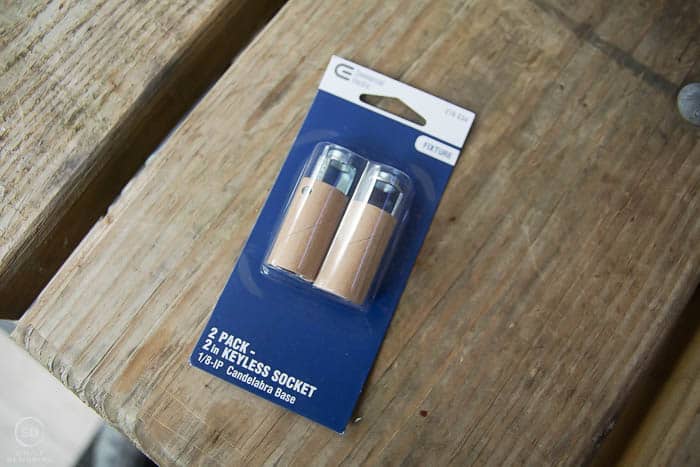
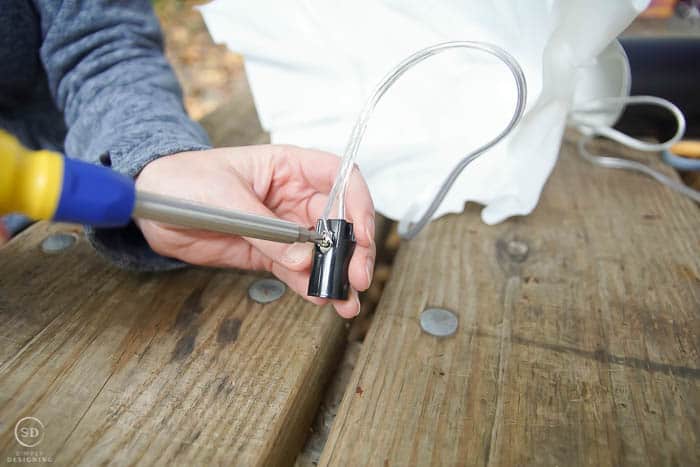
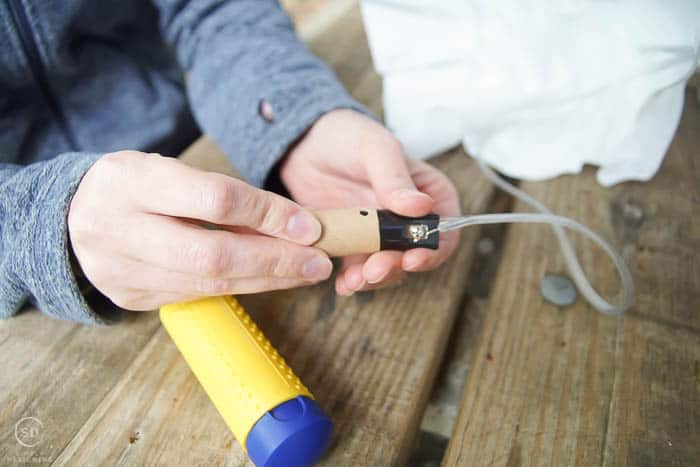
Then I removed the cardboard from the socket and attached each wire from the lamp cord into one screw on either side of the socket. One wire per screw.
You simply place the wire under the screw and tighten it down.
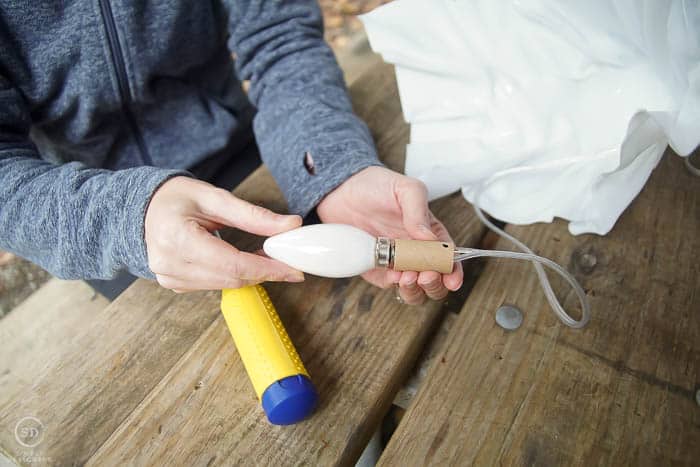
Then place the cardboard protector back over the socket.
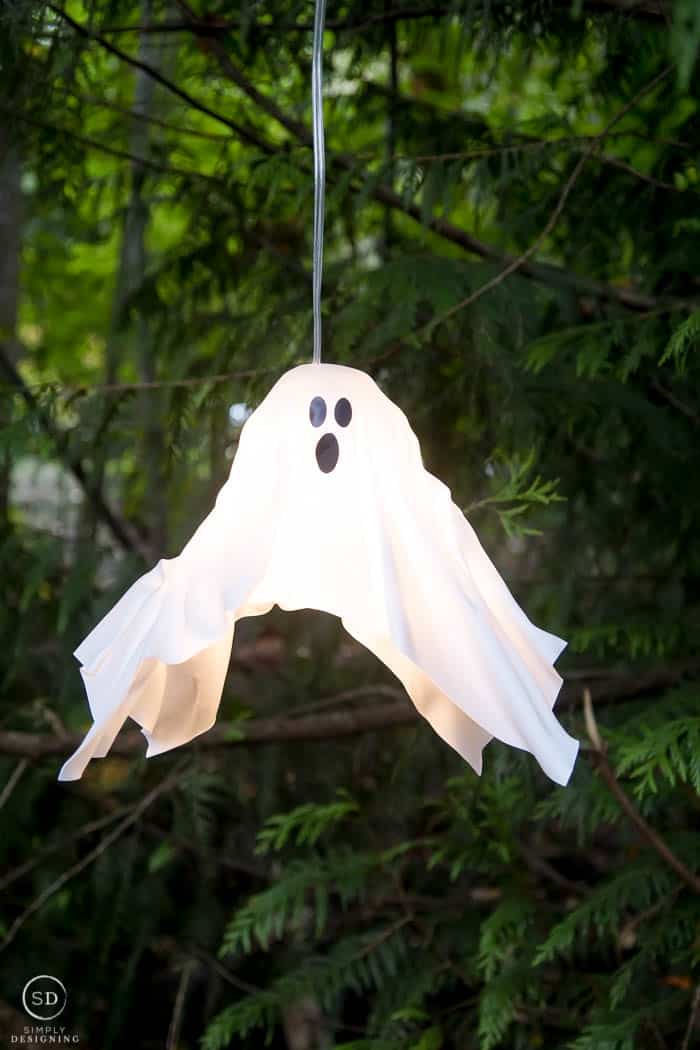
Then we screwed the light bulb into the socket and plugged it in.
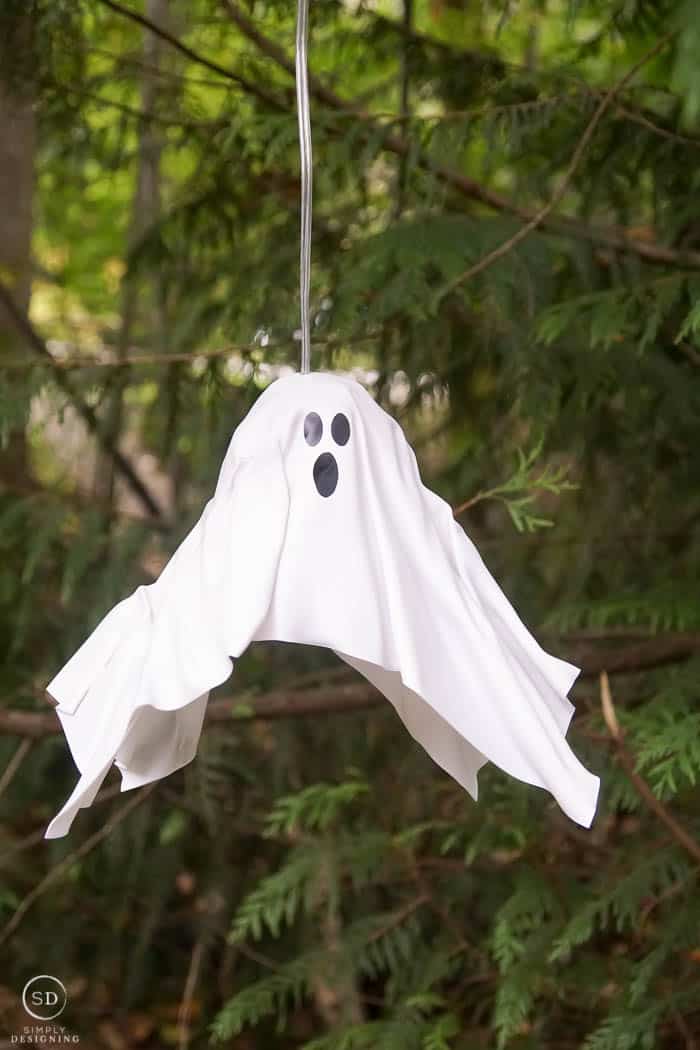
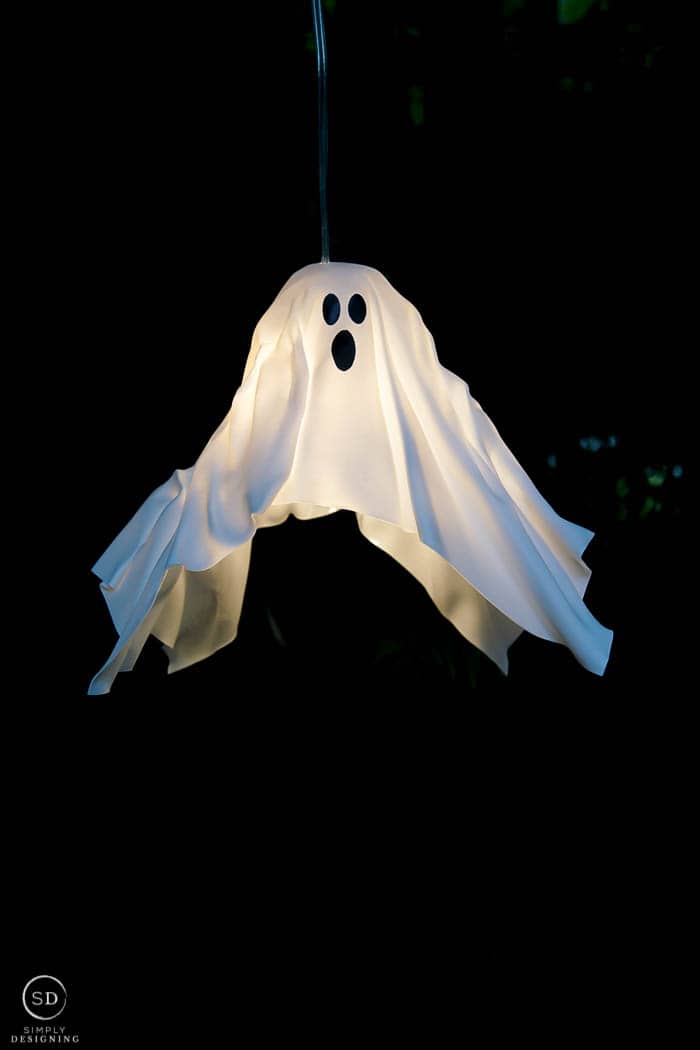
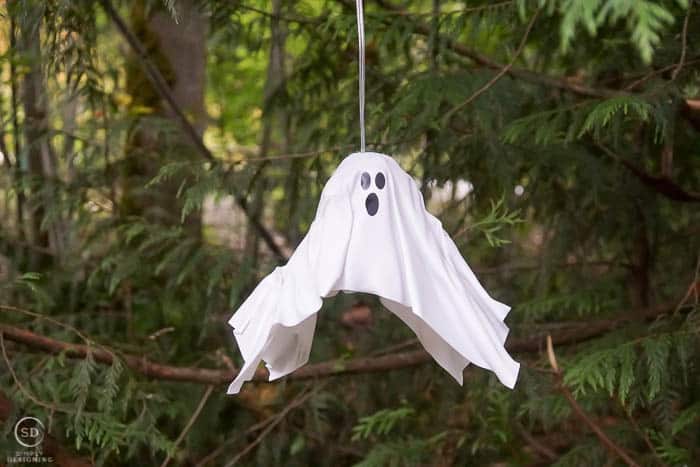
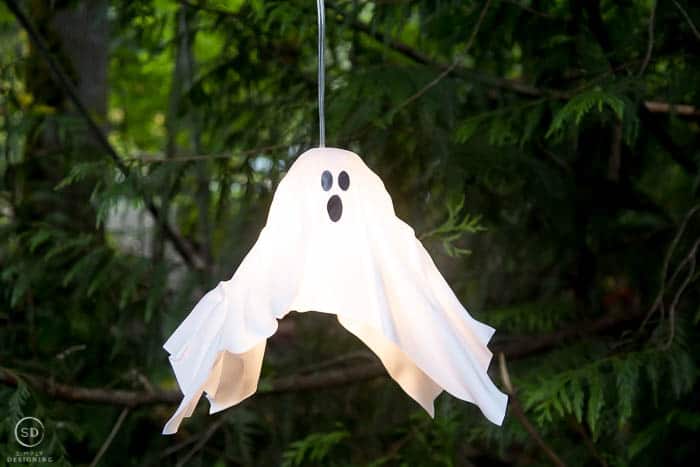
I hung it up and it turned into the cutest little ghost decoration ever!
Isn't he just the cutest little ghost ever!?
He looks cute on his own, or lit up!
I think it would be cute to make a bunch of these to hang from a tree or off your front porch for Halloween.
Check out more fun ideas using Wagner tools on their blog here.
You might also enjoy these posts:







Sarah @ The DIY Mommy
I love these, they remind me of the ghosts I had as a kid! Thanks for sharing!