DIY Floating Wood Shelves are really easy to make! And they are the perfect shelves to build into a blank wall in a small, narrow half bath as I have. They take just a bit of patience because each cut will need to be measured out individually so that these are the perfect fit for your space, but the end result is totally worth it! Keep reading to learn how to make easy diy floating shelves yourself.

DIY Floating Shelves
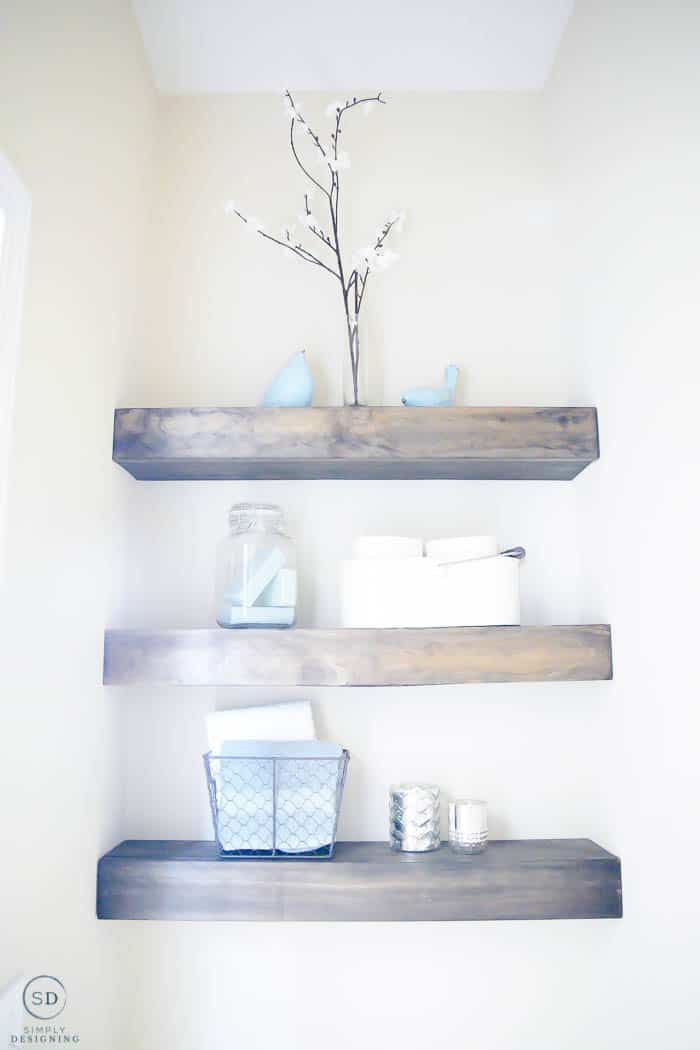
And oh how these floating shelves make my heart sing! I love love LOVE how these DIY floating shelves turned out!!
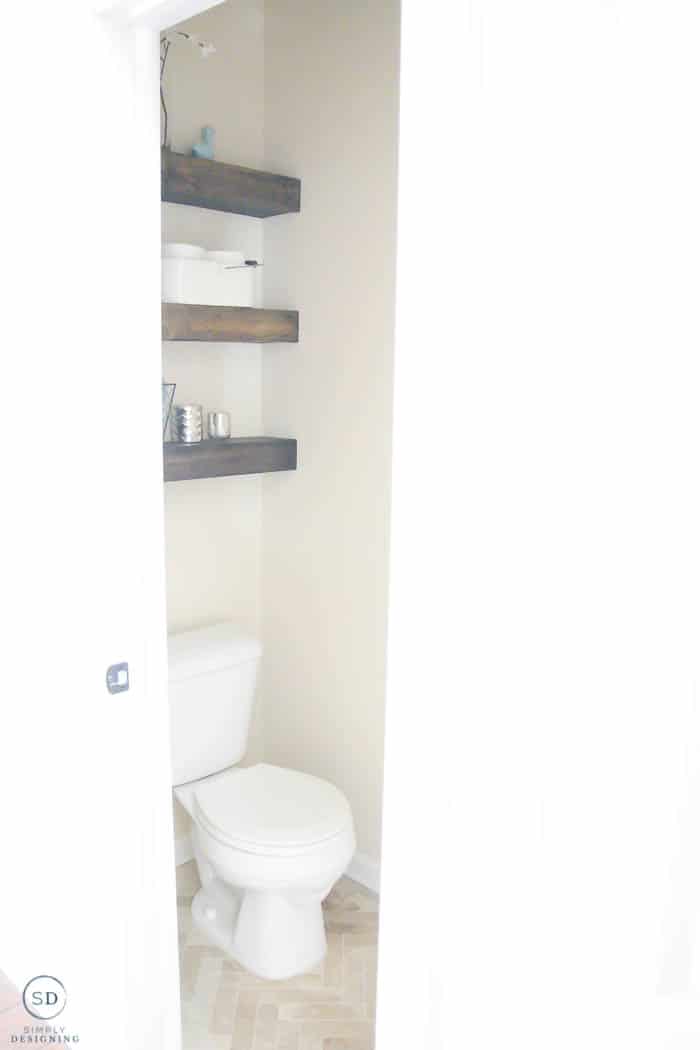
The best part about these shelves is that I actually think it makes my tiny bathroom feel bigger! Because my ceilings are high, and I added three shelves and tall decorations, when you walk into the room, the height of the shelves visually leads your eye up so you notice the height of the room. This helps it feel bigger. Which, is a great plus because it is a tiny room!
DIY wood floating shelves are a popular DIY and there are many tutorials on how to create these. I had seen and pinned this inspiration from Desert Domicile over a year ago and used it as my basis for inspiration for these built-in shelves.
Of course, I have to show you a BEFORE picture. See...my tiny little shelf!? It definitely needed to be replaced!
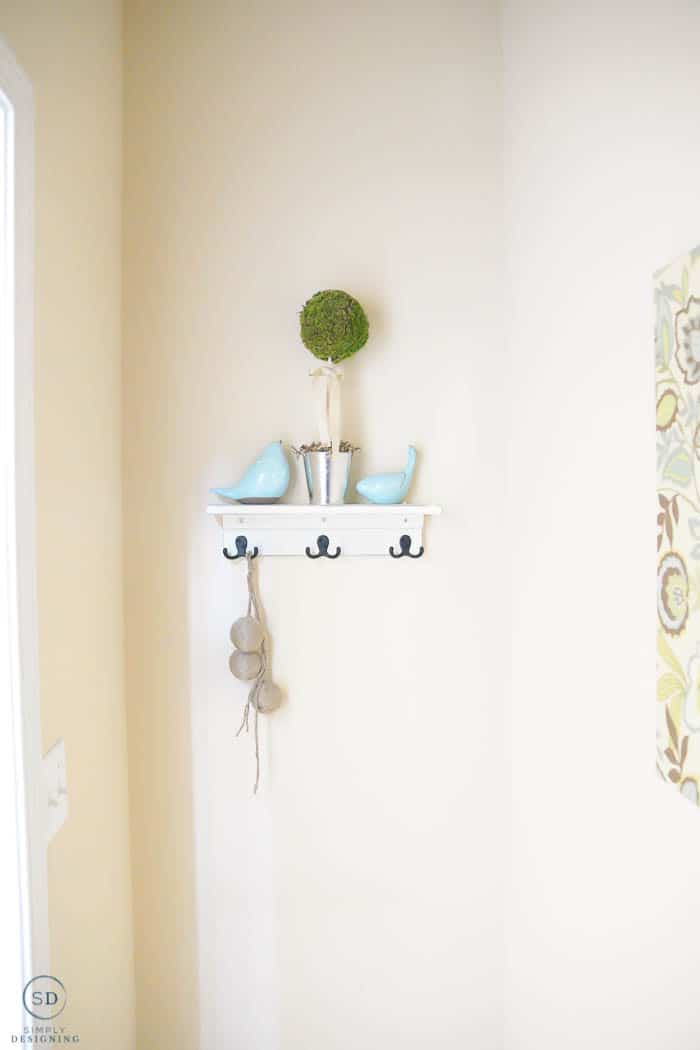
Do floating shelves need studs?
The short answer is no, floating shelves do not need wall studs. If you can attach them to studs, that's great! If not, grab wall anchors and use those to keep them secure to the wall.
How do you attach floating shelves?
There are several different ways you can attach floating shelves to provide adequate shelf support. You can use an angle wall bracket which is very easy, but you will see the shelf brackets so it's not my favorite method, and it won't make them exactly floating since you will see the attachment method. My favorite way is to build a support frame or brace and attach that to the wall first.
Basically, you will screw a board into the back of your wall. Attach it into studs if possible, if not, use drywall anchors. Then you will attach the rest of your shelf to the bracket that's attached to the wall.
Are you ready to get going with this shelf project? Ok, let's do this!
(Affiliate links included in this post to make shopping for and completing this project easier. By purchasing through my links, you never pay a penny more. Thank you for supporting my blog.)
How to Make Floating Shelves
These plans are to create (1) floating shelf that is approximately 32" long by 5.5" deep. You may need to adjust your measurements and quantities accordingly.
Supplies to DIY Floating Shelves:
- 2" x 3" wood, cut 32" long (or the length of your wall)
- 2" x 3" wood, cut into (3) 4" lengths
- 1" x 6" select wood, cut 32" long (or the length of your wall)
- 1" x 4" select wood, cut 32" long (or the length of your wall)
- ¼" plywood, cut 32" long (or the length of your wall) by 5.5" wide
- (6) 2 ½" Kreg Jig Screws
- (2-4) 3" long screws
- Stain (I used Minwax Dark Walnut)
- Rag for staining
Basic Tools:
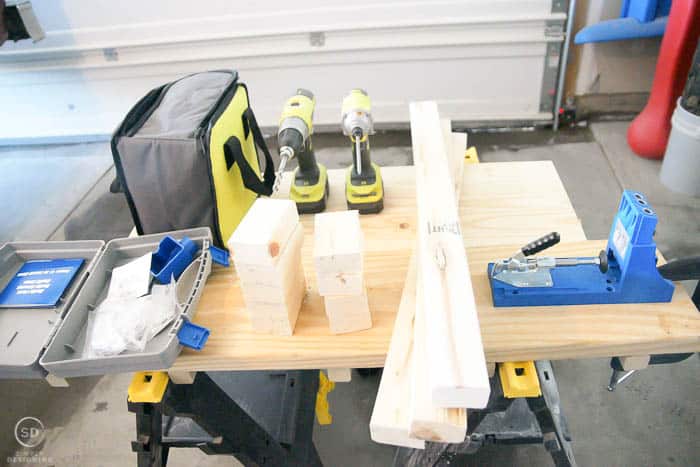
- Ryobi Drill and Driver set (or a regular electric drill will work too, but these are awesome)
- Kreg Jig
- Electric Sander Plus 120 or Higher Sandpaper
- Compound Miter Saw
- Table Saw
- Ryobi AirStrike Brad Nailer
- Level
- Stud Finder
- Tape Measure
Floating Shelves DIY
See my supply list above for the cut list, to know how long to cut all of your lengths of wood. That is the first thing you will want to do.
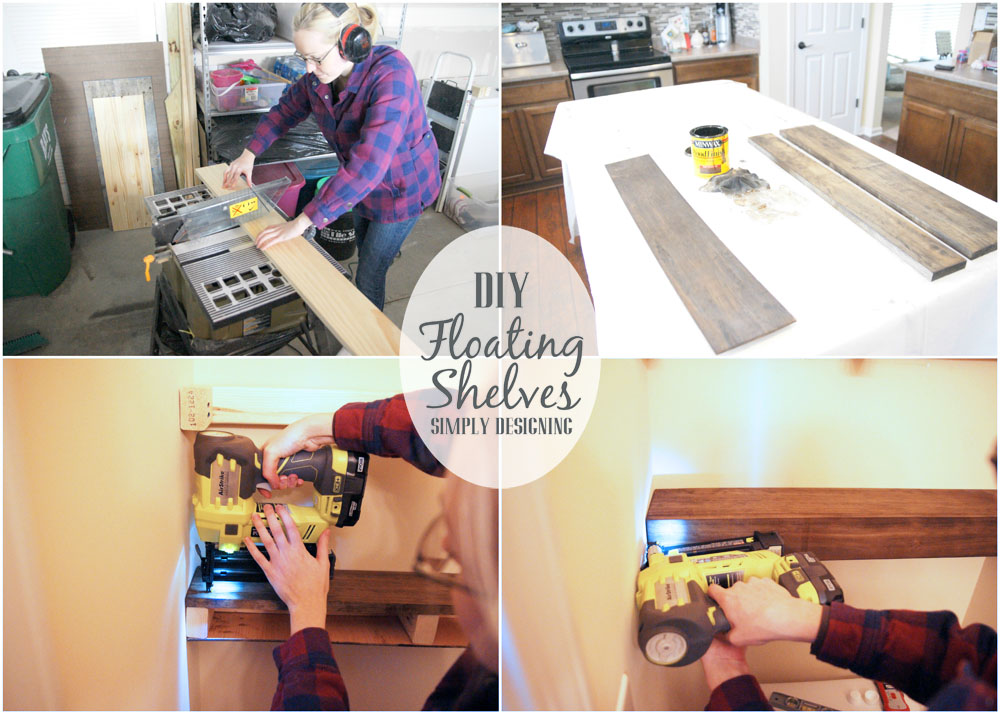
After you cut all of your shelf lengths of wood you will start to assemble the wood frame inside your floating shelf.
A note about cutting your wood. Walls are not perfect. Let me repeat that. Walls. Are. Not. Perfect.
Every single cut I made was slightly different because the walls are not perfectly perpendicular so your best bet is to measure twice and cut once, for every single cut you make. A 1/16" difference does matter when you are creating shelves that are the perfect size to fit wall-to-wall, so take your time to measure and cut carefully.
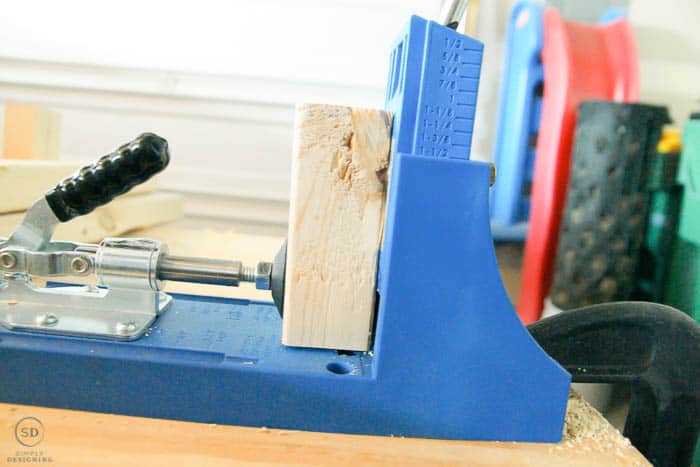
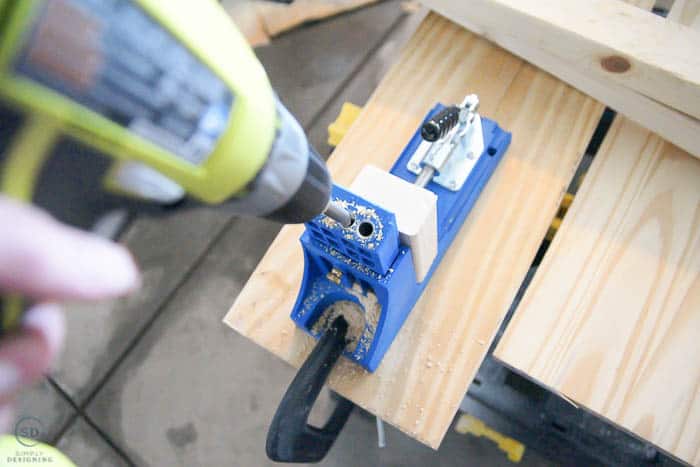
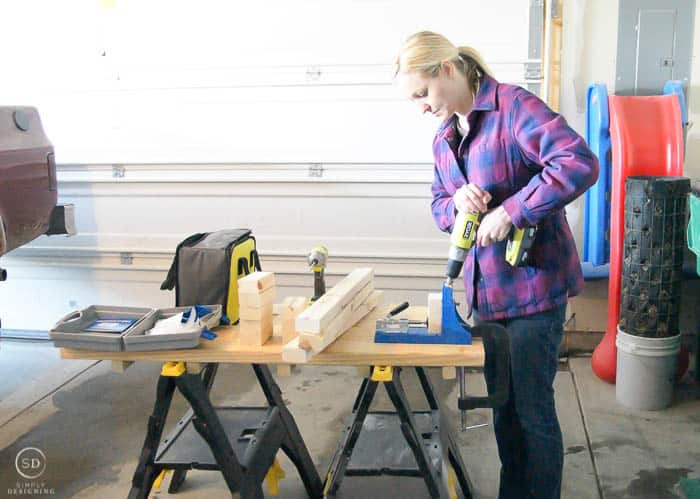
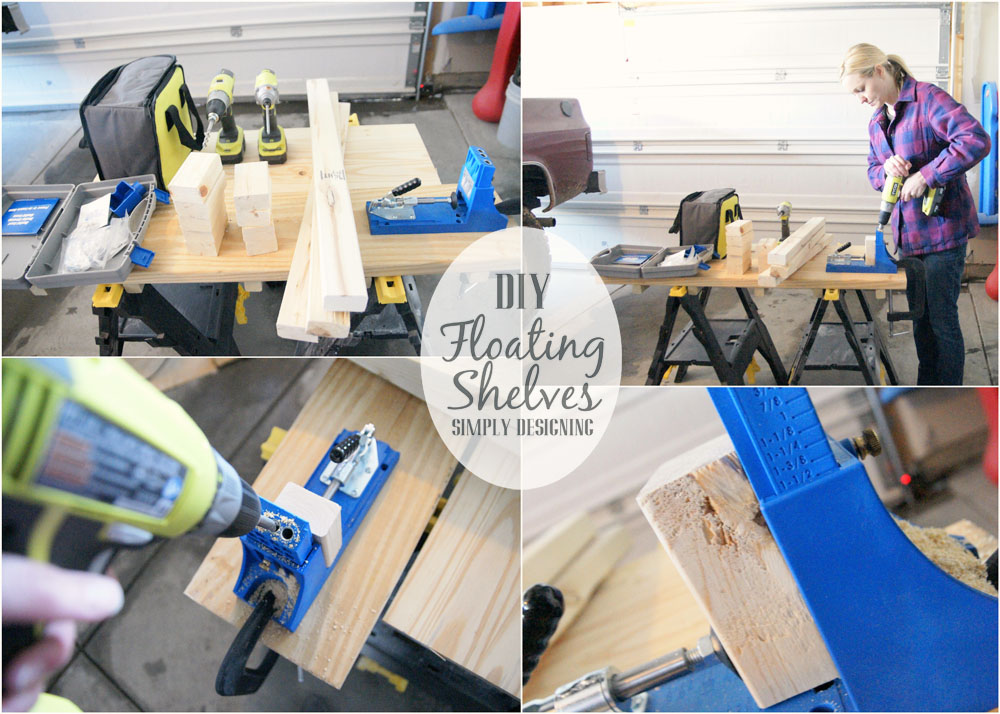
Set your Kreg Jig to 1 ½" and set your drill bit collar to the setting for 1 ½" as well. You are setting both of these to the actual thickness of your wood. And since a 2" x 3" is actually 1 ½" thick (not 2"), both of your Kreg Jig settings need to be set at 1 ½".
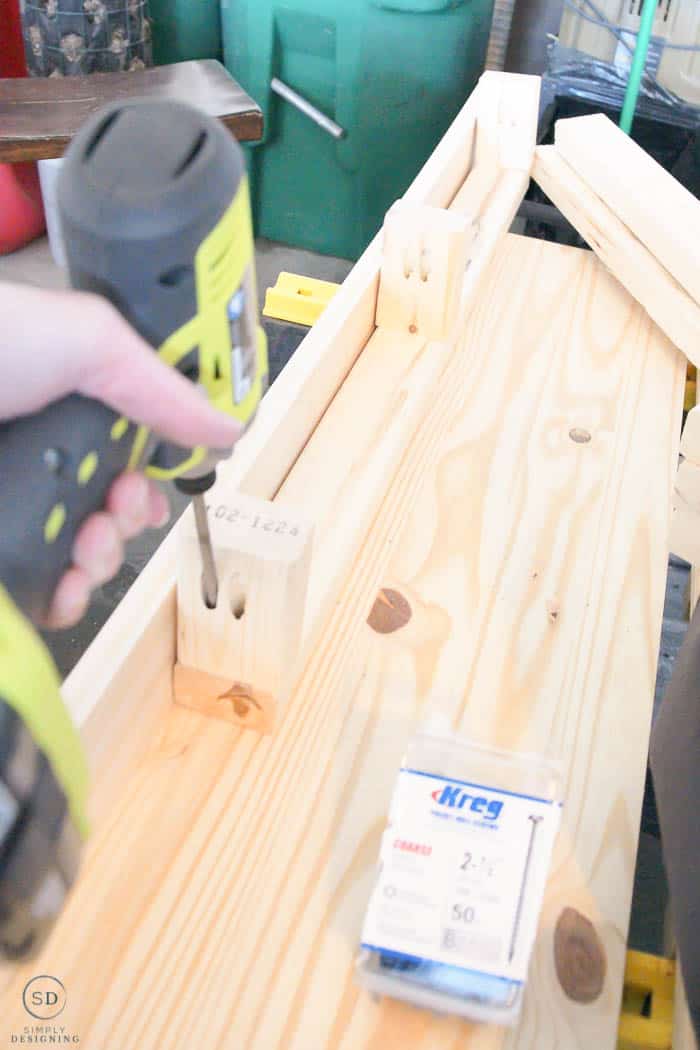
Start by drilling two pocket holes into each of your 4" long 2" x 3" pieces of wood.
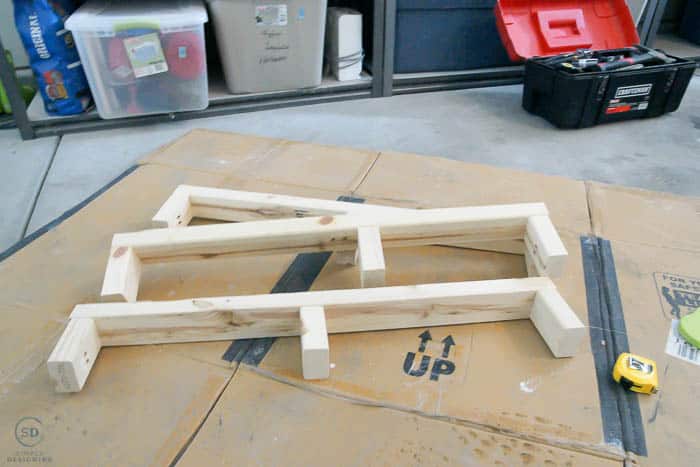
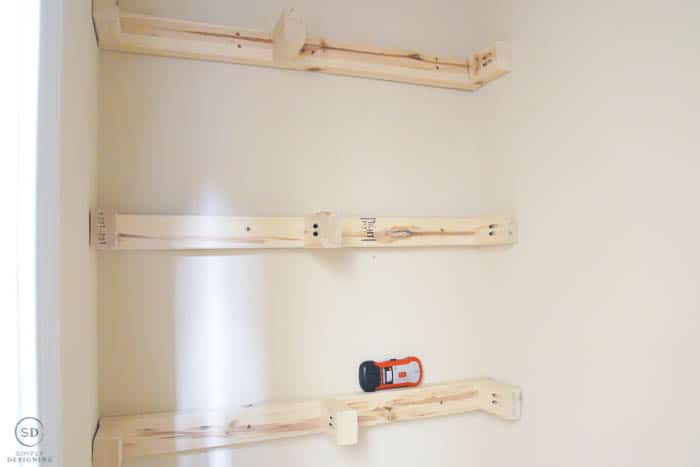
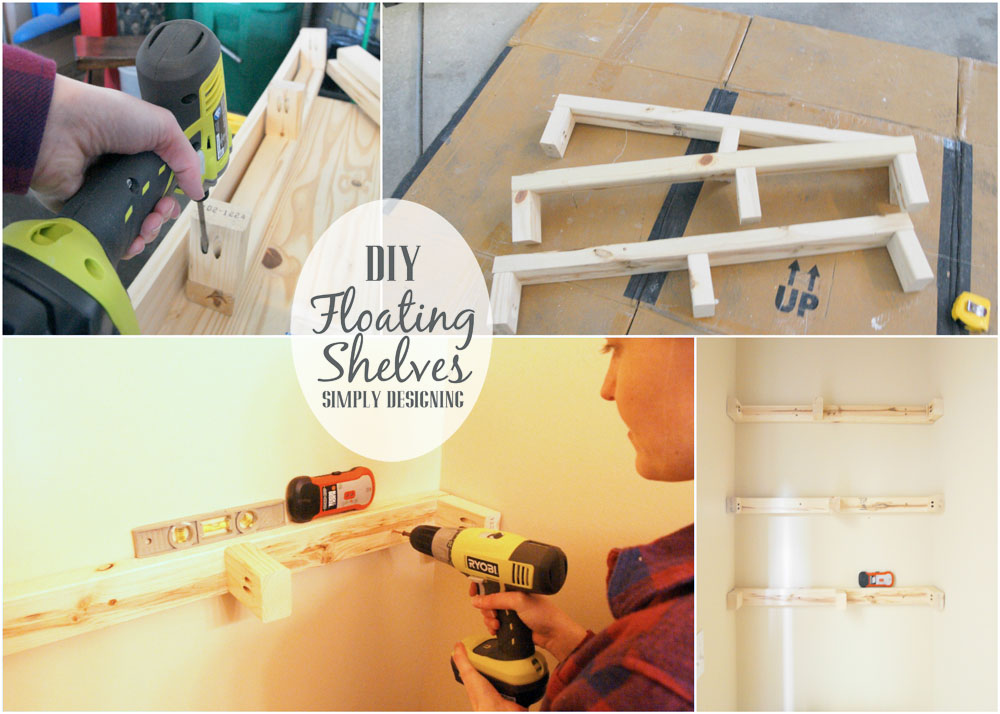
Then you will screw your 4" long 2" x 3"'s into your 32" long 2" x 3". One at each end and one in the middle-ish (no need to measure). You will basically be creating a tall and skinny E. Be sure to line the ends up well, it is a good idea to have a second set of hands if possible, but a 90-degree clamp would work as well.
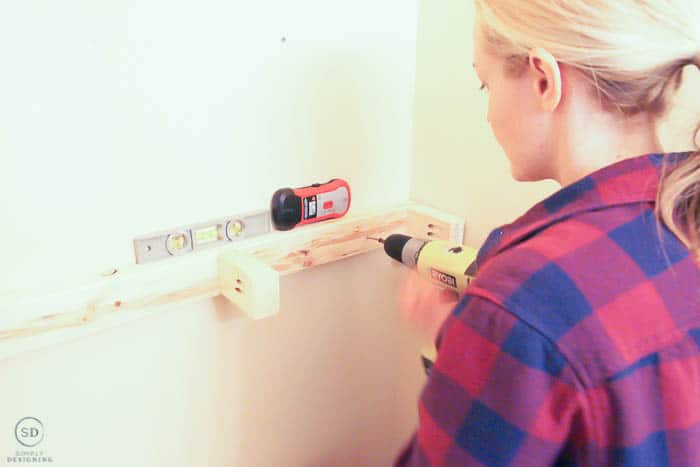
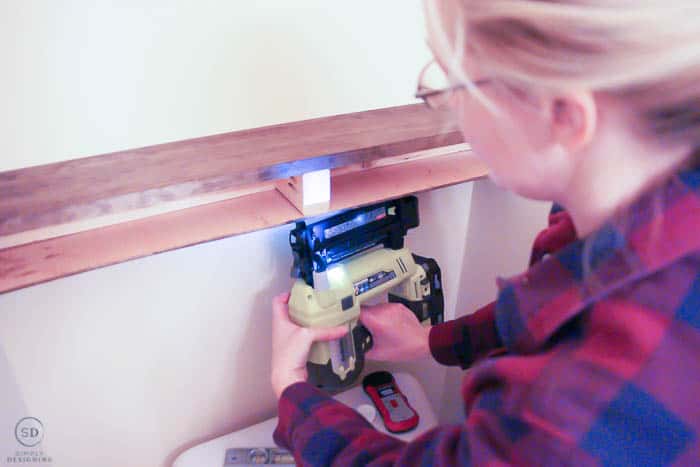
After your "E"'s are assembled, the next step is to use your drill and your 3" screws to attach the shelves into your wall. When we were able to drill into a stud we did, when we couldn't we added an extra screw for stability. I also love using wall anchors for projects like these when I can't find the location of the studs. They help add a lot of stability to the shelves. We used 2-4 screws on each shelf to secure this into place.
This doesn't look very pretty right now, but these will serve as the mounting plates of your floating shelves. This is what enables you to have a floating shelf with no visual supports.
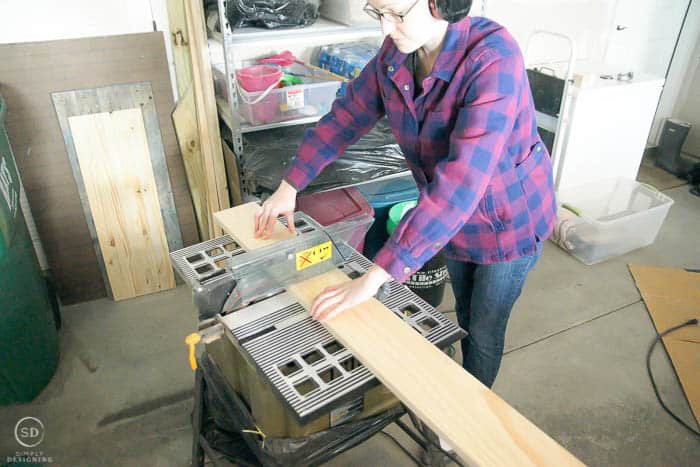
I used a table saw to cut my 1" x 6" boards as well as my plywood.
Always remember to use safety goggles and ear protection when using power tools! Also, be sure to follow all manufacturer instructions and all safety procedures. And of course, use common sense.
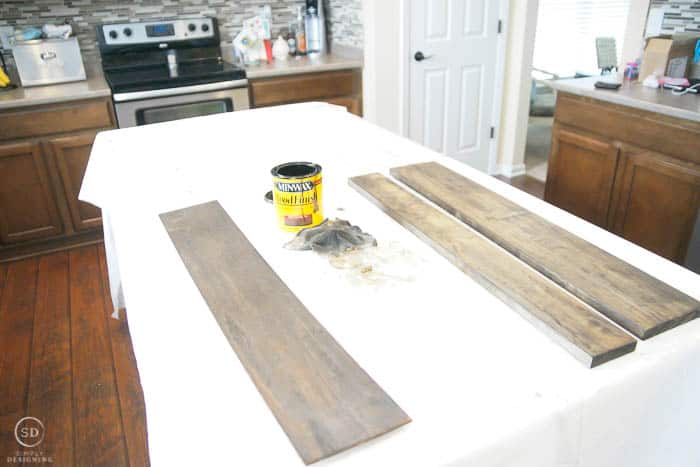
Be sure to sand the rough edges of your 1" x 6", 1" x 4" and your plywood really well and wipe them clean.
Then apply wood stain to those three boards and let them dry.
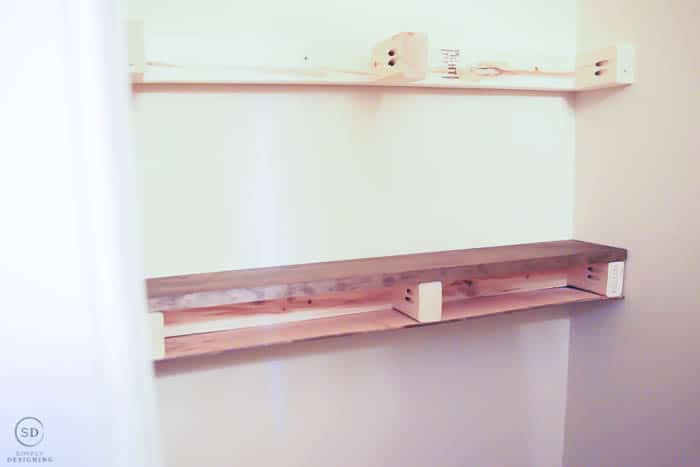
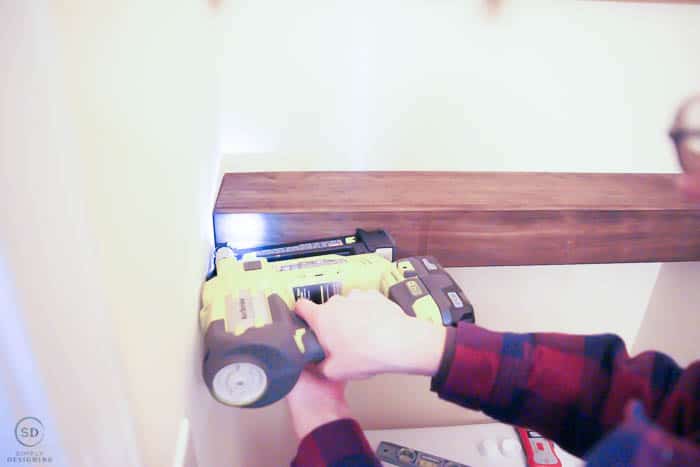
Now let's assemble the rest of the shelf. Use your Ryobi AirStrike to nail-gun your 1" x 6" board onto the top of your supports. Nail your plywood onto the bottom of your supports. And finally, attach your 1" x 4" board onto the front of the shelf!
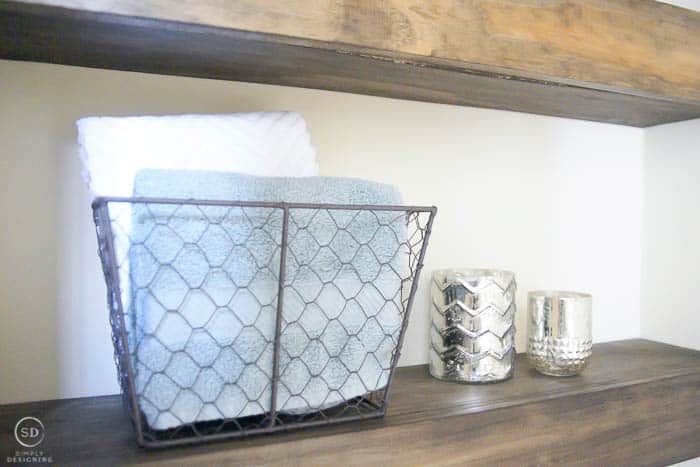
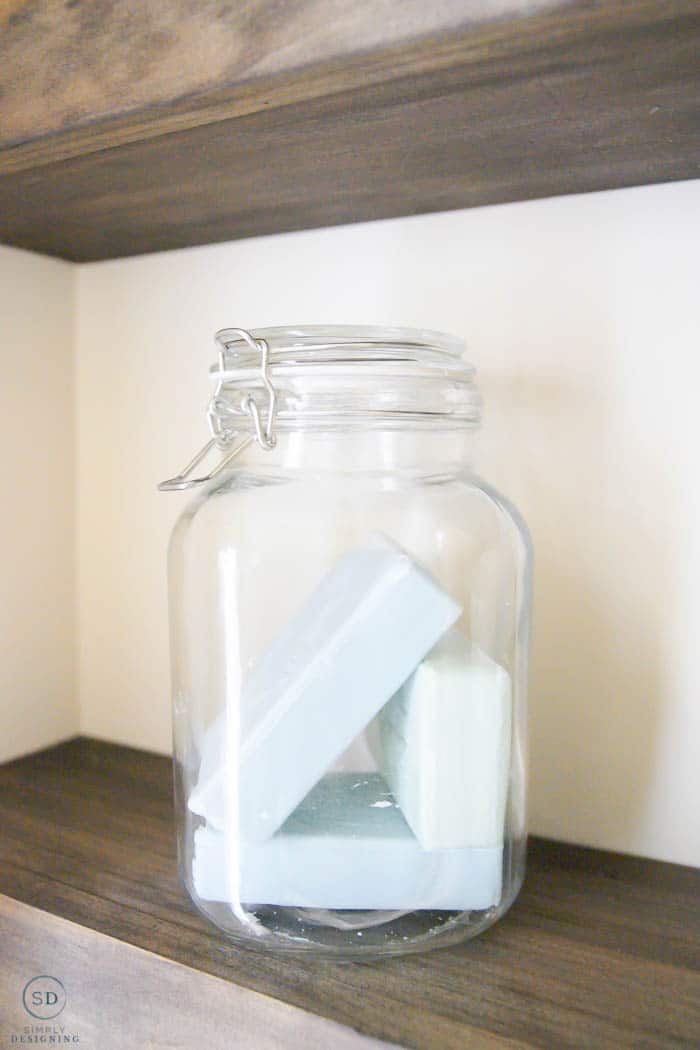
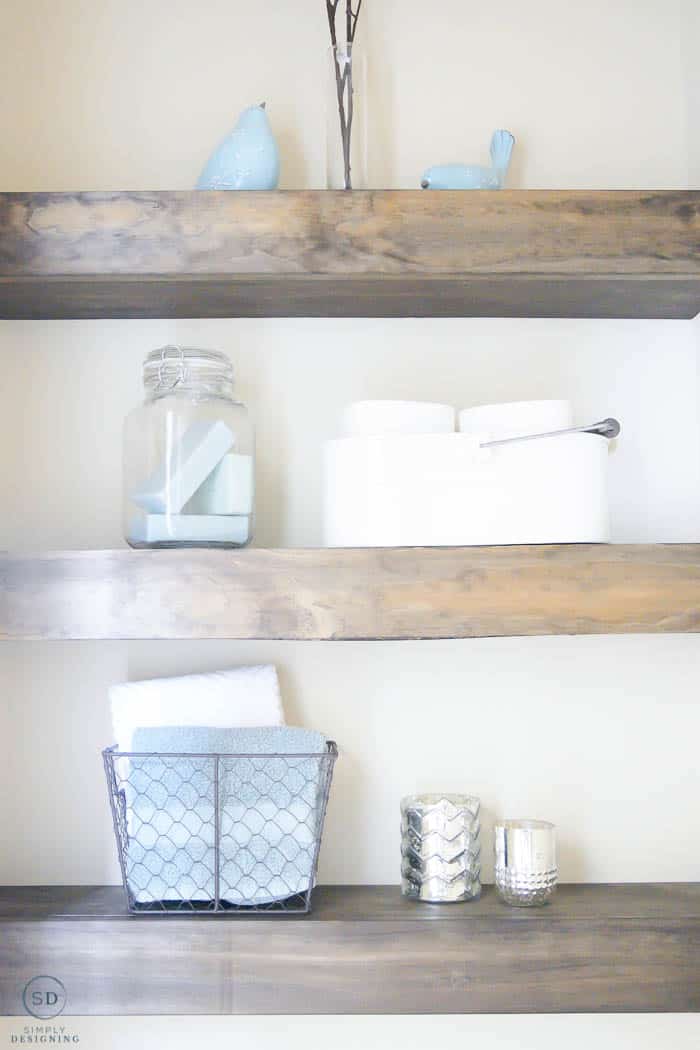
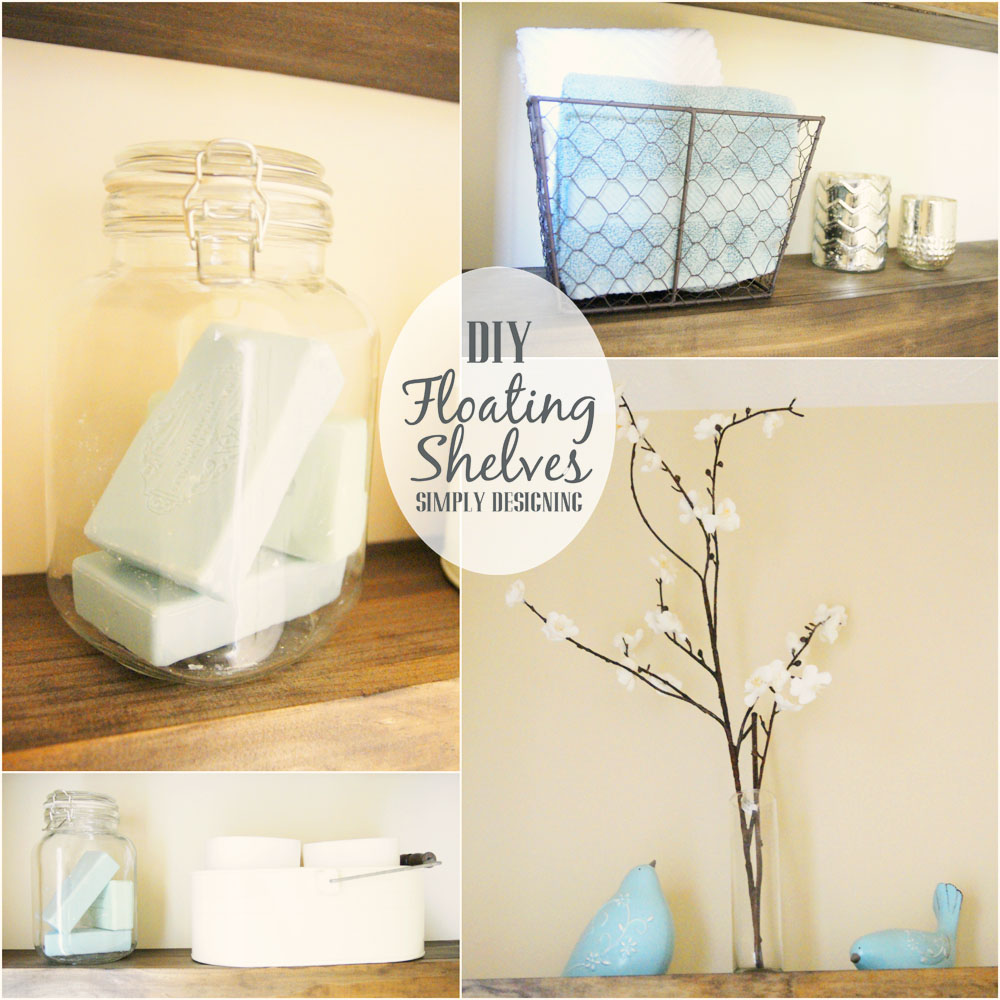
After my DIY Floating shelves were built, I couldn't wait to decorate them! I used a few items I already had at home and I bought a few new home decor items from World Market. Don't you just love that store!?
I love that when I'm walking down the hall, or when I open the bathroom door, this is my new view!
Goodness, these floating shelves turned out super cute!
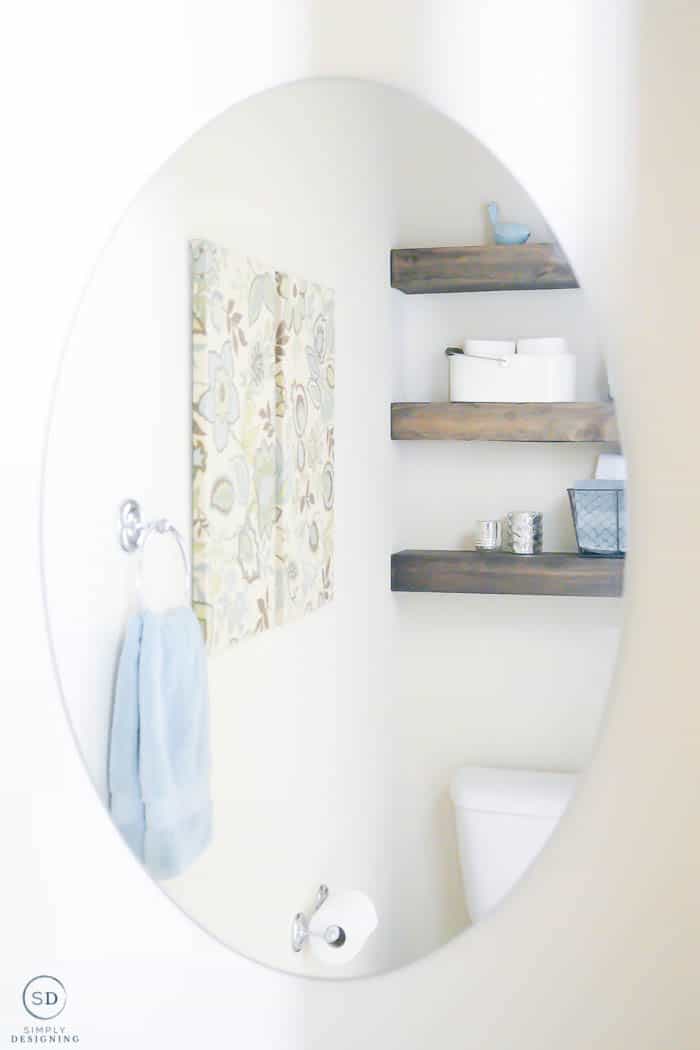
And I am absolutely IN LOVE with how my bathroom has turned out! New Herringbone Tile Floors, new DIY Floating Shelves, and new Decor! I am so excited to have someone over so I can show off my bathroom make-over!! (that's a phrase I never thought I would say 🙂
If you happen to come to my house, please feel free to take a peek at my newly remodelled bathroom! I am so proud of it and I would love to show it off!!
Here are a few other blog posts you might enjoy:
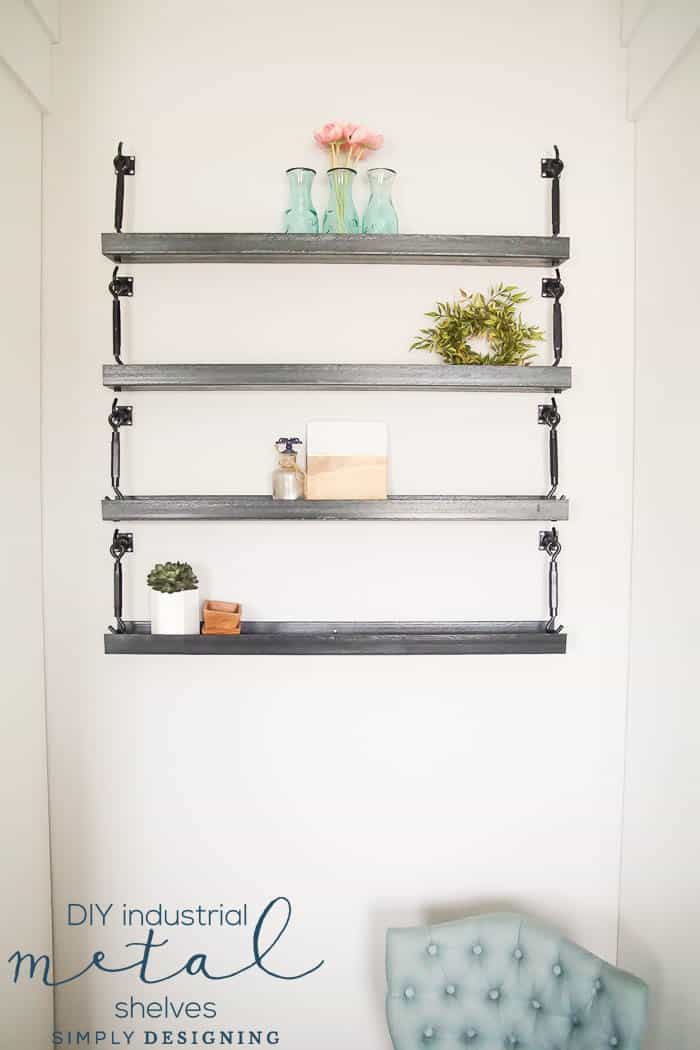
How to make Industrial Metal Shelves
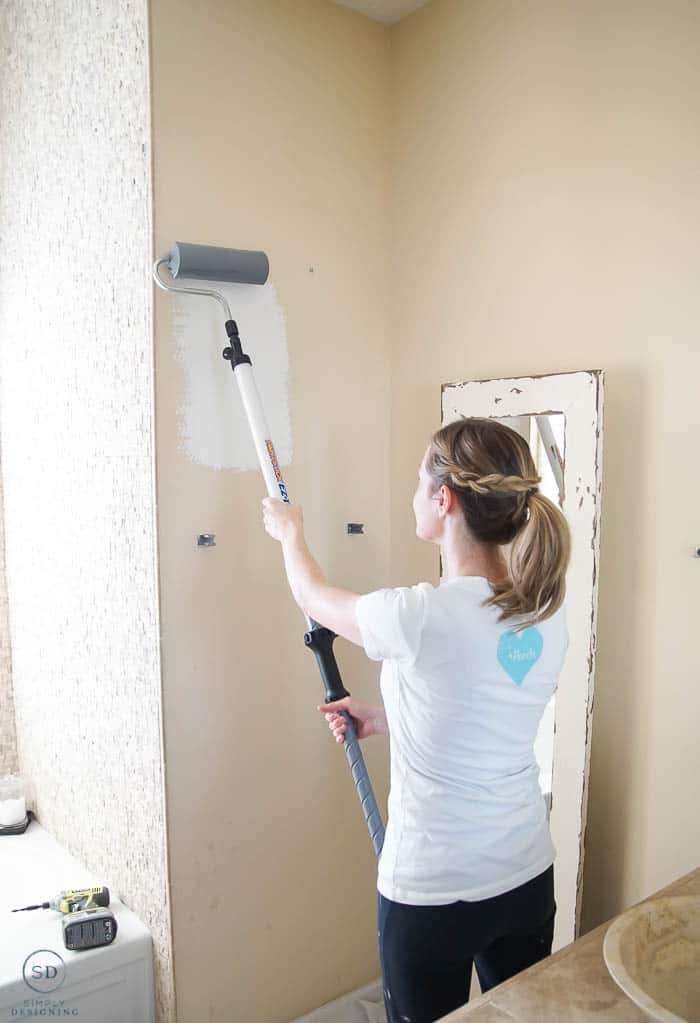
The Best Tips for How to Paint
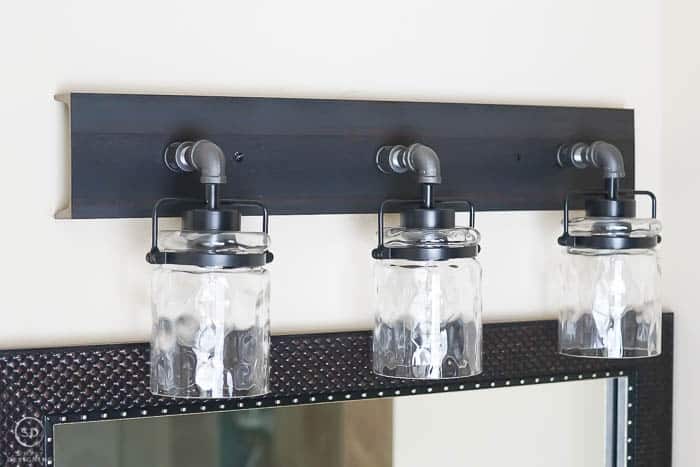
DIY Vanity Light
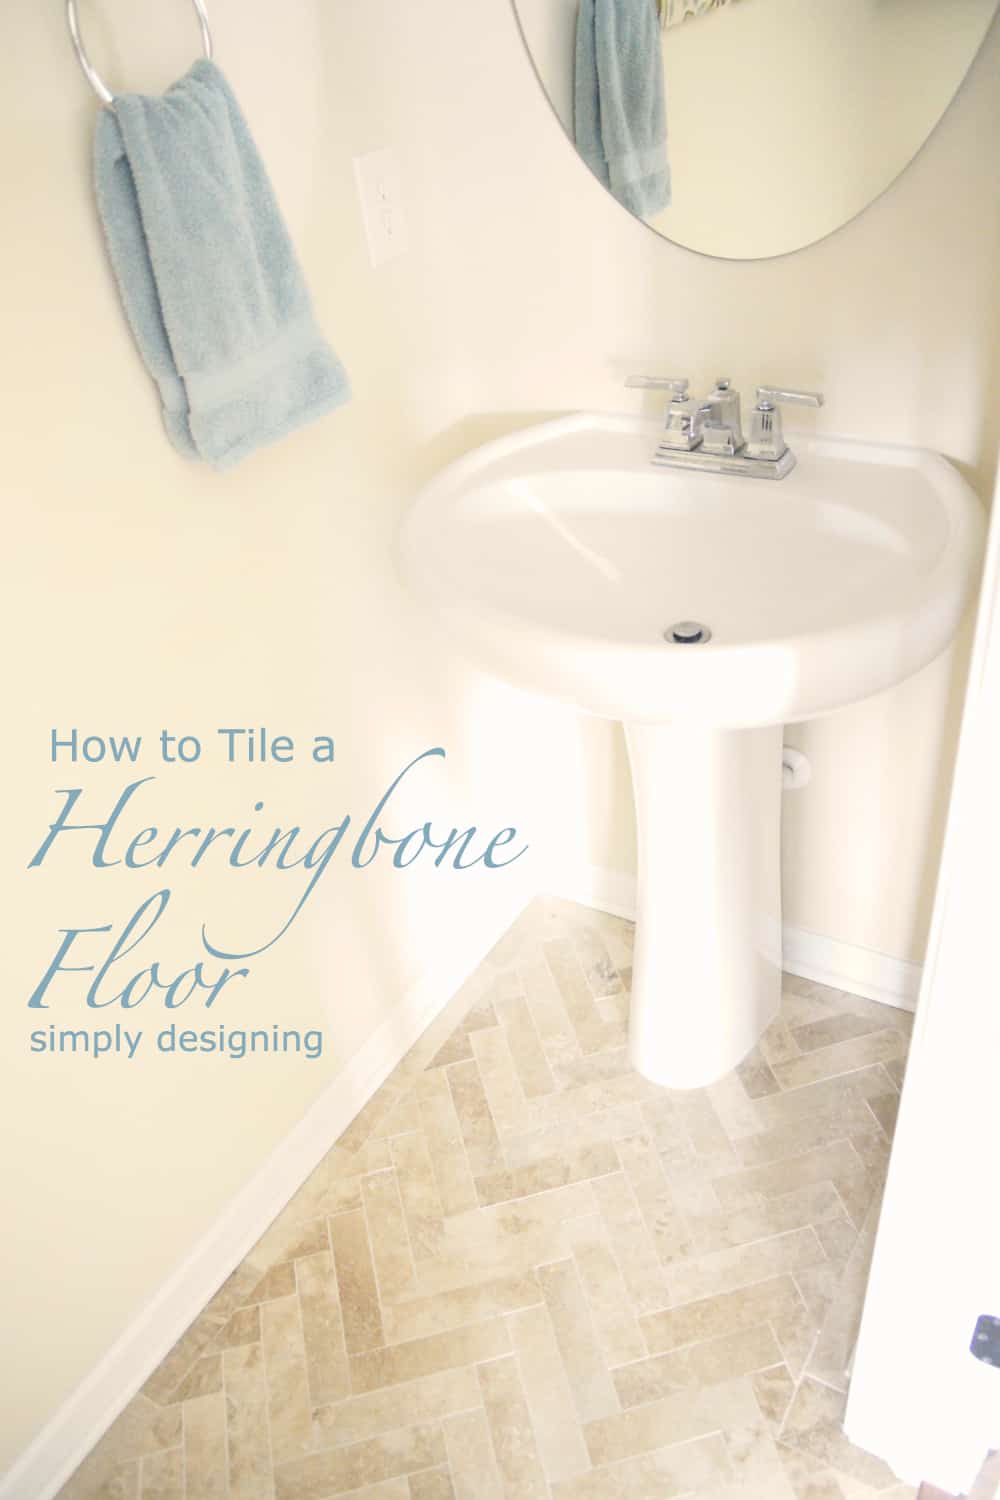
DIY Herringbone Tile Floors
How to Build a Distressed Pallet Board






Colleen
Really made a wonderful difference on your wall by adding your shelves. They made the whole wall look awesome. Great job<br />ColleenB.<br />Texas
Ashley Phipps
Thank you so much Colleen!!
Unknown
So those deleted comments... advice on how to use the miter gauge properly? That picture made me cringe. Shelves look great, though!
Ashley Phipps
The miter gauge is properly in place. You can't see it because of the angle of the photo though. It is behind my left hand because my left hand is holding the wood securely in place to the gauge...so you can't see much of it. The part you can see is the same color grey as my garage floor! Thanks for stopping by!
Corinna Bennett
Love these shelves! Job well done!
Ashley Phipps
Thanks so much Corinna!!
Shanty 2 Chic
http://www.shanty-2-chic.com/wp-content/uploads/2014/01/Floating-Shelves-How-to-build.jpg
Courtney C
http://www.bowerpowerblog.com/2013/12/full-bodied-shelves/comment-page-1/<br /><br />And, you know, the post she already said she got the idea from.
Kristin @ Yellow Bliss Road
This comment has been removed by the author.
Jake k
Do you find that you should have used your select board for the bottom on the shelves higher up the wall? Since that is the surface you will be able to see? Or is your plywood similar enough to the select board stained that it didn’t matters
Ashley Phipps
Hi! I don't really notice enough of a difference, but you can certainly use select boards on the bottom! You will however need a wider front board to cover up the thicker select board on the bottom if that makes sense. 🙂
Sarah McKenna
These look wonderful! Great work! They REALLY up the quality of the whole bathroom!
Ashley Phipps
Thank you Sarah! 🙂 And thanks for stopping by!
nest of posies
Goodness, they are so beautiful! You did a great job.
Ashley Phipps
Oh thank you nest of posies!
Katie {Sweet Rose Studio}
Gorgeous! They do make that space look bigger!
Ashley Phipps
Crazy isn't it!?! And thanks so much! 🙂
Kristin @ Yellow Bliss Road
I love these!! You did a fabulous job!!!
Ashley Phipps
Thank you Kristin!! And thanks for stopping by!
Diana Miller
Umm, wanna come to my house and put up some floating shelves for me? They came out great! Love your inspiration too. Gonna head over there and see what else they have on their blog! Thanks for introducing me to them! 🙂
Ashley Phipps
I'd LOVE to Diana!!! We'd have way too much fun 🙂 Thanks for stopping by! And you're welcome!
While They Snooze
I love how you fit them in between both walls like that. I pinned that Desert Domicile image a year or so ago when I was going to do this in our old house but then we moved. Great minds think alike? 😉 You did a great job! Love it.
Ashley Phipps
Oh thank you! I know...it totally took me too long to actually get around to making them! Yes...great minds! You should still make some someday though!!
Katie
I love the look of the shelves and the big impact they made in your bathroom!
Ashley Phipps
Thank you!! It's funny how new flooring and new shelves completely changes my tiny bathroom!! Thanks so much for stopping by Katie!
Ann Marie Heasley
Love these!! I have had the same tutorial pinned since she posted em. I can't believe the difference it makes!!
Ashley Phipps
Thank you!! And thanks for stopping by and taking the time to comment! It means so so much to me!!!
Abbey D.
I love what you did with these shelves Ashley! Great ideas for my bathroom!!
Ashley Phipps
Thank you so much Abbey! And thanks for taking the time to stop by! Give that sweet baby of yours lots of love from me!!!
Connie Hanks - ClickyChickCreates.com
Absolutely beautiful! Thanks for sharing your creation!
Ashley Phipps
Thank you so much Connie!
Corey W.
These look really great! I like how they go wall to wall. I recently did some floating shelves too and love how simple they look but still give space to display pretty things. Thanks for sharing!<br />Corey @ TinySidekick.com
Ashley Phipps
Thanks so much Corey!! I bet your shelves look great! I will have to go and check them out!! Thanks so much for stopping by!
Kristy
I wanna do this so bad!!!!! <3 http://changeismyfavoritecolor.com
Diana
All these shelves are looking amazing! Shelving is a great way to organize space. I love these DIY. I want to do similar in my room. I got some great ideas from this article. Thanks for sharing.
Monica S.
These looks great! What color stain did you use?
Ashley Phipps
Minwax Dark Walnut
Thomas Clark
Great job Katie! It’s been fun watching the process, and now seeing the end result. What a beautiful outcome!
Pam Tiggelaar
Just made the shelves and am so happy with them. Made me feel like building all kinds of things. Thank you for the motivation.
Nancy Bailey
Your shelves look beautiful! What kind of wood did you use?
Ashley Phipps
Thank you so much. I used a "select" grade wood (I believe it was just a clear wood at my store, I don't even think it was labeled as what kind of wood it actually was, but select grade will be relatively uniform in color and markings) And plywood.
Pdub
The measurements seem to be a mix of nominal and actual. Is the 1x6 really 3/4 x 5 1/2. What about the other measurements
Looks good and thanks for posting
Ashley Phipps
The supply list is all listed in nominal for ease of purchase and since most people refer to wood in their nominal sizes as well. The entire post except for the one paragraph where I explain using the Kreg Jig and the settings for that is in nominal sizes. Sorry for any confusion.