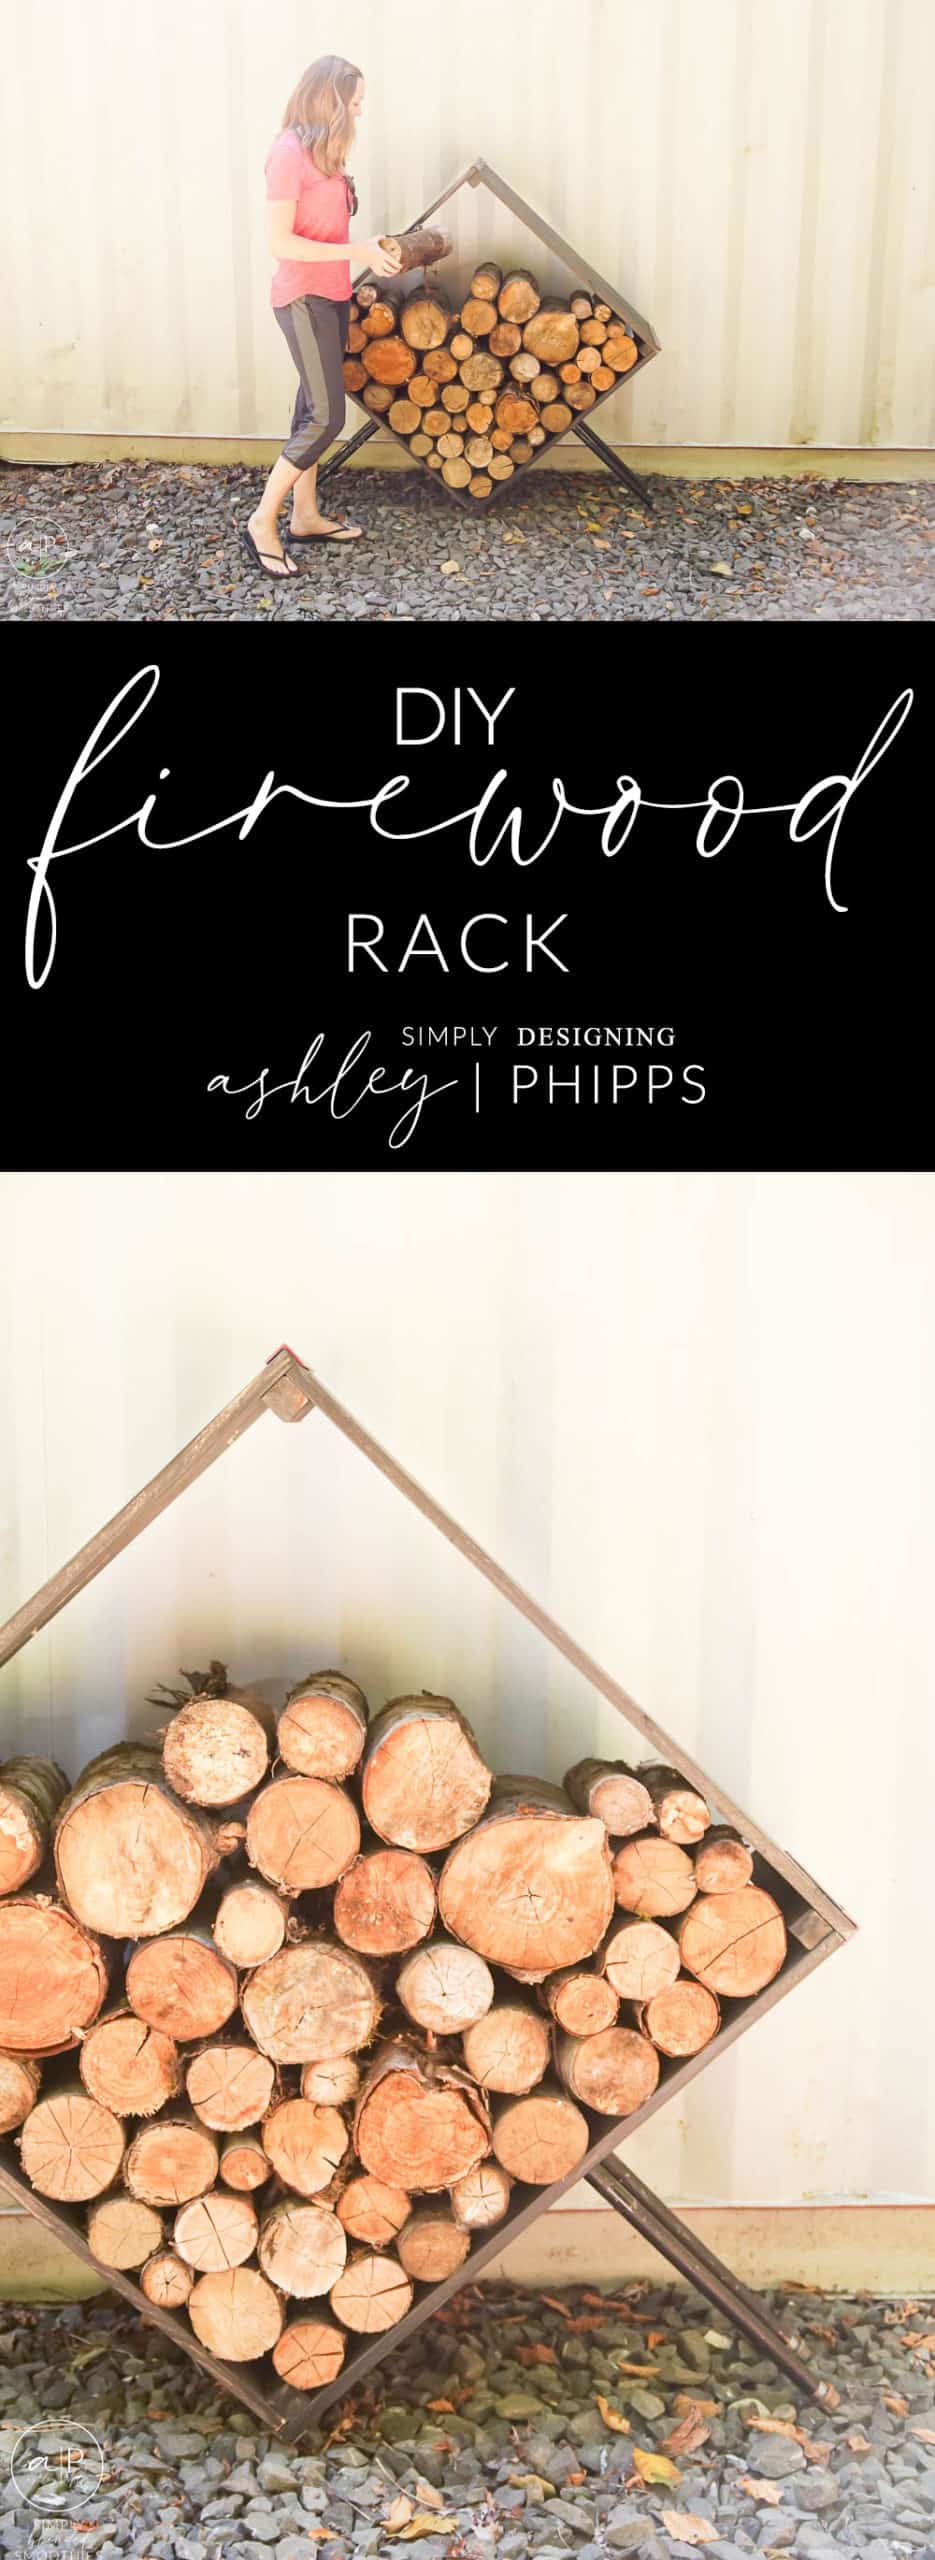
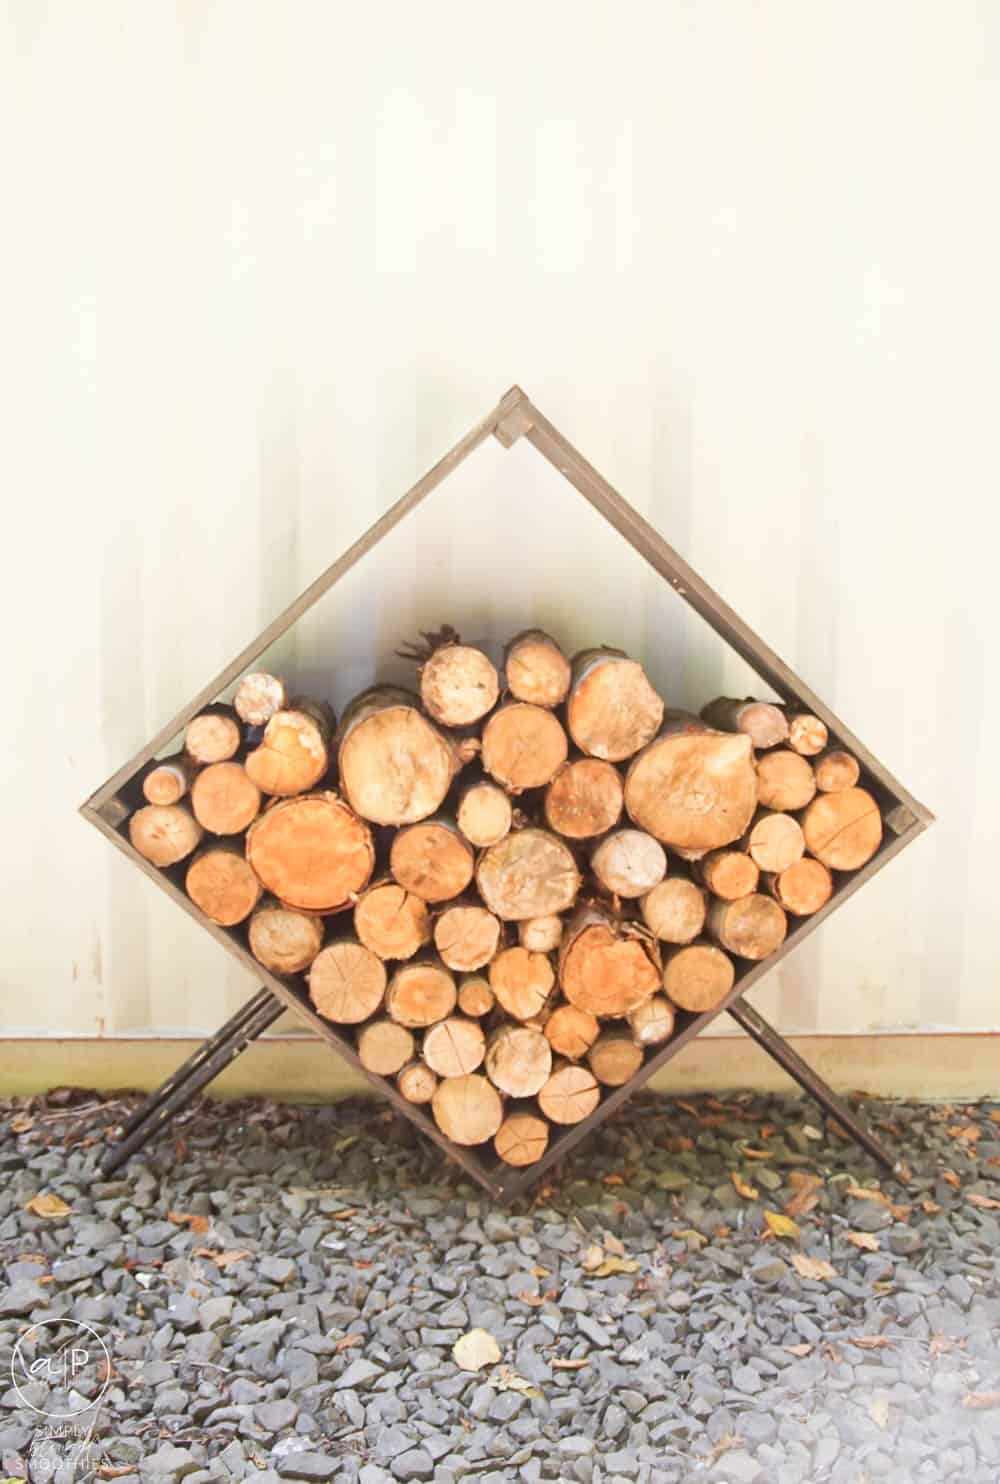
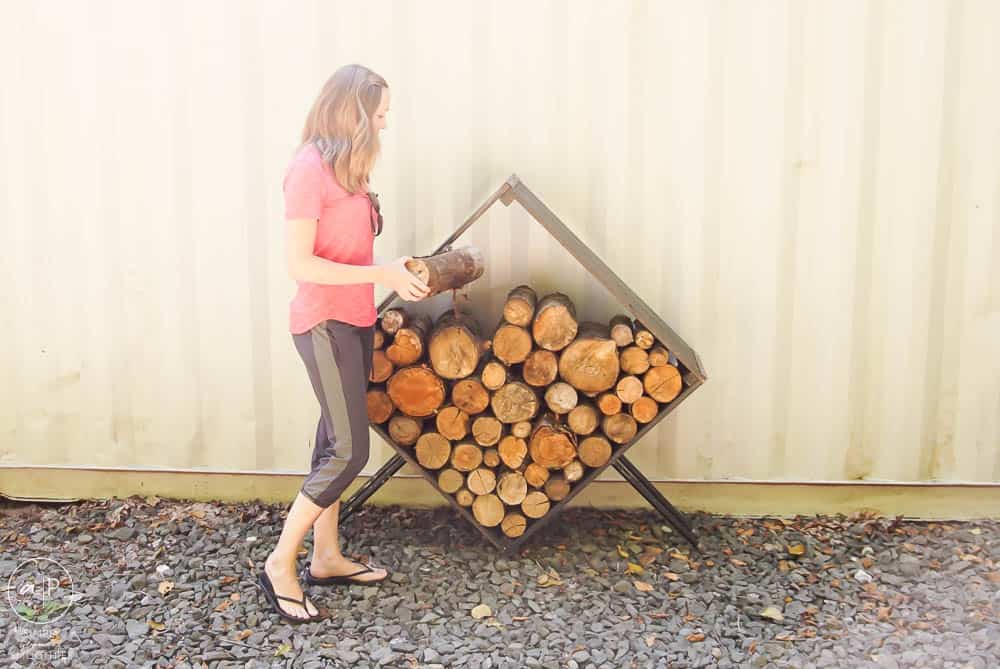
With fall weather around the corner, we are stocking up on firewood and so today I want to share my DIY Firewood Rack with you! This is so fun and easy to make and super modern-looking and stylish too! Keep reading for all the details.
Thank you to Wagner for sponsoring this post. All opinions are mine. Affiliate links are included for your convenience. Thank you for supporting my blog.
You can check out the corresponding blog post on Wagner's site HERE.
Firewood Rack
We have been working on cleaning up our property by moving and cutting up trees that have already fallen down. We aren't able to clear trees yet, but the ones that are already down on the ground, we are moving out of the way.
While we have been clearing the wood, we have been burning things that need to be burned and chopping the rest of it up for firewood. Oh man, I am so looking forward to cool, crisp fall evenings with s'mores over a fire. Yum.
You can find my favorite S'more recipes HERE.
So we needed a good spot to stack our firewood and decided to build our own firewood rack.
Cause that's how we do life! We build it!
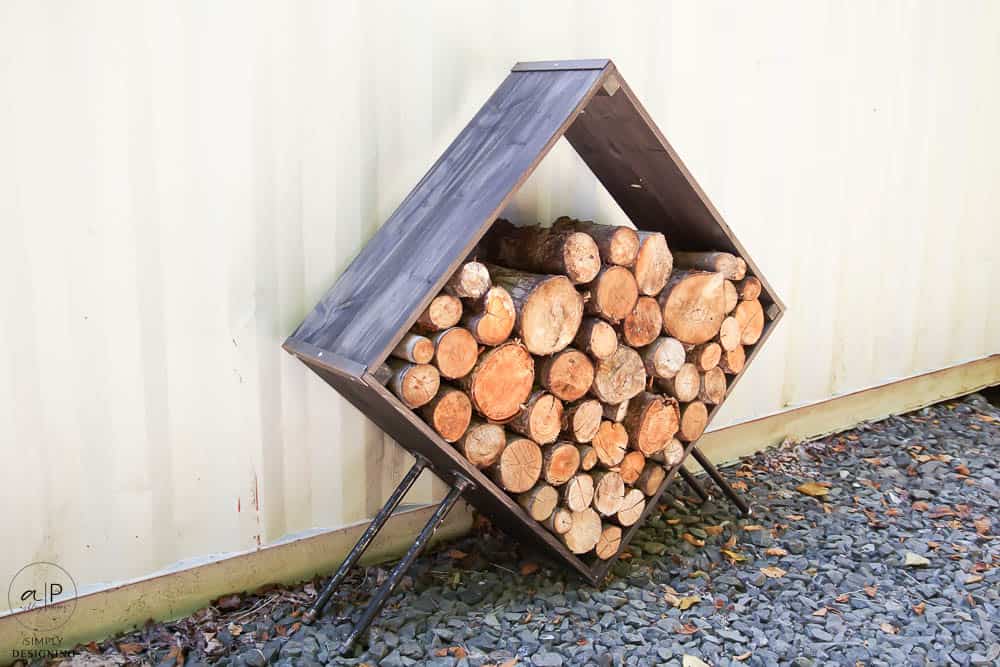
And we didn't want anything typical...we needed to make it our style! A little bit industrial and a little bit modern. And I absolutely LOVE what we came up with!
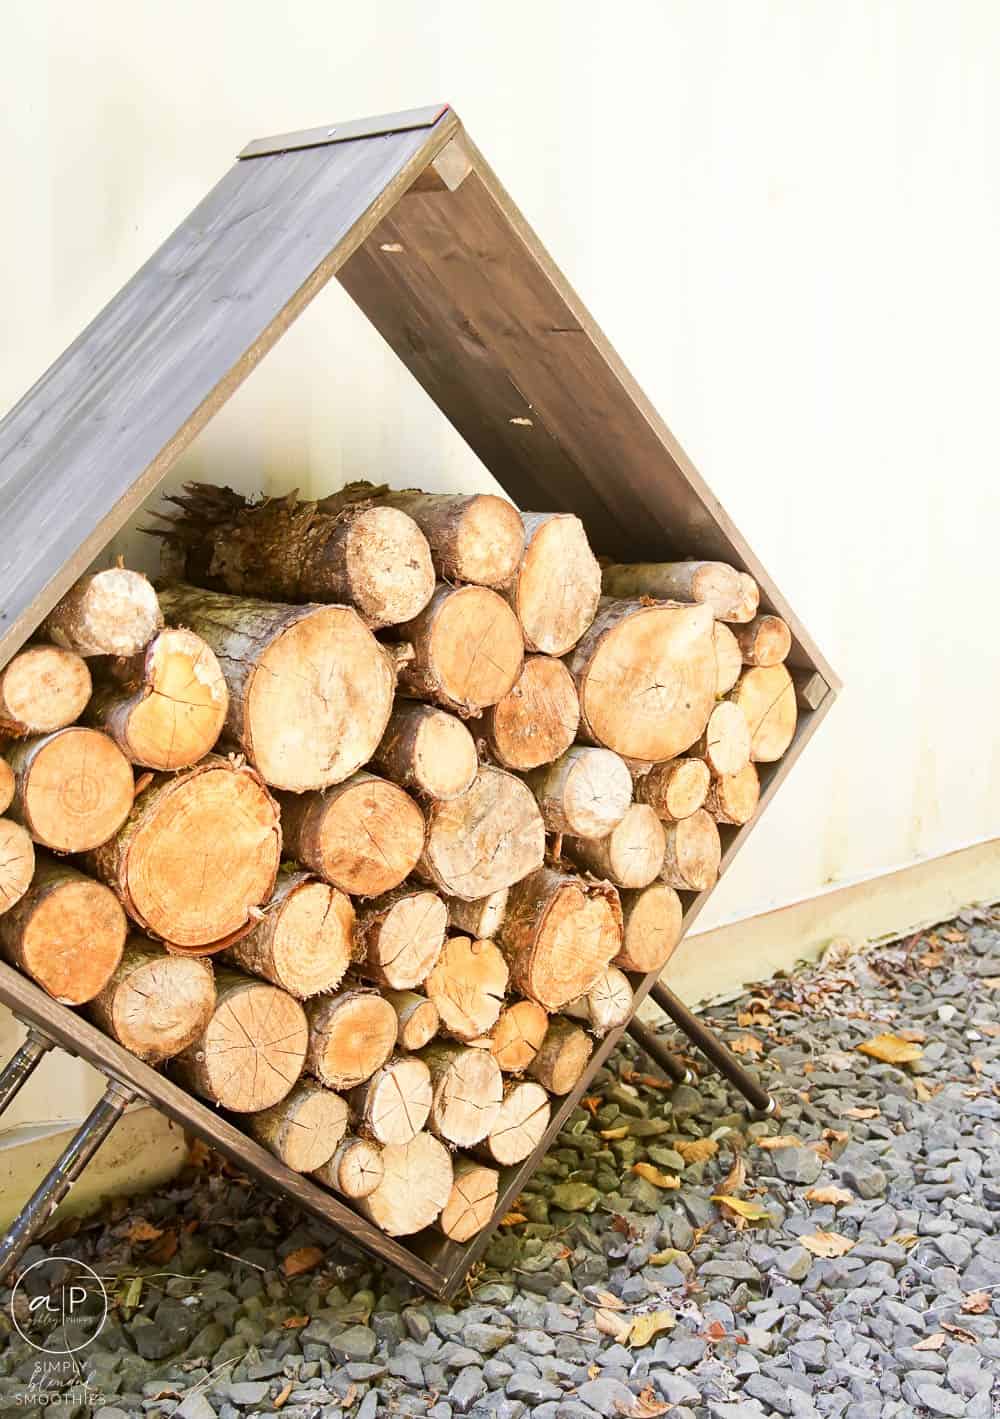
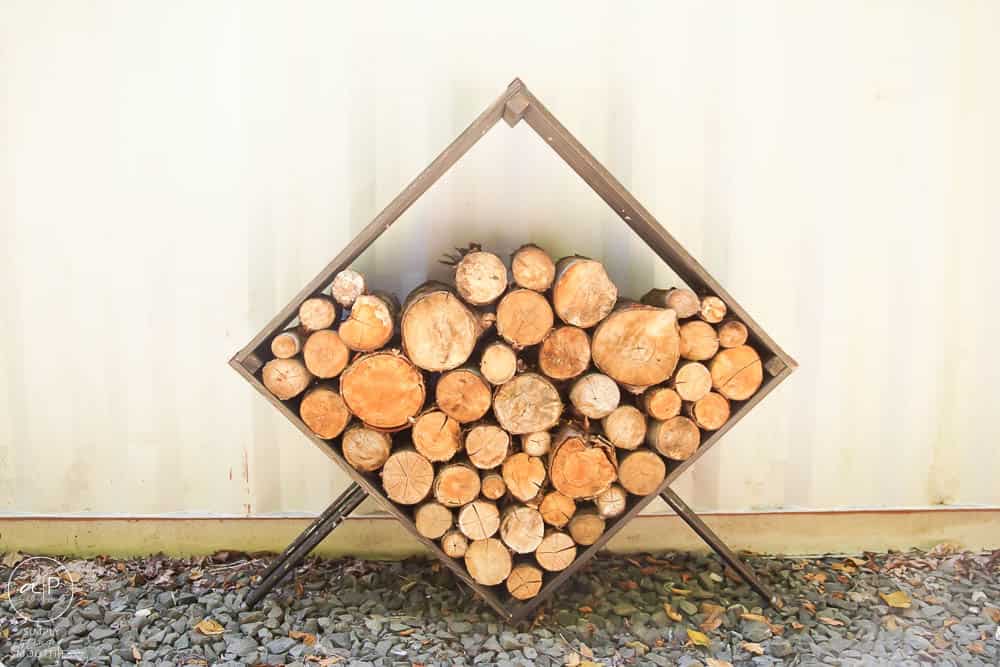
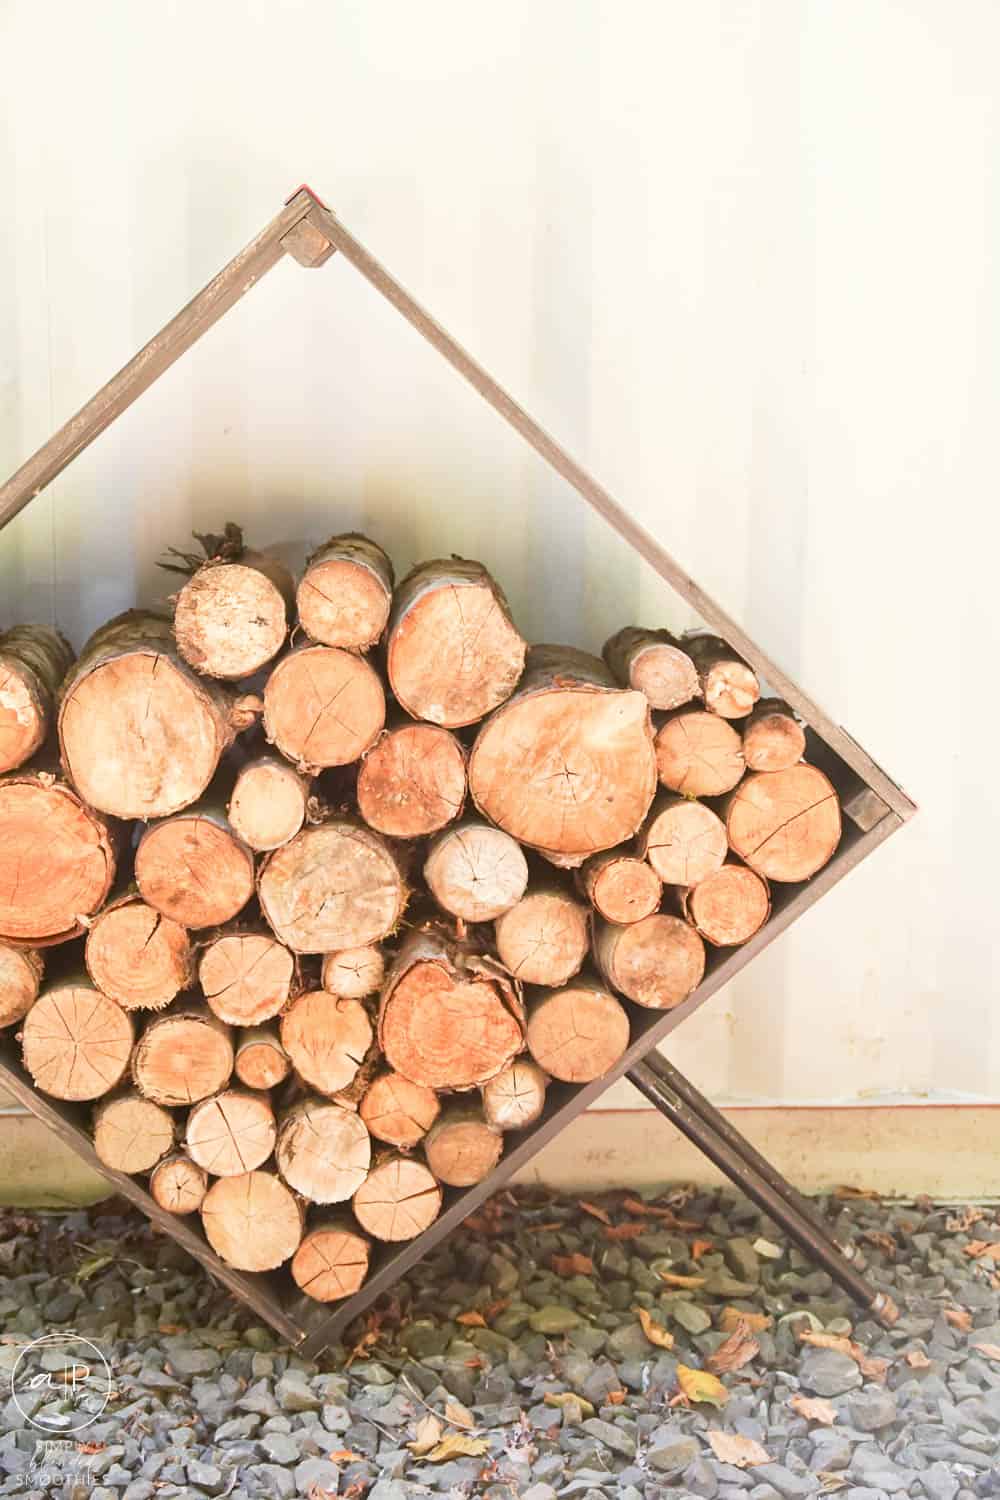
This is seriously the perfect firewood rack. It holds a ton of firewood. Isn't too complicated to make. And is super cute. Win. Win. Win.
How to build a firewood rack for outdoors
We wanted to build this firewood rack for outside and the most important part of that is using materials that will last a long time in inclement weather. We love to treat our wood with outdoor stain or paint. And treat our metal with outdoor clear coats.
You can also use cedar wood or redwood for this project. If you use wood like that, you don't need to treat or stain it, but it will weather and change colors a bit as it ages (some people love this look!).
I still like to add clear coats to cedarwood and redwood as we did on our Address Sign HERE. This helps bring out and preserve the wood's natural color.
For this project, we used pine because it was easy to find and inexpensive. Pinewood does not weather as well outside, so we choose to stain it with a beautiful outdoor stain.
Keep reading for all the details on this exact build below.
Cheap DIY Firewood Rack
This exact firewood rack may not be your cheapest option. But I am going to show you how you can make this basic design and save a lot of money so that it IS a cheap DIY firewood rack! You can make my modified version for about $49.
The cost for supplies was approximately $138 plus tax. We already had screws, a Paint Spray Shelter, a Paint Sprayer, a drop cloth, and all the tools we needed for this project on hand. Your price may increase if you do not have these supplies already on hand.
If you want to decrease the costs to about $49 without sacrificing size, here is how to do it:
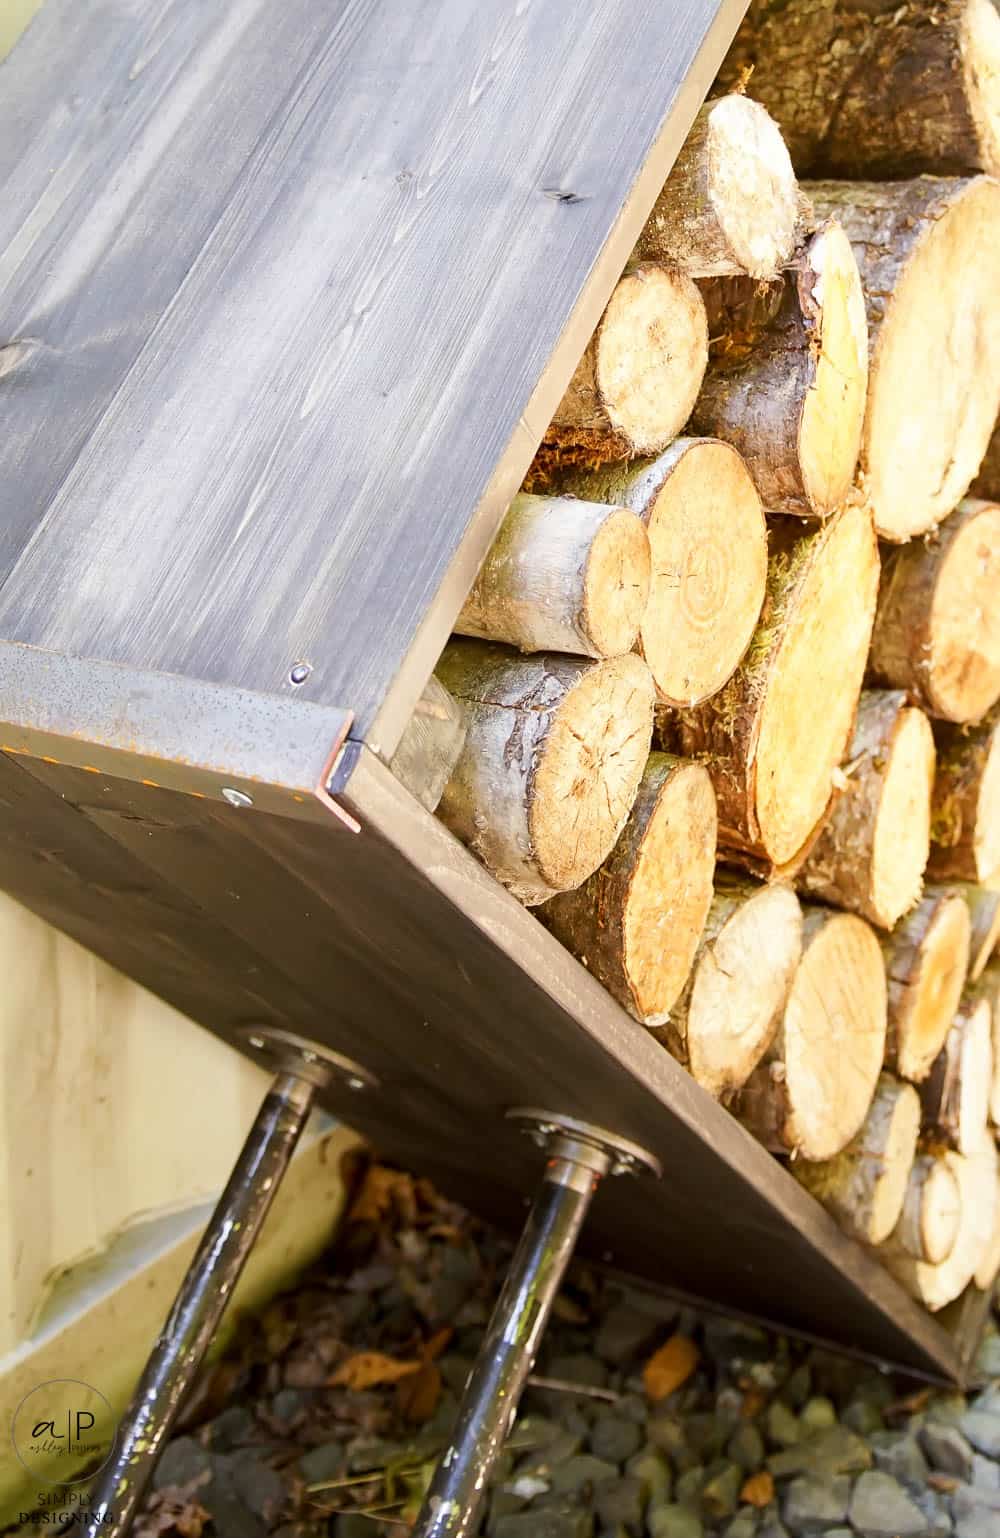
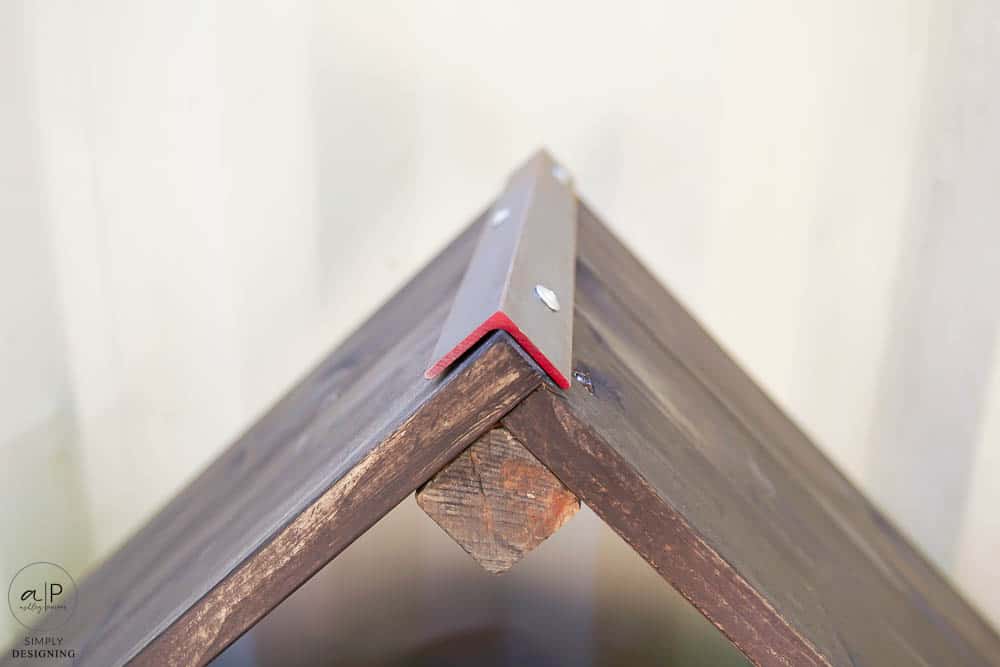
I added metal angle iron on all 4 corners of this firewood rack. It adds some additional support to the overall project but is mainly for decoration. This cost about $20, so that would take the cost down to approximately $118.
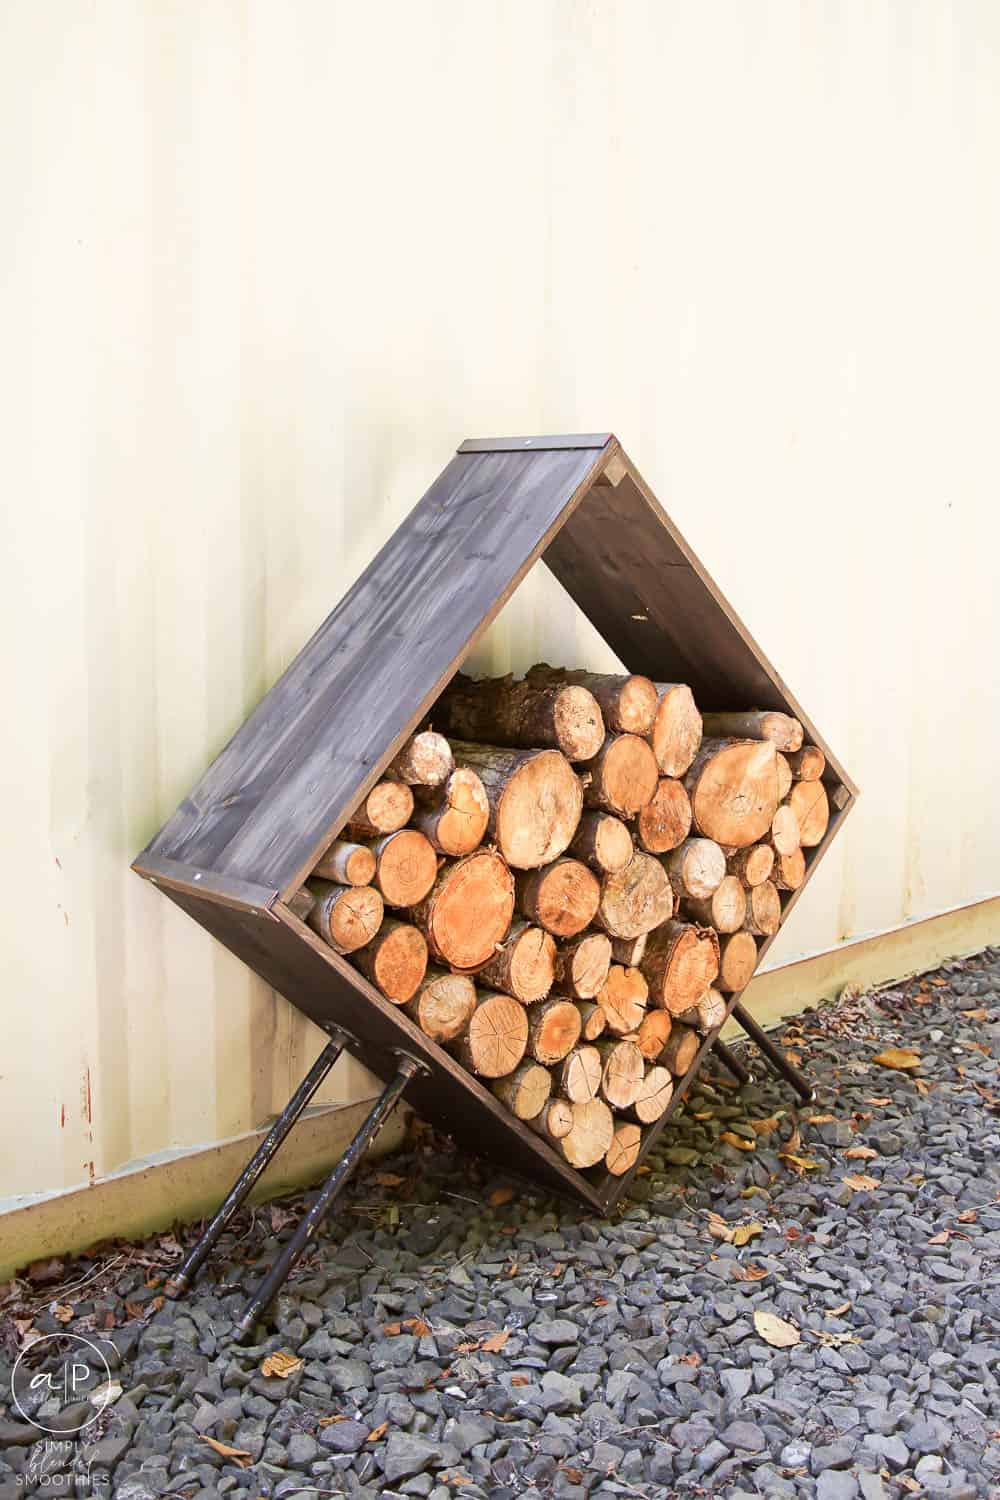
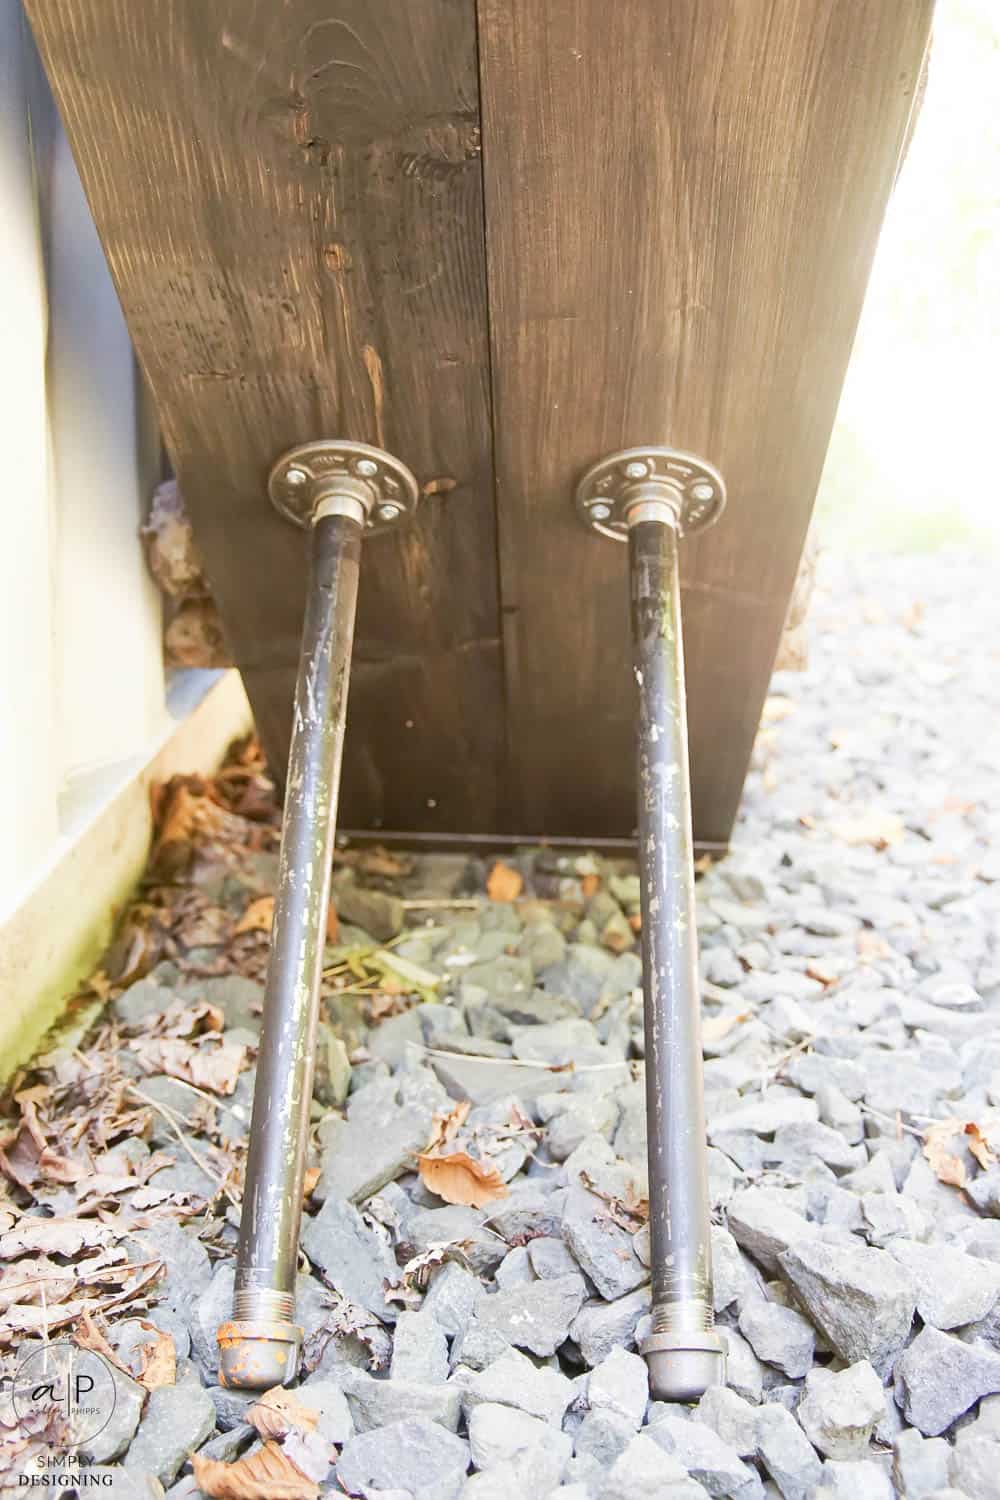
We also added metal pipe legs to our firewood rack. You need some sort of extra support to stabilize the rack, but you could easily use a 2" x 4" board cut and Kreg Jig'd in as legs for a couple of dollars instead. We spent about $69 on just the metal for the legs, so subbing out a 2"x4" board to make legs would take the cost down to approximately $49.
Oh my goodness. You guys. $49 for this HUGE firewood rack is actually a REALLY good price. There is not too much you could make or buy that would be less than that, especially while being so super cute!
So yes, I have added additional things to make this more stylish and cute. But with the additions above, you can create a very similar firewood holder for $49! Woot woot!
Supplies Needed to make this Firewood Holder
Tools:
- Wagner FlexiO 4000 Paint Sprayer
- Wagner Spray Shelter
- 12" Compound Miter Saw
- Wood Blade for Miter Saw
- Metal Cut-Off Blade for Miter Saw
- Kreg Jig and Screws
- Driver & Drill with Bits
- Electric Sander
- Strainer
Materials:
- Wagner Spray Cup Liners
- Outdoor Stain, Valspar Darkest Night, Semi-Transparent
- Chip Brush
- Drop cloth
- (4) 1" x 8" x 6' Pine Boards
- (1) 2" x 2" x 6' Pine Board
- (4) ¾" Black Iron End Cap
- (4) ¾" x 18" Black Iron Pipe
- (4) ¾" Black Iron Flange
- (2) 1 ¼" x 36" Welding Angle Iron
Note: All of the dimensions I am giving are approximate. And while I am giving approximate dimensions, it is always smart that you measure and cut your own boards because even a slight variation in cuts can tweak the entire dimensions of everything. You are responsible for measuring your own cuts.
Also please use all proper safety gear, follow manufacture instructions, and when in doubt, seek professional help. I am sharing how I created these projects, but I am not liable in any way for any results or injury. See my privacy policy for more details.
Directions to make a firewood rack:
STEP 1:
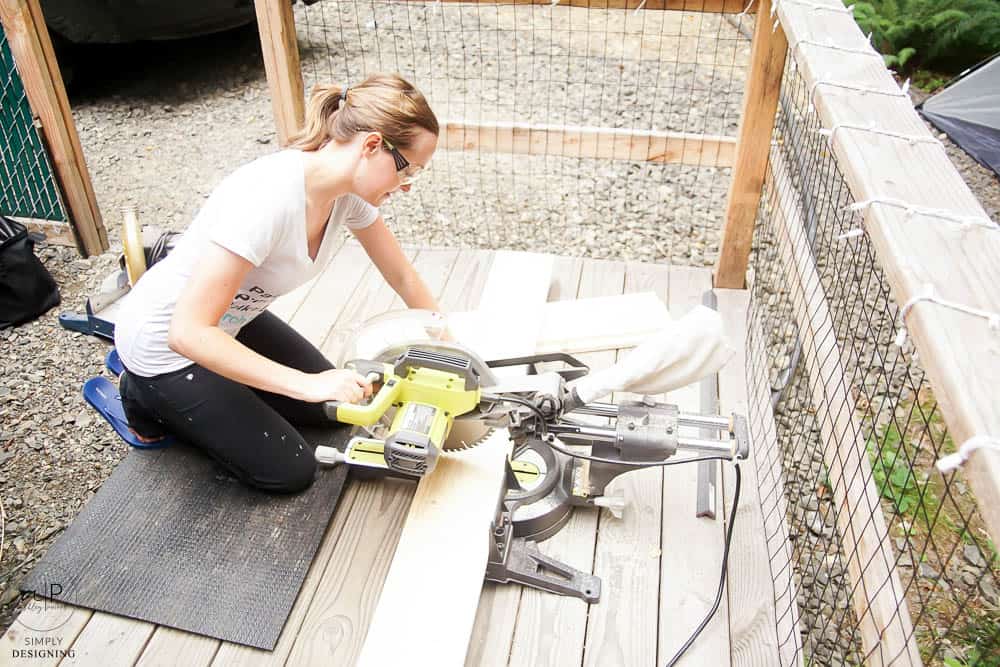
Using a compound miter saw with a wood cutting blade, cut the (4) 1" x 8" x 6' boards into (8) 3' lengths.
Also, cut the 2" x 2" board into (4) lengths approximately 14.5" long. These should be about the width of (2) 1" x 8" boards next to each other.
If desired, use an electric sander to sand the edges of the boards.
STEP 2:
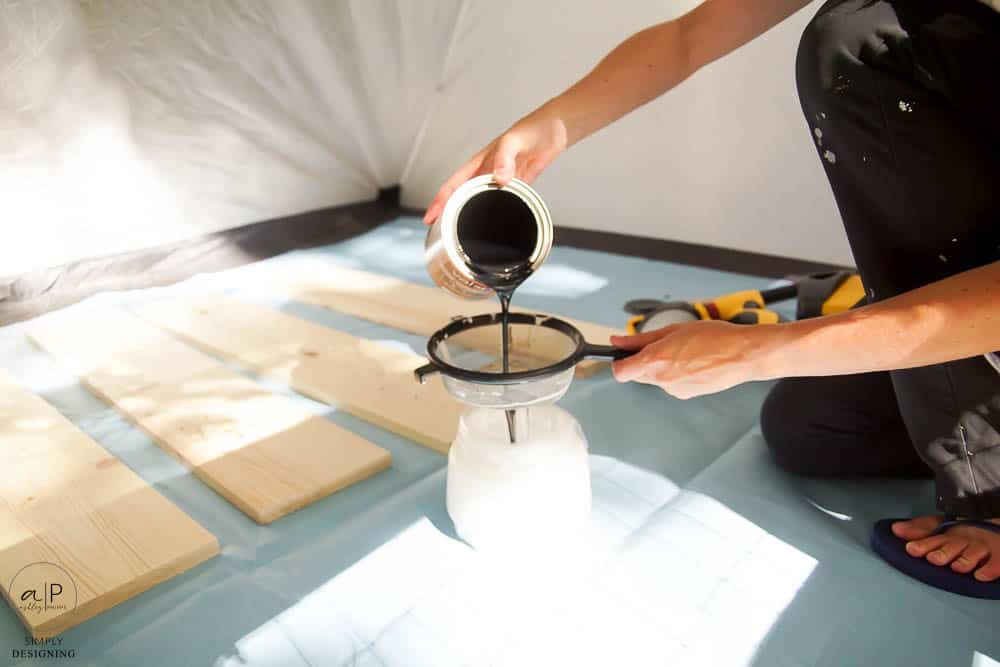
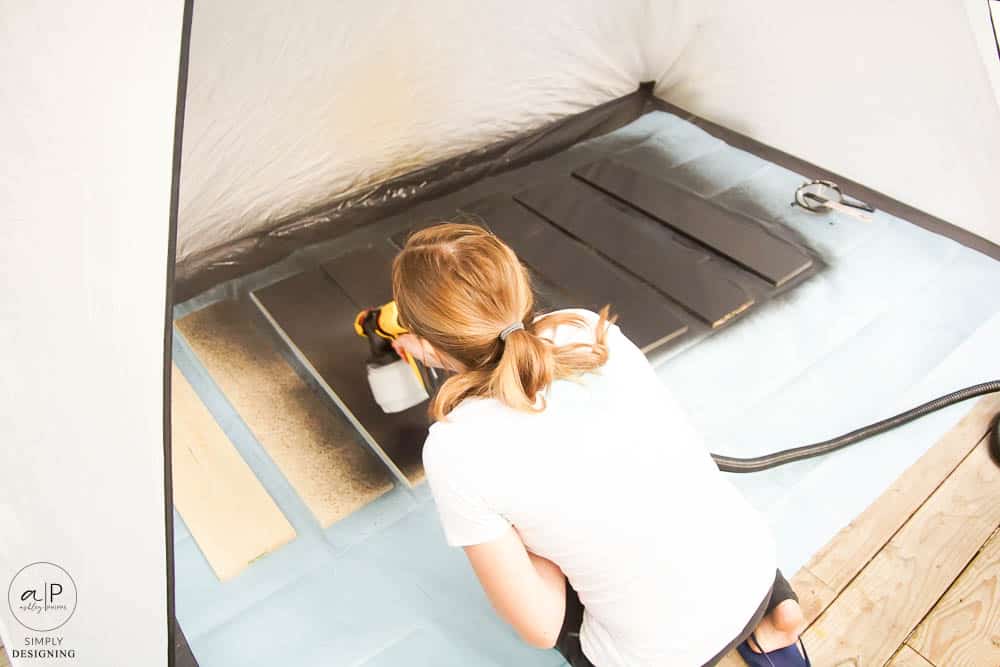
Set up the spray shelter, place a drop cloth on the bottom of it, and place your boards on top of the drop cloth.
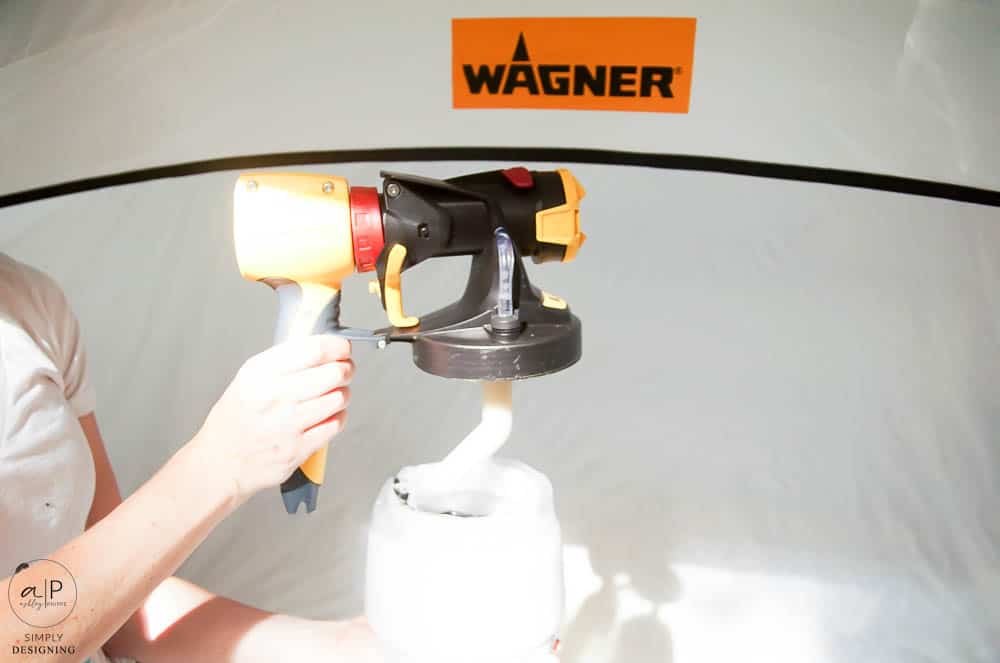
Stir and strain your stain. Place a liner in your paint sprayer cup and pour the stain into the cup. Assemble your paint sprayer, use the settings as indicated in the user manual, and turn it on.
Spray all sides of your boards with 1 or 2 coats of stain as desired, letting it dry in between coats. After each coat of stain, use a chip brush to back brush your stain IF the directions on your stain indicate so.
STEP 3:
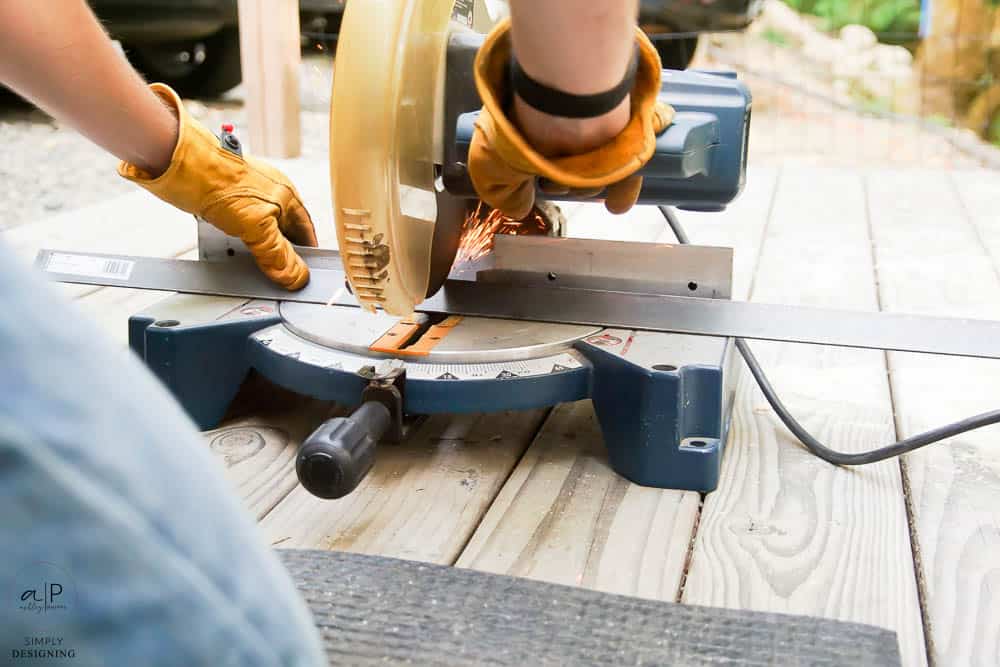
Using a compound miter saw with a metal cut off blade, cut the metal angle iron into (4) lengths that are approximately 14.5” long. You want these lengths to be about the same length as the width of (2) 1" x 8" boards next to each other.
STEP 4:
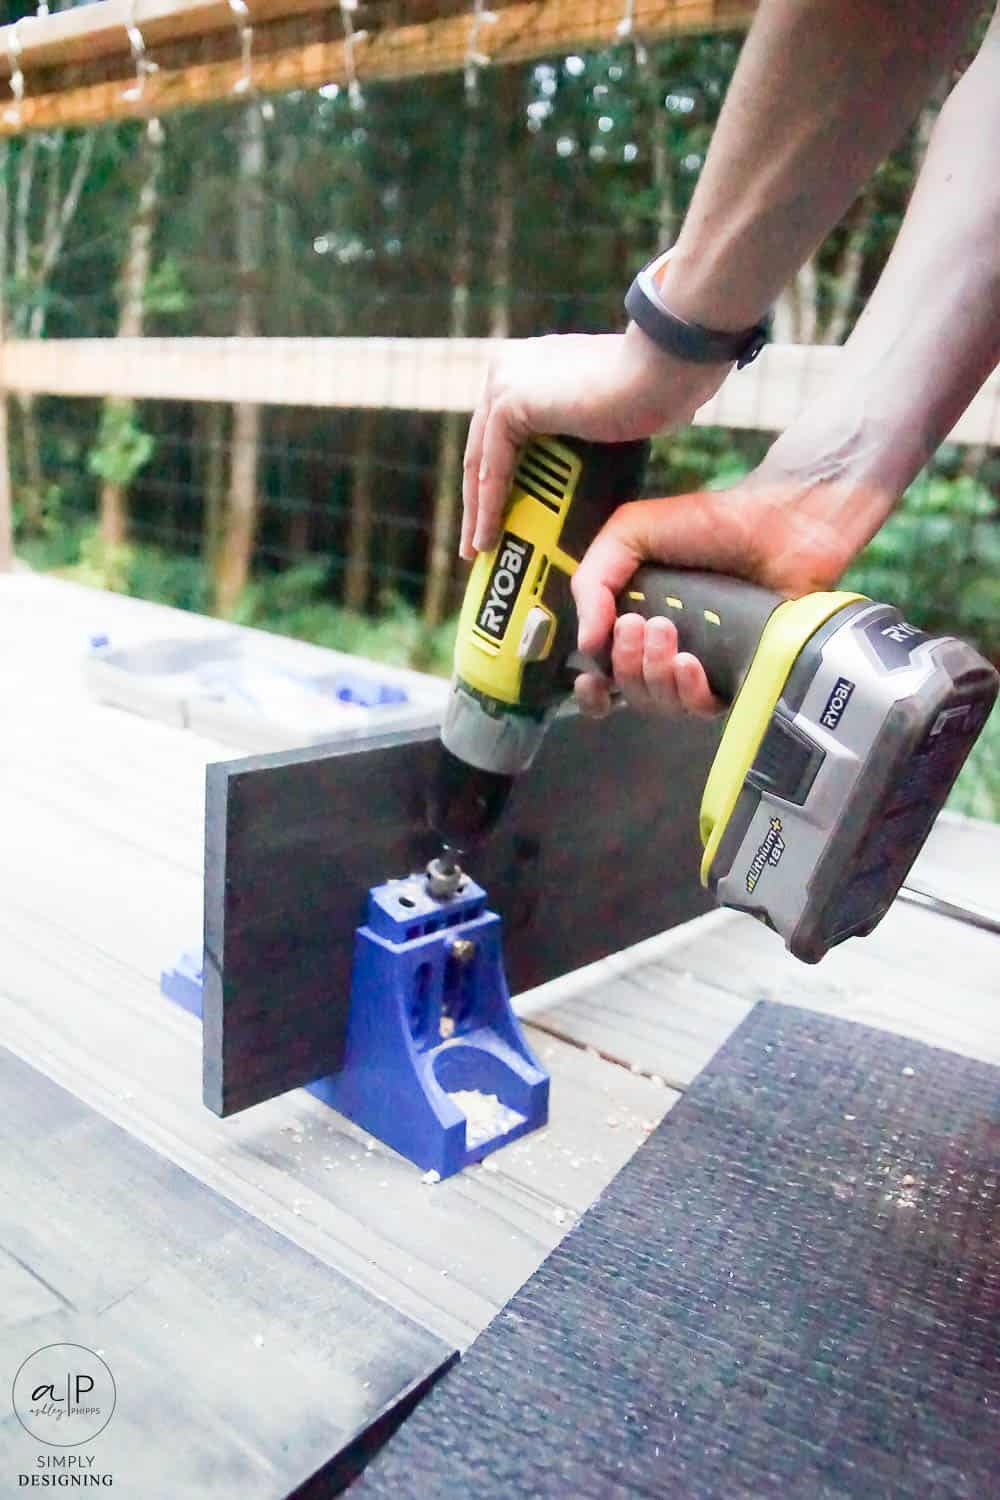
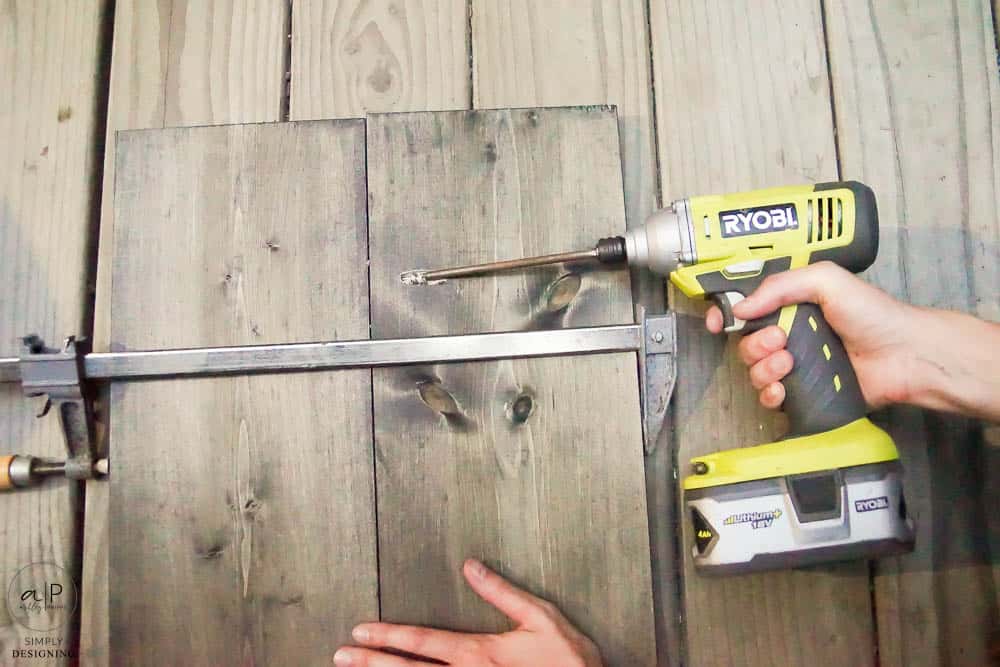
Use a Kreg Jig and the appropriate Kreg Jig Screws to secure (2) 1" x 8" boards to each other lengthwise. You should end up with (4) board sections approximately 14.5" wide by 3' long.
STEP 5:
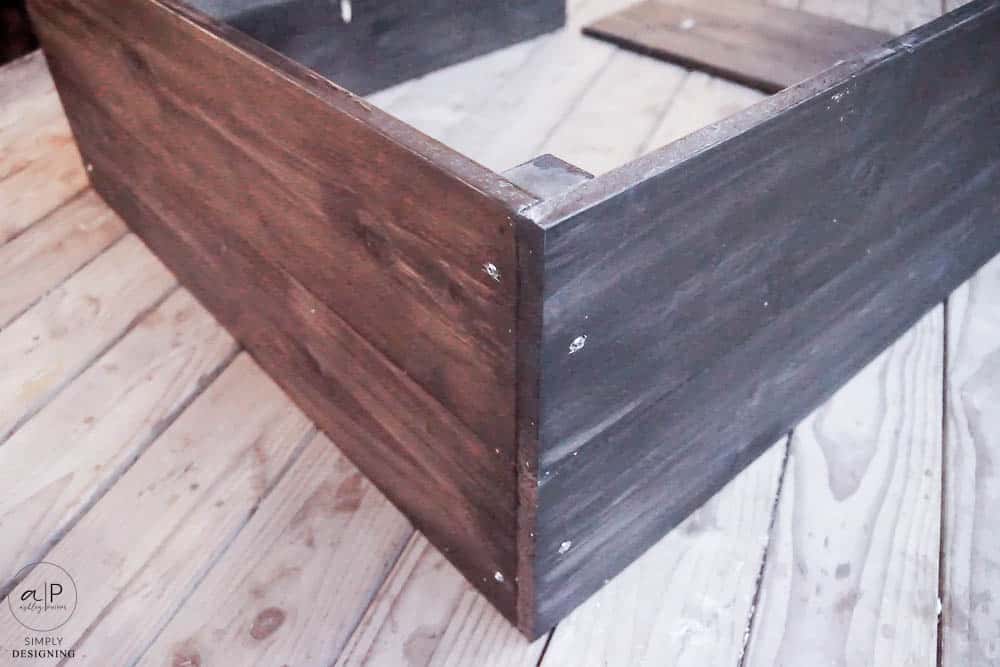
Place the boards on the ground in a square and place a 2" x 2" board on the inside of each corner.
Use a drill and screws to attach the boards to the 2" x 2" boards. This will create a very stable and strong connection point on all corners of your square.
*Note: it is helpful to have an extra set of hands to do this part.
STEP 6:
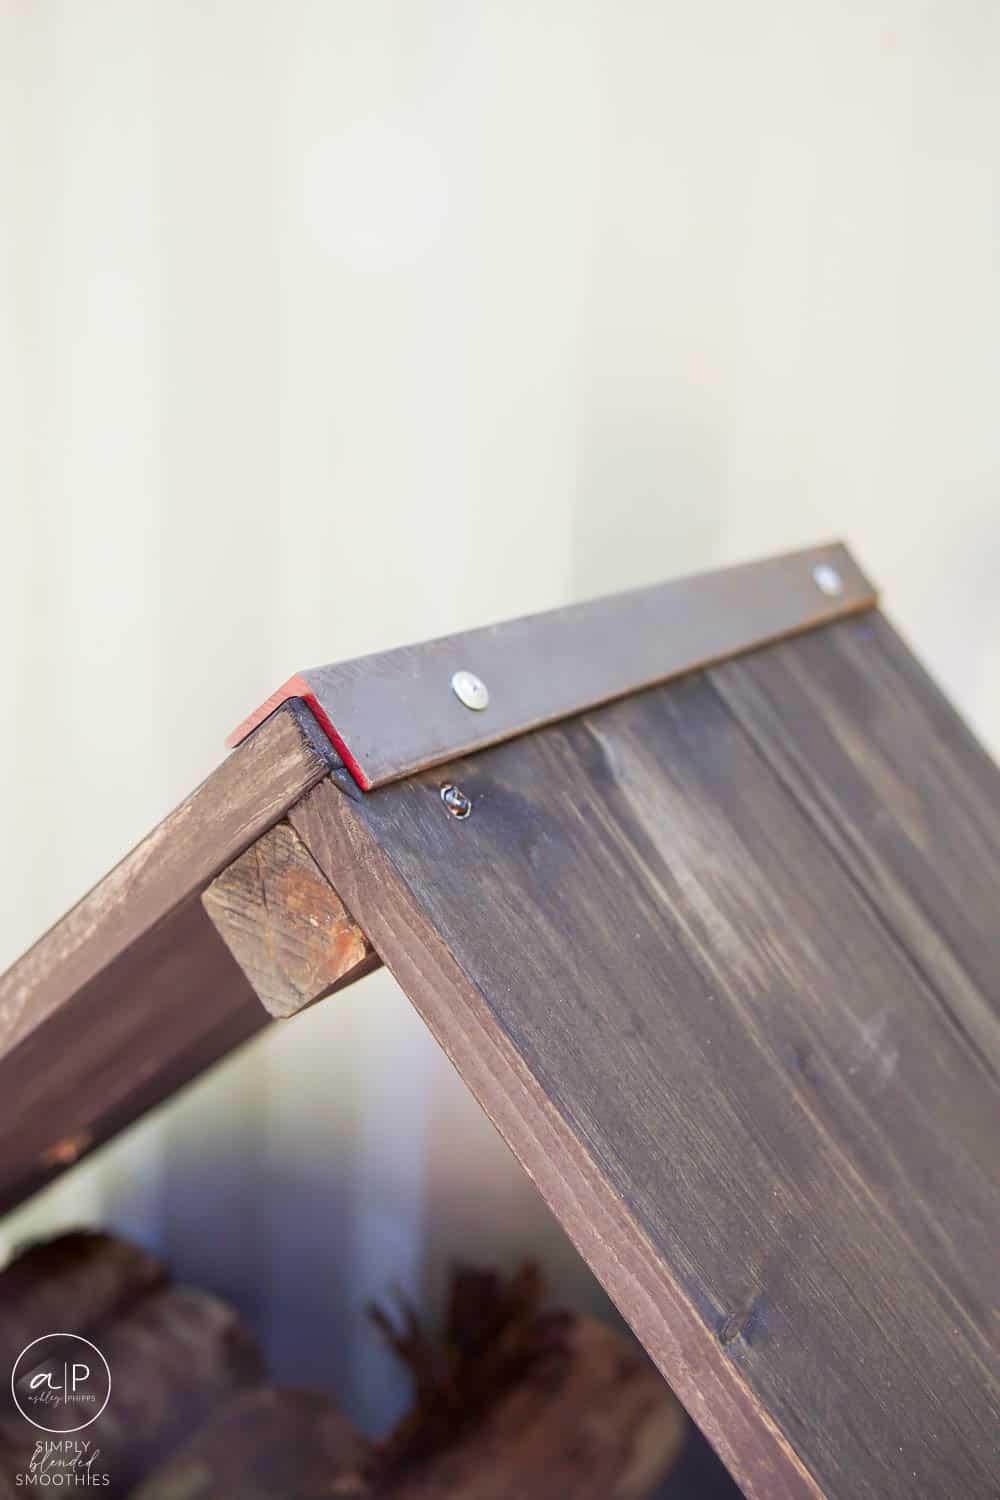
Using a drill and screws, attach the angle iron pieces to the outside of all corners of your square.
STEP 7:
Attach the end caps to the pipe to a flange. Do this for all (4) sets of pipe. Screw these into the square approximately 17.5" from the bottom corner of the square to the bottom of the flange. But please measure and place them in the exact right spot for your project.
We wanted the square to sit on the bottom corner but also be supported side to side with the (4) legs for added support and stability.
STEP 8:
Move to the location of choice and fill with firewood!
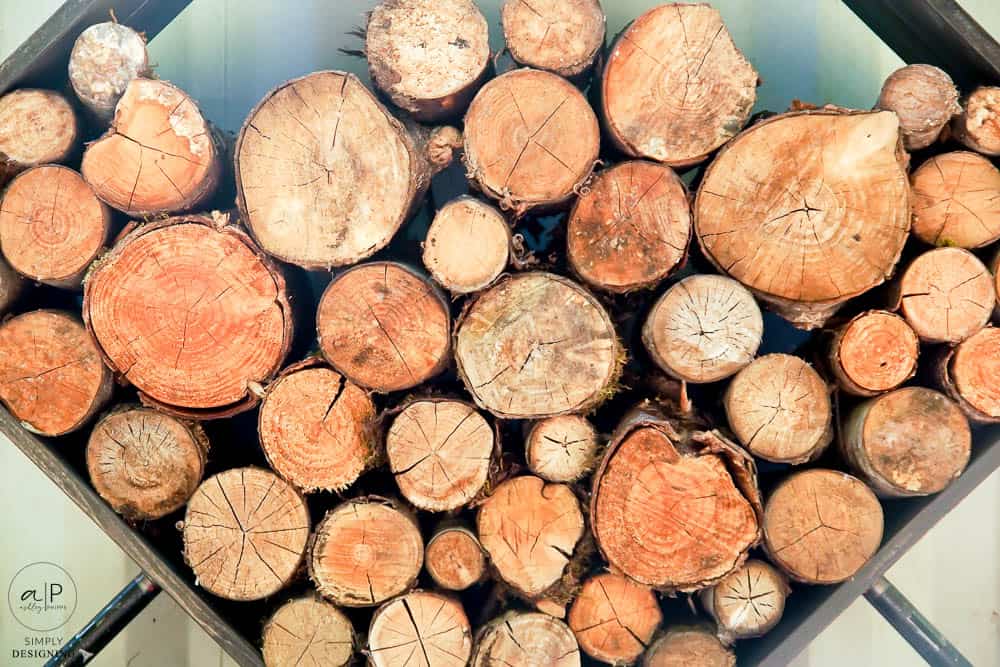
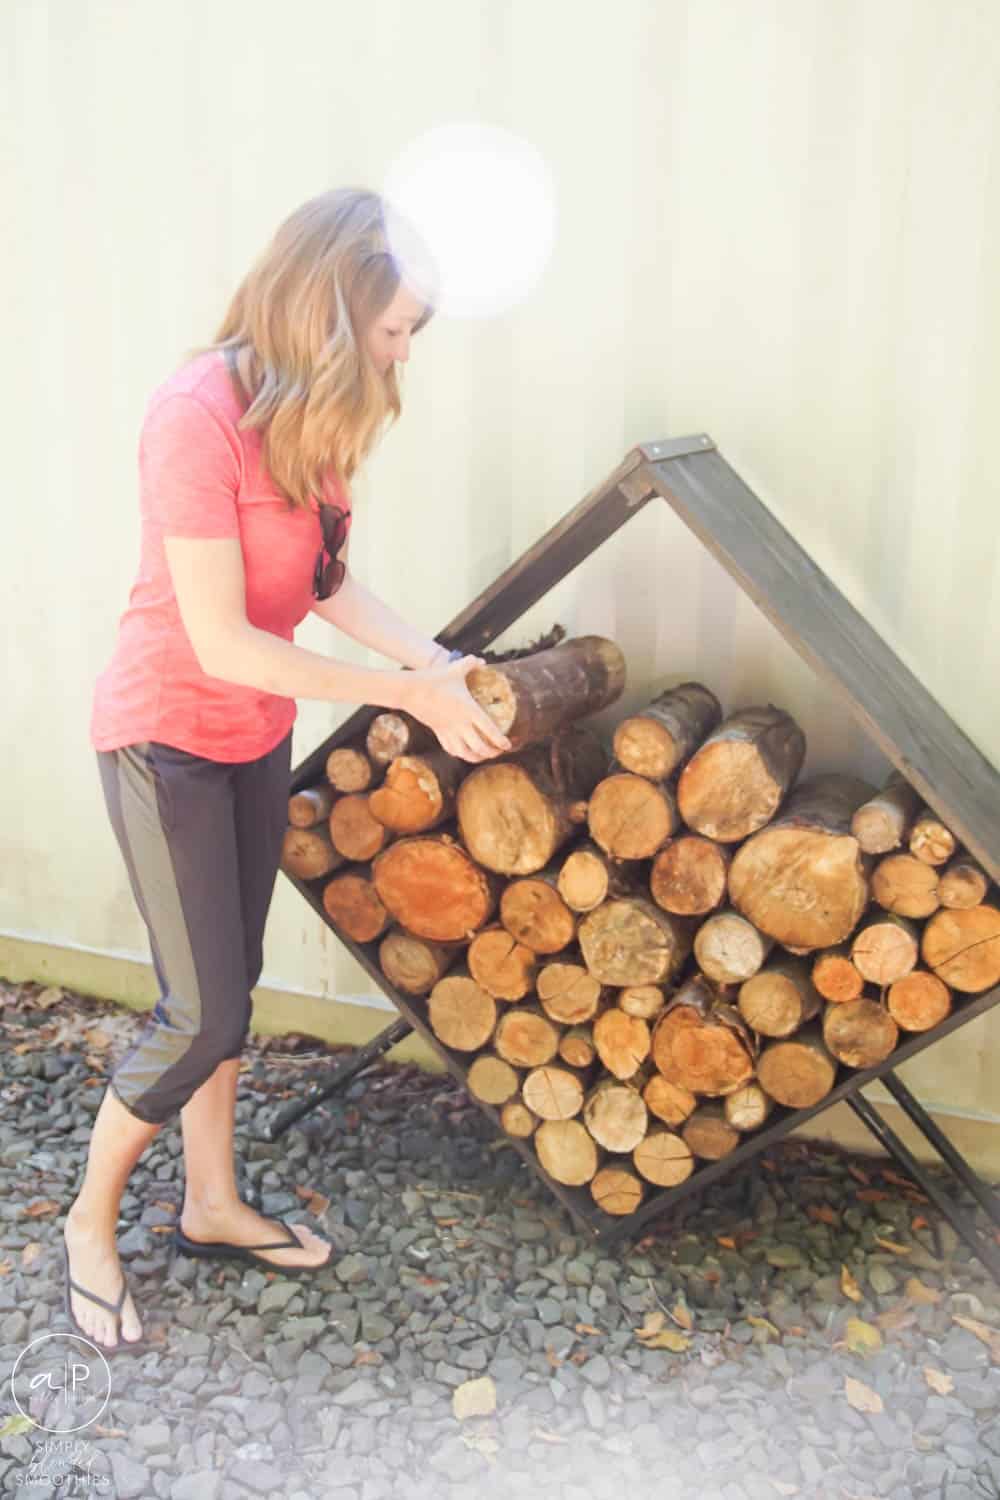
This beautiful square firewood rack actually holds a lot of firewood and is so super cute! I can't wait to have a more permanent spot to put this, but for now, I am happy to be able to begin getting all our firewood up off the ground and in a holder.
You might also enjoy these posts:




Leave a Reply