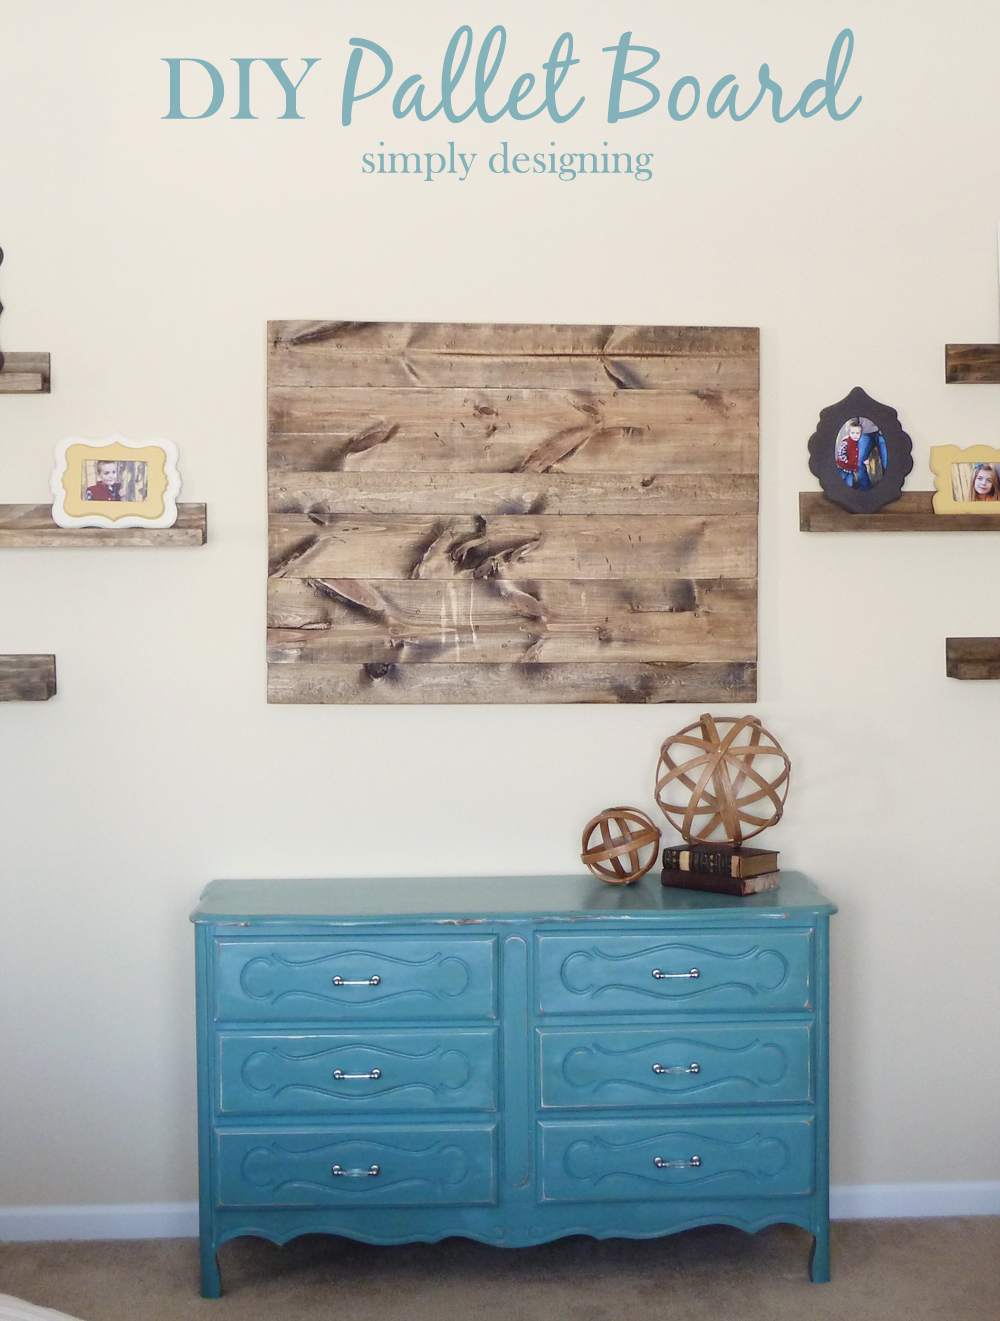
I recently told you about my huge wall in my family room! It has been one of the hardest spots to figure out how to decorate. Thankfully I finally figured out what I wanted to do on the wall and I have been hard at work completing this space! I have you a sneak peak here, and today I am going to share with you how to make a DIY Pallet Board!
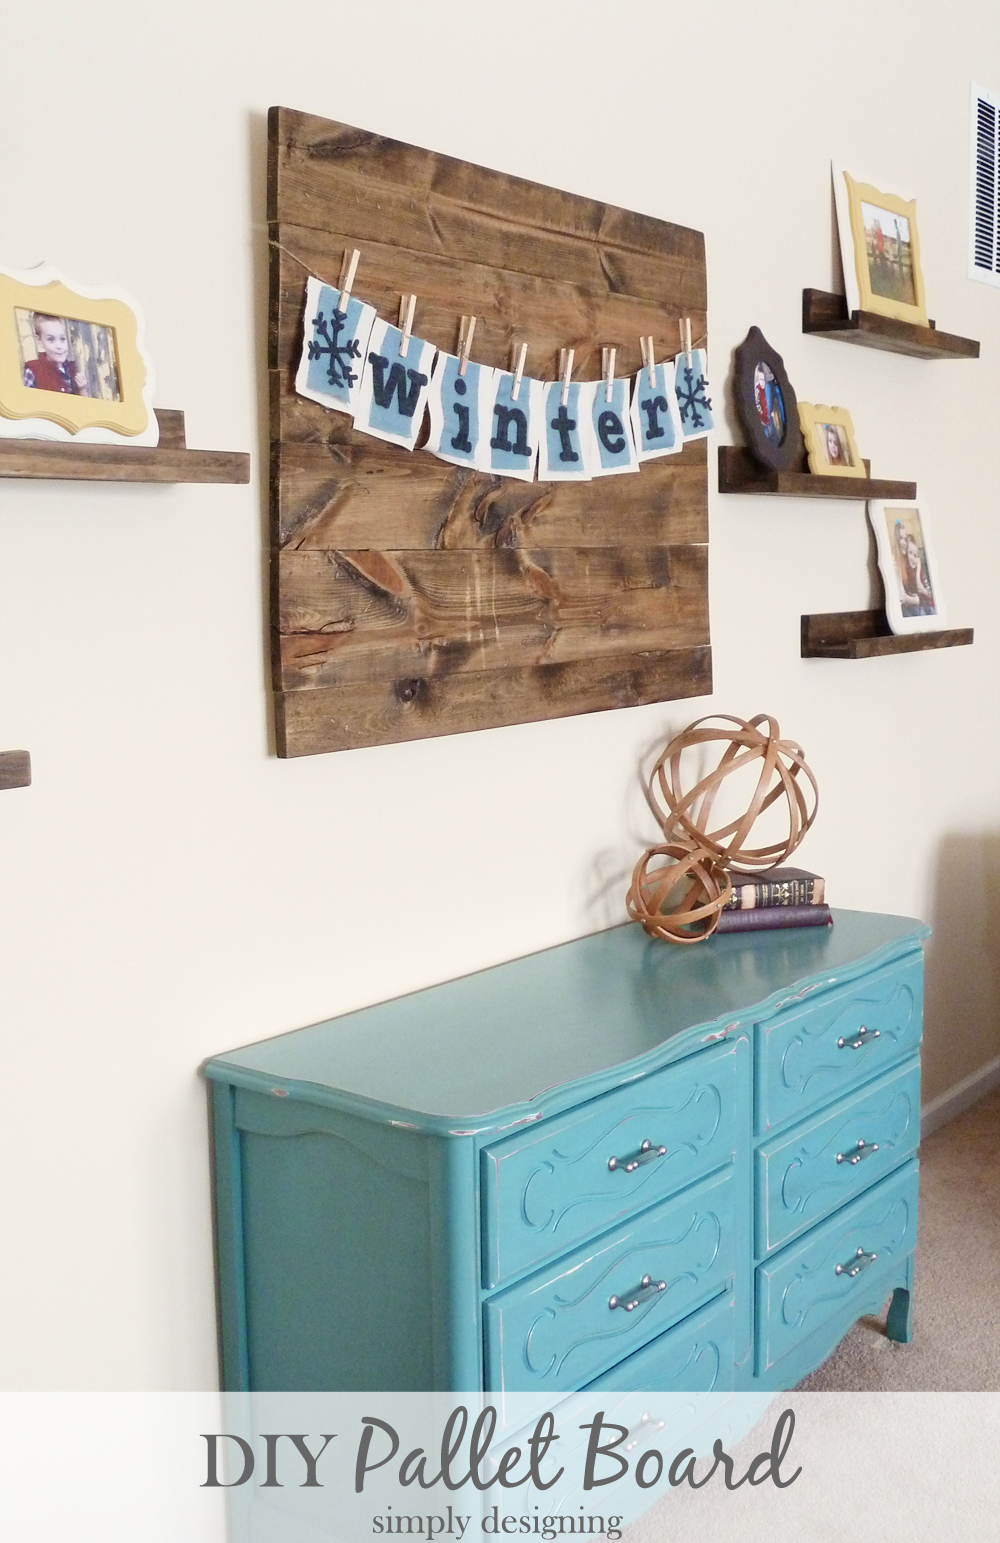
In the center of my wall, I wanted to build a distressed pallet board. I plan to use it as a backdrop for changing decor! At Christmas, I had a Chevron Reindeer Board on it (see here), and now I have a cute Winter banner hanging from it (I will be sharing this with you soon).
I love creating pallet boards and it's so easy to do with my +Kreg Jig and my +RYOBI Power Tools!
I created a board that is approximately 42"w x 32.5"t, but you can customize it to fit your space. You may need to modify your supply list if you want a different sized board.
Supplies Needed for a 42"w x 32.5"t Pallet Board:
- 8' long 1" x 4" wood board
- 8' long 1" x 6" wood board
- 8' long 1" x 8" wood board
- Kreg Jig
- at least (15) 1 ¼" Kreg Jig Fine Screws
- Compound Miter Saw
- Drill (I used my Ryobi One+ Drill and Driver set)
- Electric Sander with 120 grit sand paper
- Stain (I used Minwax Dark Walnut +MinwaxUSA)
- Rags for staining
- Chain (optional)
- Hammer (optional)
- Hanging items (rated for a high weight, ours is rated for 100 lbs
- Wall Anchor (if not hanging on a stud)
First, you will cut all of your boards to size. I cut all three of my boards to 42"w, but customize this for your space if needed. This will give you (6) 3.5' long wood boards. I laid mine out, starting at the top with a 6", 8", 4", 6", 8", 4" board, but feel free to arrange yours differently.
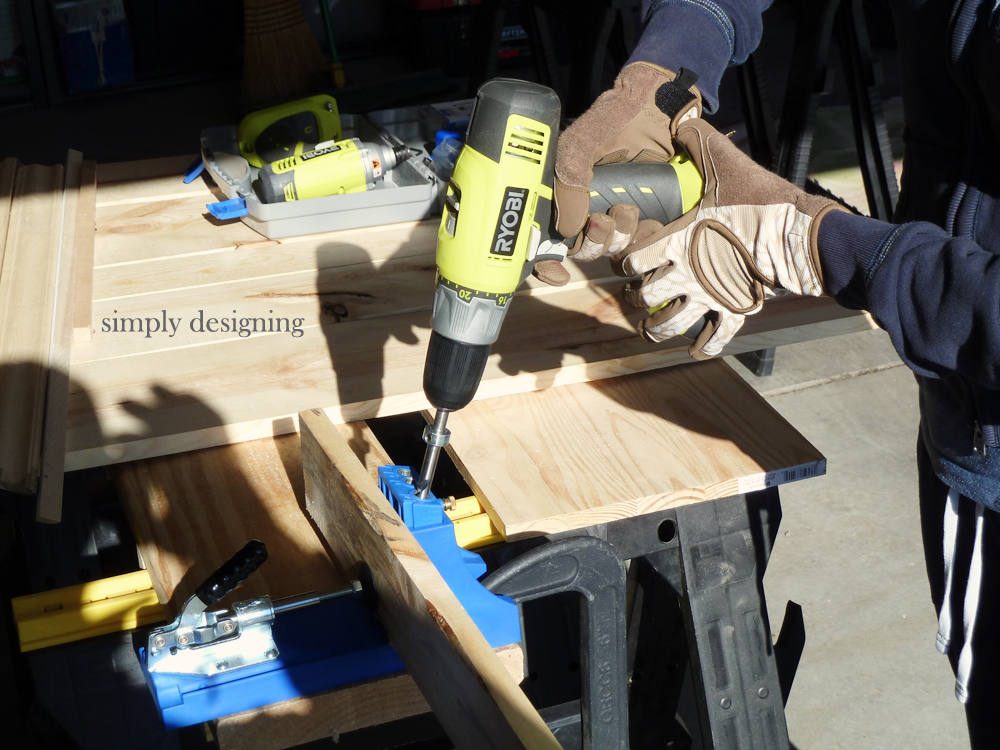
After you have your boards in the order you like, you will want to drill pocket holes in all of your wood boards. Remember that you are using 1" wood (which is really only ¾" thick) so set your drill bit collar to the correct length before you start drilling.
You will want to drill at least 3 pocket holes in each board. You do not have to drill pocket holes into the final board, but you can for extra stability.
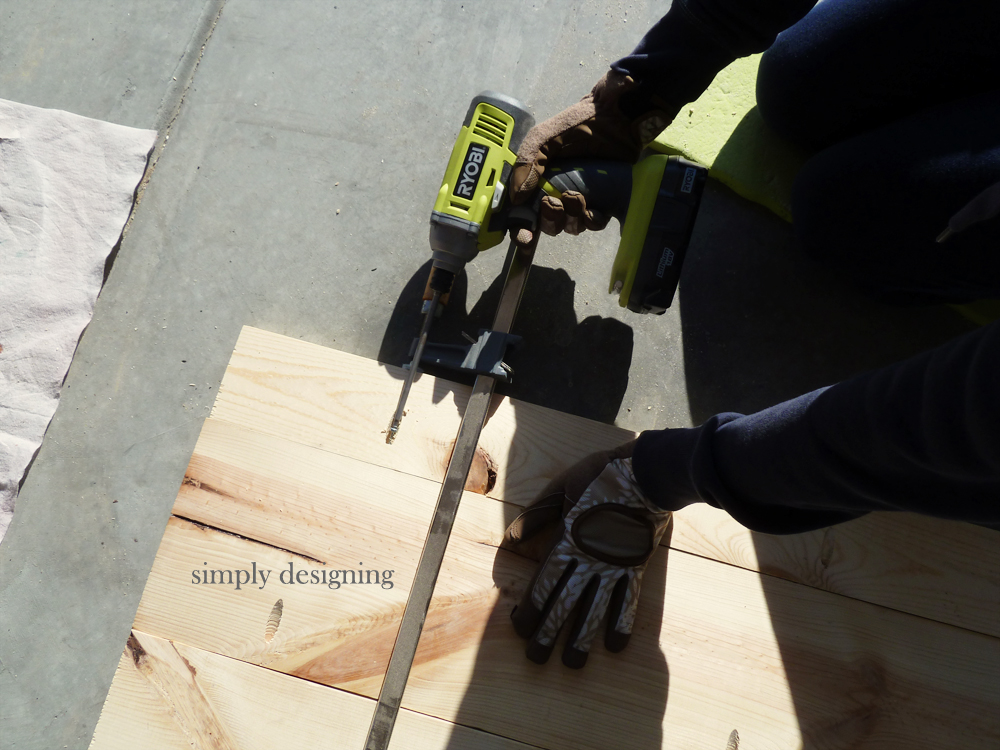
Next, you will use a large clamp (or a second set of hands) to hold your boards together. Using your drill with the Kreg bit, you will screw your boards, one into the next one. Because you are screwing into 1" (but really ¾") wood, you will use 1 ¼" Kreg screws.
Be sure to get these screwed in nice and tight so that the board holds together well. If you want extra secure boards, place screws going in both directions into both sides of each board.
After your board is assembled, you can distress it if you like. We used a hammer and a chain and went to town pounding away at it!
It relieves stress AND you get a cool looking board!
When we picked boards at the hardware store, we picked the most distressed, imperfect boards we could find. We wanted this to have character.
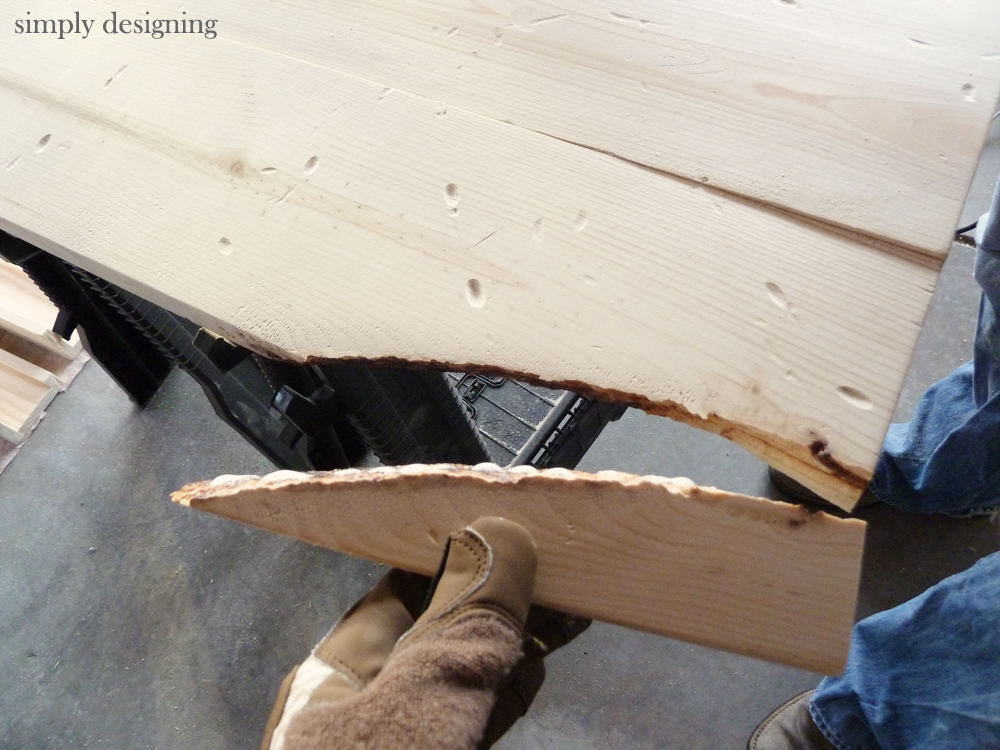
But if you have more distressed boards to begin with, possibly ones with cracks in them, and you are pounding at it with a hammer and a chain, you might have a crack that decides to break. Oops. It happens!
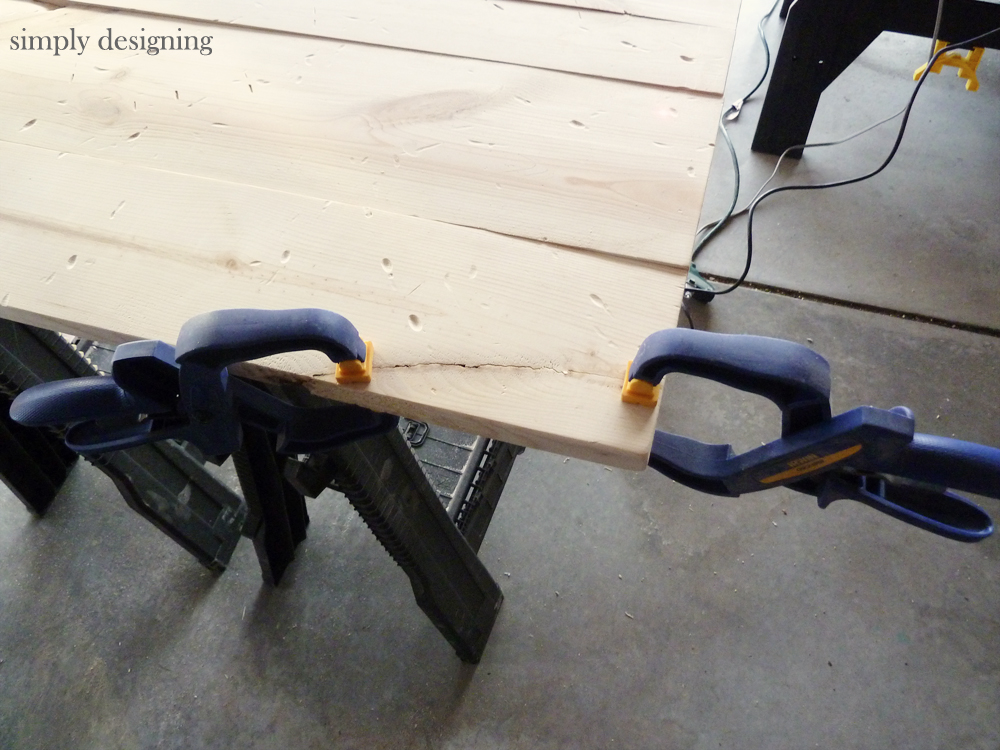
Don't worry though, that's what wood glue is for! Just apply wood glue and clamp until it sets. It happens.
Finally, my husband made the trek back out to the hardware store for me (at 10pm at night) to get a proper hanging hook. This board is super heavy! So be sure to look for any picture hanging kit that will hold the weight of your board. I think ours was rated up to 100 lbs just for good measure.
And if possible, try to hang your board on a stud. If you can't be sure to use a wall anchor. Did I mention how heavy it is!?
I love how my board looks! And for as large as it was, it really did not cost a lot to make!
And for now it will be the backdrop for seasonal or changing decor in my home! I love the idea of hanging a wreath on it! But I also love my banner!
You might also enjoy:
Pallet-Style Sign: Together Is Our Favorite Place to Be
Gallery Wall Mini-Reveal
Build Your Own Bathroom Mirror Frames
Winter Burlap Banner






Colleen
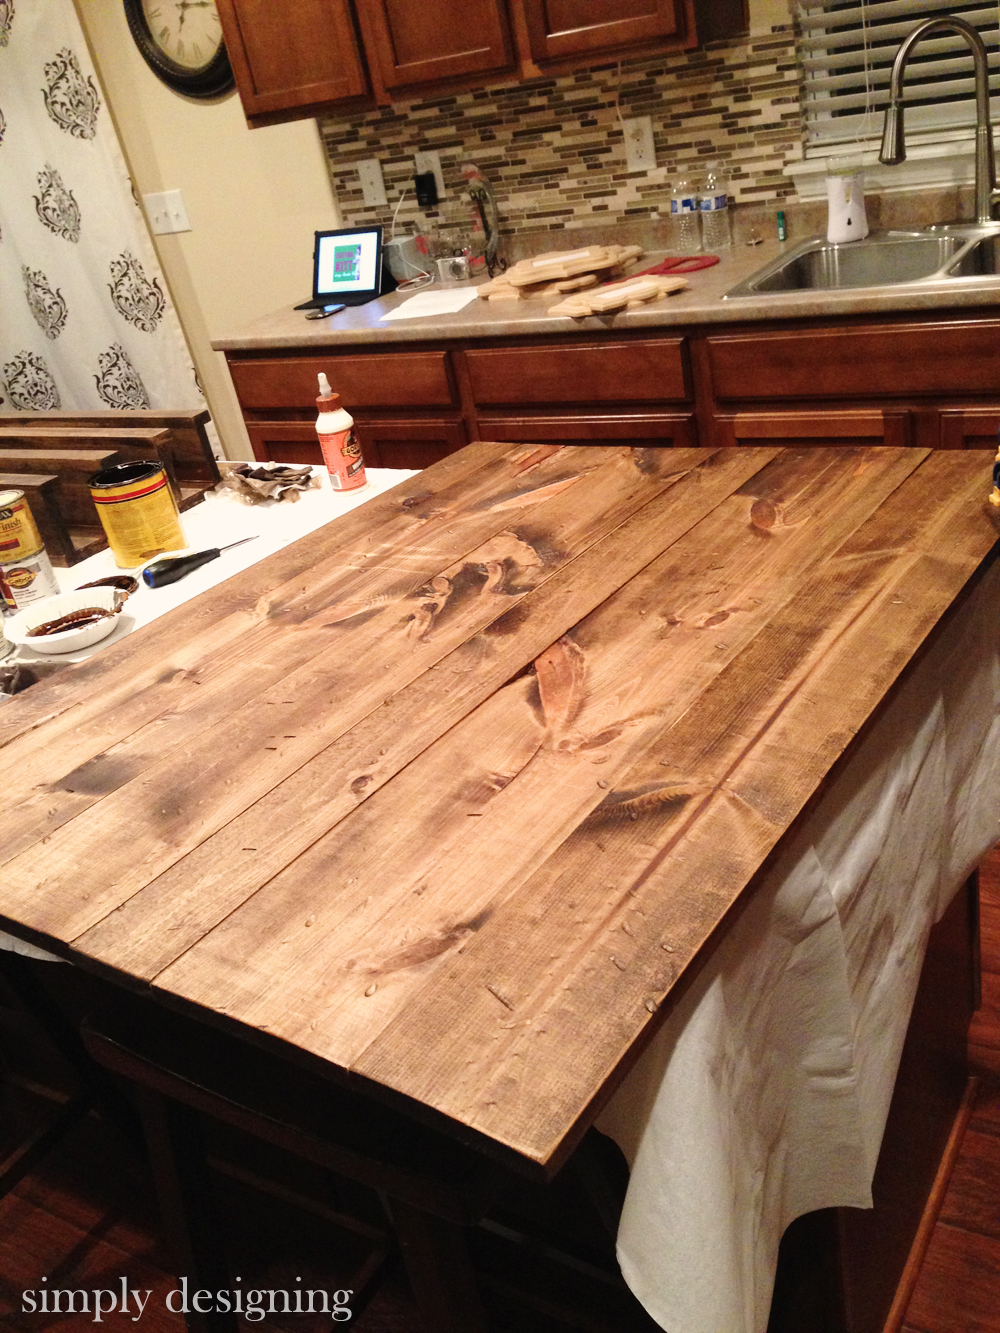
love your pallet board but can't believe that you actually stained that in your kitchen. I'm sloppy when it comes to painting and staining that I would totally have a mess with stain all over everything<br />
Ashley Phipps
Thank you so much Colleen!!! Hahahaha! We were very careful staining! The only reason we did it inside was because we had been outside all day and it was like 20 degrees so I literally couldn't feel my fingers and toes anymore!!! (Now of course the last week it was like -20 here...so I guess I am glad I did it while it was "warm!?" Hahaha, But we laid down a drop cloth and
~Damita's Pretty Wrap~
Looks great!! Thanks for sharing, and love your winter garland across!! Cute!! xx Holly
Ashley Phipps
Oh thank you so much!!
Linda Bouffard
Beautiful tutorial. Pinning. Linda
Ashley Phipps
Thank you so much Linda! And thanks for pinning!
Renee P
Oh my gosh..I love this. I could totally use this idea to create a distressed wood board for my food photography!! Great tutorial. Pinning!!! thanks for sharing!
Ashley Phipps
Thank you so much for your sweet comment Renee! And yes, it would definitely work for a food backdrop!!
Ashley Phipps
This comment has been removed by the author.
Bonnie H
This is a great project. And I have to say I love your kitchen backsplash. <br />Bonnie @ Our Secondhand House
Ashley Phipps
Thank you so much Bonnie!!! And thanks...we installed the backsplash fairly recently...I really need to blog about it one of these days 🙂