If you have a cat or a small dog and like modern styles, you will love this minimalistic and modern DIY Cat House that you can easily make yourself.
I am sharing the complete materials list and tutorial for this DIY cat house so that you can create this yourself. Keep reading below for all the information.

Thank you to Wagner for sponsoring this post about a DIY Cat House. All opinions are mine. Affiliate links are included for your convenience. Thank you for supporting my blog.
DIY Cat House
We currently live in the middle of a forest and I absolutely love it.
But we are more prone to things like mice which I do not love.
So we are planning to get a barn cat asap to help keep the mice away.
However, I am also allergic to cats so any cat we get will need to be an outdoor barn cat.
While I am not opposed to bringing a cat into a garage at night or if it gets too cold, we wanted a safe place for a cat to eat, get water, and sleep while being able to be a mostly outdoor cat.
So we decided that we needed to build a DIY cat house that was perfect for an outdoor kitty and safe enough for them to have protection from both the rain and elements and other animals.
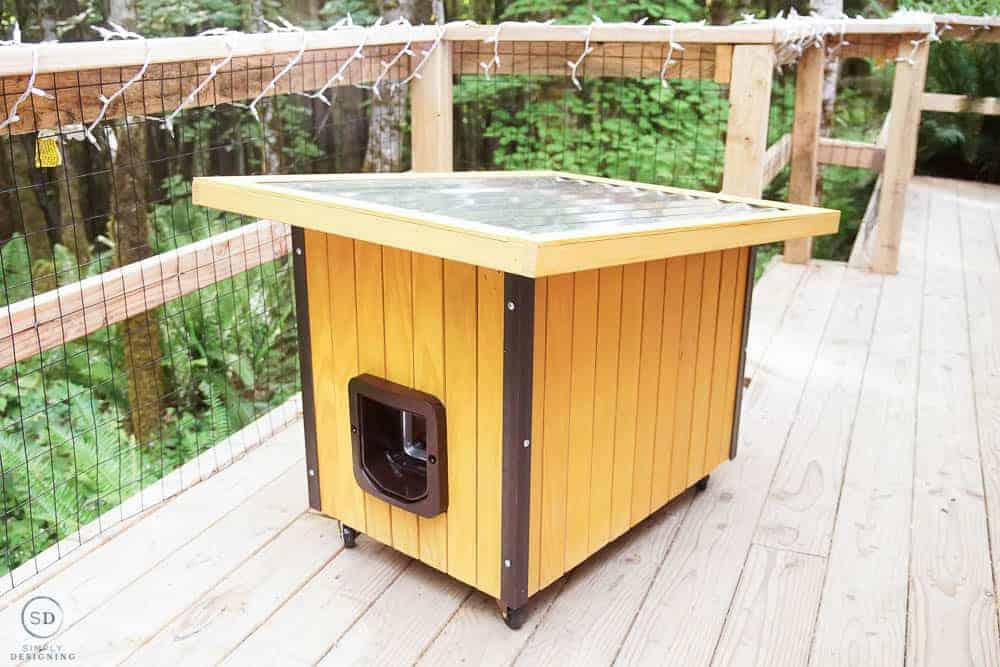
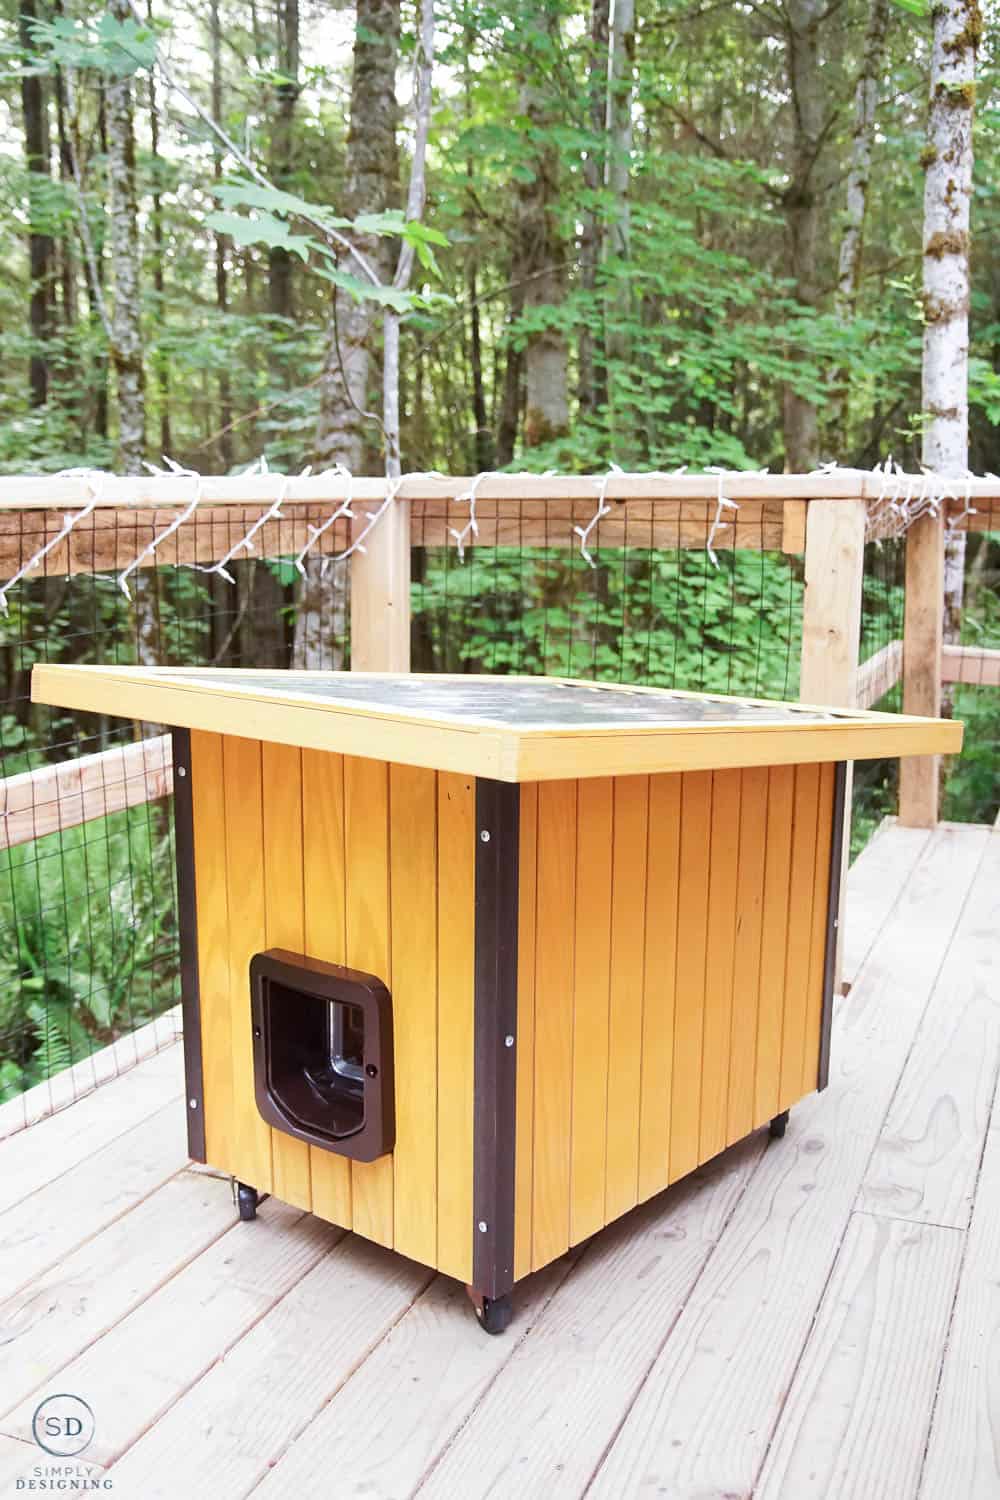
Of course, we wanted a more modern home with industrial elements and touches that would match our style, so we got to work designing and building our cute kitty shelter for our one-day cat.
What makes this DIY cat shelter different?
While there are many tutorials out there for indoor DIY cat houses made out of cardboard, and outdoor cat houses made from plastic bins...we wanted something that would brave the PNW elements, be easy to hose out, and also be cute.
These are not features that I was able to find in a ready-to-purchase cat house or any other tutorial out there.
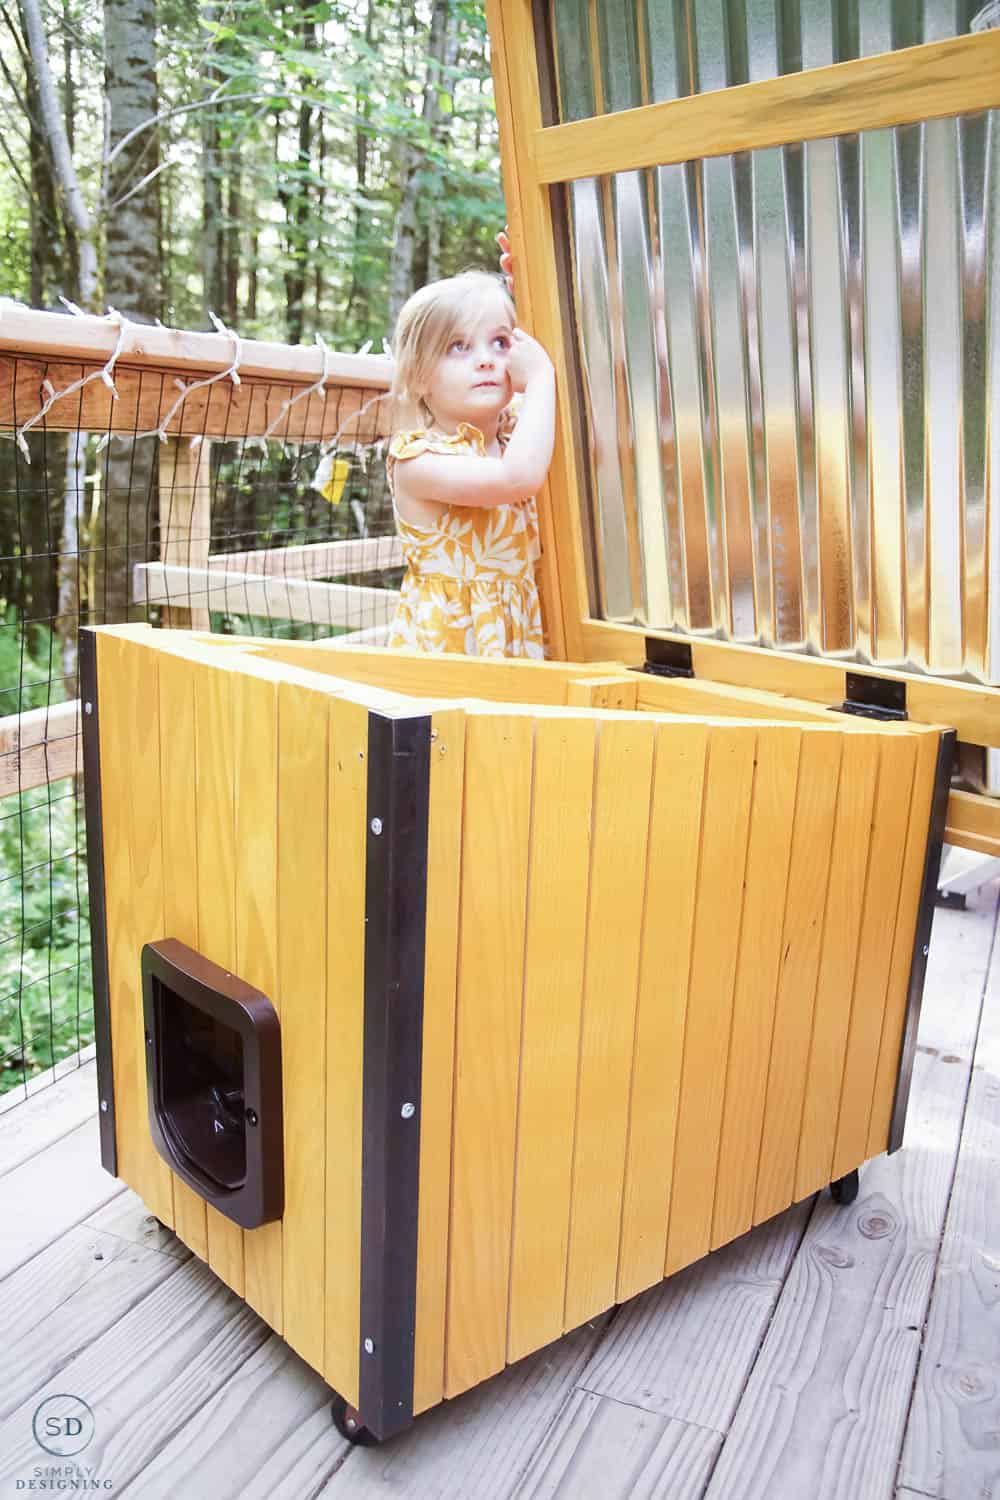
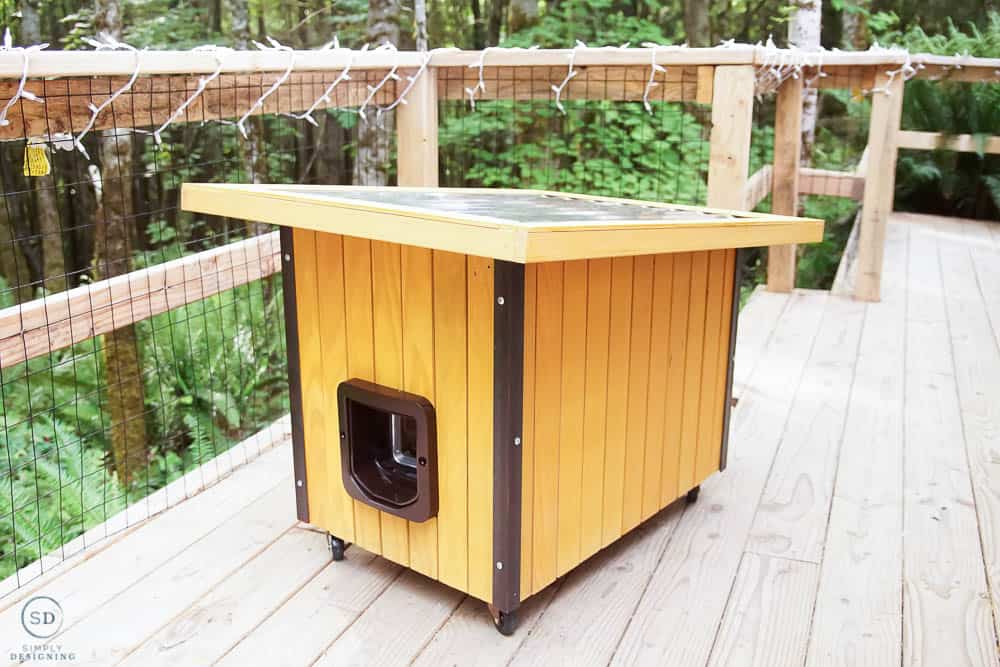
This DIY pet house is made out of wood that will withstand the elements, has gaps just big enough to be able to be hosed out, is stained to give added protection, has a cute metal roof that lifts up to make feeding and giving water easy, and is only accessible with a microchip or RFID pet collar.
This DIY cat house is so different from anything else out there and I really love it!
How do you make a cat house warm?
If you would like to make this cat house warmer, you can insulate it as you would a regular house.
We have mild enough temperatures here that I did not insulate this cat house.
I would do a little research to know the best way to do this before attempting it yourself.
Adding straw to a cat house is also a great way to help a cat keep warm in the wintertime.
How much is this pet house to build?
I will be very upfront with you. This was NOT an inexpensive project.
I already had all the tools I needed, but by the time I bought the wood, the roofing, the casters, the hinges, the stain, and the speciality door, this cat house cost us about $300.
Nope, that is NOT cheap.
However, in all my looking I could not find another cat house that included a microchip door (this alone added about $100 to my final cost) and that would keep a pet safe from elements and other animals.
What we wanted simply didn't exist. A
nd things that were close cost upwards of $200 without the door, which I would want to add, so I would have been close to $300 to retrofit something, which just wouldn't have ended up looking as cute.
Also, we built this pet house to be large enough for a small dog or multiple cats.
I think we can comfortably have two friendly cats in this at one time without a problem, so this will also ensure that I don't have to buy a new pet house if we decide to get two kitties instead of one (which is a high possibility).
Could we have made this cheaper? Yes.
Right off the bat, if you don't need a door, that will save you about $100.
If you don't want to be able to move it on casters, that will save you $20.
If you want to use cheaper roofing material like wood, that will save you about $20.
Also, if you leave off the angle iron on the sides, you will save about $30.
If you make all of those changes, you will have about a $170 savings, which would bring the total cost closer to $130 (which is a very reasonable price for an outdoor pet house).
And if you want to paint this instead of stain it, you can use cheaper wood and save even more money! (I did not calculate this cost, but when you go to the store, feel free to compare costs at your own store.)
So yes, this is not cheap. But you can definitely make it for just a bit over $100 if you modify and change a few things.
Also, note that wood costs vary by region and also due to supply and demand, so your costs may vary.
How do I make a cat house safe from other animals?
This was something that was very important to us, to keep our future kitties safe.
We choose to create a pet shelter out of sturdy wood and then add a door that only opens with a microchip or an RFID tag.
This will allow the cat to get in and out of the house whenever they want, but it not allow any other animals to get in it.
After a lot of looking, we ended up purchasing this Micro Chip Pet Door.
So this will be a safe place for a cat to rest, eat, or drink.
What is the best paint sprayer for this project?
Last month I completed a project with my new Wagner FlexiO 4000 and so I wanted to use it again this time.
This time I used the Detail nozzle because I was using stain and I wanted a more fine finish.
- Because the motor is housed in a base, the handheld portion of this paint sprayer is super lightweight!
- It comes with two different spray cans, one for thicker materials like latex paint, and one for thinner materials like a stain or for a fine finish. I used the detail nozzle for this project.
- It has variable power options and variable speeds.
- You can use it indoors or outdoors.
- Cleaning was so much more simple than other paint sprayed I have used in the past.
- Wagner spray liner cups. Life. Changing.
- This works well for projects both big and small.
- It works for a large variety of paints and stains including exterior paint, interior paint, latex paint, wood sealers, water-based stain, oil-based stain, outdoor stain, milk paint, chalk paint, primer, lacquer, urethane etc. Basically, if it can be sprayed, it can probably be used in this sprayer.
- Super simple directions to follow.
- Can probably meet all of your painting needs and could easily be your only paint sprayer
- I have used this with both paint and stain and it works well for both
What do you need to make a DIY cat house?
Tools:
- Wagner FlexiO 4000 Paint Sprayer
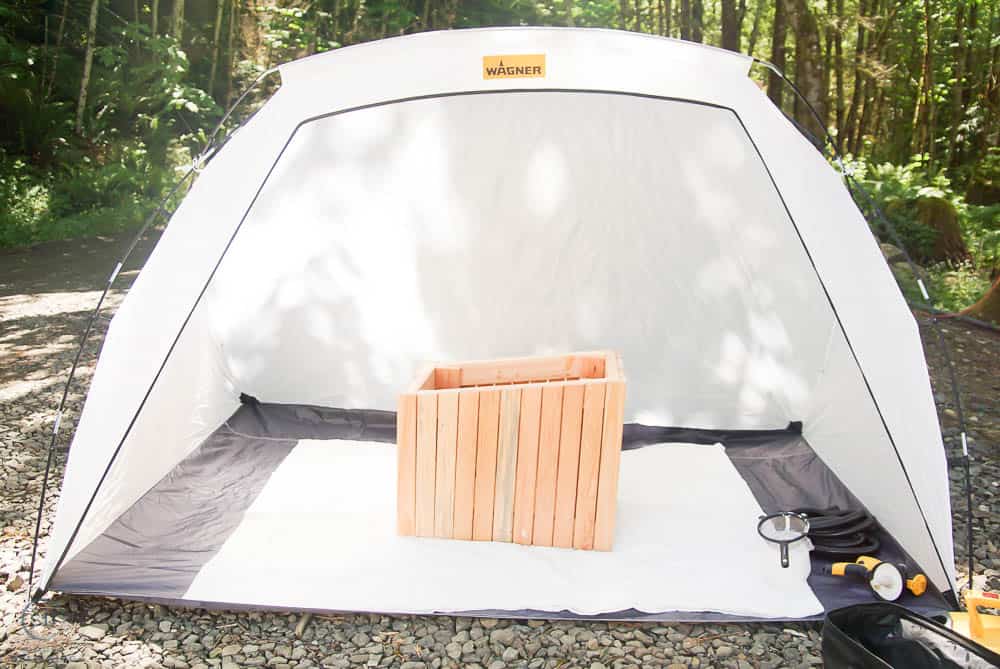
- Wagner Spray Shelter
- Compound Miter Saw
- Clamp
- Driver
- Drill and Drill Bits
- Metal Cut off tool
- Air Nail Gun and Nails
- Electric Sander
- Kreg Jig and Screws
- Strainer
Materials:
- Wagner Spray Liner Cups
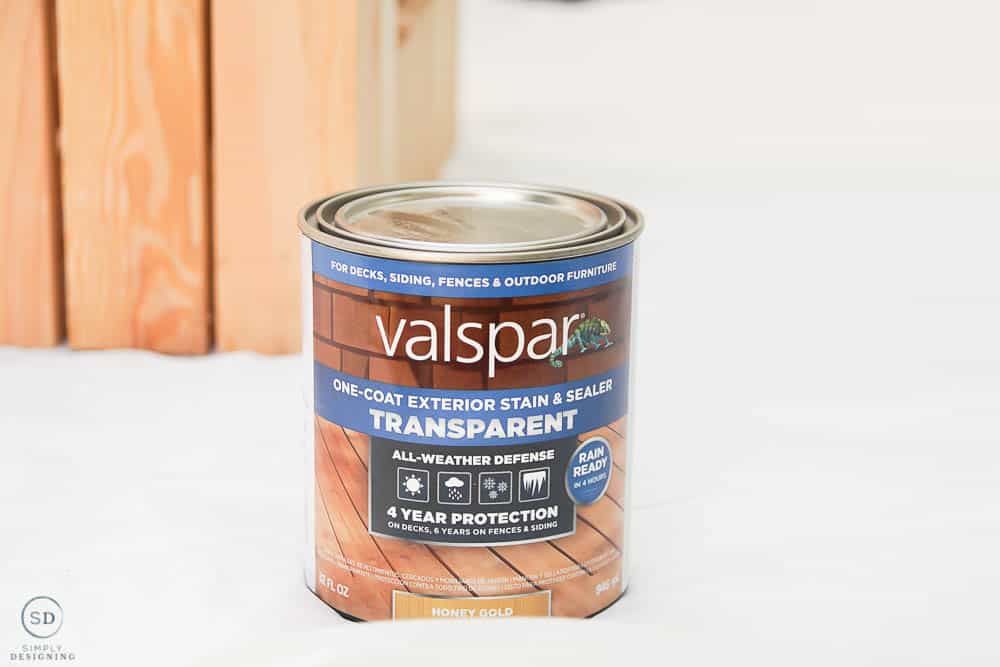
- Stain (we used Valspar Honey Gold, Semi-Transparent)
- Clear Spray Paint (optional)
- Wood Glue
- Drop cloth
- (4) 2" Swivel Casters
- (2) 3" Hinges
- Micro Chip Pet Door
- RFID Tags
- (3) 1" x 2" x 6' Fir Boards
- (1) 1" x 2" x 8' Fir Boards
- (3) 2" x 4" x 8' Framing Boards
- (1) 1" x 3" x 8' Fir Boards
- (13) 1" x 3" x 6' Fir Boards
- (2) ¼" x 2" x 8' Hemlock
- (1) 2' x 8' Corrugated Metal
- (2) ⅛" x 1.25" x 4' Angle Iron
- 3” screws (get a big box)
- (6) ½” long screws
How do you make a homemade cat house?
The final approximate size of this pet shelter is 18" wide x 24" long x 20"-22" tall.
Feel free to adjust this and modify your cuts to meet your needs.
Note: All of the dimensions I am giving are approximate. And while I am giving approximate dimensions, it is always smart that you measure and cut your own boards because even a slight variation in cuts can tweak the entire dimensions of everything. So once you get past step 1, I recommend measuring and cutting everything to fit your exact cat house. You are responsible for measuring your own wood cuts.
STEP 1:
Cut 2 x 4 boards into the following sizes:
For the base:
(2) 24” lengths
(2) 18” lengths
For vertical posts:
(2) 19”
(2) 22”
For top:
(2) 18” (front and back)
(2) to fit but approx. 24.75” at 7° angle on both ends
STEP 2:
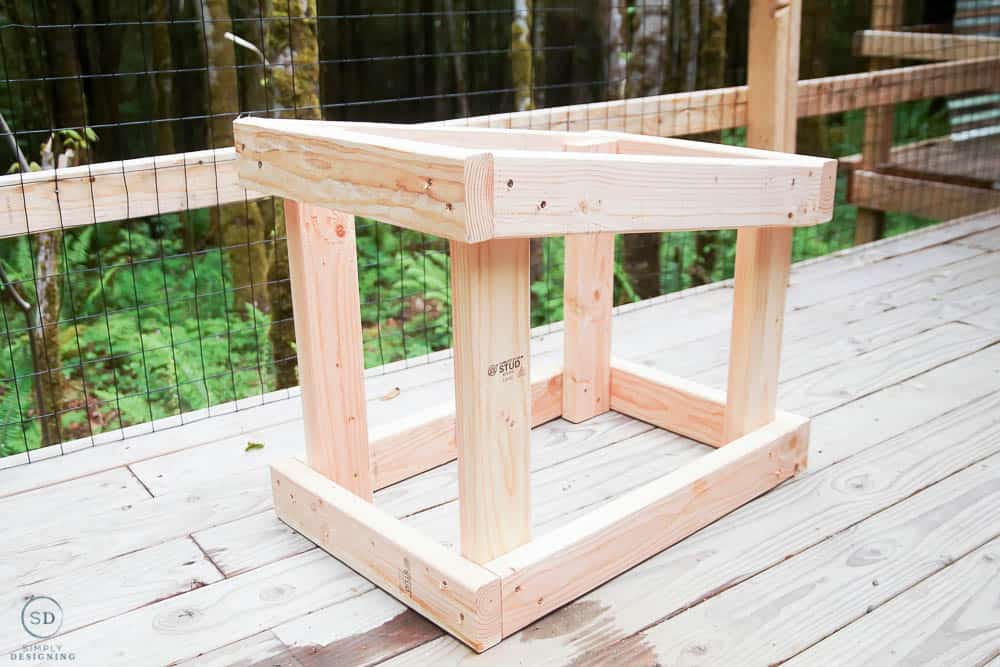
We will begin by creating basically a 3D rectangle (with a slight angle) as our framework.
We will add additional boards later to cover the frame and make it look pretty.
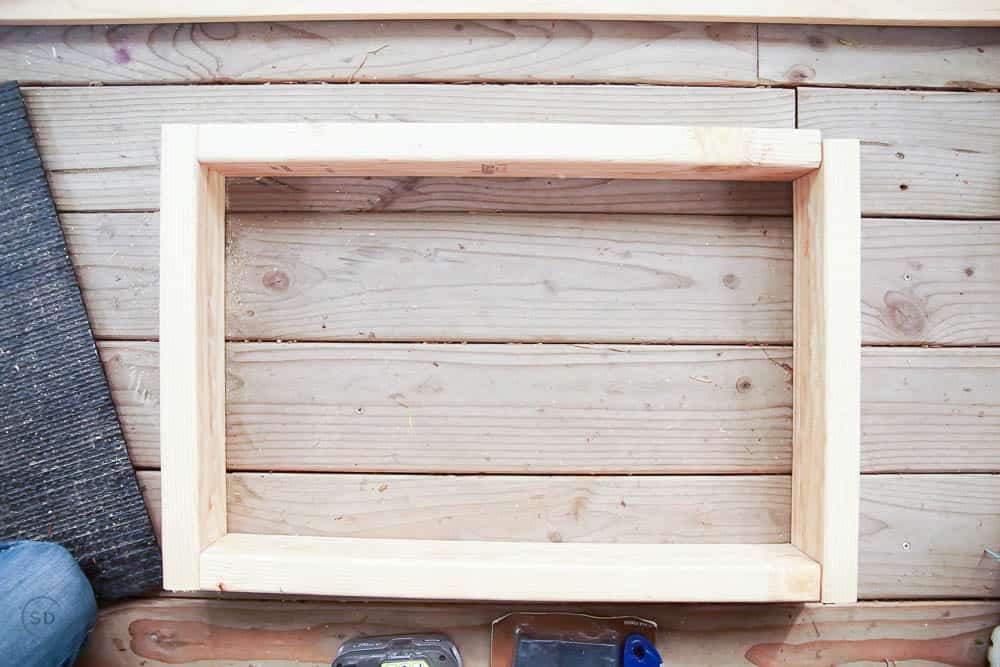
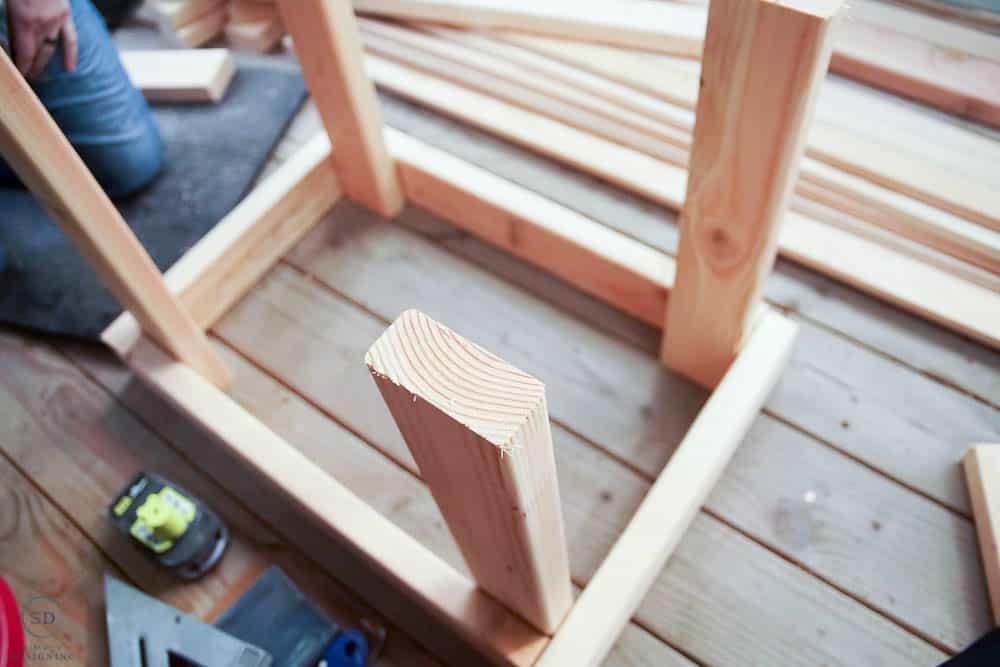
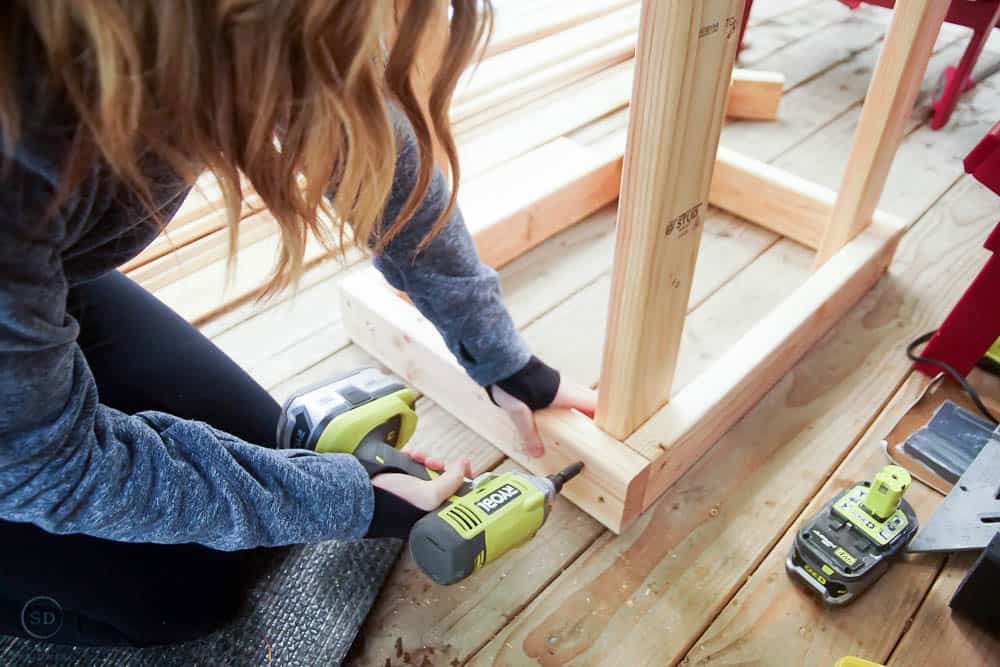
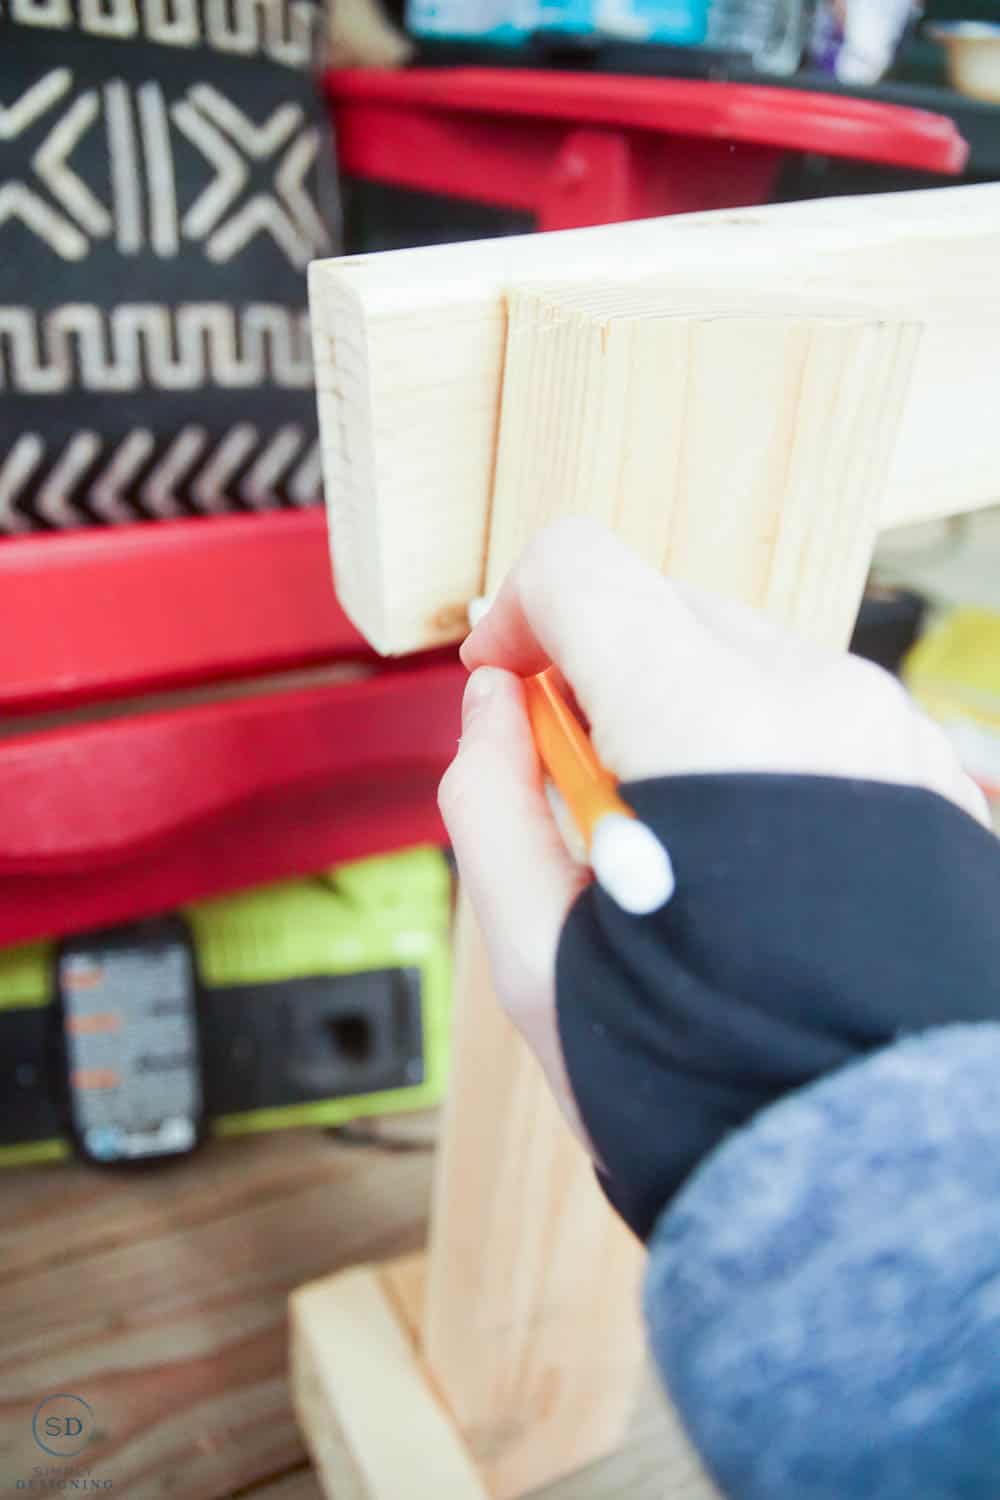
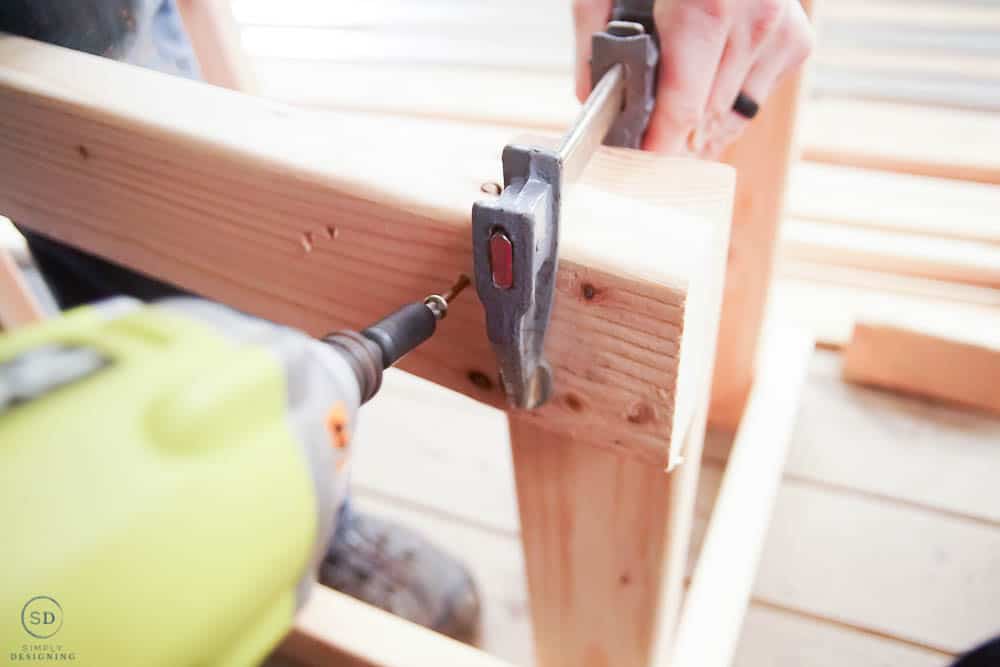
Make the base by screwing the base boards into the vertical posts, and also into each other.
Screw the top side-angled boards into the side posts.
Screw the top front and back 18” boards to the vertical posts.
STEP 3:
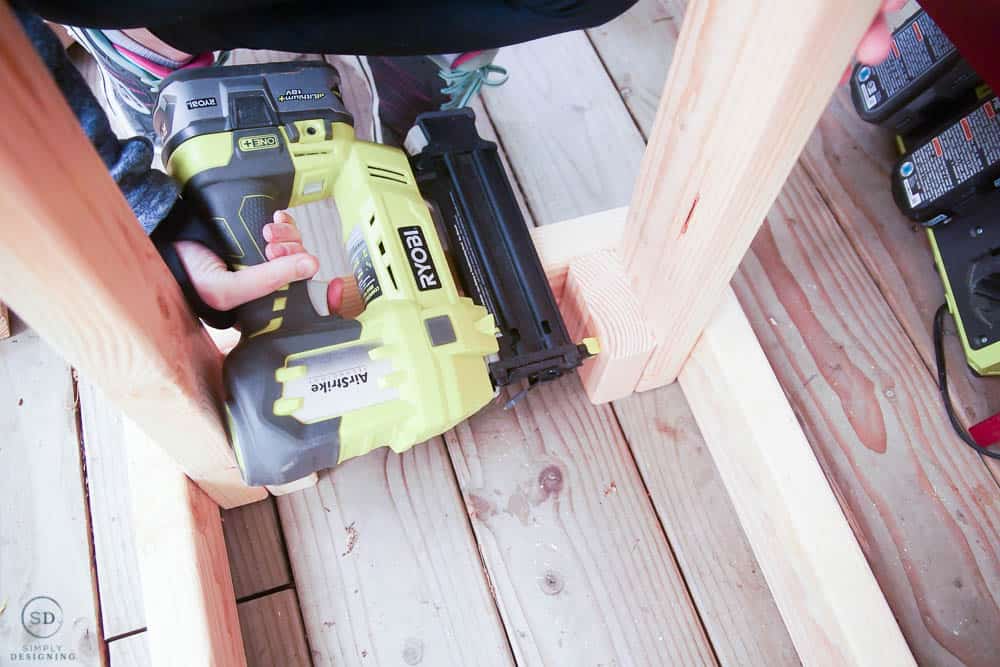
Using scraps, cut (4) 2" x 4" x 3.5" lengths and attach them to vertical posts using the nail gun for flooring stability.
STEP 4:
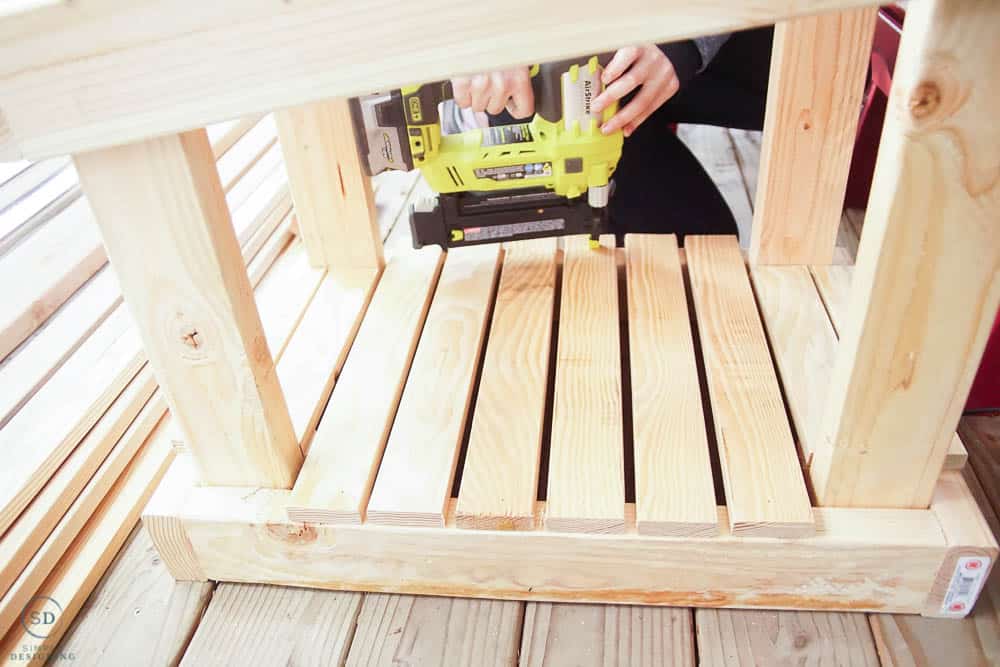
Cut 1”x3” boards for flooring:
(4) 12” for back and front two boards
(6) 18” for middle floor boards
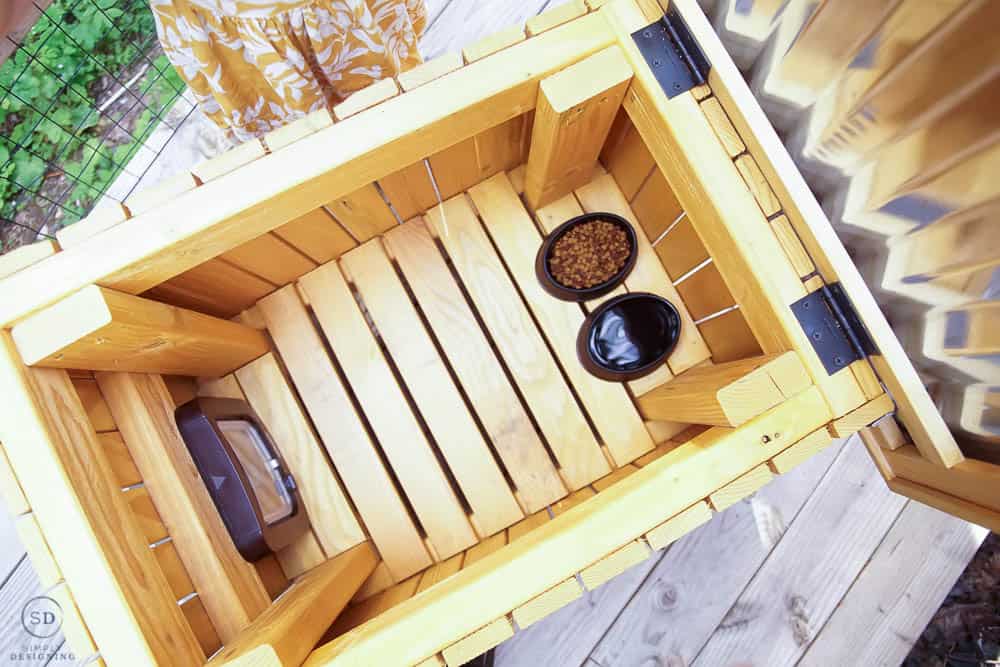
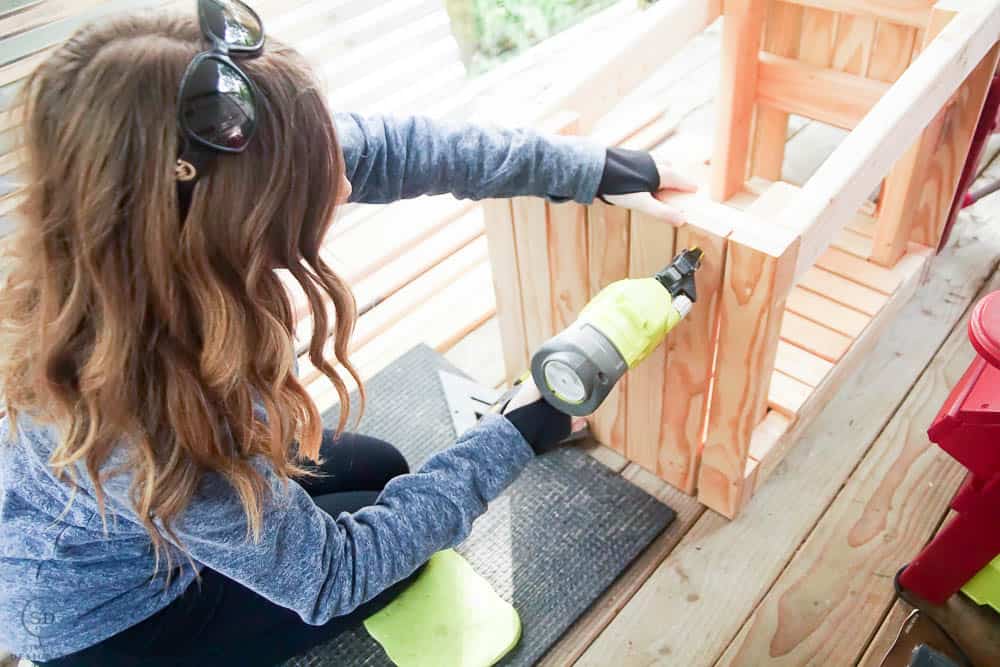
Space them evenly and nail gun them into the base frame.
*I intentionally put these boards with a small gap between them so that we could easily blow and hose the house out to clean it.
STEP 5:
Cut 2" x 4" boards into (1) 15” length for the header over where the pet door will go.
Screw this in place by screwing it into the vertical posts on the front of the house.
Measure and install this using the exact dimensions of your door and your frame.
Cut 1" x 3" boards into (4) almost 23” lengths to go down the front exterior.
Cut "1 x 3" into (3) 11.5” lengths, to go over the door in the front, but again, measure these using the exact dimensions of your door and frame.
Cut 1" x 3" into (3) 4.5” lengths to go under the door.
Be sure to measure these using the exact dimensions of your door and frame.
Use a nail gun to attach all front boards into place by nailing them into the frame, and spacing them evenly across the house.
Note that there will be a slight gap between boards, this is designed purposefully to be this way to allow for airflow, light, and a modern look.
Cut 1" x 3" into (7) 19.25” lengths for the back of the house.
Be sure to measure these using the exact dimensions of your door and frame. Use a nail gun to attach these in place.
Cut 1" x 3" into (11) lengths varying from 19.25” - 23” at approx 7° angles to fit on sides (we actually cut both the board at the front and the back straight across, and cut the remaining 9 boards at an angle, but you can also cut them all at the 7-degree angle if you prefer. Both options will work.).
You will want to measure and cut each one of these individually to ensure proper fit.
Space these evenly and attach with a nail gun to the side of the house (there will be a slight gap).
Repeat the last step for the second side of the house.
STEP 6:
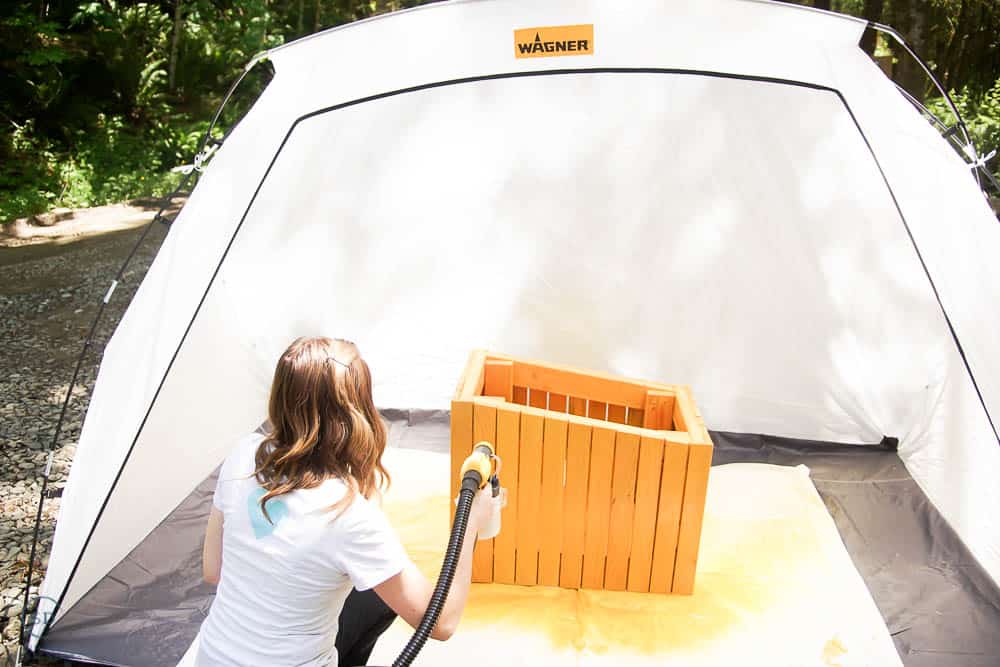
Place a bag in your Wagner FlexiO 4000 detail container and then attach the detail nozzle.
I recommend stirring and then using a strainer to ensure that there are no chunks in your stain before using.
I used two coats of stain on every single surface, and then I let it dry really well.
STEP 7:
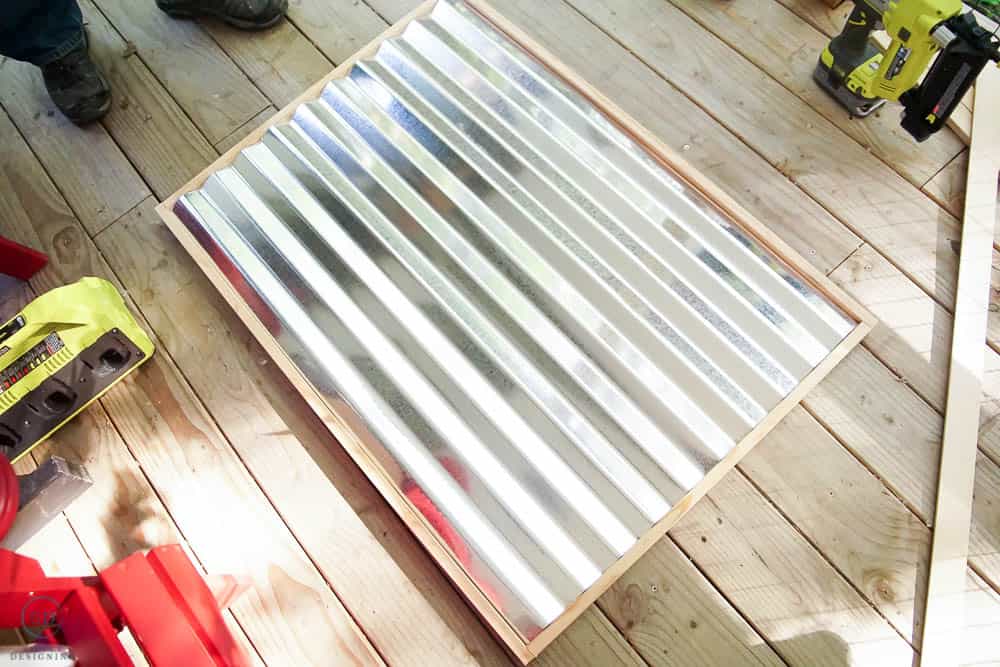
Use a metal cut-off tool to cut the corrugated metal siding to 38” long (it was about 26.5” wide already).
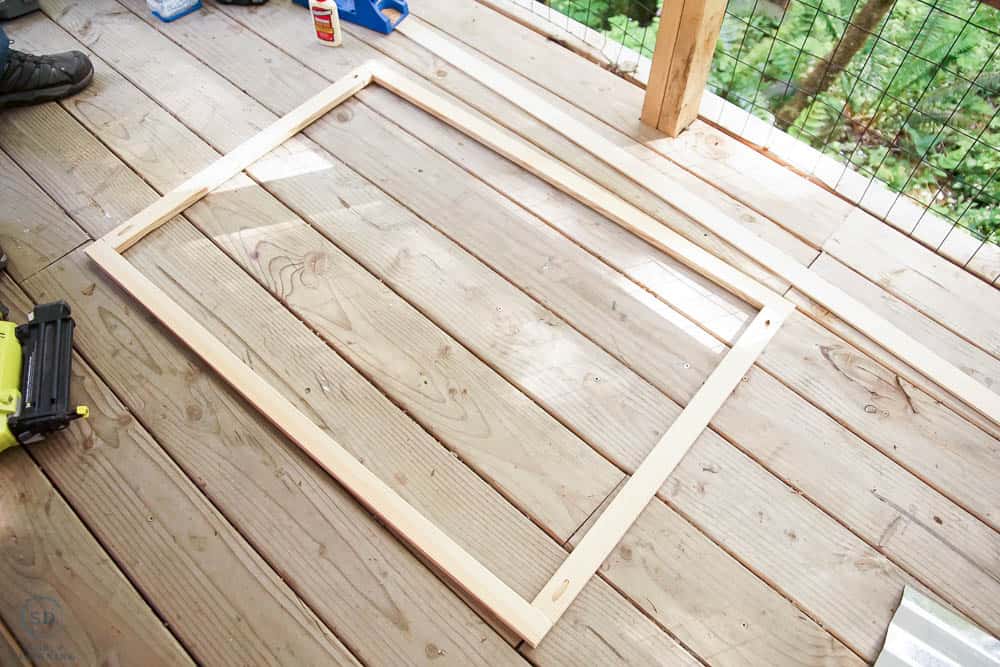
Then I cut 1" x 2" into (2) 38” and (2) 24” lengths.
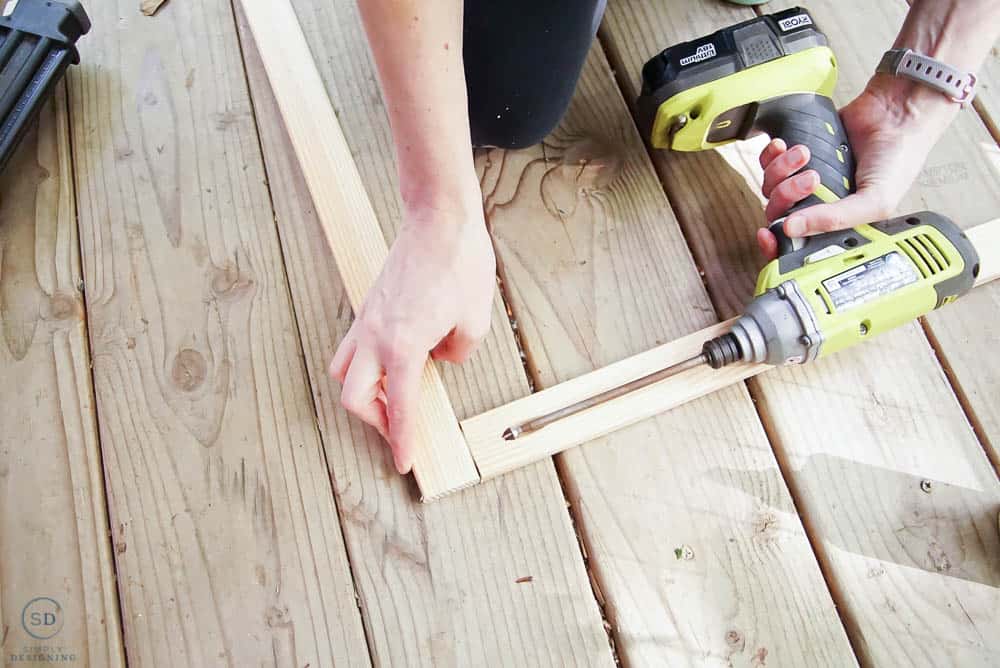
I then used a Kreg Jig to secure them together into a frame shape.
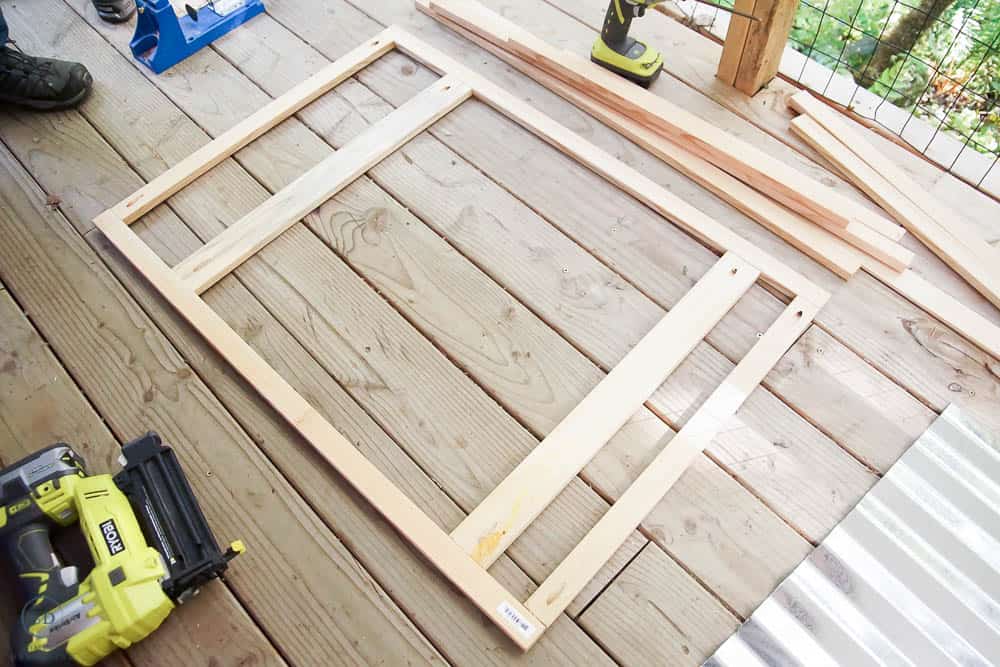
Next, I cut 1" x 3" into (2) approximately 24” long pieces.
These are cross members in the frame.
Use a Kreg Jig to attach them at approximately 4” and 7” in from each outside edge.
This will add support and also attach to the hinges in the back.
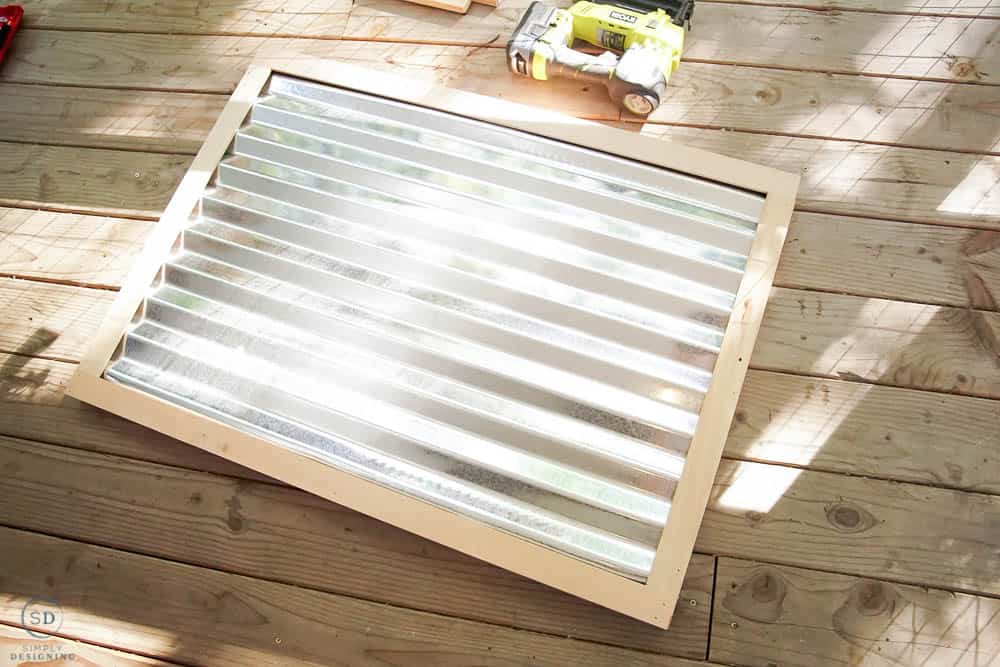
Then I cut 1" x 2" into (2) approx 39.25” and (2) approximately 27" lengths.
These will fit around the frame in a tall way, so be sure to measure your frame and cut these to the correct size accordingly.
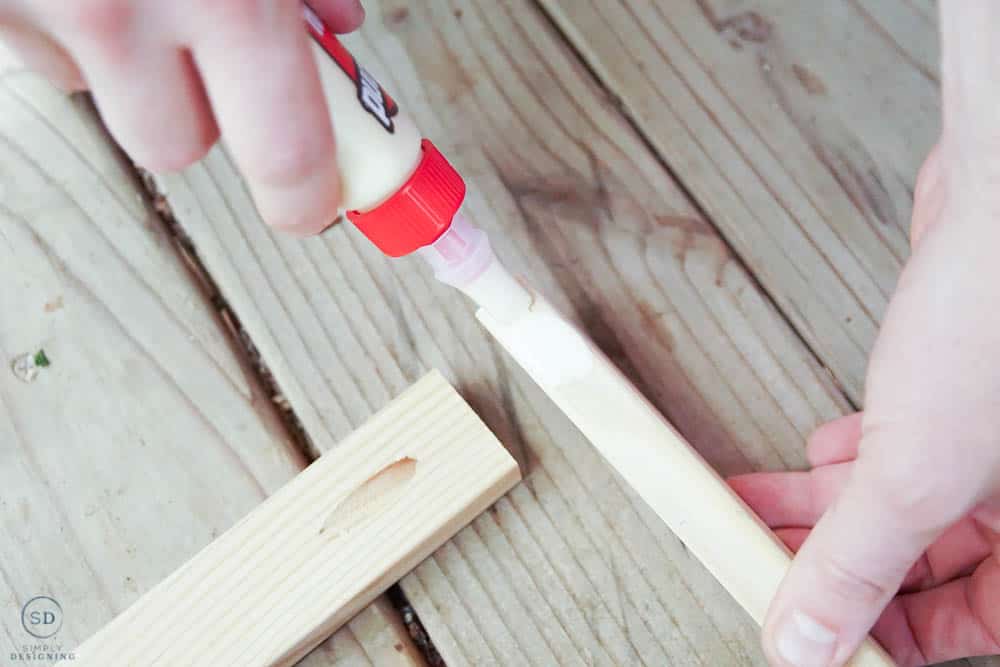
Apply wood glue on frame edges and use a nail gun to tack the side pieces on around the frame.
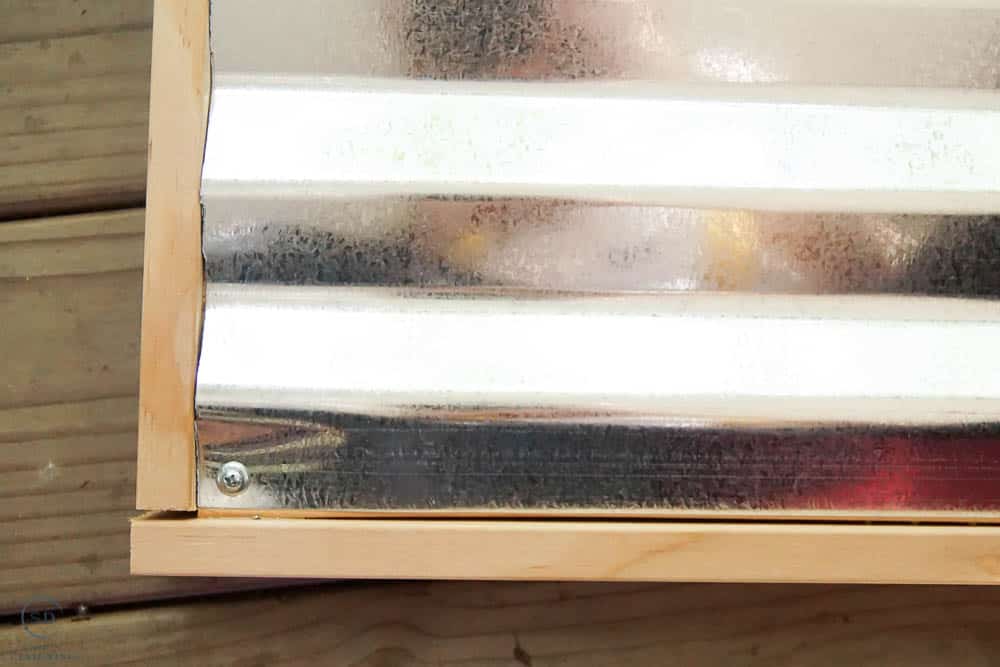
We attached them so there was approximately ½" from the top of the inside frame to the top of the outside tall frame.
Place corrugated metal inside the frame to make sure it fits.
This frame not only provides support, but it also provides protection from any sharp metal edges.
Then I cut ¼” x 2” into (2) 39.5” and (2) 25” (approx) pieces and place them on top of the frame to make sure it all fits together nicely, but don't secure anything down yet.
This is a great time to spray paint these pieces of wood if you haven't painted them already.
You can also wait until closer to the end and just tape off your roof. Either way works, but I think it is easier to paint it now, and then assemble the roof together.
STEP 8:
Place corrugated metal inside the frame and use a drill and ½” long screws to tack this in place.
Place trim pieces on top and use a nail gun to attach it to the top of the frame.
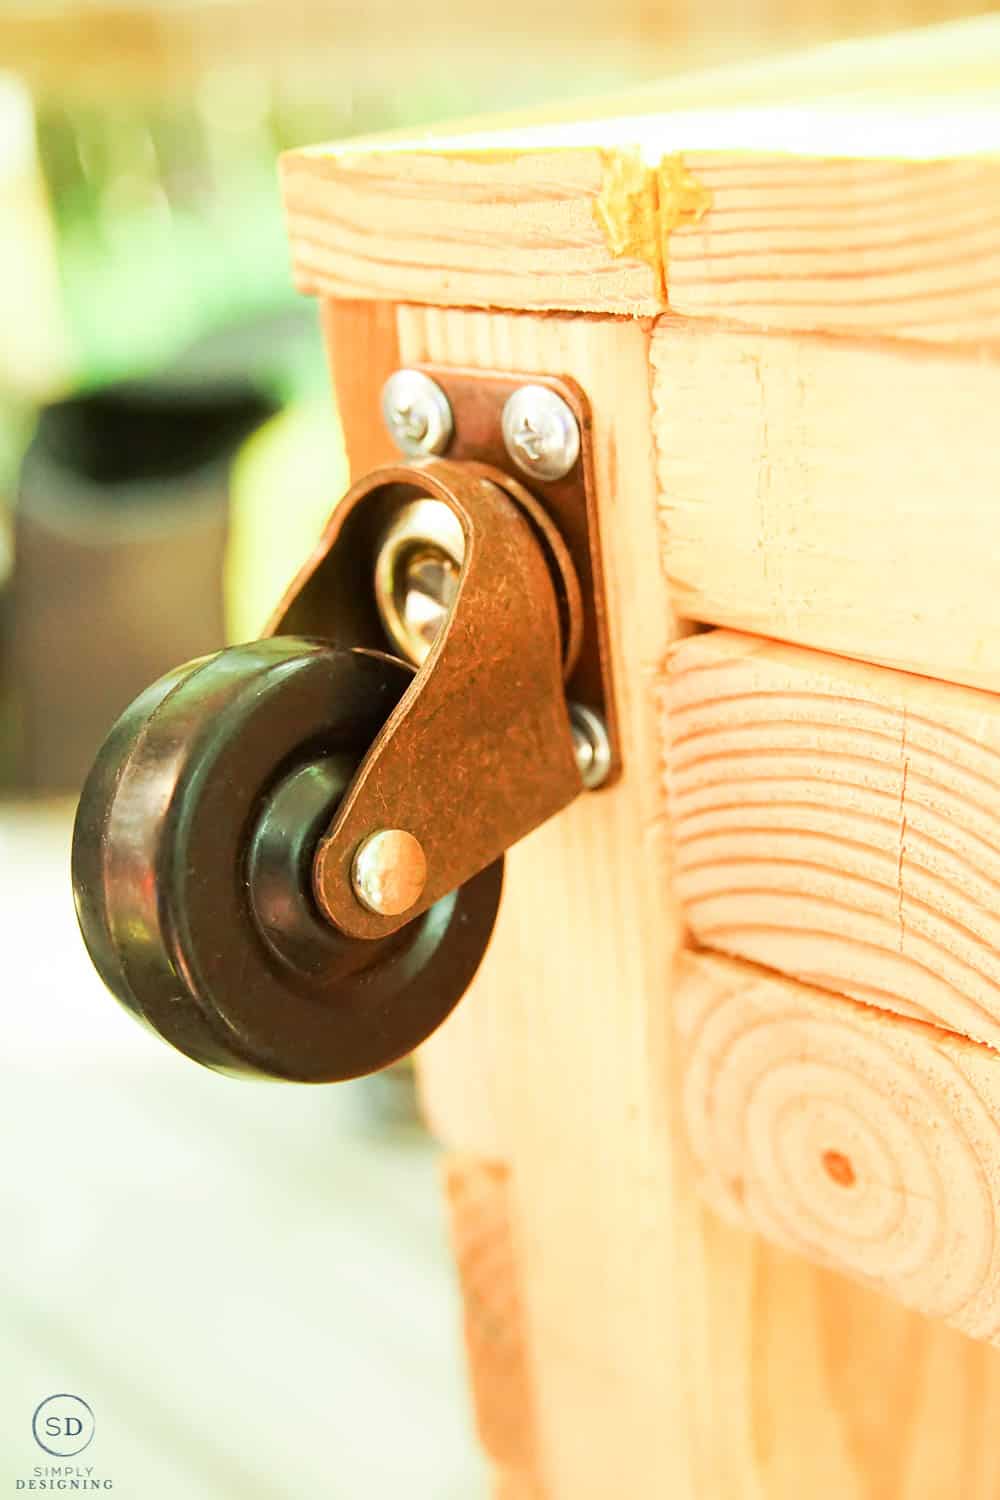
Next, I attached the caster wheels to the bottom of the cat house.
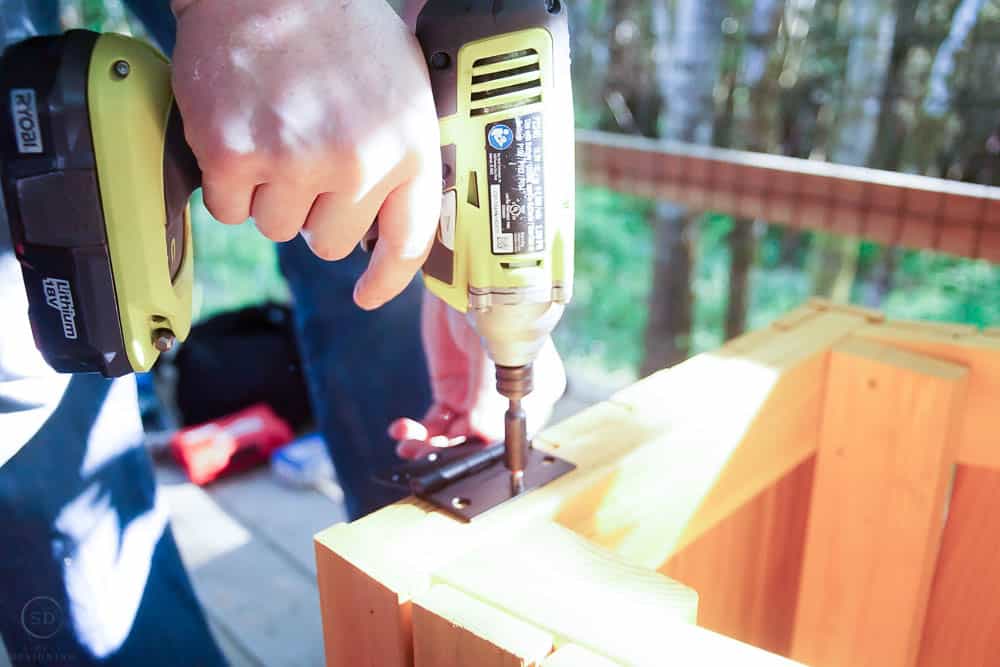
Then I secured the hinges to the back of the cat shelter.
And then I attached the roof to the hinges.
Next, I cut our angle iron in (4) pieces long enough to cover each of the four corners of the cat shelter.
f you want to spray a clear coat on this, you can do it at this time, but that is optional.
We pre-drilled pilot holes in the angle iron and then used screws to attach this to the cat house.
Finally, we attached our secure pet door to the house and our DIY Cat House was complete!
Whew! You guys! This DIY cat house is definitely a long multi-step project, but it is totally worth it because look at how cute this cat house is!? It is adorable. And super cute and modern.
A modern cat house! Who even knew that was a thing? Well, it wasn't...but now it is!
Go here to check out my coordinating post on the Wagner blog HERE.
You might also enjoy these posts:
DIY Side Table with Herringbone Accent
How to Waterproof Leather Boots









Jen
What a cute house! Loved it so much I’m building it! Question, I am in the midst of building this now and I’m making the roof. I cut the 1x2’s at 38 and 24 to make the flat frame and added the 1x3’s at 24 for the cross bars. I’m stuck on the tall pieces though, that frame the frame. I cut 2, 1x2”s at 39.25 but the 2, 24in 1x2’s are nowhere close to fitting the top and bottom as tall pieces. Since the flat frame put together adds 1 1/2in on both sides the top & bottom tall pieces would be 27 in right? Unless I’m doing something wrong which is why I’m asking. Any help would be appreciated!
Ashley Phipps
Thank you so much! I am so excited for you to build this.
I am sorry you are having trouble. And I truly apologize, but yes you are correct. Those pieces should be about 27" long. I am so sorry for the typo. I will fix that right away.
Stacy
I'm building a house right now and the biggest hurdle is trying to find non toxic primer and paint. Is your stain low or zero VOC? Any advice would be greatly appreciated.
Ashley Phipps
I believe that both Sherwin Williams and Behr make exterior paint that is low VOC. I am sure that other brands do as well!
handmade2day
Do it yourself Inside your home