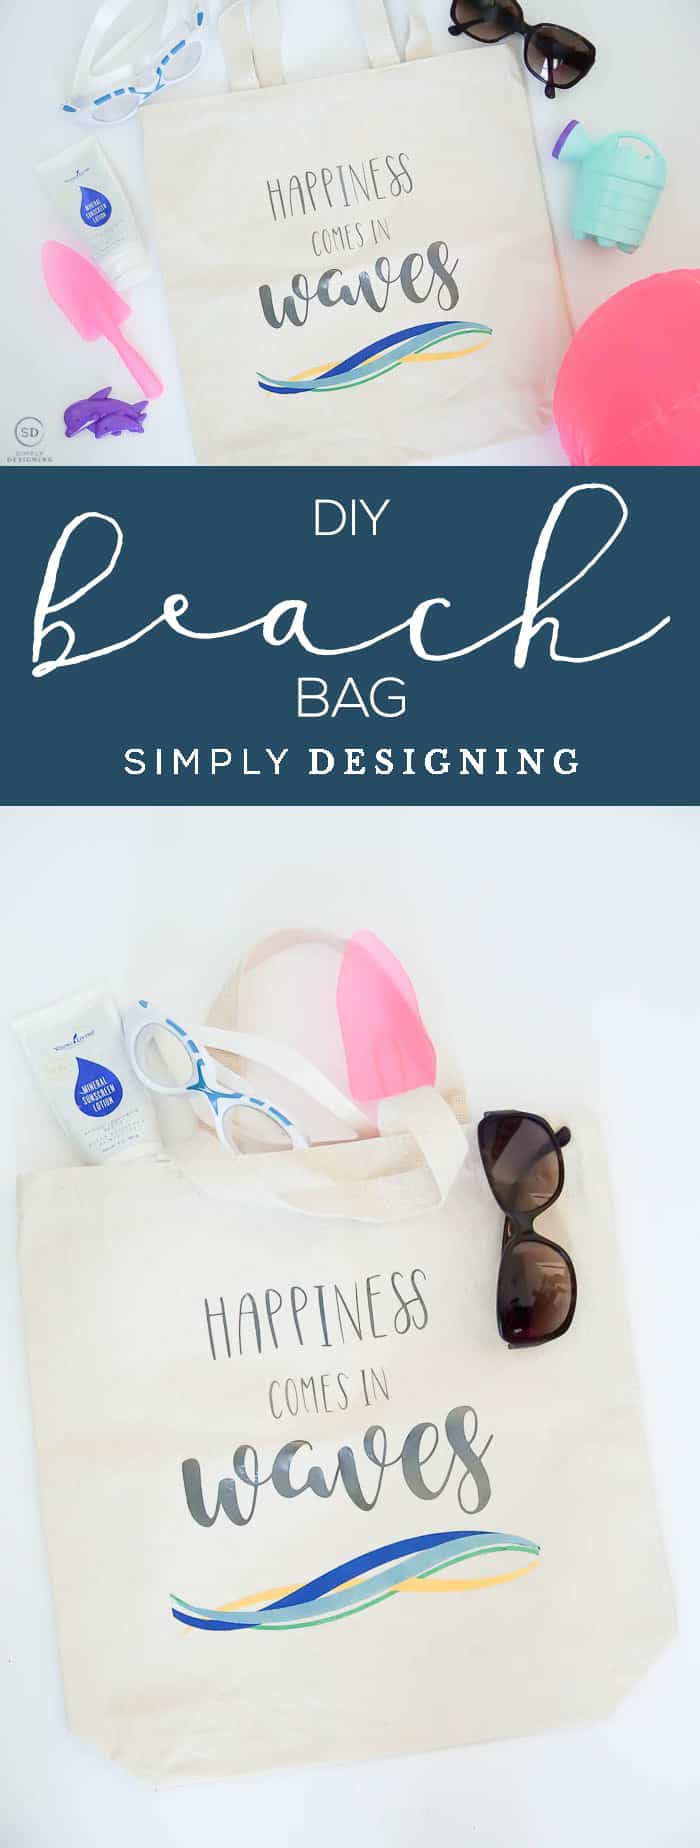
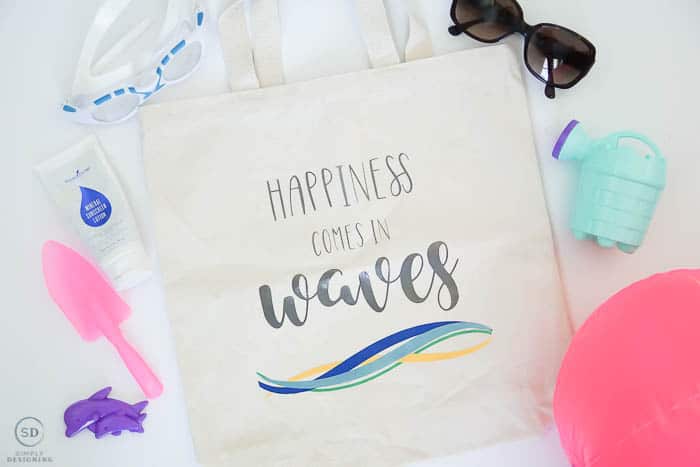
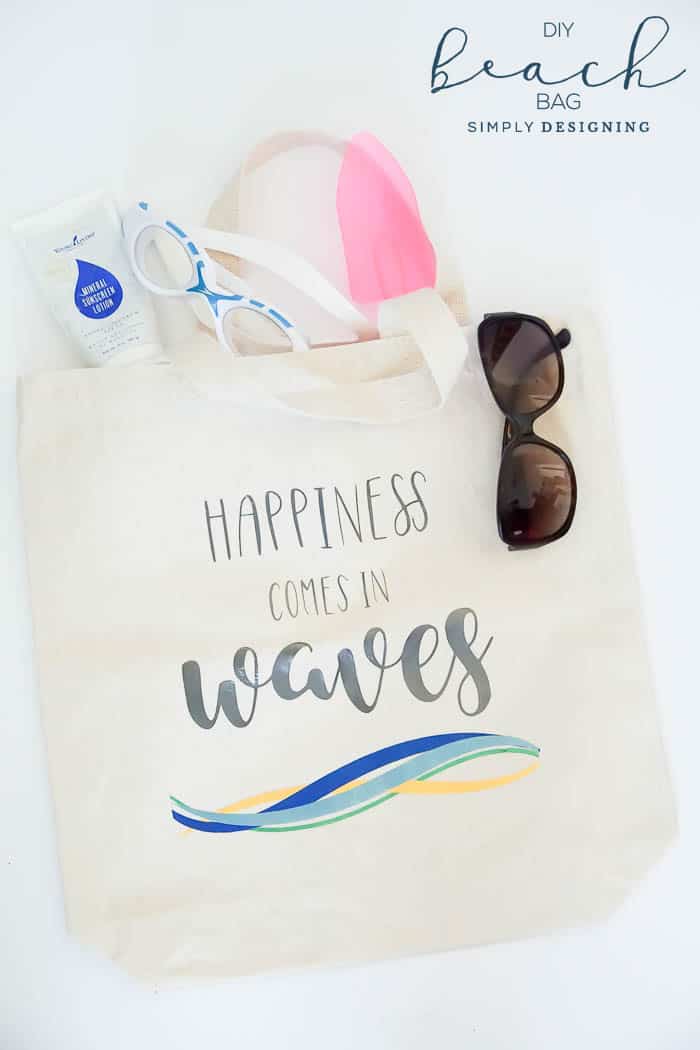
It's summer friends and my favorite place to be is at the beach, so today I am thrilled to share this cute DIY Beach Bag that you can make yourself. I recently made a tote bag for the library that you can see here, but this bag is perfect to take to the beach! If you need a bigger bag, just buy a bigger tote and create this on a larger scale. But I love having smaller bags so that my kids can each have one to carry there stuff in because this mama shouldn't have to carry everyone's stuff right!? Right. So. Go out, buy a tote bag, and then get on making one of these for each of your kids ASAP so that you can enjoy your beach time just a little bit more.
Thank you Expressions Vinyl for sponsoring this post. Affiliate links may be included. If you make purchases through the links, I receive a small commission, but you never pay a penny more. Thank you for supporting my blog.
How to make a vinyl DIY Beach Bag
I really love this bag so much this might become MY beach bag, and I'll make different ones for my kids...because it is super cute, and I LOVE the saying "Happiness Comes In Waves." I had so many tote bag ideas, I ended up taking to Facebook to do a quick poll and it was amazing how many people loved this saying just as much as I did!
You can use this same process with any saying, quote or even just an image. Adding vinyl to a tote bag to use as a DIY beach bag is a really simple and great way to customize an inexpensive tote bag.
You will want to be sure you have a canvas tote bag though. You can apply vinyl to a synthetic fabric bag, but cotton is easiest to work with.
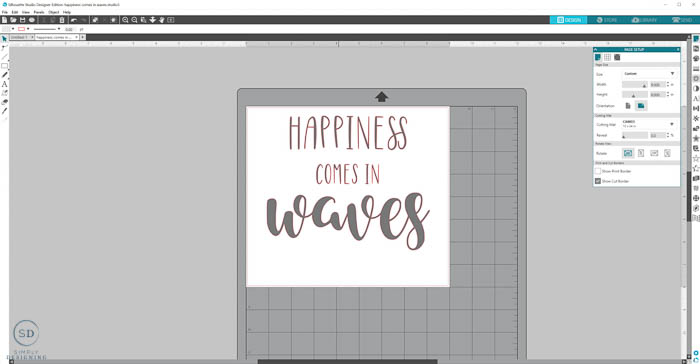
You will want to begin by opening up your Silhouette Studio Software program. Using the text tool, create your saying, phrase, or download (or create) an image to use! There are so many great options.
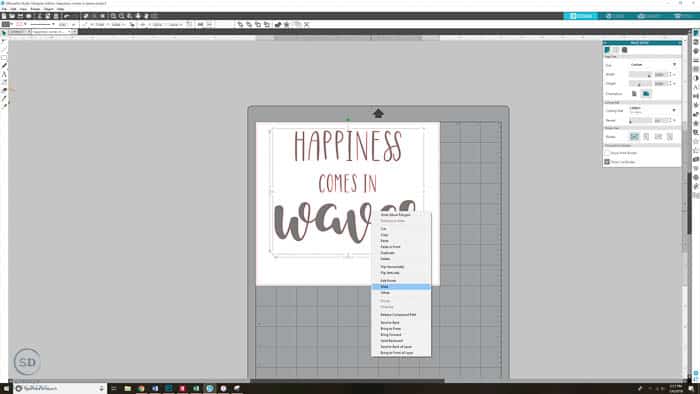
If you are using any sort of cursive text, you may need to "weld" it together.
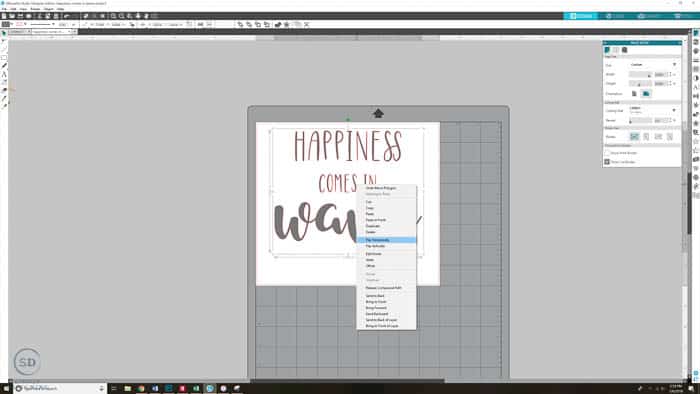
Once you size the text correctly, you will want to flip the text horizontally. (If you are using an image, you do not have to flip the image, but if you have any text on it, you need to flip the text otherwise it will be backwards.)
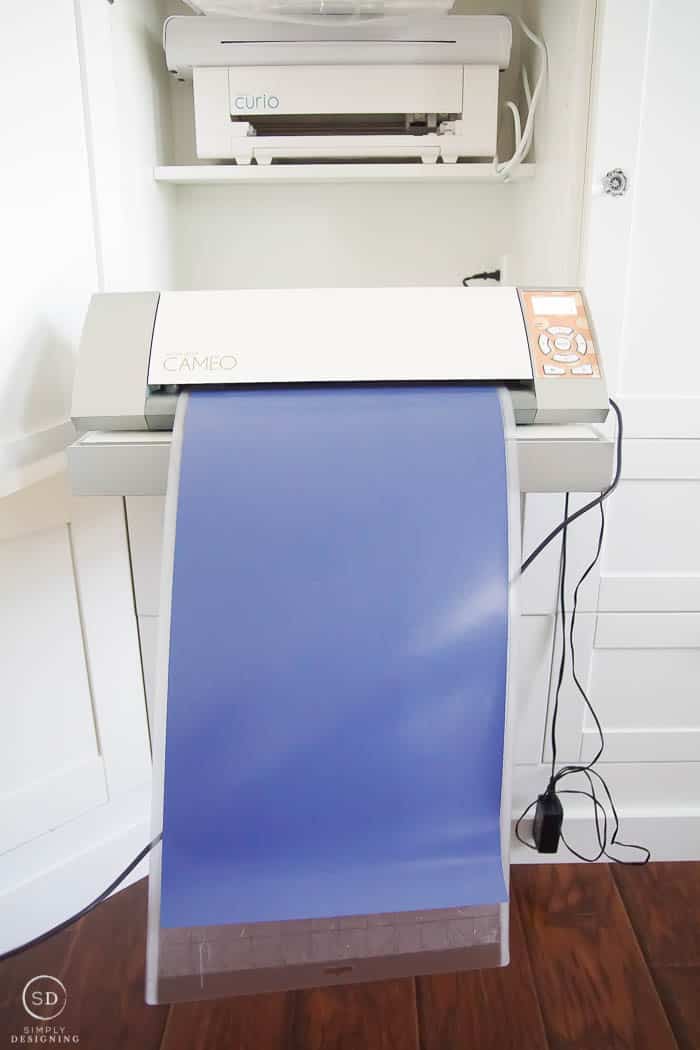
Then you can send your design to your Silhouette Cameo to cut your design. I always do a test cut just to ensure the recommended settings are just right.
Remember when you put your heat transfer vinyl on the cutting mat that the shiny side goes down. The shiny side acts as the carrier sheet when cutting and transfer tape when ironing it onto your surface.
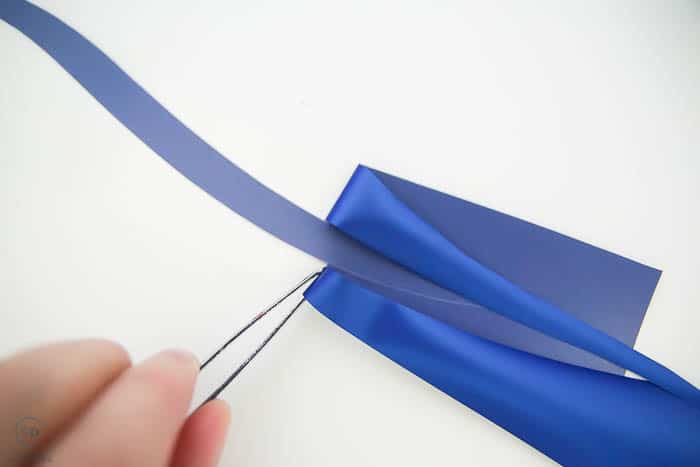
Once the heat transfer vinyl is cut, weed the excess vinyl by removing it. (Tweezers make this job really easy in my opinion.)
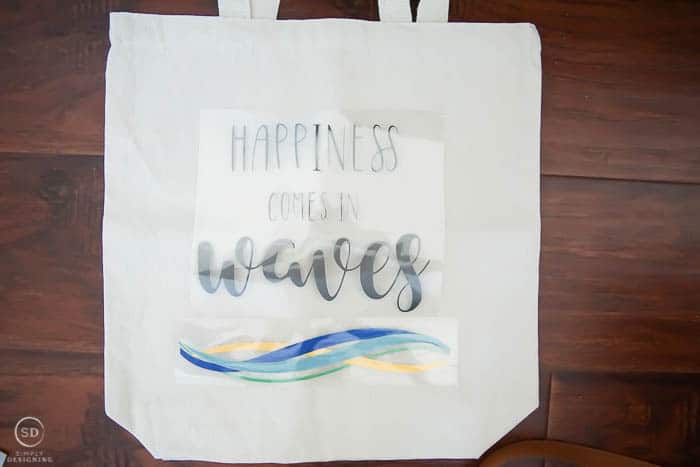
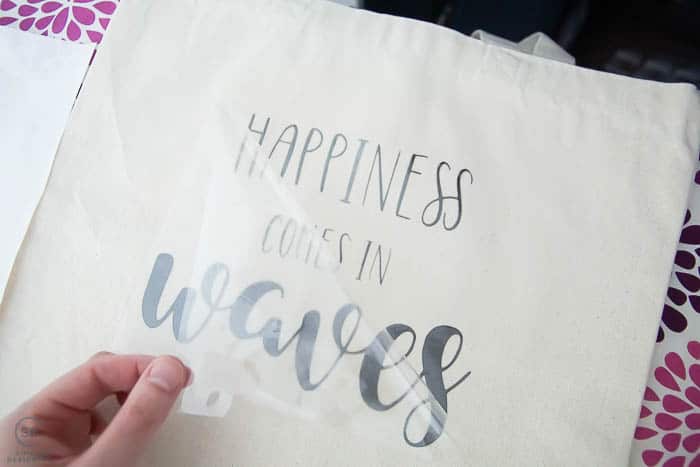
Place the vinyl, shiny side up, on your tote bag and use an iron or heat press to adhere it in place.
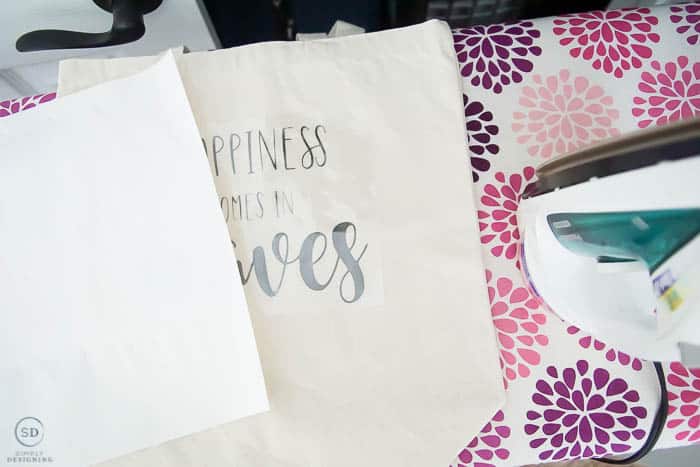
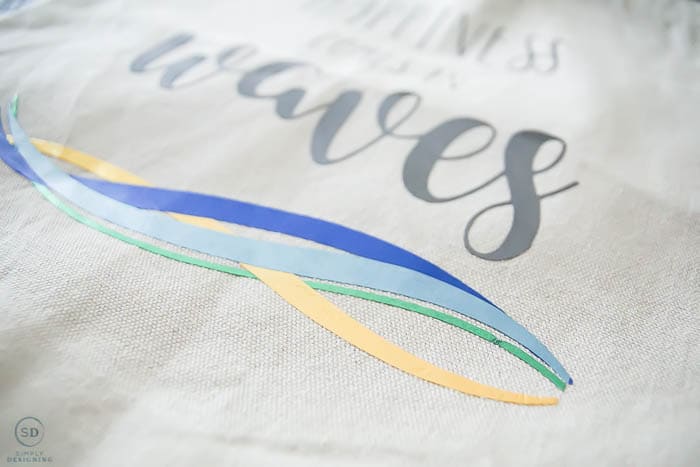
Because the blue, green and yellow waves overlap each other, I had to iron that in layers. Using a Multi-Use sheet ensures that the vinyl doesn't get too hot so this is really important to use when layering iron-on vinyl.
And oh-how-pretty is this gorgeous Electric heat transfer vinyl! It has this gorgeous metallic sheen and the colors are all so vibrant!
I am in love with it! Seriously, y'all need to check it out!
Remove the shiny transfer sheet and enjoy your newly created DIY Beach Bag!
Buy everything you need to create this tote bag for the library here:
- Silhouette Cameo
- Heat Press
- Multi-Use Paper
- Iron / Heat Press / Cricut Easy Press
- EasyWeed Electric 12"x24" Heat Transfer Vinyl in Blue, Green, Teal, Yellow, Tungsten
- 4 Piece Wave Design ID #9589 from the Silhouette Studio Store
You might also enjoy:







Michele Michael
Love the saying on the bag . Posting to my FB page @CoastalBohemian. Thanks for posting at Funtastic Friday. Michele
Meaghan Larsen
What fonts did you use?
Meaghan Larsen
What are the names of fonts used?