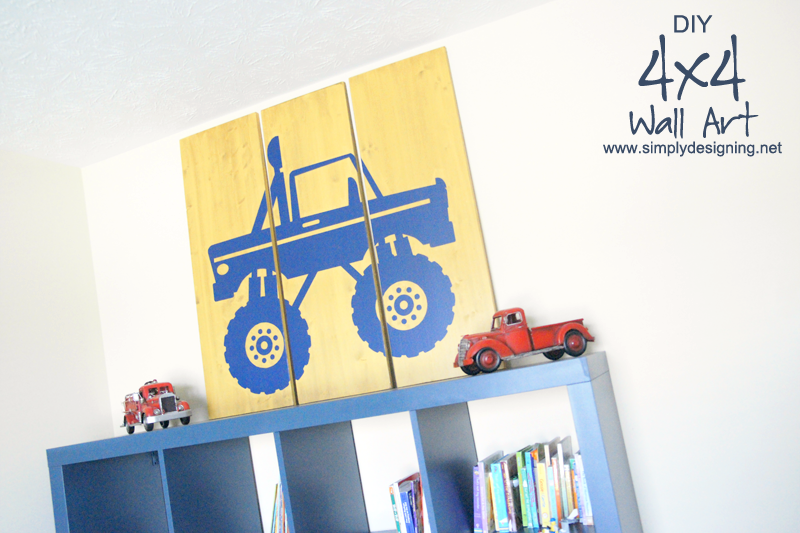
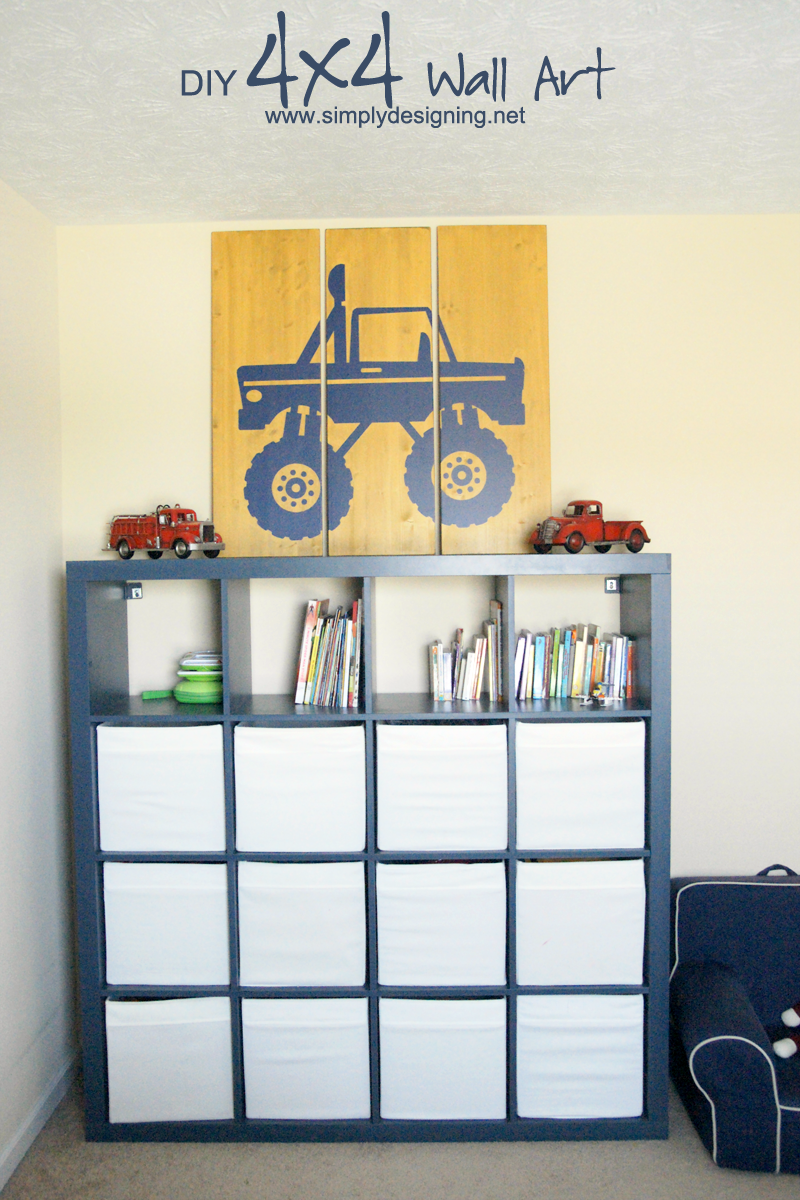
My son's room desperately needs to be decorated. We really haven't done much with it at all. But a few months ago we added a toy storage unit that we then painted (see HERE) that we absolutely love! It has been an organizational necessity, but it left a weird awkward space between it and the ceiling. It was large and we definitely needed something fun and big to go there. So after a lot of brainstorming, we finally came up with the perfect solution: DIY 4x4 Wall Art!
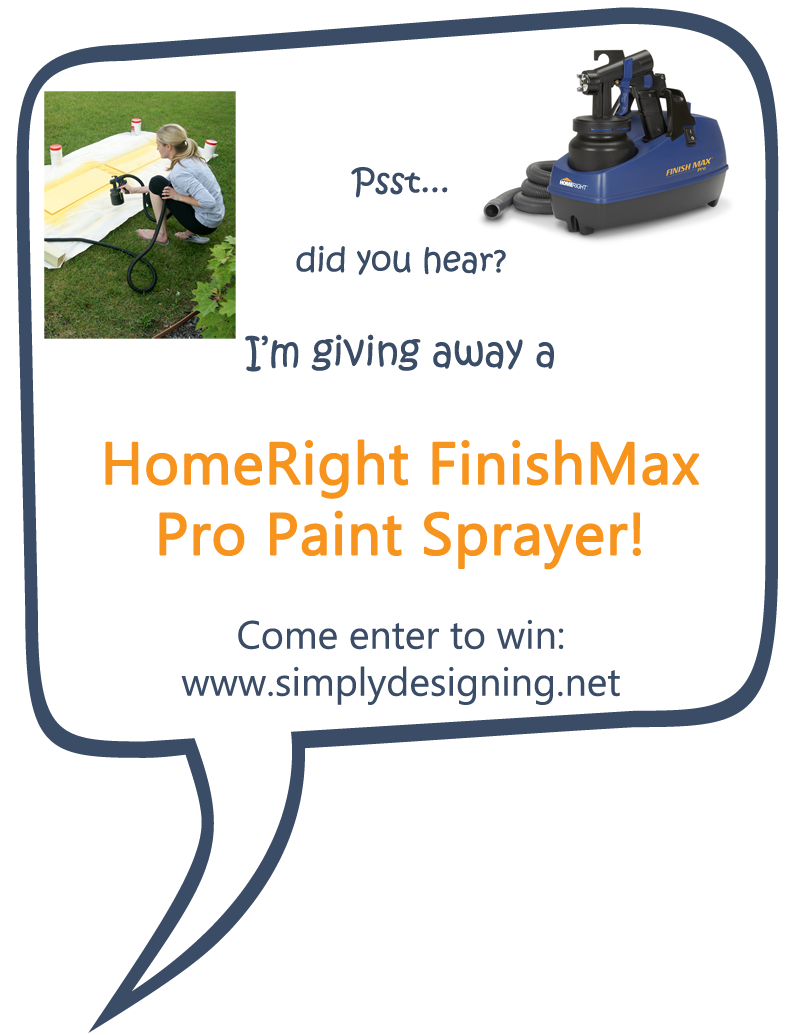
This was so much fun to make and it was so so simple because I used my new HomeRight FinishMax Pro Fine Finish Sprayer! And HomeRight is generous enough to offer you the chance to WIN a PAINT SPRAYER too! Woot woot! So be sure to stick around and enter to win! (Giveaway is closed)
To create our DIY Wall Art we used:
- (3) 12" x 36" x 1" wood boards
- Paint (Dutch Boy, Xanthous)
- Stain (Minwax, Dark Walnut)
- Gloves
- Rags for staining
- Vinyl cut in desired shape, weeded and ready to be applied (see how to do that HERE)
- Electric Sander with 120 grit sand paper
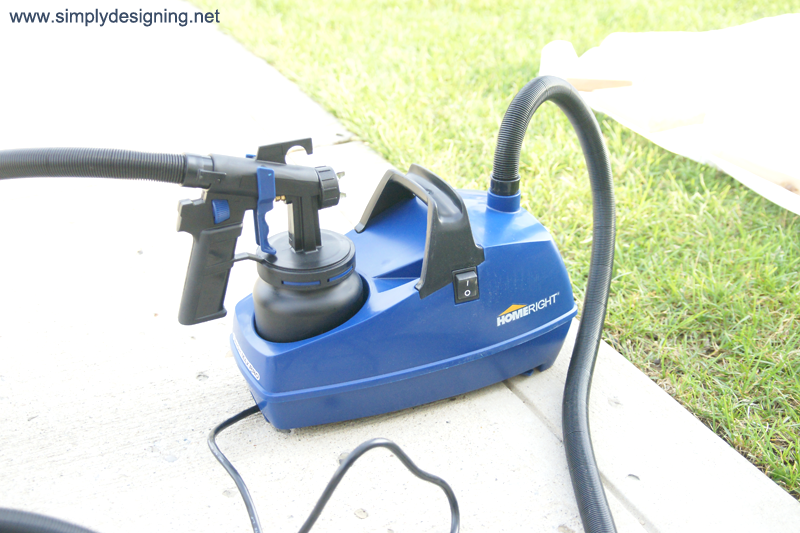
- HomeRight FinishMax Pro Fine Finish Sprayer
The first thing we did was to sand our wood and wipe it clean. Then we brought out our new FinishMax Pro and got to work!
You will need to follow all the instructions on how to properly dilute your paint if needed etc. but this is really so simple to use! (see more on that HERE)
As a note, I always recommend straining your paint before putting it into the sprayer. Even new paint needs to be strained. If you don't, your sprayer could clog.
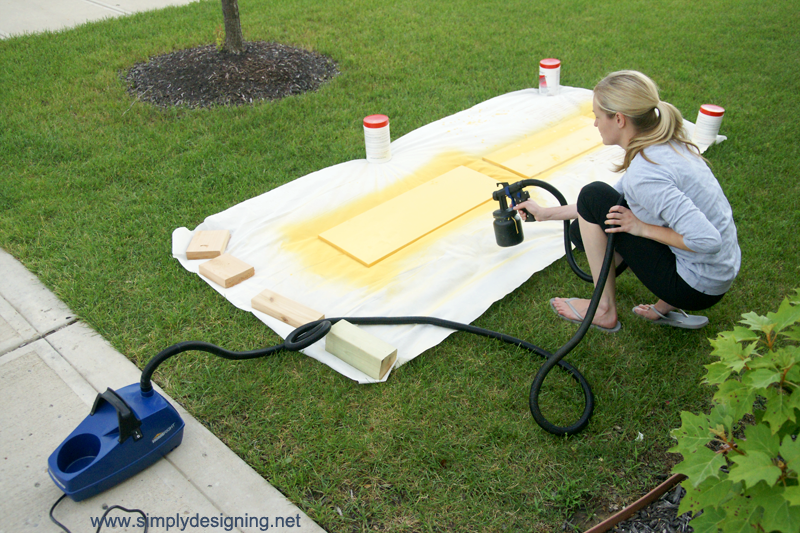
Once we had the paint to the correct consistency, we literally just plugged the machine in and started to spray the paint on.
And can I tell you how incredibly amazing this is!?!?! Holy. Cow! I have used the HomeRight Finish Max and I think it is a great machine, but the FinishMax Pro is even better! It is faster and gives amazing coverage in a short amount of time! This is far faster then using spray paint or hand painting. I needed two coats of paint and each coat only took a few seconds to paint on. This was so amazingly fast and fabulous! This is definitely my new go-to painting tool of choice!
After my boards were dry, we sanded the edges a bit and then added a light coat of stain to the top to distress the boards a bit, tone down the yellow and to bring out some of the boards imperfections and areas we sanded.
When staining, I like to wear gloves and have one rag in each hand. In one hand I use a rag to apply the stain liberally to the board. And in the other hand I have a clean rag that I use to wipe down the board and work the stain into the wood.
After the stain dried, we simply applied the vinyl to the boards and we were done!
A few notes about the vinyl. I found my image from the Silhouette online store, but I had to tweak it a bit to work for this project. Then I used my knife tool to divide the truck into 3 equal pieces. I chose 12" wide boards because I knew my Silhouette Cameo could cut up to 12" wide so I could fill the entire middle board with vinyl without needing to piece anything together. Then I cut my vinyl, weeded it, and applied it to the board. You can learn more about working with vinyl this HERE.
I am simply in love with how it turned out! It took a large empty space and gave it character and purpose. My son also loves his new artwork! And it is just perfect for his room!
If you like to paint or have ever wanted to paint, this is definitely on my must-have tool list!! I am so thrilled to give one away today! Simply wait until Rafflecopter fully loads below and then enter to win! Good luck!









Danielle
This came out great. Looks perfect over the cubbies! Great reading your experience with the sprayer. I have yet to try one. x
Ashley Phipps
Thank you so much Danielle!! You should definitely get your hands on a sprayer...this one is amazing!
Pam Kessler
That is such a cute project. And I love the vintage looking toy trucks that go with the one you made. Thanks for the tips on the spray painter. I have a REALLY basic one, but this looks so much more user friendly. I've been known to get a little wild with the sprayer and have spritzed my hair a time or two. Those gray spots looked so becoming on my hair 🙂
Ashley Phipps
Thank you so much Pam! This paint sprayer is amazing!! Haha! I have totally gotten paint in my hair before too 🙂
Jessica
I have heard such great things about this! Thanks for the chance to enter!
Ashley Phipps
You're welcome Jessica!
Toni Roberts
Love this art project!! What a pro you are. Thanks for sharing!
Ashley Phipps
Ah thank you so much Toni!!
Becky@Beyond The Picket Fence
I love the simple graphic and colorful punch!
Ashley Phipps
Thanks so much Becky and thanks for stopping by!
Laura Clark
Thank you for trying out the Finish Max Pro on such a cute project! <br />Laura Clark<br />HomeRight
Ashley Phipps
It was my pleasure Laura! Thanks so much!
Amy
Looks great! I DO need to get one of those! So much fun to be done!
Ashley Phipps
You definitely do Amy! And thanks so much for stopping by!
sandpaperandglue.com
love this project- it came out awesome, the stain really takes it up a notch 🙂
Ashley Phipps
Thank you so much!
Quantmlife
Cindy B (on fb/rc) ~ Thanks for the DIY but if you've mind perhaps you can pull another winner for one just like the one you have a pic of... my boys would love THAT one. 🙂 I imagine you have a boy who already loves it but just as an FYI that would be an awesome prize, too... hope I win so I can make them one.
Miriam Illions
This looks like you bought it at some high-end boutique -- fabulous!
Ashley Phipps
Awww...thank you so much Miriam!!! You are so sweet! And thanks for stopping by! 🙂
Katie @ Addicted 2 DIY
This is so cute! It is perfect for a boy's room! My youngest would probably love this:) I have to agree that the Finish Max sprayers are amazing! I don't know what I ever did without mine.
Ashley Phipps
Thank you Katie!!
Meghan Finley
This turned out awesome! And you've helped me a lot with my next project. Thanks!
Ashley Phipps
Thanks so much! And thanks for stopping by!
Raquel Chicflair
Oh...very cute. Like the idea of the wide wood boards rather than the usual wood planks. Great job. (stopping by from sweet sharing monday)
Ashley Phipps
Thank you so much Raquel! And thanks for stopping by!
Kelley
Super cool! Where did you get the vinyl stencil image? It is such a great image.
Ashley Phipps
Hi Kelley! Thanks so much! I downloaded the basic image from my Silhouette Online Shop...if you look under 4 x 4 you can find it. I then had to tweak it a bit (a lot) to get it to actually work how I wanted it to. But it was well worth it!! Thanks for stopping by!
Carrie from Carrie This Home
My son's room is really needing some fresh decor and this would be perfect! Pinning this (and hoping I win the awesome Finishmax Pro!)
Ashley Phipps
Thanks so much Carrie! And good luck xoxo!
Kelley Wilson
Ashley this turned out so cute! Hope to see you at Haven this week and thanks for sharing this at Cook it! Craft it! Share it!
Ashley Phipps
Thanks so much Kelley! And yes I will be at Haven! Can't wait to meet you there!
David Guetta
This is so cute! It is perfect for a boy's room! My youngest would probably love this:) I have to agree that the Finish Max sprayers are amazing! I don't know what I ever did without mine.
David Guetta
Thank you so much Pam! This paint sprayer is amazing!! Haha! I have totally gotten paint in my hair before too 🙂