The first thing anyone notices when they walk into your home is the entryway. My entryway has evolved over the years we have lived in our home. But my latest rendition of it includes this beautiful industrial cabinet hack we created a while ago. I just love how it looks! With Christmas coming, I really wanted to give my entryway a holiday make-over. I wanted to finally decorate the entryway with real thought as opposed to just putting up what I had in my storage bins labeled "Christmas." I wanted to find some fun Christmas decor and I wanted to create a beautiful first impression when friends and neighbors came over this holiday season. And I wanted to do it on a budget. So keep reading to learn how I planned and executed decorating for Christmas for under $100. (A big thank you to Hobby Lobby for making today's post possible. All ideas and opinions are mine.)
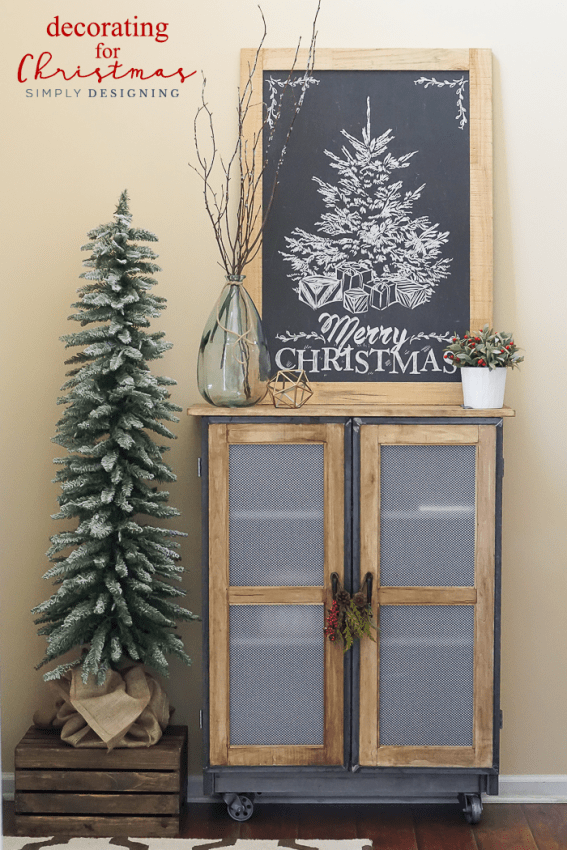
Here is a before shot of the space.
(You can see my Industrial Cabinet Hack HERE and my Industrial Baby Gate that is in this space too HERE.)
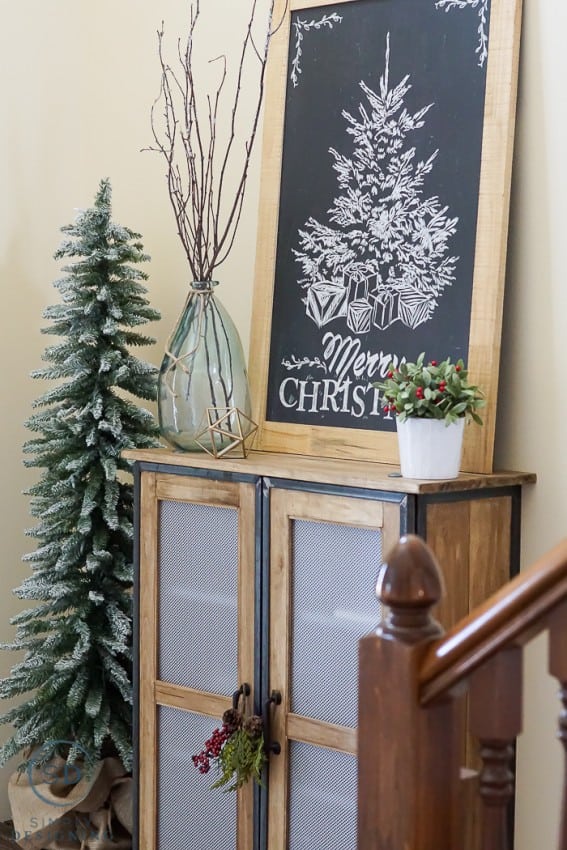
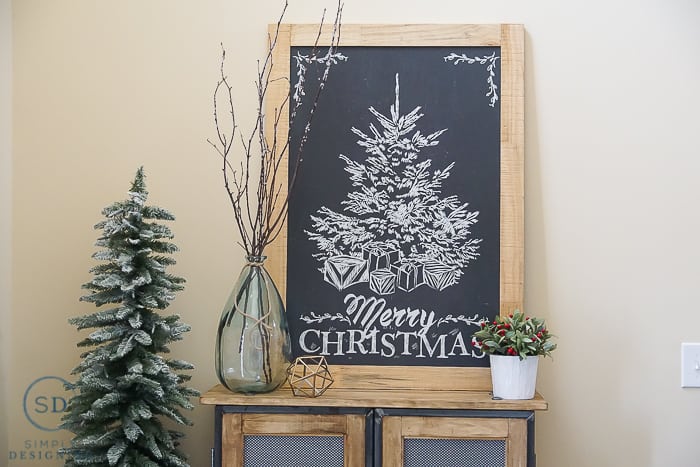
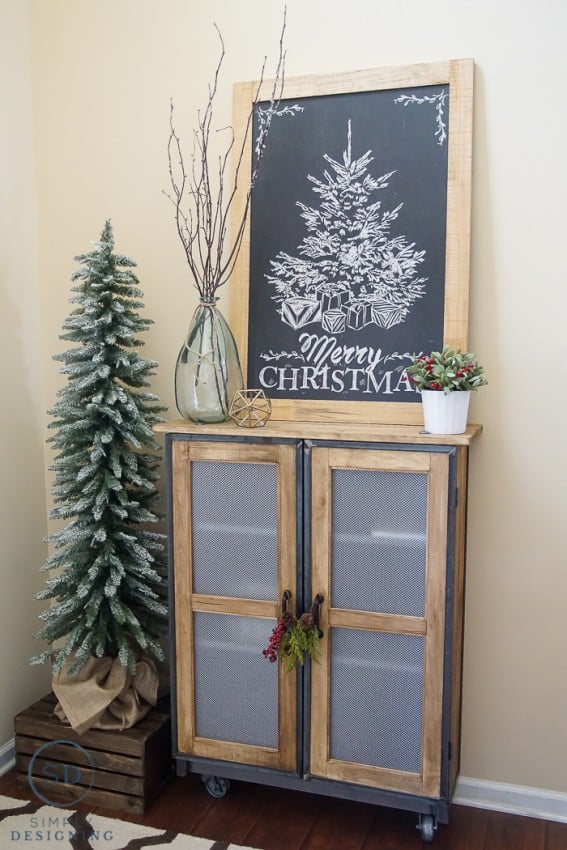
I love how my entryway looks on a daily basis, but the after...just makes me so happy and excited for Christmas!
Decorating for Christmas for under $100
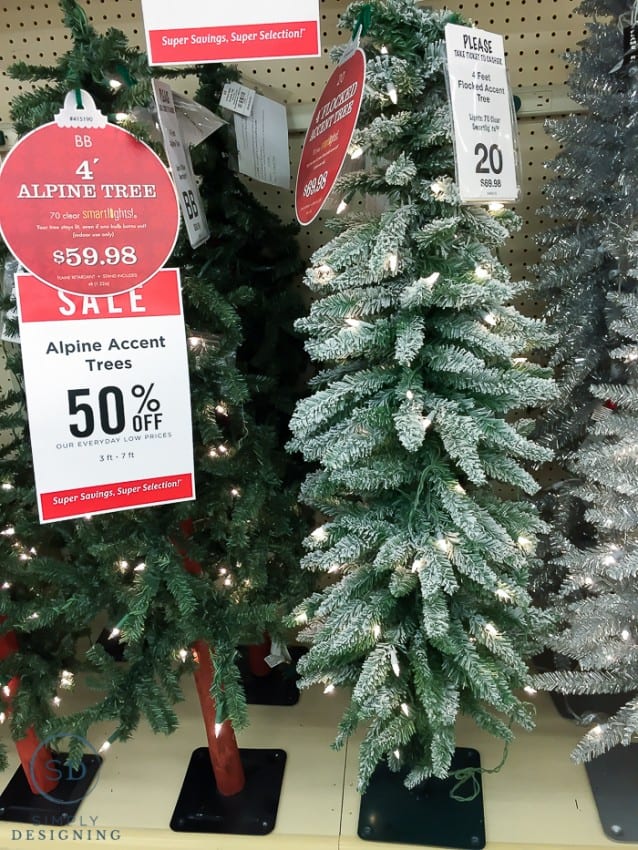
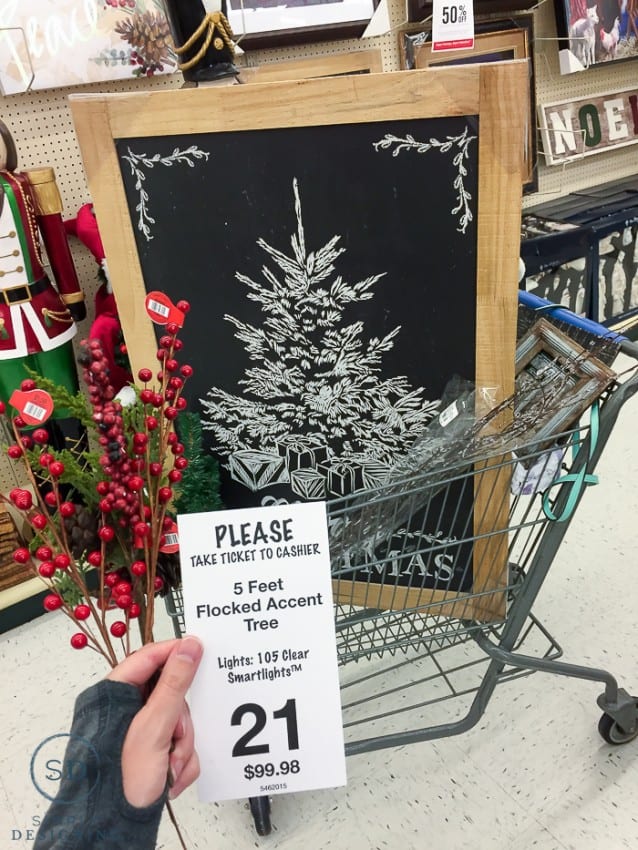
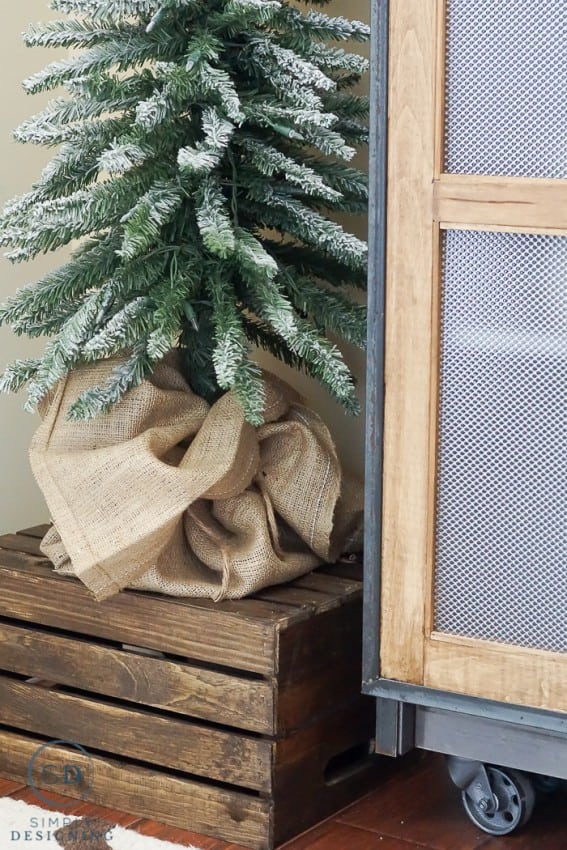
I took my new little baby on a shopping trip to Hobby Lobby to see what fun decorations we could find for this space. I really wanted to add a small and narrow Christmas tree to the space and was hoping that they would have one I liked. And to my joy, I found several options that would work perfectly in the space! My biggest decisions came down to flocked or not flocked, and how tall I wanted the tree. I ended up choosing a 5' tall flocked, pre-lit tree normally priced $99.98 but it was on sale for 50% off, so I spent $49.99 on the perfect narrow little Christmas tree and I love it!
My space is very tall, so I wanted to find a beautiful and large piece of artwork for the space. I wanted something that would make a statement but that would also go with my style. I wanted something a bit rustic, industrial or vintage. I found and fell in love with this large chalkboard-inspired "Merry Christmas" Christmas Tree framed art and knew I would have the perfect spot for it in my entryway. The artwork retailed for $79.99 but with all Christmas items being on sale when I went to the store, I only spent $39.99 on this really large piece of Christmas artwork for the space.
I realize at this point I had spent most of my budget for the space, but I knew that these two items (the tree and the art) would make a huge impact in the space and I knew that it would be money well-spent to create a big impact for a small budget.
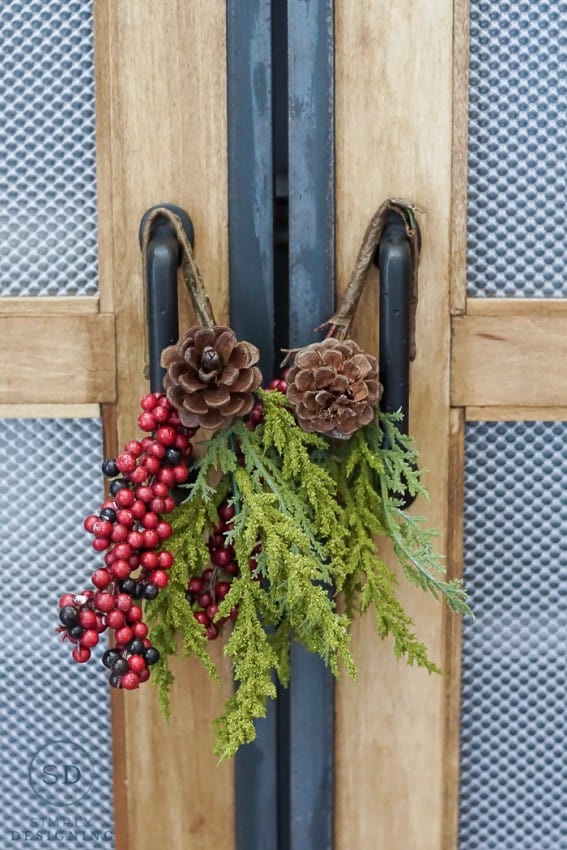
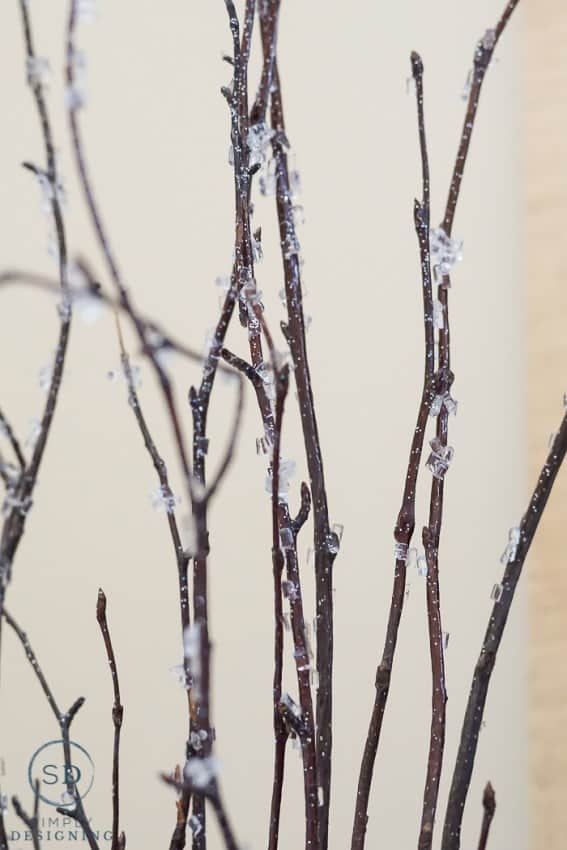
While I was at the store I also grabbed (2) bunches of berries, normally $1.59 each, on sale for $0.79 for a total spent on berries of $1.58. In addition I snagged (2) other holiday bunches (they had a sprig of greenery, a pinecone and berries), normally $1.59 each, on sale for $0.79 for a total spent on these of $1.58. Finally I snagged a bundle of fake ice covered branches, normally $9.99 but on sale for $4.99.
Which brought my total spent to $98.13 to decorate my entryway! Yes, decorating for Christmas for under $100 IS possible!
When I got everything home, I was able to quickly put my vignette together. The tree assembled easily and quickly and I took a scrap piece of burlap fabric I had and wrapped it around the bottom of the tree. I tied it in place with a piece of jute I also had on hand. I placed the tree on top of a crate I already had at home.
I placed the artwork on my cabinet and then I wrapped the pine cone swags around the handles of my cabinet.
I removed the flowers from my existing vase and placed the iced twigs into the vase in their place. (Note: I switched vases in the space in between the before and after photo. The vases are similar in style but the one I am using in there now is a bit skinnier which works with the Christmas decor better.)
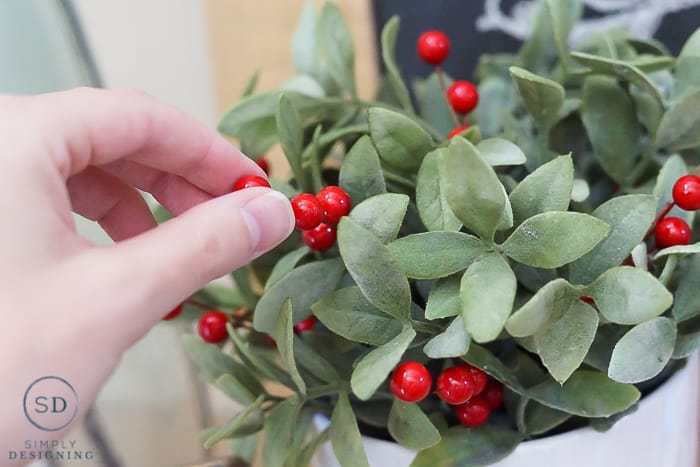
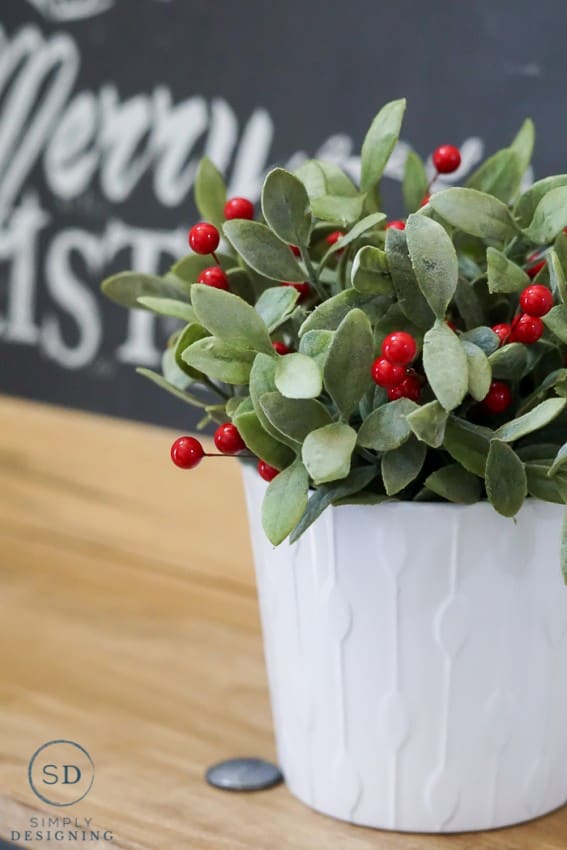
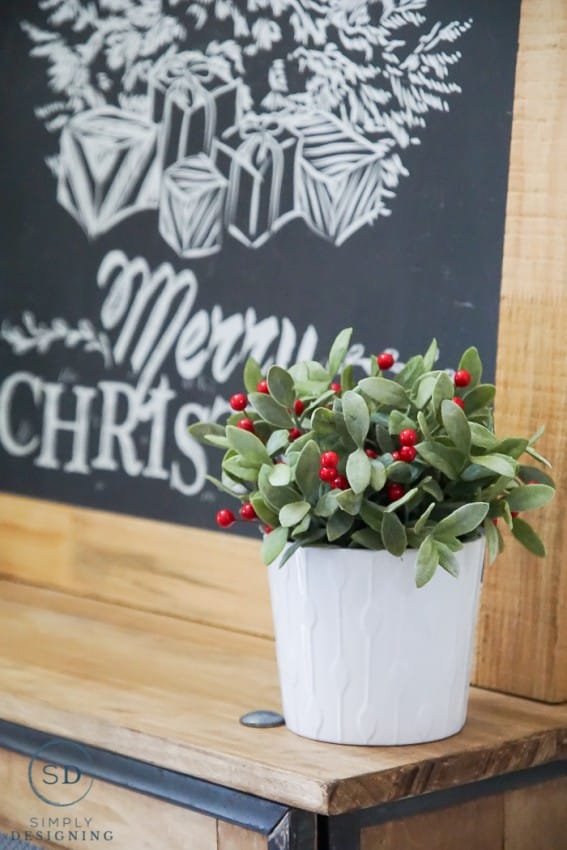
I used wire snips to cut the berries apart and put small berry snippets into my existing fake green plant I previously had in a different part of my home. This is such an easy and inexpensive way to turn existing greenery into a beautiful holiday decoration!
Isn't that so fun!?
For under $100 and in only a few minutes of time, I was able to completely turn my entryway into a warm and welcoming space for the holidays.
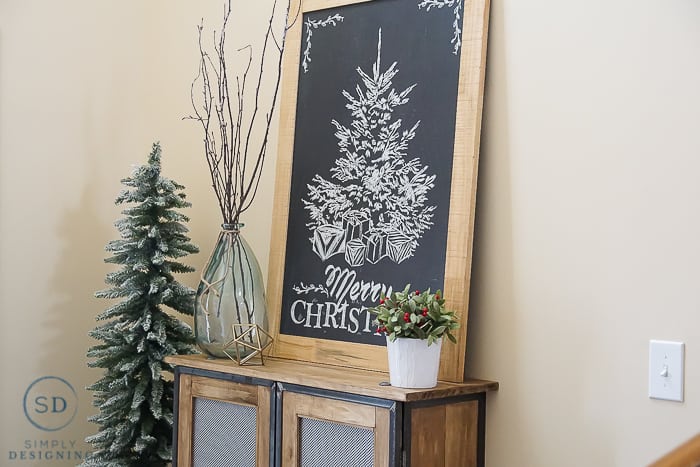
Here are a few more photos because I just couldn't resist sharing them:
Isn't the space just so pretty! And even though it is a bit early for some, I just love having my Christmas decorations up early!
This is a sponsored conversation written by me on behalf of Hobby Lobby. The opinions and text are all mine.
You might also enjoy:








Darlene
I have that same fake plant and now I know how to dress it up for Christmas!
Mary Beth
You have got to stop it....honestly! I love everything you post.
Sabrina
Your entryway looks so cute all decorated for Christmas! The chalkboard is my absolute favorite!
Heidi
Beautifully simple! I especially love the little pot that you added the berries to!
Deb
So pretty! Loving what Hobby Lobby has this season.
Christy @ Our Southern Home
Gorgeous! Love the art!
Erin Spain
It looks so pretty!
Meegan
Your entry way is so inviting for the Holidays. Hobby Lobby has such beautiful trees and amazing prices.
Happy holidays!
Becky
Thanks for linking up to the Talk of the Town link party. I am sharing this great post on Facebook in a bit!
Charlene Asay
This is beautiful. I love the frosty tree.
Botanic Bleu
The chalkboard with its tree is perfect in this spot. Great job on a budget!
Judith