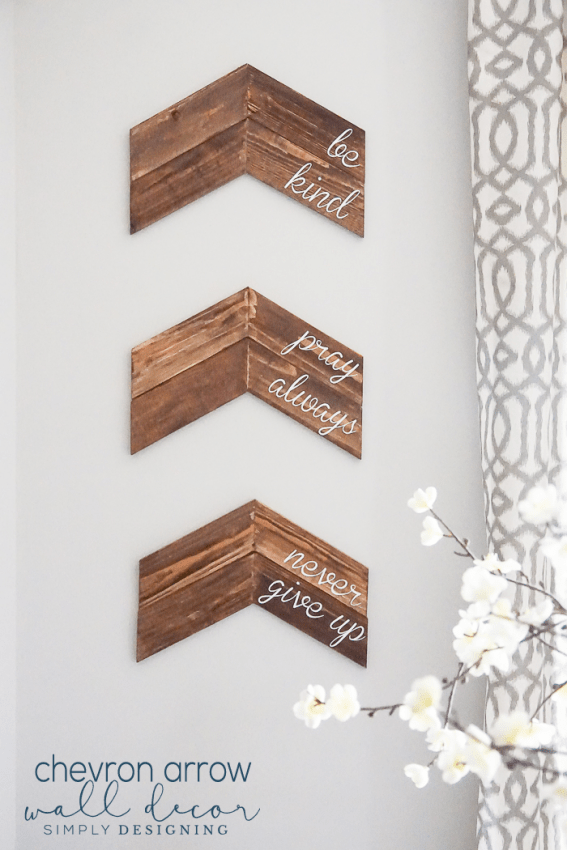
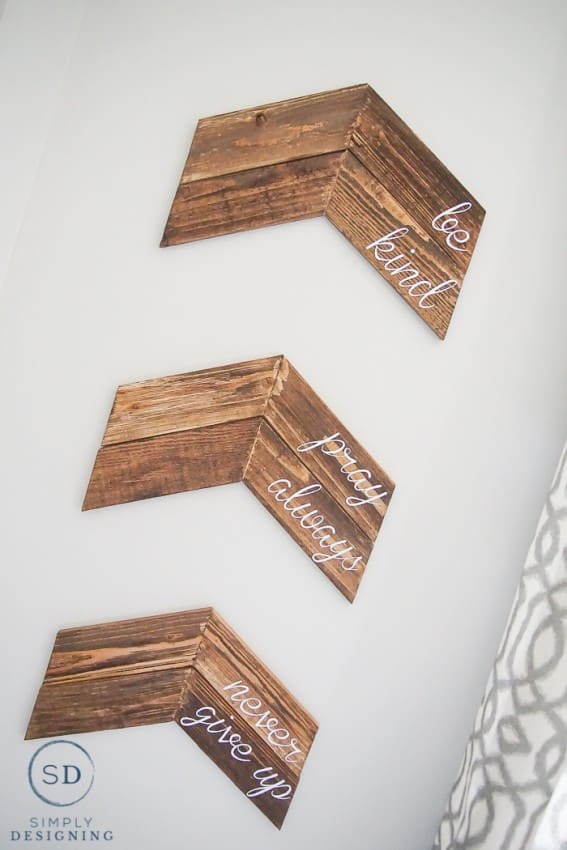
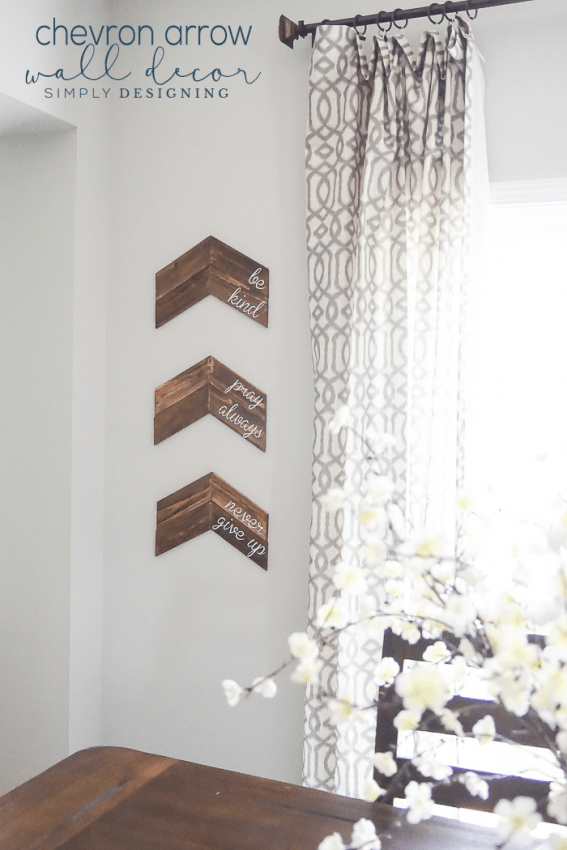
I have had a hard time decorating some of the walls in my home. Some because they are so large. Some because I can't find the right inspiration. And others because I took down what was there to paint and decided I didn't want to put the same thing back up. I have many many empty walls in my home. But the other day I had an idea for a cute and customizable Chevron Arrow Wall Decor piece that I knew would look great in a couple of different spots in my home (ie I knew I had options of where I could put it when I was done!). So I was really excited to get working on this project and I am excited to share it with you too! The best part is that this is so much easier then it looks! Honestly, it is! There is actually no wood-work (cutting, sanding, nailing, glueing etc) needed for this project at all! So anyone can put this together and be sure to customize it and make this chevron arrow wall decor your own! Also, I am so grateful that I was able to work with Expressions Vinyl to make this post possible today. They are truly my favorite place to order vinyl from! All opinions, ideas, photographs are mine.
Ready for my secret to make this project so easy...here it is...
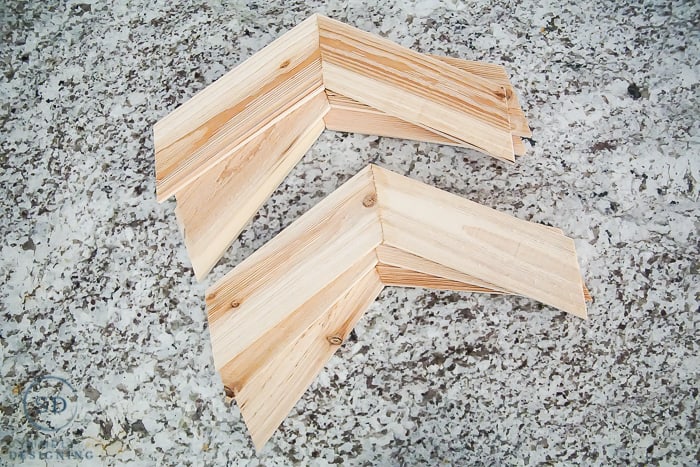
What makes this project so incredibly easy!? The cute chevron arrows I found, ready to go at one of my local craft stores! (I found these at Michael's Crafts but can't guarantee they sell them in every location or will be in stock. But I do know you can purchase them online HERE at the time of posting.) These cute arrows are preassembled and ready to go. While they are a bit rough, I decided not to sand them because I really liked how rustic they looked! These will make your job much easier for this project if you can find them. If not, you can always make them with wood, wood glue and a staple gun.
Chevron Arrow Wall Decor
Supplies:
- (6) Wood Arrows (I am displaying them in sets of 2.)
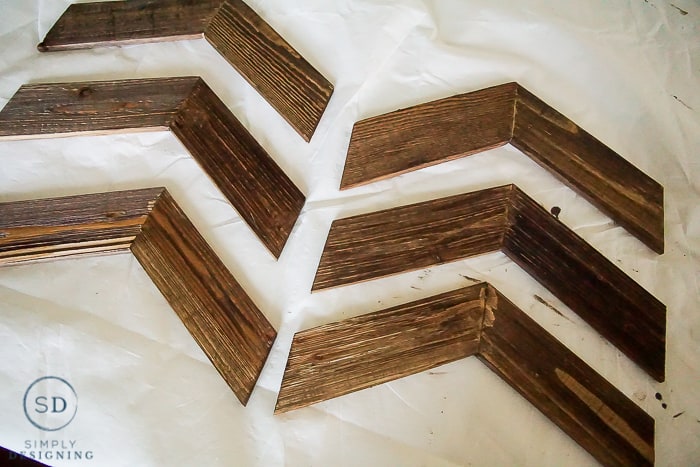
- Stain (I used Cabot Stain in Aged Leather, Satin finish. This stain is only available for special order, so feel free to choose a different stain that you love.)
- Foam Brush
- Gloves to protect your hands from the stain
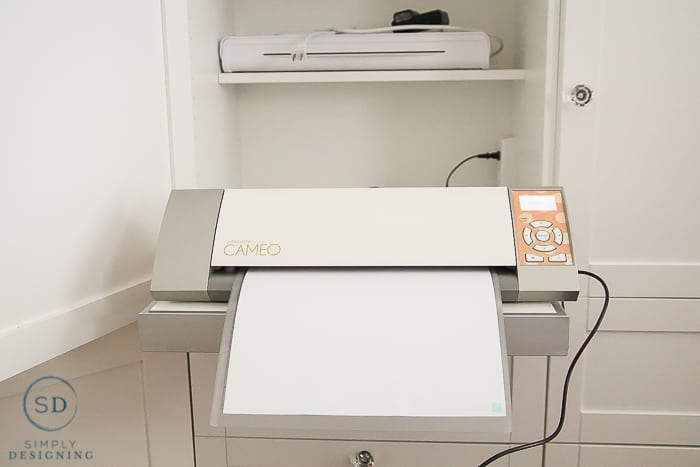
- Silhouette CAMEO or other vinyl cutting machine, xacto knife, or scissors
- (1) 12" x 24" Indoor White Vinyl
- Clear Transfer Tape
- Vinyl Application Tool (optional)
You will begin this project by staining your wood using a foam brush with gloves on your hands to protect them from becoming stained. I let these dry overnight since it is so humid here and I wanted to ensure they were completely dry and not at all wet.
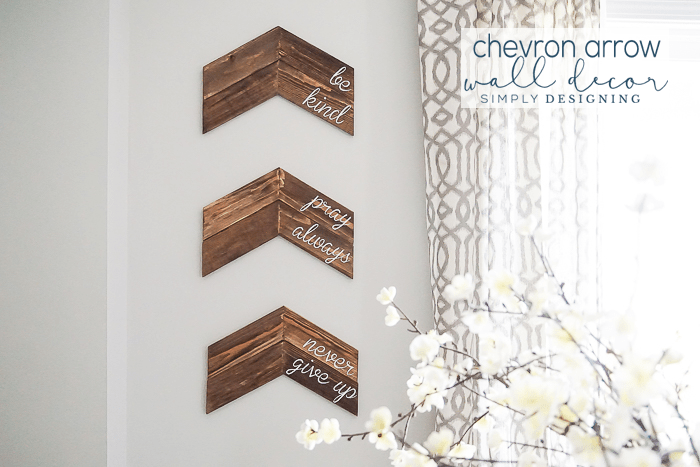
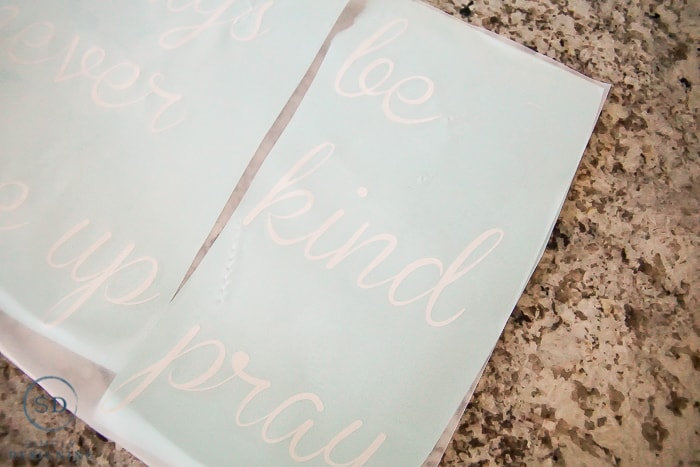
I used my Silhouette Studio Software program, with a font I liked (I used Brannboll Small) to type the words I wanted. I had a really hard time deciding what I wanted the boards to say. But I finally settled on " be kind" " pray always" and "never give up." These are things that I want my children to remember on a daily basis. I think being kind is one of the most admirable qualities that can be had and is of utmost importance, I believe that praying always can enable us to gain heavenly help any time we need it, and I want my children to never give up, never give up on themselves, never give up on their dreams, just never give up! You can of course choose to use whatever phrases mean the most to you and your family though! I measured my boards to ensure that none of my letters would be too large for the boards. I ended up making my letters just under 3" tall from top to bottom of the longest letters. Be sure to measure all your boards in case the size is slightly different.
After you have your words typed in, you may need to weld your text. With the cursive Brannboll Small font I chose, you can tell by looking at the cut lines that the cuts wouldn't be very pretty in some areas as the cut lines overlap. So after I was sure that my verbiage was correct, sized and spaced exactly how I wanted it to be, I selected all of my text, right-clicked on it, and selected "weld." This will clean up your cut lines. Now before you do ANYTHING ELSE, with all the text still selected, right-click and select "group." This will ensure the text stays together.
Your text is now ready to go!
I placed my white vinyl onto a cutting mat and placed it into my Silhouette. I selected the correct settings in my Silhouette Studio for cutting and ran a test cut just in case. Since the test cut came out well, I cut the entire verbiage out.
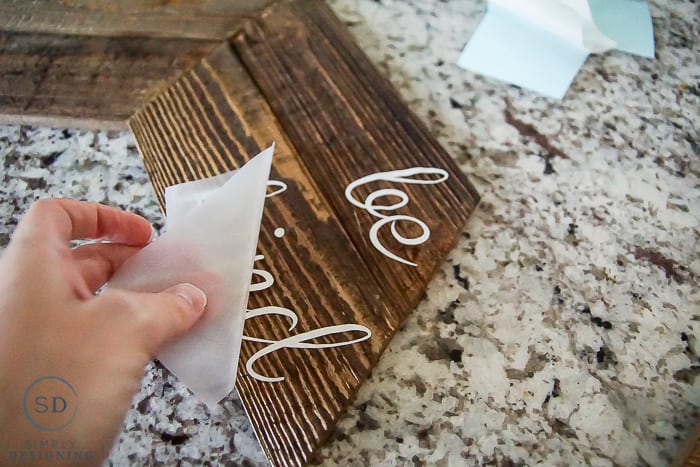
Then I weeded the excess vinyl and placed a piece of clear transfer tape on top of the vinyl words that remained on the backing paper. You can use regular paper transfer tape too, but since I knew that some of my words would be a tight fit on the boards, I wanted to ensure that I could see exactly where I was laying my vinyl lettering down, so I opted to use clear transfer tape for this project.
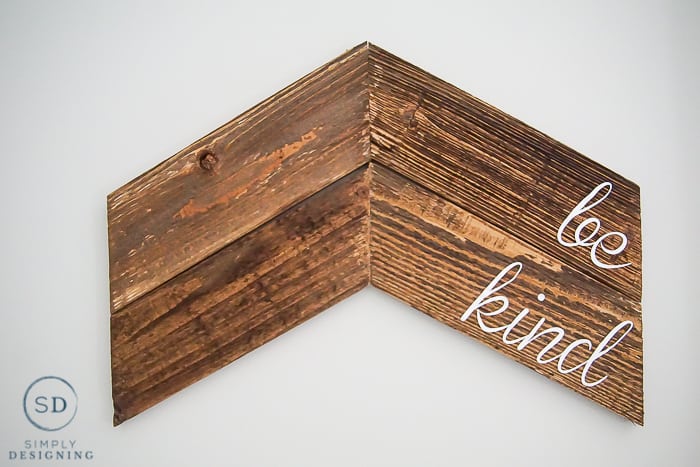
Finally I added the words to my board! Because the wood is rustic and a bit rough, I needed to take my time and be pretty patient when applying the vinyl lettering, but in the end it was completely worth it because I love how it turned out!
I installed these chevron arrow wall decor boards, 2 at a time (2 boards close to each other) on my wall using thick double sided tape. And then left a little room between the sets of boards on the wall before hanging up the next set.
I love how quickly this little project came together and I really love that anyone can make this for their own home, and customize it using whatever words or motto they prefer!
I haven't fully decided if these boards will stay near my table, they might end up in my back entrance, but for now I love them here! Aren't they so fun!?
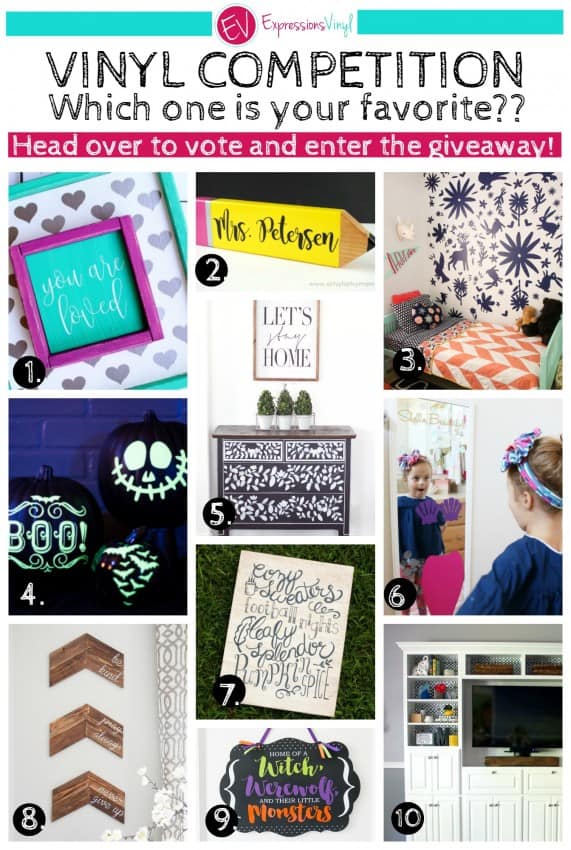
Now for the FUN part! And a giveaway too! A few other really talented bloggers and I have all created fun vinyl projects and we need your help to vote for the one you love best! (mine mine mine!)
No but seriously!? Look at all those projects! They are amazing! The competition is tough I tell ya, these ladies are super talented and I would really love it if you would take a moment and go HERE to vote for your favorite project! Thanks bunches!
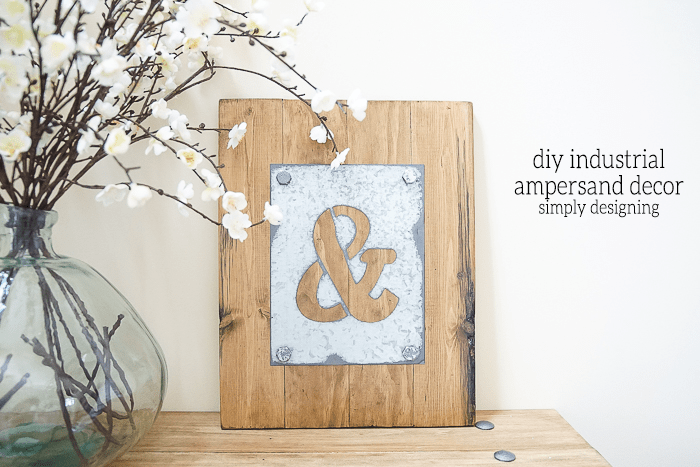
You might also enjoy:



Kate
I love this idea! They came out great!
Pinned and tweeted!
Thanks for sharing with us as the Merry Monday link party! We hope you can join us again next week!
Kate | TheOrganizedDream.com
Becky
I love how you personalized these--they are perfect! Thanks for linking up to the Talk of the Town party.
Meg
Really cute. I love that they are a simple, low-profile (they don't stick out much) way to fill a large space.
Creatively Living
Really cute. I love the words on them.
Christine
Love this diy project. It's right up my alley!
Brittany
These are so beautiful!
Marisa
I love this idea. It really looks unique because you don't see art like this too often. I'd like to try it out.
Jasmine
I absolutely love these chevrons and will use this idea at the house. It has certainly inspired me I am now ready to tackle some empty walls.