It's been a while since I have given you an craft room update and so today I wanted to share the progress of our playroom turned craft room! I showed you my inspiration HERE and then I shared our plan for storage and a brief update HERE and most recently I shared our process of installing our storage and adding power to the cabinets HERE. This has not been a quick project but it is a room that I am in love with! So today I am sharing all about building in cabinets, how we did it and what they look like now!
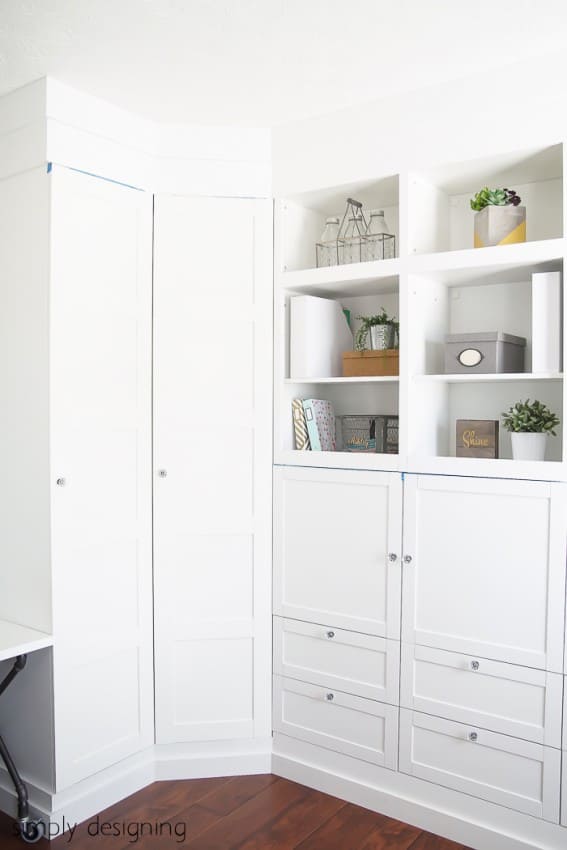
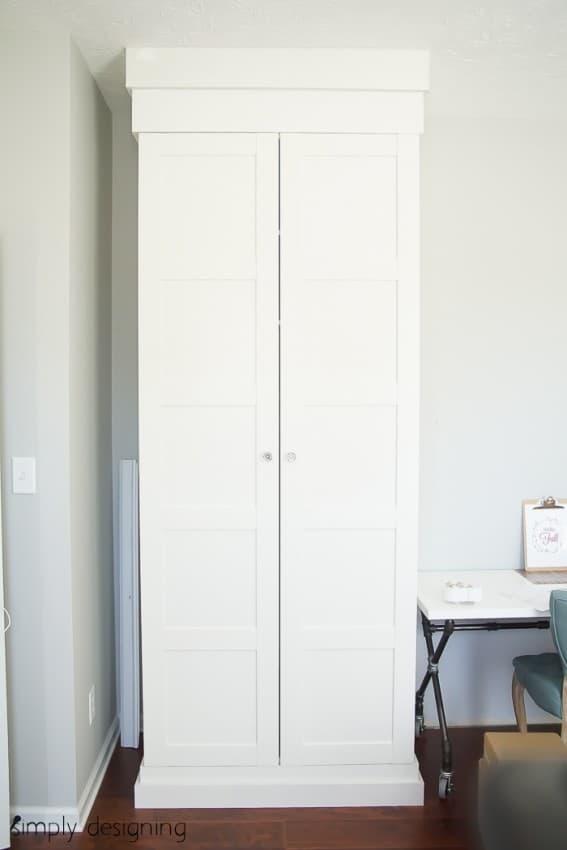
In the previous post HERE I shared the beginning of our process to build our IKEA cabinets into the walls. If you check out that post you can see how we lifted the cabinets up and framed them in along the top. Next it was time to add molding to finish building these cabinets in.
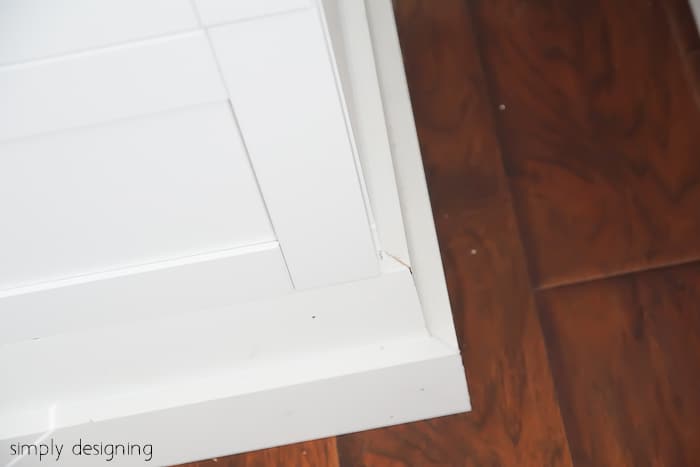
We decided to stick with simple trim that would echo the cabinet door design. We used our nail gun to help secure the trim in place on the framing we had previously built. (Please note that affiliate links are included in this post for your convenience.) Then we needed to fill in the holes, sand the trim and then caulk and paint the trim. This type of finishing work is time consuming but makes the project look so much better in the end.
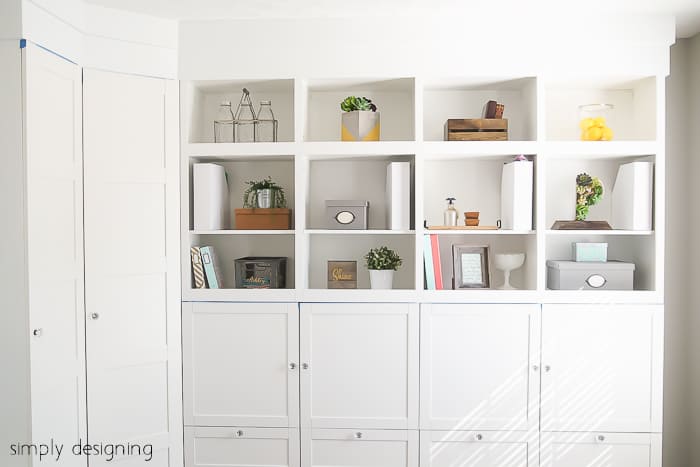
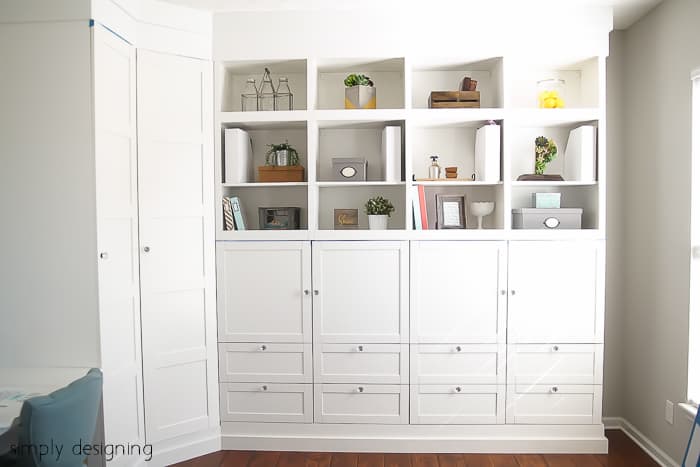
We also added some trim along our open shelving to help hide the fact that there are multiple units placed together. Plus I love how it gives the bookcase a more substantial look to it too.
We took one of our cabinet doors to Sherwin Williams and asked them to match the paint color for us. We used this custom paint to paint our trim with. It looks great and is such a lovely way to really finish off the cabinets!
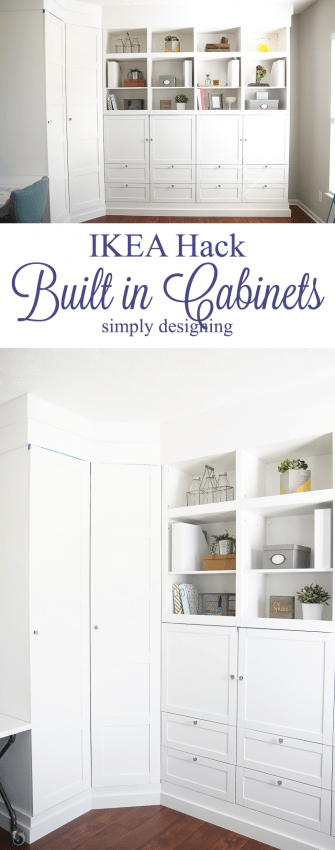
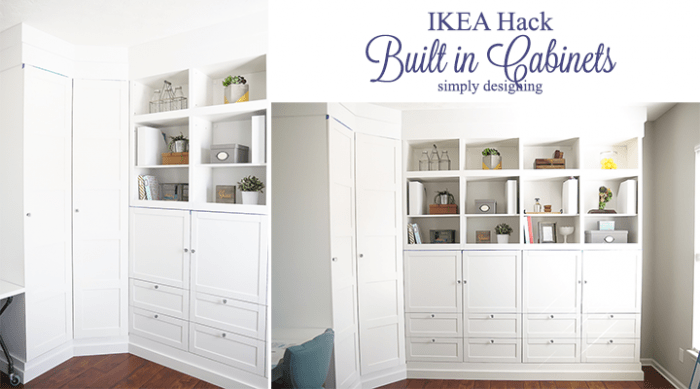
Can you even believe these are IKEA cabinets!?!?! What a transformation! Wahoo!! I am so excited that my room is coming along! I just love how it is turning out!
I have a few more craft room projects that I have completely and plan to share with you later today actually! So stay tuned for another update soon!
Check out the whole Craft Room series here:
Play Room to Craft Room : Part 1
Choosing Cabinet Knobs : Part 5
The Perfect Gray Paint : Part 6
Industrial Pipe Leg Desk : Part 7
Industrial Rolling Paint Storage : Part 8
Concrete Industrial Pipe Shelf : Part 9
Until then, you might enjoy some of these fun posts and ideas as well:
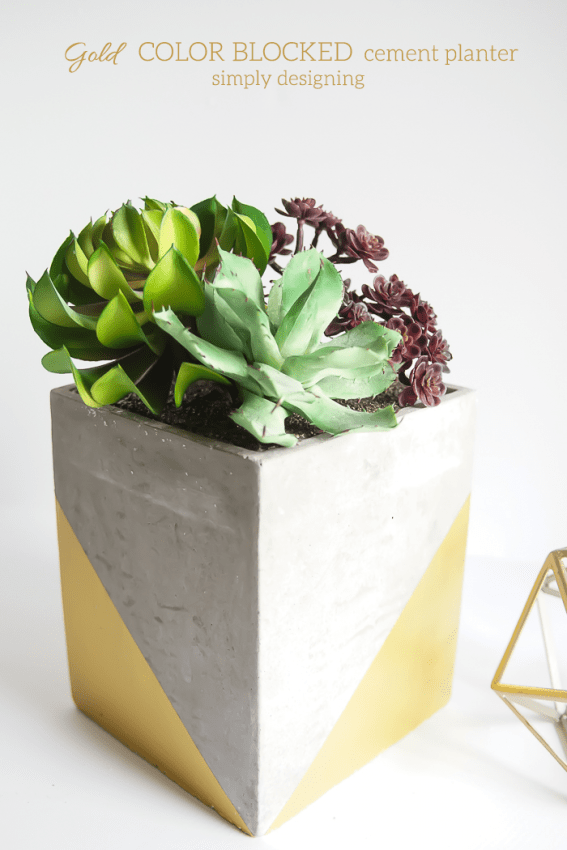
Gold Color Blocked Cement Planter






Diane Lemma
Love how your craft has turned out. I was given some Besta shelving but doesn't look like yours at all. Can you tell me what type of door and drawers you used for the besta shelf. I am hoping it is the ones with the open shelving!! Thanks so much for helping me with improving my shelving.
Sheila
Would you be willing to share what IKEA cabinets and the configuration you used? I love the cabinet that you can see straight on in the photo. What's inside the doors?
susy
There's no mention on which IKEA cabinets these are.
Christina Leaman
Hi Susy,
You can get all the information on the cabinets here.