• Skip to primary navigation
  • Skip to main content
  • Skip to primary sidebar

Simply Designing with Ashley

  • DIY
  • Oils
  • Recipes
  • Craft
  • Travel
  • Decor
  • Holiday
menu icon
go to homepage
  • DIY
  • Oils
  • Recipes
  • Craft
  • Travel
  • Decor
  • Holiday
search icon
Homepage link
  • DIY
  • Oils
  • Recipes
  • Craft
  • Travel
  • Decor
  • Holiday
×

Colored Candied Popcorn

Published: Sep 24, 2012 · Modified: Feb 14, 2020 by Ashley Phipps · 324 words. · About 2 minutes to read this article. · 1 Comment · This post may contain affiliate links · This blog generates income via ads and sponsored posts · This blog uses cookies · See our privacy policy for more info Filed Under: Holiday, Recipes


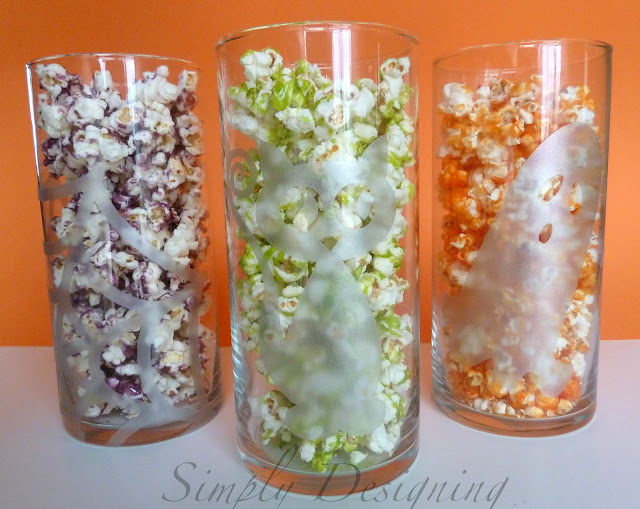
I've always wanted to make that really pretty, brightly colored candy popcorn.  I tried it once using a friend's stove top pan and it didn't work well at all.  (She can do it, but it was an dismal failure for me.)  And using jello didn't seem like a tasty or economical way to do it, I like jello, but I didn't want my popcorn tasting like jello.  So I finally found a recipe that not only tasted yummy, but also was super simple too!  My kind of popcorn!

etched glass vinyl candy jars 06 | Colored Candied Popcorn | 7 |
| Colored Candied Popcorn | 8 |

Colored Candied Popcorn
recipe adapted from Midwest Living here

Ingredients:

  • ½ cup un-popped popcorn
  • 1 ½ cups granulated sugar
  • ½ cup light Karo syrup
  • ½ cup water
  • 1 teaspoon vanilla (estimate)
  • food coloring (optional: see below for my color combinations)
Directions:
  1. Pop popcorn according to preferred method.  I have an old-school hot air pop corn popper similar to this one here.   
  2. Remove all un-popped kernels.
  3. Place popcorn on a cookie sheet or in a large bowl.
  4. In a heavy-duty 2 quart pot, melt combine sugar, Karo syrup and water.  Cook over medium-high heat until sugar is dissolved (mixture will be boiling).
  5. Clip a candy thermometer on the side of the pot and continue to cook, stirring frequently, over medium heat until it reached the hard crack stage (about 300 degrees).
  6. Remove from heat and remove thermometer.
  7. Add vanilla and food coloring and stir until combined.
  8. Quickly pour candy coating over popcorn and mix together using a sturdy spoon or spatula.  
  9. Allow popcorn to set and break up the popcorn into smaller chunks if desired.  
  10. Enjoy!
 

*Check out my super cute Halloween Etched Glass Vase Tutorial here

To make these bright colors, I used the following food coloring formulas:
 
Orange: 36 drops yellow + 3 drops red
Green:  36 drops yellow + 6 drops green
Purple:  24 drops red + 10 drops blue
 
Ashley Signature 2 | Colored Candied Popcorn | 9 |

You might also enjoy these posts:
Easy Caramel Popcorn Recipe

Easy Caramel Popcorn Recipe

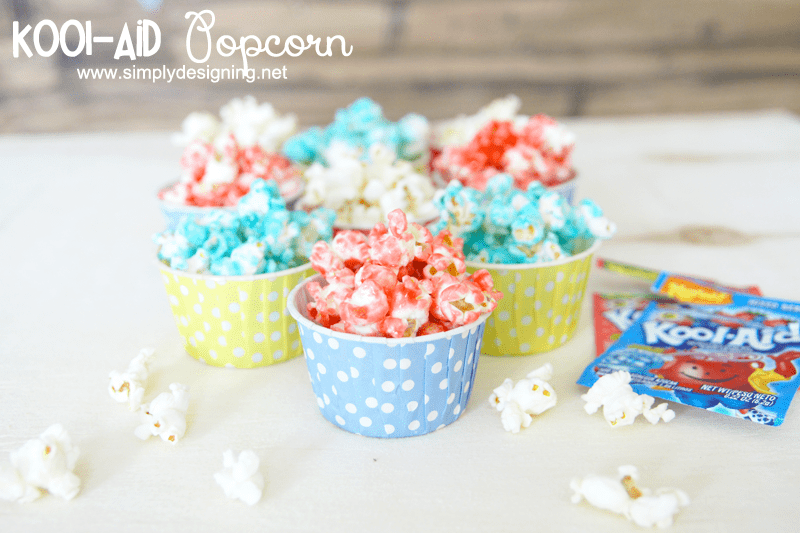
Kool-Aid Candied Popcorn

Kool-Aid Popcorn


More Holiday Inspiration

  • caramel hot cocoa bomb recipe with white mugs in the background
    Caramel Hot Cocoa Bombs
  • Peppermint Hot Chocolate Bombs
    Peppermint Hot Chocolate Bombs
  • hot chocolate bomb
    Hot Chocolate Bomb Recipe
  • This is the most comprehensive family holiday gift guide that is perfect for the family who wants to spend more time together and create family memories.
    The Most Comprehensive Family Holiday Gift Guide

Reader Interactions

Comments

  1. marissa | Rae Gun Ramblings

    September 24, 2012 at 11:38 pm

    love this. it's so pretty, what a fun addition to any party. definitely saving this one. The nieces and I are going to have so much fun trying this out thanks for sharing!

    Reply

Leave a Reply Cancel reply

Your email address will not be published. Required fields are marked *

Primary Sidebar

Hello Friends!

Ashley Phipps Simply Designing I'm Ashley Phipps and I love sharing SIMPLE DIY, home, travel, food, craft and essential oil ideas with you! Learn more about me here. Contact me here. Find Media/PR info here. Privacy is important to us. Please read my Privacy Policy.
  • Email
  • Facebook
  • Instagram
  • Pinterest
  • Twitter
  • YouTube

Join our mailing list

Get our latest updates & exclusive content!

Privacy Policy, Disclaimer & Terms of Use

Favorite Posts

image of guy in jeans installing lvp or laminate flooring - LVP vs LAMINATE FLOORING

LVP vs Laminate Flooring: Differences, Pros and Cons

St. Patrick's Day Printables


COPYRIGHT: You’re welcome to link to Simply Designing or use a single image with a brief description to link back to any post. Republishing posts in their entirety is strictly prohibited.  Any use for commercial purposes is strictly prohibited. Feel free to pin on Pinterest. Find out more in my Privacy Policy.  Simply Designing with Ashley Phipps LLC is a participant in the Amazon Services LLC Associates Program, an affiliate advertising program designed to provide a means for sites to earn advertising fees by advertising and linking to Amazon.com . Simply Designing with Ashley Phipps LLC and it’s owner, employees and affiliates are not liable in any way for injury or loss (whether physical, emotional, monetary or any other kind of loss) resulting from any inspiration, ideas, directions or information gained from this website. We advise you to always follow manufacturer instructions, take appropriate safety precautions and hire a professional when in doubt. We love it when you use our site for inspiration, but by using it, you agree that you do so at your own risk.

Privacy Policy 

Copyright © 2025